

We Love Our Quilting Community
At High Country Quilts we care deeply about community. With our experiences in retail, we know that a store is not only a place to shop but also a place for the community to gather and share. During this busy...


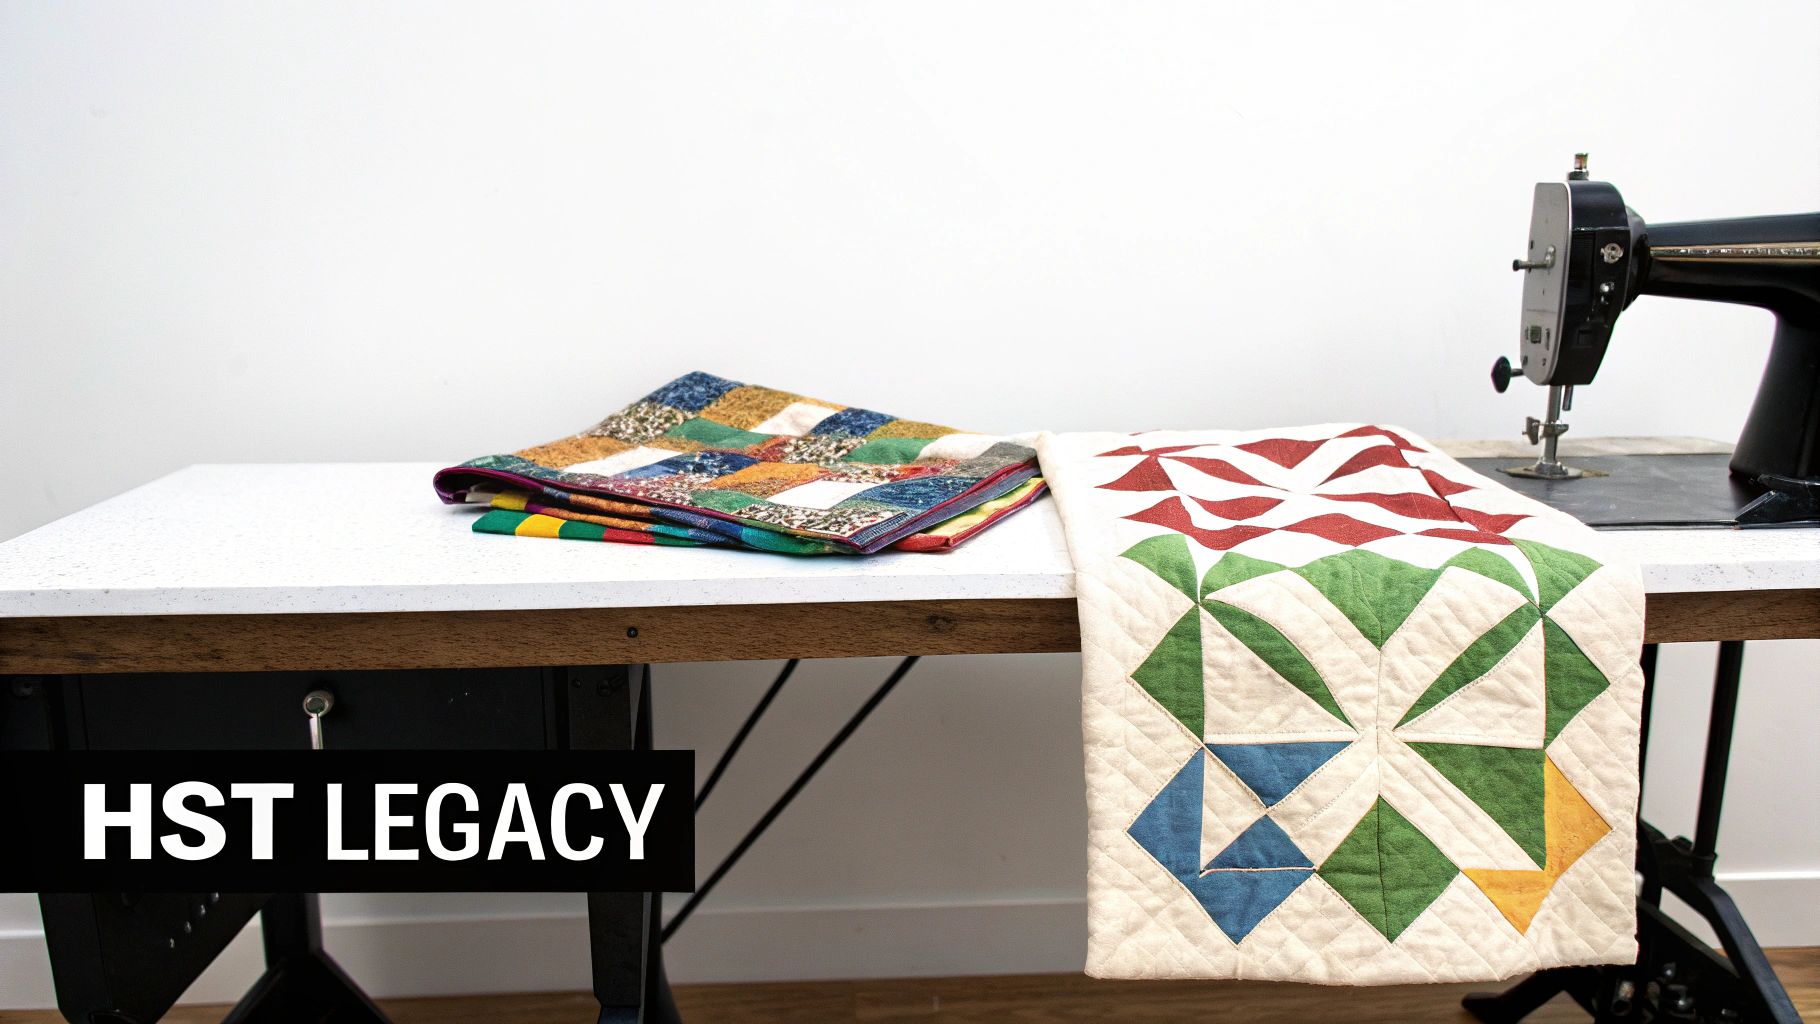
The half-square triangle, or HST, is one of those foundational patchwork units that, once you master it, opens up a whole new world of quilting. The basic idea is simple: you sew two fabric squares together, slice them diagonally, and press them open. What you get are two brand-new squares, each made up of two right-angle triangles.
From classic pinwheels to stunning star patterns and complex geometric designs, the humble HST is the secret ingredient. It’s a true workhorse in the quilting world.
Before we jump into the different methods, let's take a moment to appreciate why this simple block is such a cornerstone of quilting. It’s not just about learning a technique; it's about connecting with a long tradition of artistry and unlocking your own creative potential.
Here at High Country Quilts, we honestly believe that learning to make a perfect half-square triangle is the first real step into a larger world of quilting. This one skill gives you the confidence to tackle more intricate patterns and even start designing your own. It’s the key that unlocks so much of what makes quilting a lifelong passion.
Before you even think about sitting down at your sewing machine, let's talk about what you'll need. Getting those crisp, perfect points on your half-square triangles really starts with having the right tools on hand and prepping your fabric properly. You don't need a ton of fancy gadgets, but the quality of your basics absolutely matters.
At a minimum, you’ll want a sharp rotary cutter, a good self-healing cutting mat, and a clear acrylic quilting ruler. Any standard square ruler will get the job done, but if you find yourself making HSTs all the time, you might fall in love with a specialty HST ruler. They’re designed to make the trimming step a lot faster and more accurate.
I can't stress this enough: getting your fabric ready is the secret weapon against wonky blocks and stretched-out seams. I always recommend pre-washing to get any potential shrinkage or color bleeding out of the way before it ruins your finished quilt. Once it's dry, give it a good press to get rid of every last wrinkle. Just be sure to press up and down, not wiggle the iron back and forth—that can easily stretch the fabric fibers out of shape.
My all-time favorite trick for getting super stable, easy-to-handle fabric is to use starch. A light spritz before you cut makes the cotton behave almost like paper. This is a game-changer for preventing any stretching along that delicate bias edge you're about to create.
Ask any ten quilters how they make their half-square triangles, and you might get ten different answers. The truth is, there’s no single "right" way to do it. The best method for you will change from project to project, depending on how many you need and whether they all have to match.
Let’s dig into four of my go-to techniques that will have you covered in just about any situation.
For a scrappy quilt where every HST is a unique fabric pairing, the classic two-at-a-time method is your best friend. But what if your pattern calls for dozens of identical units? That’s when batching with the four-at-a-time or even eight-at-a-time methods becomes a massive time-saver. We'll also walk through the stitch-and-flip technique, which is brilliant for adding corners to larger patches, like in a snowball block, without having to handle fussy little triangles.
No matter which technique you choose, the prep work is always the same. Getting your tools and fabric ready before you sit down to sew is half the battle for achieving crisp, accurate points.
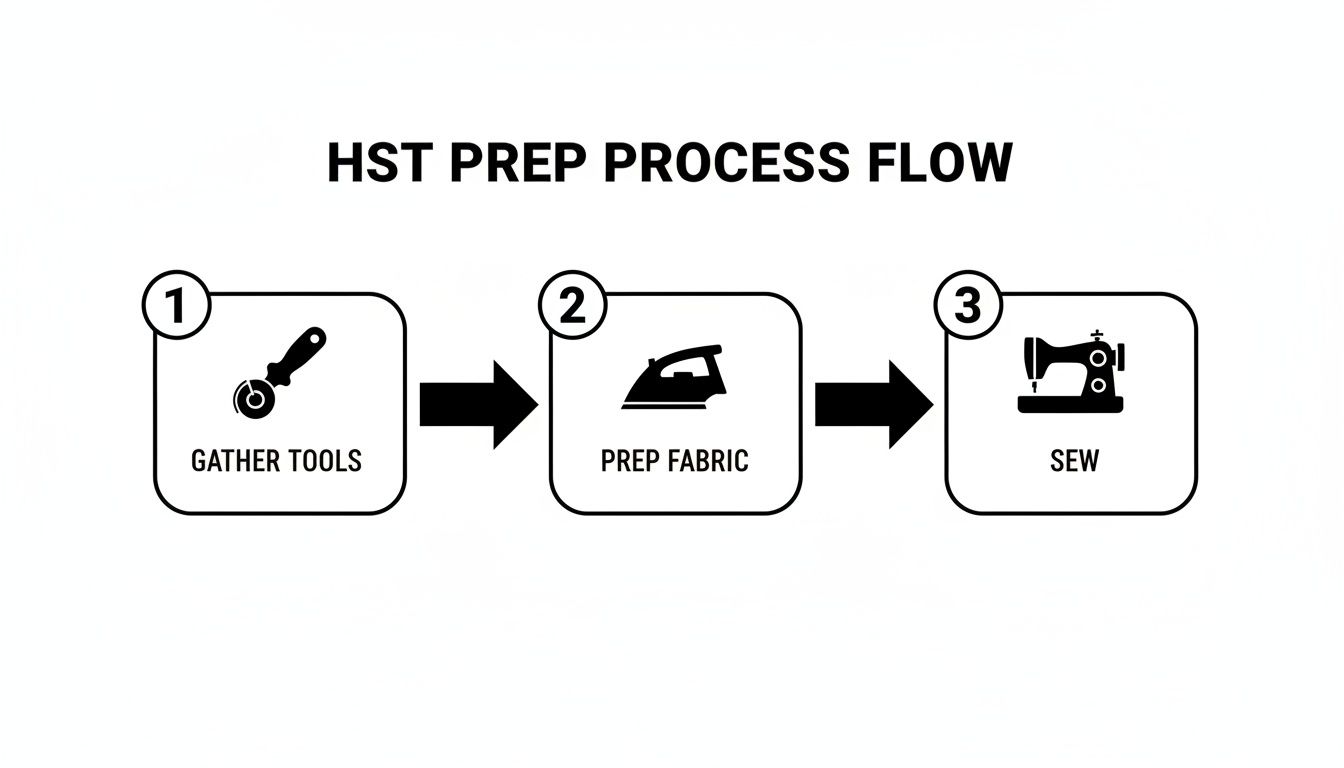
This little workflow is a great reminder that the magic isn't just in the sewing—it starts with good preparation. A sharp rotary cutter, a hot iron, and well-pressed fabric set you up for success before you even take your first stitch.
Ask any seasoned quilter, and they'll tell you the real magic happens after the initial sewing. The two steps that truly make or break your quilt's accuracy are pressing your seams and trimming your blocks. This is where you transform a simple sewn unit into a precise building block for your project.
First up, pressing. You've got two main schools of thought here: pressing seams open or pressing to one side.
Experiment with both! You might find you prefer one method over the other, or you might switch between them depending on the project.
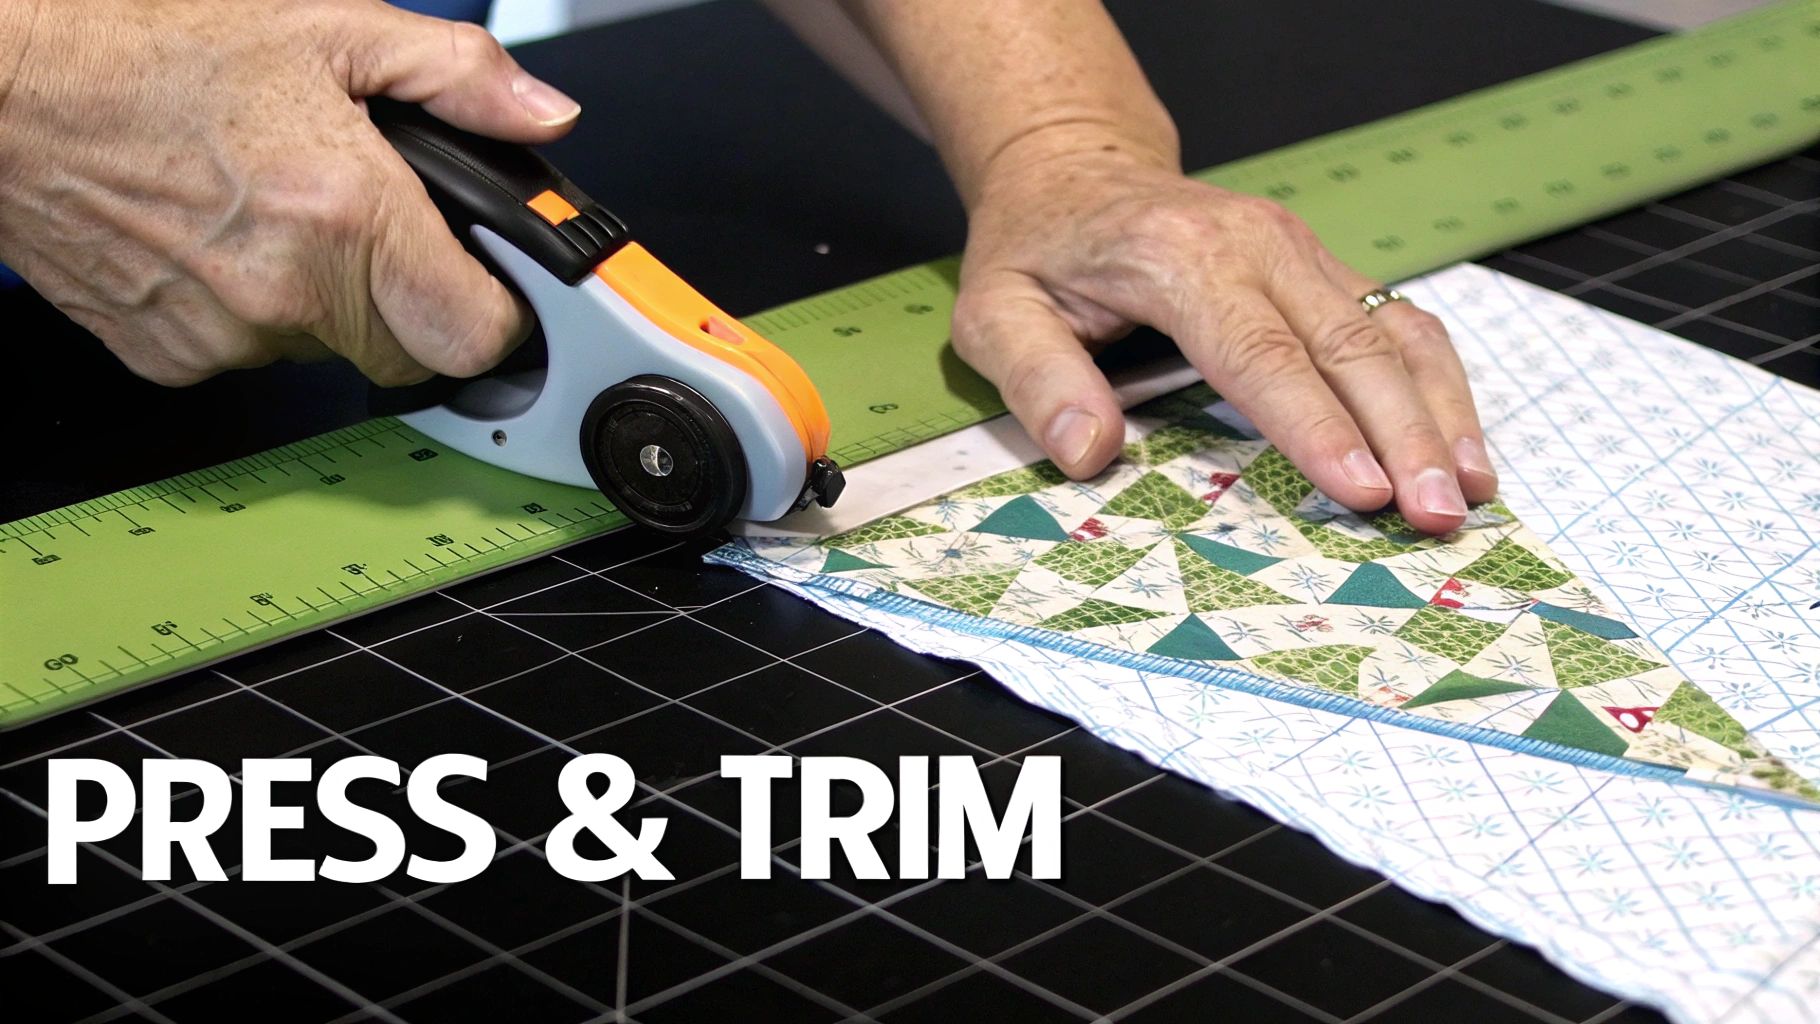
If I could only give one piece of advice for perfect HSTs, this would be it: always make your units a little bit bigger than you need and trim them down to the final size. This step is non-negotiable for sharp, professional-looking results. It corrects any minor wonkiness from sewing and ensures every single block is identical.
Here's the key to a perfect trim: Grab a square quilting ruler that has a 45-degree line marked on it. Place the ruler on your HST and line up that 45-degree line directly on top of your diagonal seam. This is the most crucial alignment. Once it's perfect, trim the two outer sides. Then, carefully rotate your block (or your mat), re-align the ruler to your freshly cut edges and the final measurement, and trim the last two sides.
Even after making thousands of these little guys, I still run into the occasional hiccup. If you're finding your finished HSTs are looking a little wonky, don't worry—it happens to everyone. Most of the time, the problem comes down to one of two things: a pesky seam allowance or stretched-out fabric.
Let's get to the bottom of it.
Nine times out of ten, if your finished blocks are smaller than they should be, your seam allowance is the culprit. For perfect HSTs, you really need to master the scant 1/4" seam.
What does "scant" even mean? It's just a hair's breadth less than a true 1/4". That tiny bit of space is crucial because it accounts for the thickness of your thread and the little bit of fabric that gets "eaten" by the fold when you press the seam. If your seam is too generous, even by a thread, your block will shrink.
The other common frustration is distortion. When you cut an HST on the diagonal, you create a bias edge. That edge has a ton of stretch, and it's incredibly easy to pull it out of shape while sewing or pressing, leading to wavy, distorted blocks.
My best advice? Starch is your best friend. Seriously. Giving your fabric a good press with starch or a fabric stabilizer before you even think about cutting is a game-changer. It gives the fabric a temporary stiffness, making that bias edge behave itself beautifully.
Finally, what about those bulky intersections where all your perfect points are supposed to meet? You can tame that lumpiness! My go-to solutions are either pressing the seams open to distribute the bulk or "nesting" the seams by pressing them in opposite directions row by row. This allows them to lock together snugly for a much flatter finish.
Working at High Country Quilts, I’ve fielded just about every question you can imagine when it comes to making half square triangles. They’re a cornerstone of quilting, but they can be a little tricky.
Here, I've gathered the most common questions we hear in the shop every day. Think of this as your personal cheat sheet—quick, practical answers to help you sidestep common issues and get those points looking sharp and perfect every single time.
At High Country Quilts we care deeply about community. With our experiences in retail, we know that a store is not only a place to shop but also a place for the community to gather and share. During this busy...

Hi! We’re Adam and Renee Wheaton, the new owners of High Country Quilts! For more than 40 years, we’ve owned and operated vacuum and sewing businesses. Following in Renee’s father’s footsteps after he retired from All Discount Vacuum and Sewing in Colorado...


Leave a comment