

We Love Our Quilting Community
At High Country Quilts we care deeply about community. With our experiences in retail, we know that a store is not only a place to shop but also a place for the community to gather and share. During this busy...


Learning how to make a half-square triangle is a lot simpler than you might think. At its core, you're just sewing two triangles together along their longest edge to create a square. This little block, lovingly known in the quilting world as an HST, is the cornerstone of so many classic and modern quilt designs.
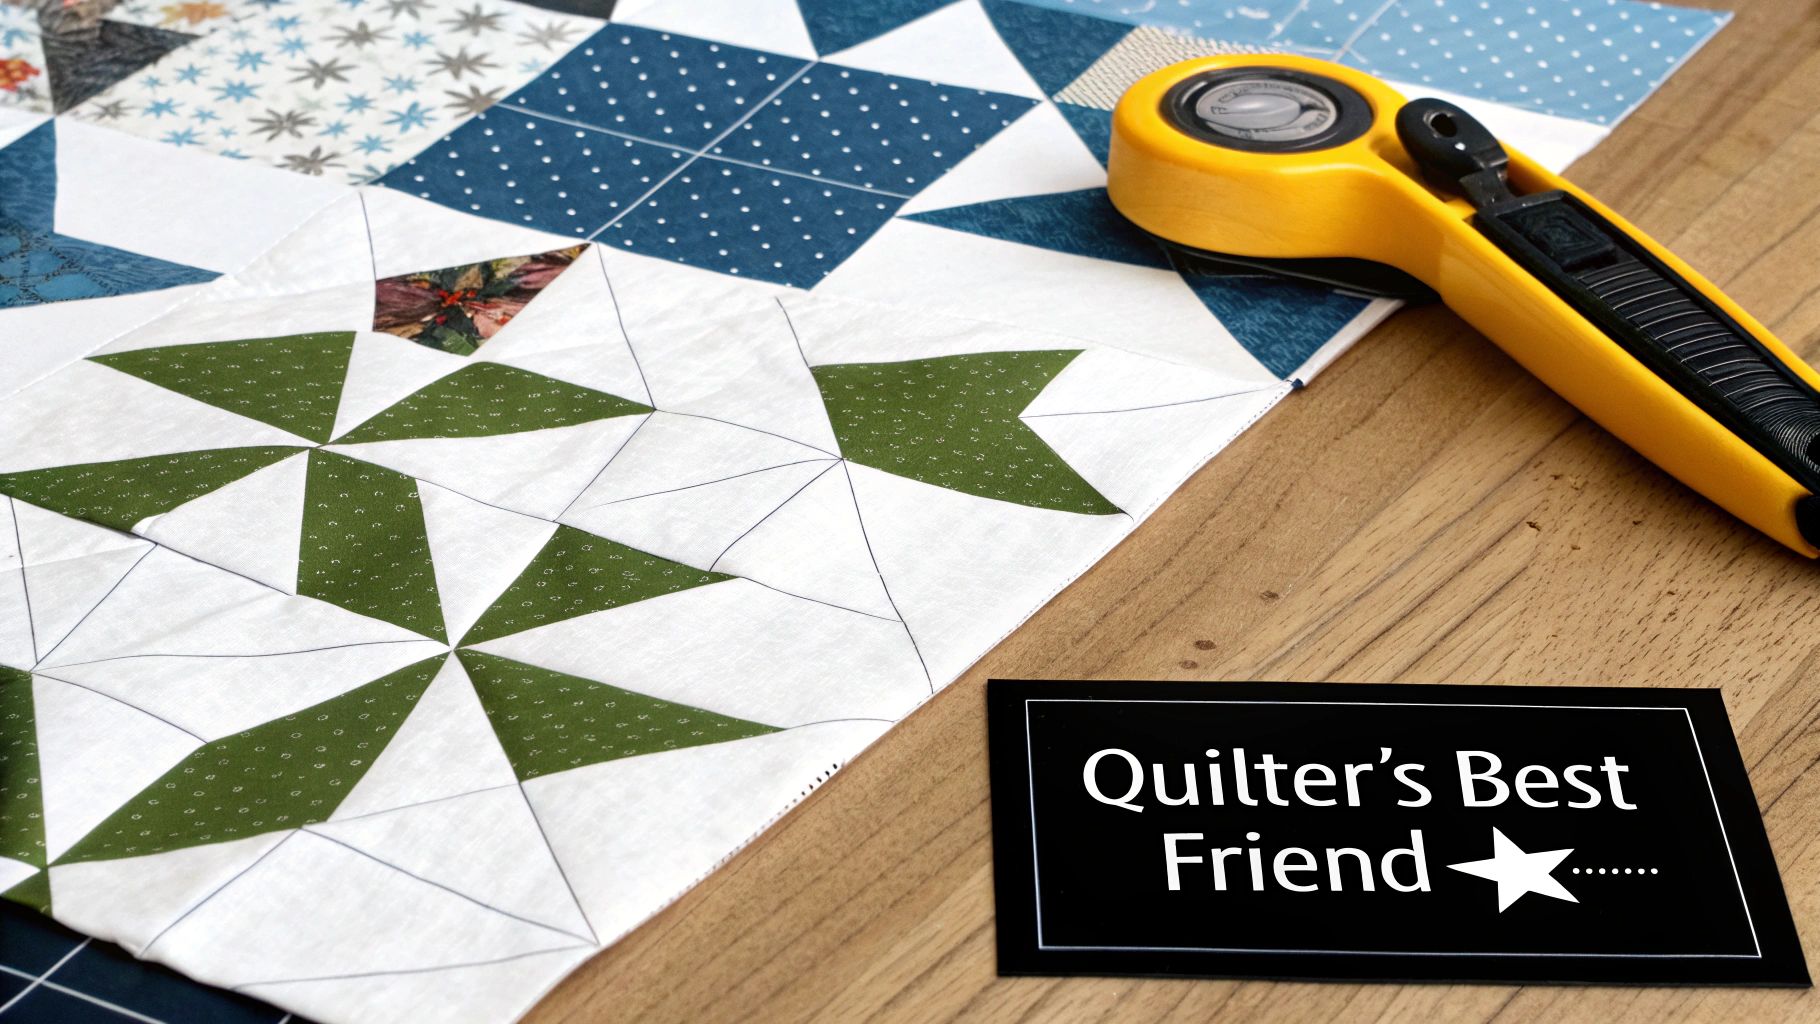
Half-square triangles are truly the unsung heroes of the quilting world. If you’ve ever looked at a quilt and admired its intricate star patterns, flying geese formations, or bold chevrons, you were looking at the magic of the HST. This simple block, made from two right-angle triangles, is one of the most versatile building blocks you can have in your patchwork toolkit.
The real beauty of the HST is its simplicity and the endless design doors it opens. Just by changing up the orientation, color placement, and fabric choices, you can create a staggering variety of patterns. This makes it a go-to for beginners honing their skills and for seasoned quilters who are pushing creative boundaries.
So, what makes this one little block so indispensable? It all comes down to its ability to introduce diagonal lines and create a sense of movement within the predictable grid of a quilt top. While squares and rectangles build a solid foundation, the half-square triangle brings in angles that catch the eye and add a layer of complexity.
Here’s a quick look at why it’s a favorite for so many projects:
There's no denying the popularity of the half-square triangle. In fact, patterns based on HSTs account for roughly 40% of beginner projects sold in the U.S. quilting market, making them a perfect entry point for new quilters. This is especially true on sites like Famcut.com, where quilters, including many in the Atlanta area, find high-quality cottons that are ideal for working with these bias-edged units. You can even learn more about the history of HST quilts and see how they’ve been a beloved part of quilting for generations.
For so many of us, the moment we press that first perfectly crisp, flat HST is the moment we feel like a "real" quilter. It’s a small victory that unlocks a huge amount of creative confidence.
Before we jump into the different methods, it helps to understand why this block is so important. Whether you plan to make two or two hundred, getting your HSTs right is the first step toward a stunning quilt you can be proud of.
The real secret to perfectly crisp half-square triangles isn't some fancy sewing technique—it’s the prep work you do before you even sit down at your machine. Think of it as building the foundation for your quilt. Getting this part right saves you a world of frustration and ensures your finished blocks are flat, accurate, and something you can be proud of.
It's a bit like cooking. You wouldn't try to chop vegetables with a dull knife on a wobbly cutting board, right? The same logic applies here. While your sewing machine is the star of the show, a few key tools are absolutely essential for getting the precision that HSTs demand.
To get those clean, accurate cuts that form the bedrock of any good HST, you’ll need more than just a pair of scissors. Trust me, investing in a few quality tools will pay off in every single quilt you make.
Here’s the trio of tools I simply can't quilt without:
It's so easy to blame your sewing when things go wrong, but more often than not, the real culprit is a slightly off-kilter cut. Being off by just an eighth of an inch at the cutting stage can throw off an entire block, so it really pays to take your time here.
Alright, let's talk fabric. How you prep your cotton before cutting is just as important as the tools you're using. The big two considerations are pre-washing and starching.
I'm a big advocate for pre-washing, especially when I'm working with deeply saturated colors like reds or dark blues. Pre-washing does two critical things: it pre-shrinks the fabric and it washes out any excess dye that might otherwise bleed onto your lighter fabrics. There is nothing more heartbreaking than finishing a beautiful quilt only to have the colors run in the first wash. Pre-washing prevents that disaster.
Once your fabric is washed and dried, we move on to my secret weapon: starch or a fabric stabilizer. When you make an HST, you're often dealing with the bias edge of the fabric—that's the diagonal of the weave, and it's super stretchy and easy to distort.
Giving your fabric a good spray of starch and pressing it until it’s crisp gives it a lot more body. It almost makes your cotton feel like a piece of paper, which makes it infinitely easier to cut and sew without accidentally stretching it out of shape. I can't overstate this: this one simple step can completely change your HST game for the better.
Alright, let's talk about the heart of so many quilt blocks: the half-square triangle, or HST. This is where the real magic happens, turning simple squares into the building blocks for countless designs. There are a few different ways to make them, and the "best" one really comes down to your project, how many you need, and frankly, which one feels right to you.
Think of these methods as different tools in your quilting toolbox. You might pull out one for its sheer speed and another for its precision. Let's walk through my four go-to techniques so you can find your favorite.
But first, a quick word on prep. Getting your fabric ready is half the battle for sharp, accurate HSTs. A little effort upfront saves a ton of headaches later.
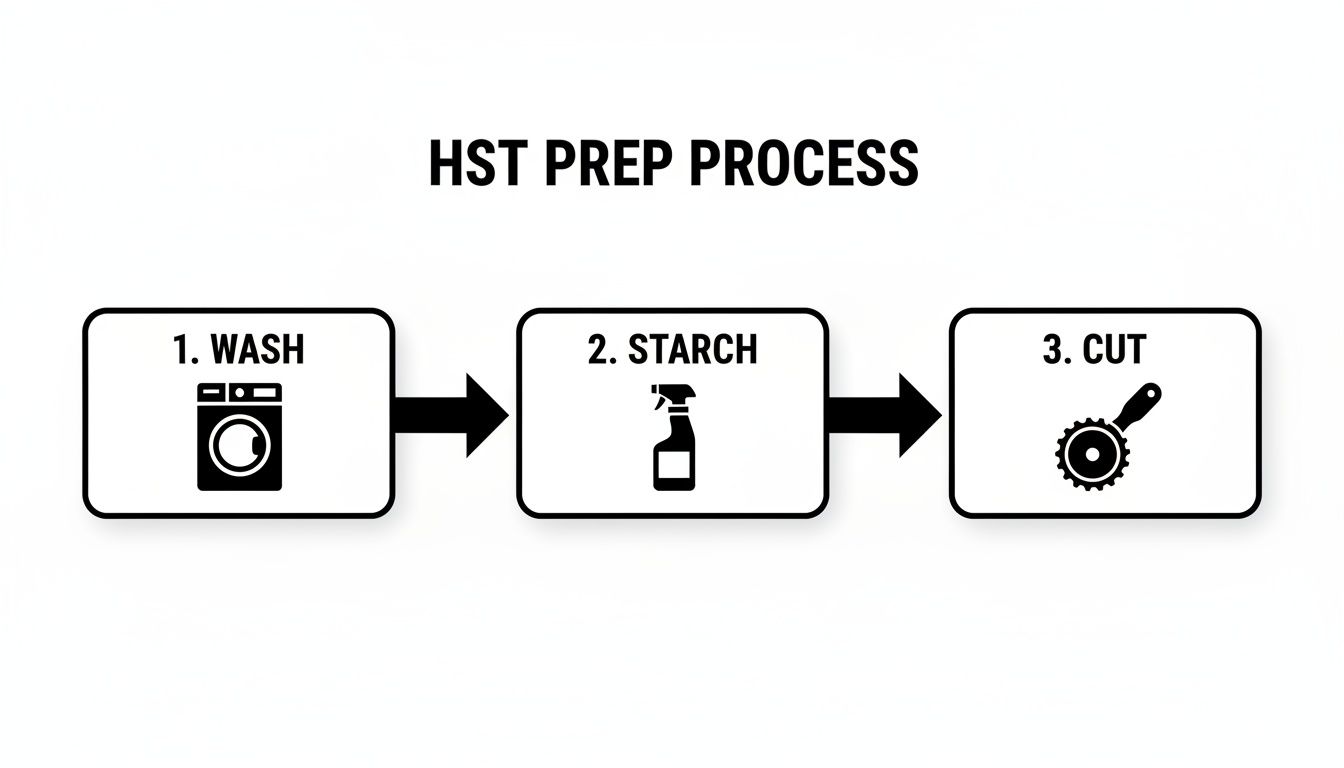
As you can see, I’m a big believer in the wash, starch, and cut trifecta. It stabilizes the fabric, prevents stretching on those tricky bias edges, and makes everything go together so much more smoothly.
This is the tried-and-true technique most of us learn first. It’s my go-to when I only need a few HSTs or when a pattern calls for a scrappy look with lots of different fabric pairings. It's straightforward and incredibly reliable.
Here’s the rundown:
The math is simple, too. Just add 7/8" to your desired finished size to get your starting square measurement. For a 3" finished HST, you’d start with two 3 7/8" squares.
My personal secret? I always add a full 1 inch to the finished size instead of 7/8". This gives me slightly oversized units that I can trim down to a perfect, crisp square. That little bit of wiggle room is a game-changer for accuracy.
When a quilt calls for a whole bunch of identical HSTs, making them two at a time can feel like a slog. This is where the four-at-a-time method really shines. It's a fantastic way to batch-produce your blocks and cut down on marking and sewing time.
You're not alone if you love this method for bigger projects. In a survey of 5,000 quilters, 52% named the four-at-a-time technique their favorite for its efficiency. You can see more great tips and opinions on different HST creation methods on SherriQuiltsAlot.com.
The process is surprisingly simple:
The math for this one is a little trickier (divide your finished size by 0.64 and add a bit extra), so I usually keep a chart handy. Once you've done it a few times, though, it becomes second nature.
Ready to really crank out some HSTs? The eight-at-a-time method, often called the "Magic 8," is the undisputed champion when you need a mountain of identical units. If you're tackling a big quilt, this technique is your new best friend.
It builds on the same ideas as the other methods but doubles your output with just a couple more seams and cuts.
The formula for your starting squares is: (Finished HST Size + 7/8") x 2. So for our 3" finished HST example, you'd do (3" + 7/8") x 2 = 7 3/4". You would cut two 7 3/4" squares to start.
For those times when absolute, undeniable perfection is the goal, I turn to triangle paper. This stuff is brilliant. It's a paper template printed with all the sewing and cutting lines you need. You just stitch on the paper, and every single HST comes out uniform.
This method is a lifesaver when making tiny HSTs, where even the slightest wobble can throw off your whole block.
Here's how it works:
Yes, it adds the cost of the paper and an extra step of tearing it away, but the trade-off is flawless accuracy. For a big project with hundreds of identical blocks, it’s worth every penny.
With so many ways to make an HST, it can be tough to know which to choose. I've put together this quick-reference table to help you decide which technique is the best fit for your current project.
| Method | Units Made | Best For | Speed | Bias Edge Risk |
|---|---|---|---|---|
| Two-at-a-Time | 2 | Scrappy quilts, small quantities, or blocks with many fabric pairings | Slow | Low |
| Four-at-a-Time | 4 | Making multiple identical units for medium-sized projects | Fast | Medium |
| Eight-at-a-Time | 8 | Batch-producing a large number of identical units for big quilts | Very Fast | Medium |
| Triangle Paper | Varies | Achieving maximum precision, especially with very small HSTs | Medium | Low |
Ultimately, the best method is the one that gives you results you love without causing frustration. I encourage you to give each one a try—you’ll quickly find the one that clicks with your personal quilting style.
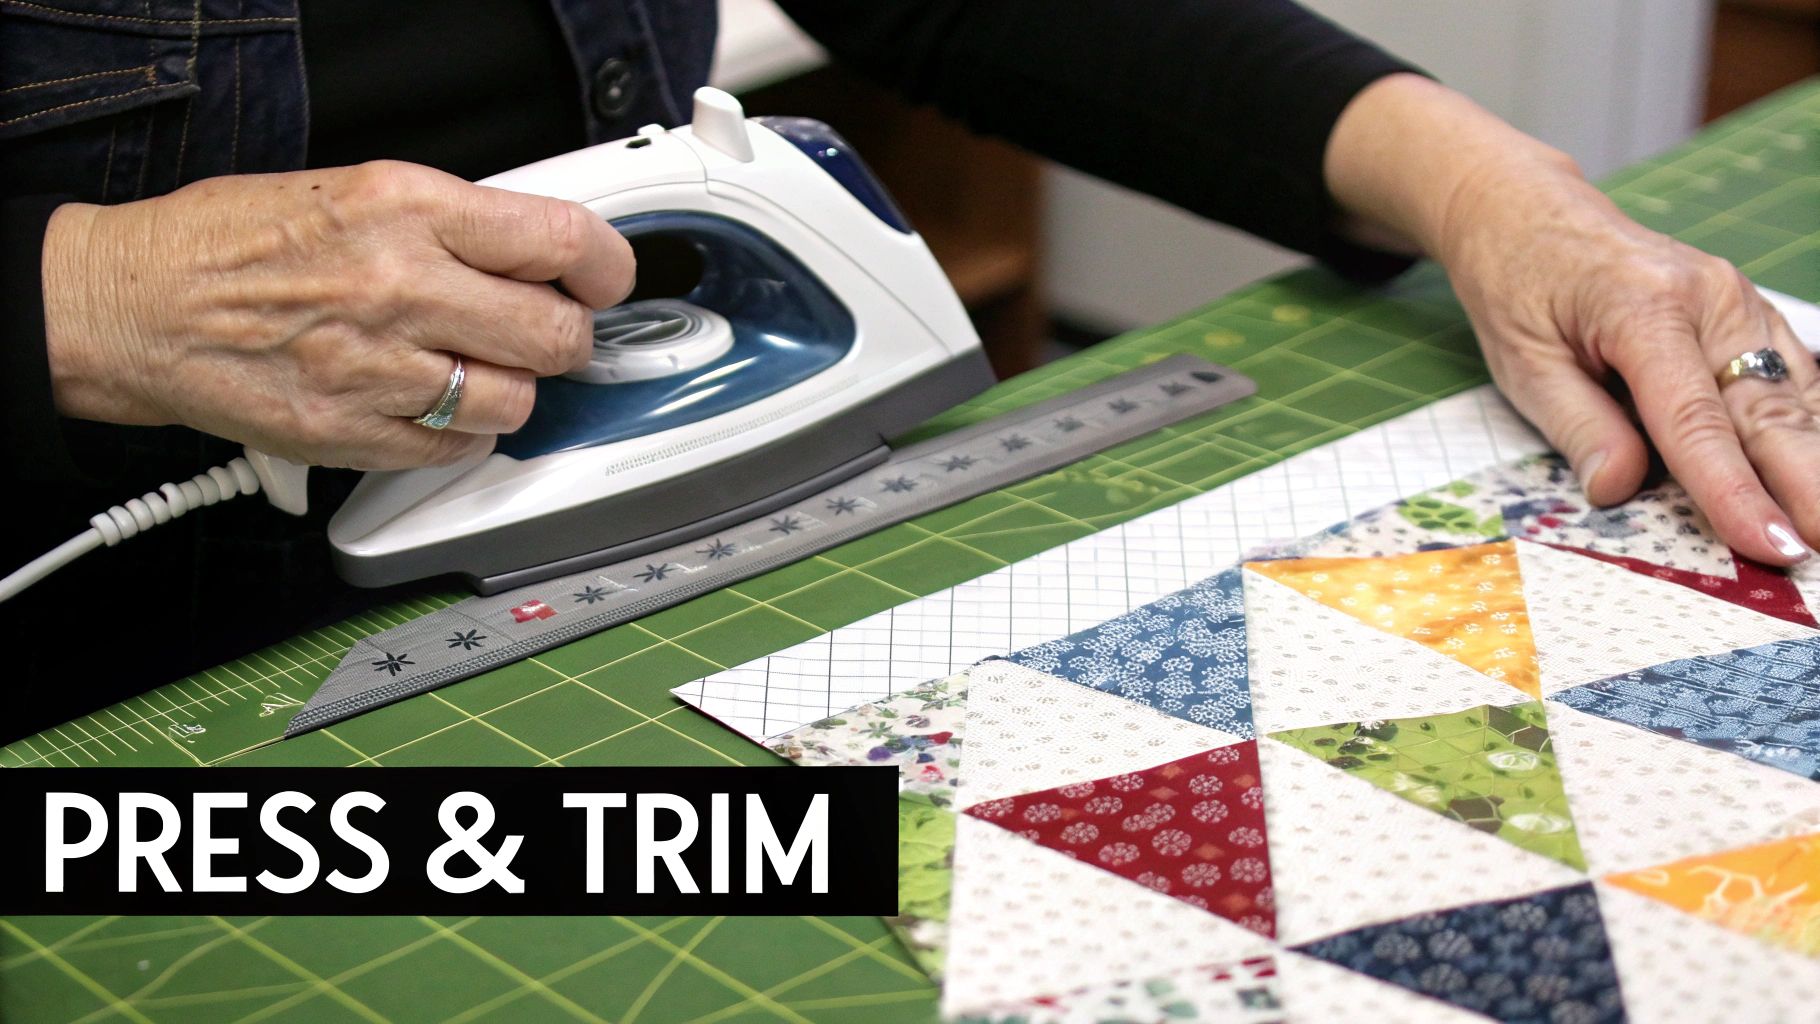
You've done the sewing, but the real magic that makes an HST block sing happens now. Pressing and trimming are what separate a decent block from a truly sharp one. This is where we lock in all that careful work, turning a slightly distorted unit into a crisp, precise square that will play nicely with its neighbors in your quilt top.
Think of it like this: sewing is the construction, but this is the finish work. Rushing these last two steps is a classic mistake that leads to wonky points and bulky seams later on. Let's make sure that doesn't happen to you.
Once you've cut your HSTs apart, your first stop is the ironing board. And in the quilting world, how you press your seams can be a surprisingly hot topic. The two main schools of thought are pressing seams to one side (usually the darker fabric) or pressing them open.
Honestly, neither way is wrong. It all depends on your project and your personal preference.
For anyone just starting out, I always suggest pressing to the dark side. That nesting trick gives you a tactile guide that makes getting sharp points so much easier.
After pressing, your HST is probably a smidge bigger than its final target size. That's not just okay—it's exactly what we want! The final step, called "squaring up," is the quality control that ensures every block is the exact same size. Consistent blocks are the key to a quilt top that comes together without stretching or puckering.
Your best friend for this job is a square quilting ruler that has a 45-degree diagonal line. That line is your key to perfection.
Whatever you do, don't skip trimming, even if your blocks look "close enough." Tiny differences add up fast over a whole quilt. Squaring up is your insurance policy against a headache during final assembly. It’s the single most important thing you can do for accuracy.
To square up your block, lay your ruler on top of the HST. Here’s the critical part: line up the 45-degree line on your ruler directly over your diagonal seam. This is what guarantees your block is a true square with a perfect corner-to-corner seam.
Now, slide the ruler around until the fabric extends just past your target unfinished size marks on at least two sides. So, if you're aiming for a 4.5" unfinished block, make sure the seam is on that diagonal line and you have fabric beyond the 4.5" marks.
Grab your rotary cutter and trim the excess fabric from those two sides (I usually do the right and top sides). Then, carefully spin the block 180 degrees. Don't lift the ruler yet!
Re-align the ruler, but this time, line up the fresh-cut edges with the 4.5" measurement lines. Double-check that your diagonal seam is still perfectly aligned with the 45-degree line on the ruler.
Trim the last two sides, and you're done. You've got a perfectly sized, perfectly square HST. Do this for every single one—that consistency is what gives a quilt a truly professional, polished look.
Let's talk about quilting math. I know that phrase can make some people nervous, but I promise it doesn’t have to be a headache. Once you get the hang of the basic formula for half-square triangles, you'll feel confident enough to tackle any pattern out there—or even start designing your own blocks from scratch.
The whole game is understanding the difference between your finished size and your unfinished size.
To keep it simple, the unfinished size is always 1/2 inch larger than the finished size. That extra half-inch gives you a 1/4 inch seam allowance on all four sides. So, if you're aiming for a 3-inch finished HST, you'll need to trim it to a perfect 3.5 inches.
When you're making HSTs with the popular two-at-a-time method, the math is incredibly reliable. Just take the finished size you want and add 7/8 of an inch.
Lots of quilters, myself included, often round that up and add a full inch. Why? It just gives you a little more wiggle room for trimming, which is the secret to getting perfectly accurate blocks.
Let’s say you need a 4-inch finished HST:
Honestly, both work great. The second option just means you'll have a bit more fabric to trim away, but for many, that trade-off is worth it for guaranteed precision.
To save you from pulling out the calculator every time, here's a handy little chart for the two-at-a-time method.
This quick reference chart shows you the starting square size you'll need for some of the most popular HST block sizes. Just find your desired finished size in the first column and you're good to go.
| Finished HST Size | Unfinished HST Size | Starting Square Size |
|---|---|---|
| 2 inches | 2.5 inches | 2 7/8 inches |
| 3 inches | 3.5 inches | 3 7/8 inches |
| 4 inches | 4.5 inches | 4 7/8 inches |
| 5 inches | 5.5 inches | 5 7/8 inches |
| 6 inches | 6.5 inches | 6 7/8 inches |
Remember, you can always round up the "Starting Square Size" to the next nearest measurement (like a full or half-inch) for easier cutting and more trimming flexibility.
Even when you do the math perfectly, things can still go sideways. It happens to every single one of us! The key is figuring out what went wrong so you can fix it and avoid it next time.
Most HST headaches can be traced back to one of three things: your cutting, your sewing, or your pressing.
This is, without a doubt, the most common frustration. If your HSTs are consistently coming up a little short, the culprit is almost always your seam allowance. To get an accurate block, you need a scant 1/4 inch seam—that’s a seam that’s just a thread's width inside the 1/4 inch mark. A seam that's even a tiny bit too wide will steal precious fabric from your block's final dimensions.
My Favorite Trick: A 1/4 inch presser foot with a built-in guide is a game-changer. You can also create your own guide by placing a stack of painter's tape on your machine bed. This helps build the muscle memory for a perfect seam every single time.
Are your squares looking more like sad little diamonds? You're probably dealing with a stretched bias edge. That diagonal line where you cut and sewed your HST is on the bias, which is the stretchiest part of the fabric. Too much handling, aggressive ironing, or pulling the fabric as you sew can easily cause distortion.
The best defense here is a good offense. Starching your fabric before you cut makes it much more stable and less likely to stretch. Also, when it's time to press your seams, remember to press with an up-and-down motion. Don't iron with a back-and-forth scrubbing motion—that’s a one-way ticket to a warped block.
This is a subtle one. You trim your block, but the seam doesn’t run perfectly from one corner to the other. It might seem small, but it can really throw off the look of your quilt and make it hard to match your points later. This problem almost always happens during the trimming, or "squaring up," stage.
The fix is simple: always prioritize the diagonal line. When you're squaring up your block, the most important thing is to place the 45-degree line on your quilting ruler directly on top of your seam. Once that line is perfectly aligned, then you can worry about the outer measurements. This guarantees your seam is true and gives you those crisp, professional-looking points we all want.
As you get the hang of making half-square triangles, you're bound to hit a few snags. It happens to every quilter! Let's walk through some of the most common frustrations and get you back on track.
Ah, the classic HST problem. If your blocks are consistently coming up short, it’s almost always one of three things. First, take a hard look at your 1/4" seam allowance. A seam that’s even a thread's width too wide will slowly eat away at the size of your finished block.
A good 1/4" presser foot with a guide can be a game-changer here, helping you sew a perfectly consistent seam every single time.
Another culprit is simply not giving yourself enough wiggle room. I, along with many other seasoned quilters, swear by making my units oversized. Instead of adding the standard 7/8" to the finished size, I'll add a full 1". This gives me plenty of excess to trim down to a perfect square, completely avoiding the heartbreak of a block that's too small.
Finally, how you press matters. A back-and-forth "ironing" motion can stretch and distort your block. Remember to press with an up-and-down motion, not iron.
My best advice? Don't be afraid to make your starting squares a little larger than the math calls for. The peace of mind you get from having extra fabric to trim is worth so much more than the tiny scraps you'll cut away. It’s the best insurance policy for perfect blocks.
That's a fantastic question, and the real answer is... it depends on what your quilt pattern needs! Both methods—pressing to one side or pressing seams open—are essential techniques to have in your back pocket.
Pressing to the Dark Side: This is the go-to method for a reason. Pushing the seam allowance toward the darker fabric keeps that color from peeking through your lighter fabric. Even better, it creates a tiny ridge that lets you "nest" your seams when you join blocks together. This is the secret to getting those perfectly sharp, professional-looking points.
Pressing Seams Open: This technique is a true lifesaver when you have a lot of points converging in one spot, like in the center of a star block. Pressing the seams open helps distribute all that fabric, which drastically reduces bulk and helps your quilt top lie beautifully flat.
I always suggest new quilters start by pressing to the dark side to really master the art of nesting seams. Once you get comfortable, you can start experimenting with pressing seams open on more complex blocks.
You can technically skip it, but I can't recommend starching enough—especially when you're starting out. The moment you slice a square on the diagonal, you expose the bias. That's the stretchiest, most unstable part of the fabric's weave, and it's the number one reason for warped, wonky blocks.
Starch is your best friend here. It gives the fabric temporary body and stability, making it handle more like crisp paper. This keeps it from stretching out of shape while you cut, sew, and press.
Think of it as a small time investment upfront that pays off big time in accuracy. For me, it’s become a non-negotiable step for getting those super crisp, professional results. It truly makes the entire process so much smoother.
Ready to start your next quilting adventure with the perfect fabrics? At Famcut.com, we have a beautiful selection of high-quality cottons and quilting supplies to bring your vision to life. Find everything you need and get inspired at https://famcut.com.
At High Country Quilts we care deeply about community. With our experiences in retail, we know that a store is not only a place to shop but also a place for the community to gather and share. During this busy...

Hi! We’re Adam and Renee Wheaton, the new owners of High Country Quilts! For more than 40 years, we’ve owned and operated vacuum and sewing businesses. Following in Renee’s father’s footsteps after he retired from All Discount Vacuum and Sewing in Colorado...


Leave a comment