

We Love Our Quilting Community
At High Country Quilts we care deeply about community. With our experiences in retail, we know that a store is not only a place to shop but also a place for the community to gather and share. During this busy...


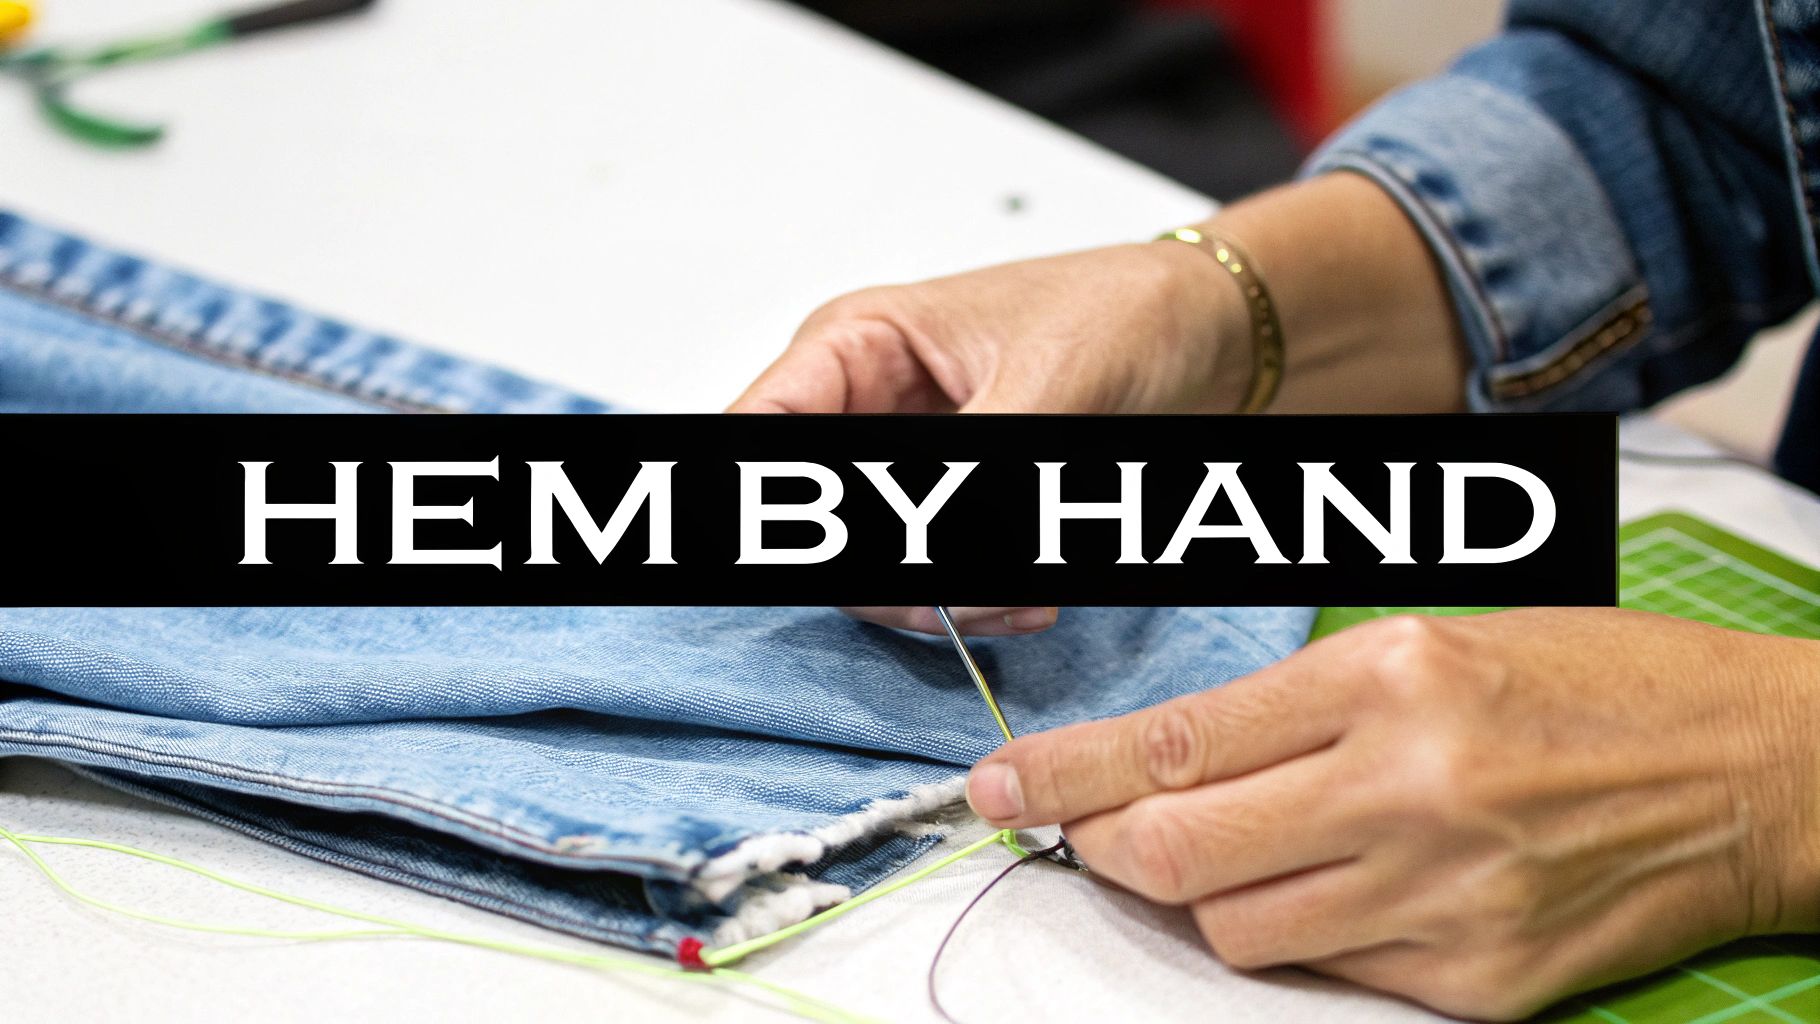
Learning to hem your own pants is one of those classic life skills that pays for itself over and over. It's all about measuring to find your perfect length, trimming away the extra fabric, and then sewing a new hem by hand. Honestly, you can get the hang of it in under an hour, and once you do, you'll save yourself countless trips to the tailor. This is the real secret to making store-bought pants look like they were custom-made for you.
Knowing how to hem pants by hand is so much more than a quick fix—it’s a skill that puts you in the driver's seat of your own wardrobe. Instead of spending time and money at a tailor, you can create that perfect fit right at home. This simple adjustment can take a pair of ill-fitting trousers and turn them into a polished, confidence-boosting staple.
Beyond just looking sharp, hemming your own clothes is a great move toward a more sustainable closet. When you can extend the life of your favorite garments with a few simple stitches, you're actively fighting back against fashion waste.
This isn't just a niche hobby, either. More and more people are embracing DIY alterations. A recent report found that 47% of consumers have tried altering their own clothes in the last year, with hemming being the number one project. It’s clear that taking control of our clothes is becoming mainstream.
Mastering a quick hand hem gives you some serious advantages:
If you're ready to build on this, check out our other sewing tips and tricks to see what you can tackle next.
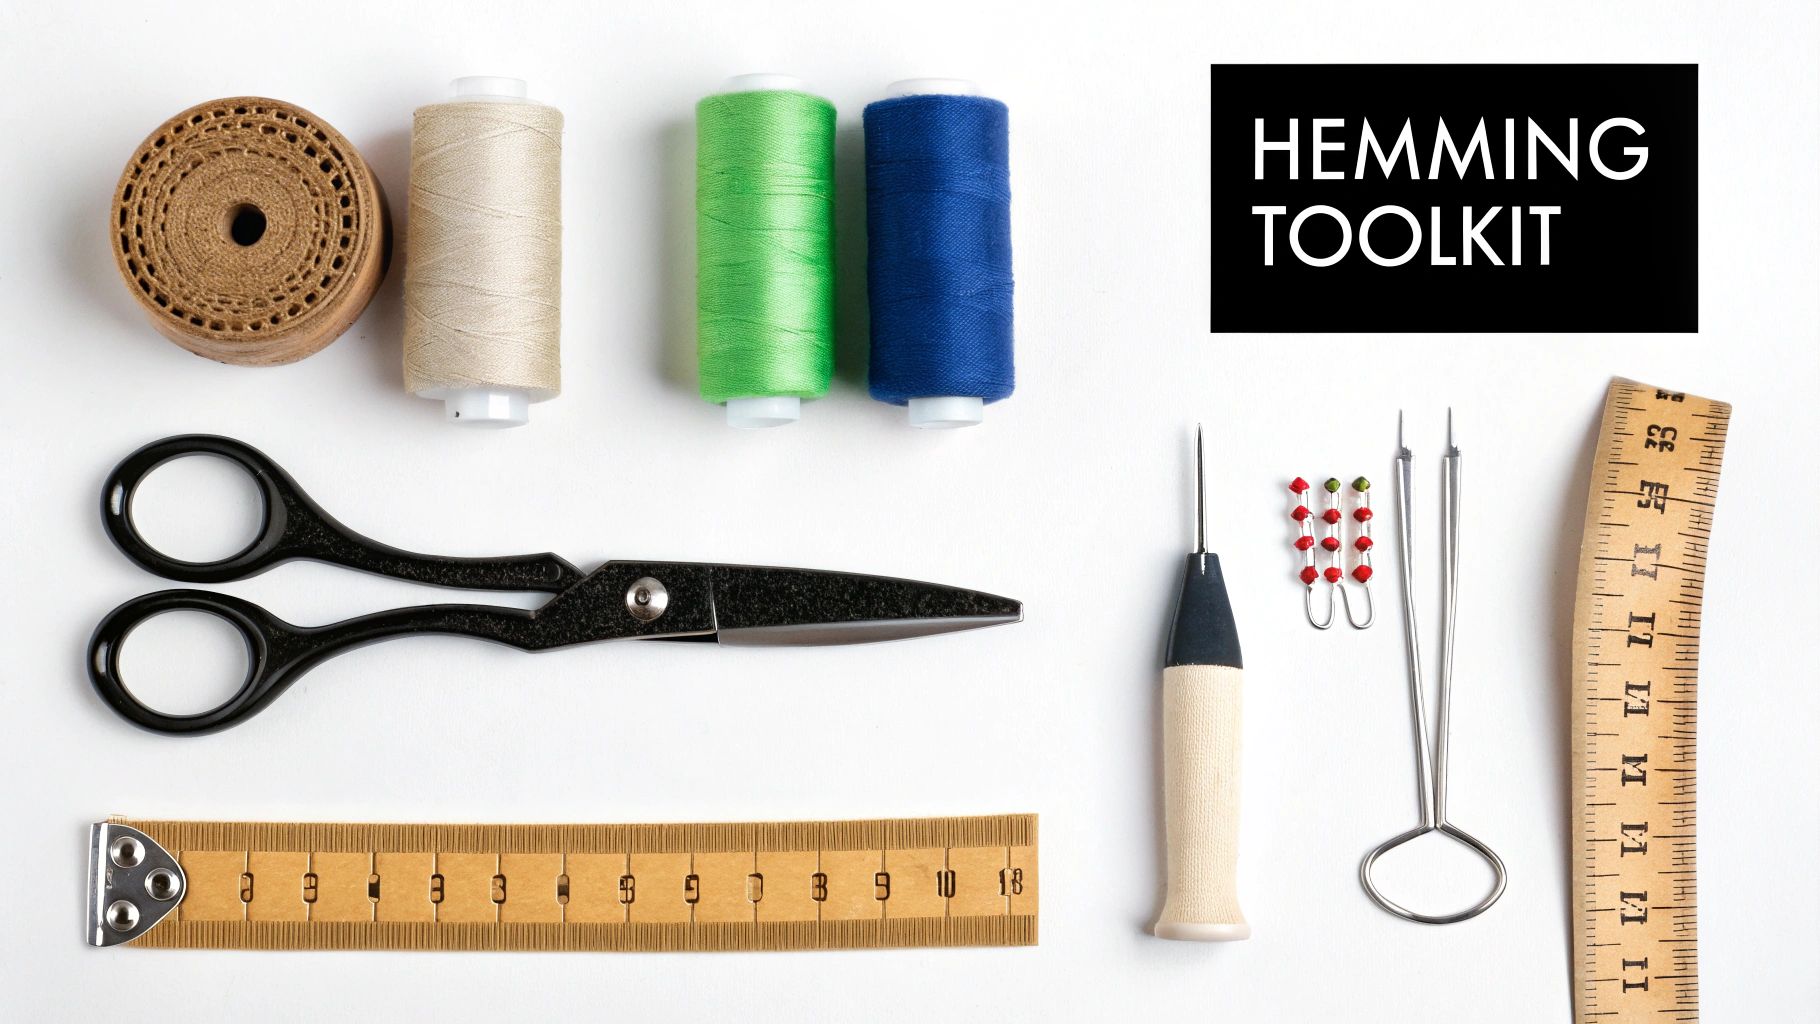
Before you even think about the first stitch, let's talk tools. Getting everything you need in one place before you start is one of my biggest pieces of advice. It turns what could be a frustrating hunt for supplies into a smooth, almost meditative process.
The quality of your tools really does make a difference. Trust me, trying to cut fabric with dull, all-purpose kitchen scissors is a recipe for a jagged, frayed mess. A clean fold starts with a clean cut, so a dedicated pair of sharp fabric scissors is non-negotiable.
To get that crisp, professional-looking hem, you'll need a bit more than just a random needle and thread. Here's a quick rundown of what I always have on hand.
I've put together a simple table to show you exactly what you need and why each item is so important for getting the job done right.
| Tool | What to Look For | Why It's Important |
|---|---|---|
| Fabric Scissors | Sharp, dedicated pair | Creates clean cuts without snagging or fraying the fabric. |
| Pins or Fabric Clips | Sharp, fine-tipped straight pins | Securely holds the hem in place for accurate sewing. |
| Flexible Measuring Tape | A soft, pliable tape | Measures accurately around the curve of the pant leg. |
| Iron & Ironing Board | A good steam iron | Pressing creates a sharp, professional crease that's easy to follow. |
| Fabric Marker or Chalk | Washable or disappearing ink | Gives you a clear, precise line to work with. |
Having these items ready will make the entire hemming process feel more organized and far less intimidating.
Your needle and thread choice can make or break your hem. For most everyday fabrics like cotton, denim, or wool, a good quality all-purpose polyester thread is your best bet—it’s strong and has a little give.
When it comes to needles, it’s smart to have a variety pack on hand for different fabric weights. If threading needles feels like a tiny, impossible task, don't worry. I often recommend John James easy threading needles to my students; they have a special slot at the top that makes the whole process a breeze.
A Quick Tip From Experience: Don't skimp on your pins. I learned this the hard way. Cheap, blunt pins can leave surprisingly permanent snags and pulls in delicate fabrics like silk or chiffon. A good set of sharp, fine-tipped pins is a small investment that protects your clothes.
Great results always start with careful prep work. Before you even think about threading a needle, taking the time to get your pants ready will make all the difference between a crisp, professional-looking hem and one that just looks…off. It’s a step people often rush, but believe me, it’s the secret to a finish that lasts.
First things first, wash and dry your pants exactly how you plan to care for them long-term. Fabrics, especially natural ones like cotton and linen, are notorious for shrinking. If you hem them right out of the store, you might find your new pants are suddenly too short after their first trip through the laundry. It's a classic mistake, and an easy one to avoid.
Getting the length just right is everything. To nail it, you need to put on the pants with the exact shoes you'll be wearing them with. This is a non-negotiable step—even a small change in heel height can completely throw off where the hem should fall.
Once you’re dressed, stand up straight in front of a full-length mirror. If you can, grab a friend to help you out. Fold the extra fabric up and under until the hemline just grazes the top of your shoes or hits that sweet spot you're aiming for. Secure this fold with pins placed parallel to the floor, working your way around the entire cuff.
Pro Tip: Don't just stand there! Once the pants are pinned, walk around the room. Sit down, stand up, and see how the length feels and looks when you move. What looks perfect standing still might feel too short or look awkward in motion.
This simple workflow—wash, measure, press—is the foundation for a flawless hand-sewn hem.

As you can see, getting these initial steps right makes the actual sewing part so much easier.
Okay, once you're happy with the pinned length, carefully take off the pants. Lay one leg flat on an ironing board or table. Now, grab a ruler and some fabric chalk or a marking pencil.
Now for the final, crucial prep step. Remove the original pins you used for marking the length. Fold the raw edge up to your desired hemline and give it a good, firm press with a hot iron. Using something small and precise, like the Oliso M3 Pro Mini Iron, can make getting a sharp crease much easier. This pressed edge is your best friend—it gives you a perfect guide to follow while you sew, ensuring your stitches are straight and even.
It's a foundational skill for a reason. In fact, a whopping 62% of professional tailors still teach hand hemming as a core technique because of the superior, invisible finish it provides. If you're looking for more details on different hemming methods, this comprehensive guide on how to hem pants is an excellent resource.
https://www.youtube.com/embed/0XGUOJHJh5E
Alright, with your pants prepped and ready, we’ve arrived at the most satisfying part: actually sewing the new hem. While there's a whole world of hand stitches out there, you really only need a couple of solid techniques in your back pocket to tackle just about any pair of pants. The real key to a professional-looking finish is matching the right stitch to the right fabric.
This isn't just a quirky preference; it's a practical skill that's still surprisingly common. In fact, hand-hemming is a valued craft in many parts of the world. A survey from the International Apparel Federation noted that in Asia-Pacific countries, about 38% of households had someone who could hem pants by hand, a stark contrast to just 22% in North America.
The stitch you choose can make or break the final look. Let's break down the two most important ones I use all the time.
To get the best result, you need to know which stitch to use and when. The slip stitch is perfect for creating an invisible finish on lightweight fabrics, while the catch stitch provides the strength and flexibility needed for heavier materials.
| Stitch Type | Best For | Key Feature |
|---|---|---|
| Slip Stitch (Blind Stitch) | Dress pants, chinos, skirts, and other lightweight woven fabrics. | Creates a nearly invisible hem on the outside of the garment. |
| Catch Stitch (Herringbone Stitch) | Denim, wool, corduroy, and fabrics with some stretch. | Strong, flexible, and encloses the raw edge to prevent fraying. |
Understanding these two will cover almost every hemming project you’ll encounter.
When you’re dealing with the finer fabrics of dress slacks or chinos, the last thing you want is a visible, clunky hem. This is where the slip stitch (sometimes called a blind hem stitch) comes in. It's my go-to for a clean, invisible finish. The magic of this technique is that you only pick up a single thread or two from the outside of the fabric, which makes your stitches virtually disappear from view.
The secret is to keep your stitches small and consistent, aiming for about a quarter-inch apart. A rookie mistake I see often is yanking the thread too tight after each stitch. This will only cause the fabric to pucker. You want to maintain a gentle, even tension. I always pause after every five or six stitches and let the fabric hang to make sure it's draping naturally.
My Personal Tip: Before you even make your first stitch, run your threaded needle through a bit of beeswax or a thread conditioner. This little trick strengthens the thread, prevents annoying tangles, and lets it glide through delicate fabric like a dream.
If you're looking to really nail down the basics, checking out some free sewing lessons is a great way to practice your stitch control.
Now, what about those tougher, bulkier fabrics? For things like denim, wool, or even pants with a bit of stretch, I always switch to the catch stitch. On the inside of the hem, this stitch forms a series of crisscrossing threads that look like a little zigzag.
This pattern isn't just for show; it gives the hem strength and, more importantly, flexibility. That little bit of "give" is crucial for fabrics that need to move with your body, as it stops the thread from snapping when you sit or bend. Unlike the slip stitch, you work this one from left to right (if you’re right-handed). You'll alternate taking a tiny stitch in the pant leg and then another in the hem allowance. It's a fantastic, durable choice that also happens to encase the raw edge of the fabric, preventing it from fraying over time.
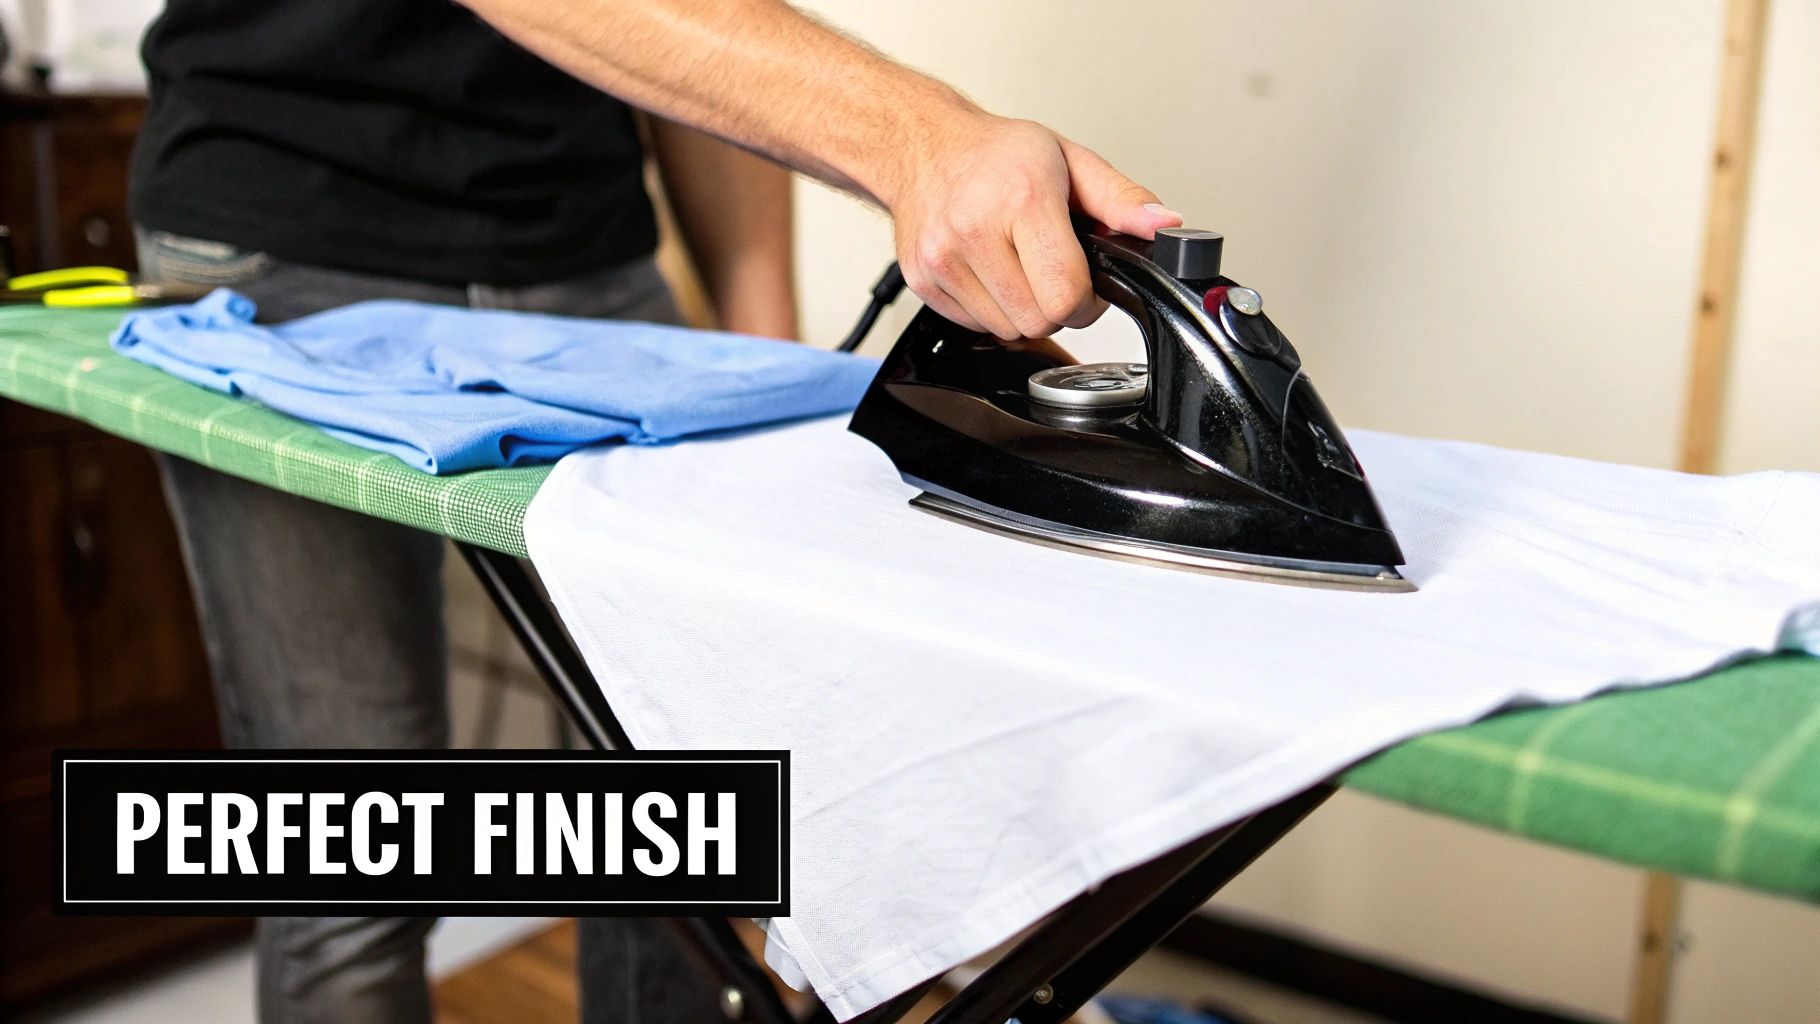
You're almost there! The final details are what truly separate a homemade-looking hem from a professional one. Once you've secured that last stitch, grab your iron. A good, final press sets the stitches, smooths out any handling creases, and gives the hemline that crisp, sharp edge you see on store-bought pants. Don't skip this step—it makes all the difference.
Of course, even seasoned sewers make mistakes. It happens. The key is knowing how to spot and fix them without getting frustrated.
Don’t panic if your first attempt isn't flawless. Most common hemming issues are surprisingly easy to correct.
Here's a quick rundown of what to look for and how to fix it:
Sometimes, a mistake is just too big to patch up, and the best move is to start a small section over. This is where a quality seam ripper becomes your best friend. A tool like the Dual Seam Fix Thread Remover lets you pull out stitches quickly without risking a tear in the fabric.
After putting in all that effort, you'll want to keep your newly hemmed pants looking sharp. Following the best practices for hanging dress pants will help prevent wrinkles and preserve the clean line of your beautiful handiwork.
Even with the best instructions, you're bound to run into a few questions once you have a needle and thread in hand. It happens to everyone! Here are my answers to some of the most common things people ask when they're learning to hem their own pants.
When you're working with denim, you need a thread that can stand up to the tough fabric. Your best bet is to grab a spool specifically labeled "heavy-duty" or "denim thread." This stuff is built to last.
For the color, you have two great options. You can match the thread to your jeans for a nearly invisible finish. Or, for that classic, authentic Levi's look, go with the traditional gold or orange-colored thread to mimic the original factory stitching. If you're in a bind and only have standard all-purpose polyester thread, just double it up before you start sewing to give it the extra strength it needs.
This is a huge one for anyone working with leggings or yoga pants. The trick is to use a stitch that can stretch right along with the fabric. The catch stitch is your best friend here; its zig-zag structure is designed to flex and move.
My biggest piece of advice: don't pull your stitches tight! You want to leave just a little bit of slack in the thread as you sew. This tiny bit of "give" is what prevents the thread from snapping when the fabric stretches.
I get this question a lot. Iron-on hemming tape is definitely a quick and easy fix, and it's perfect if you're in a time crunch.
But for a permanent, reliable hem, sewing is always the winner. The adhesive on hemming tape can break down after several washes, leading to a droopy hem at the worst possible moment. The tape can also create a stiff, unnatural-looking line at the bottom of your pants. For any pair of pants you really care about, taking the time to hand-sew the hem is absolutely worth it for a durable, high-quality finish.
At Famcut.com, we're passionate about empowering you with the skills and supplies to make every project a success. Explore our collection of high-quality sewing tools and fabrics at https://famcut.com.
At High Country Quilts we care deeply about community. With our experiences in retail, we know that a store is not only a place to shop but also a place for the community to gather and share. During this busy...

Hi! We’re Adam and Renee Wheaton, the new owners of High Country Quilts! For more than 40 years, we’ve owned and operated vacuum and sewing businesses. Following in Renee’s father’s footsteps after he retired from All Discount Vacuum and Sewing in Colorado...


Leave a comment