

We Love Our Quilting Community
At High Country Quilts we care deeply about community. With our experiences in retail, we know that a store is not only a place to shop but also a place for the community to gather and share. During this busy...


Before you even think about that first stitch, let's talk about your toolkit. Getting the right supplies together is one of the most important things you can do. It's what turns the quilting process from a potential frustration into a truly enjoyable, relaxing craft. This isn't about buying every fancy gadget you see; it’s about gathering a few key essentials that will genuinely set you up for success.
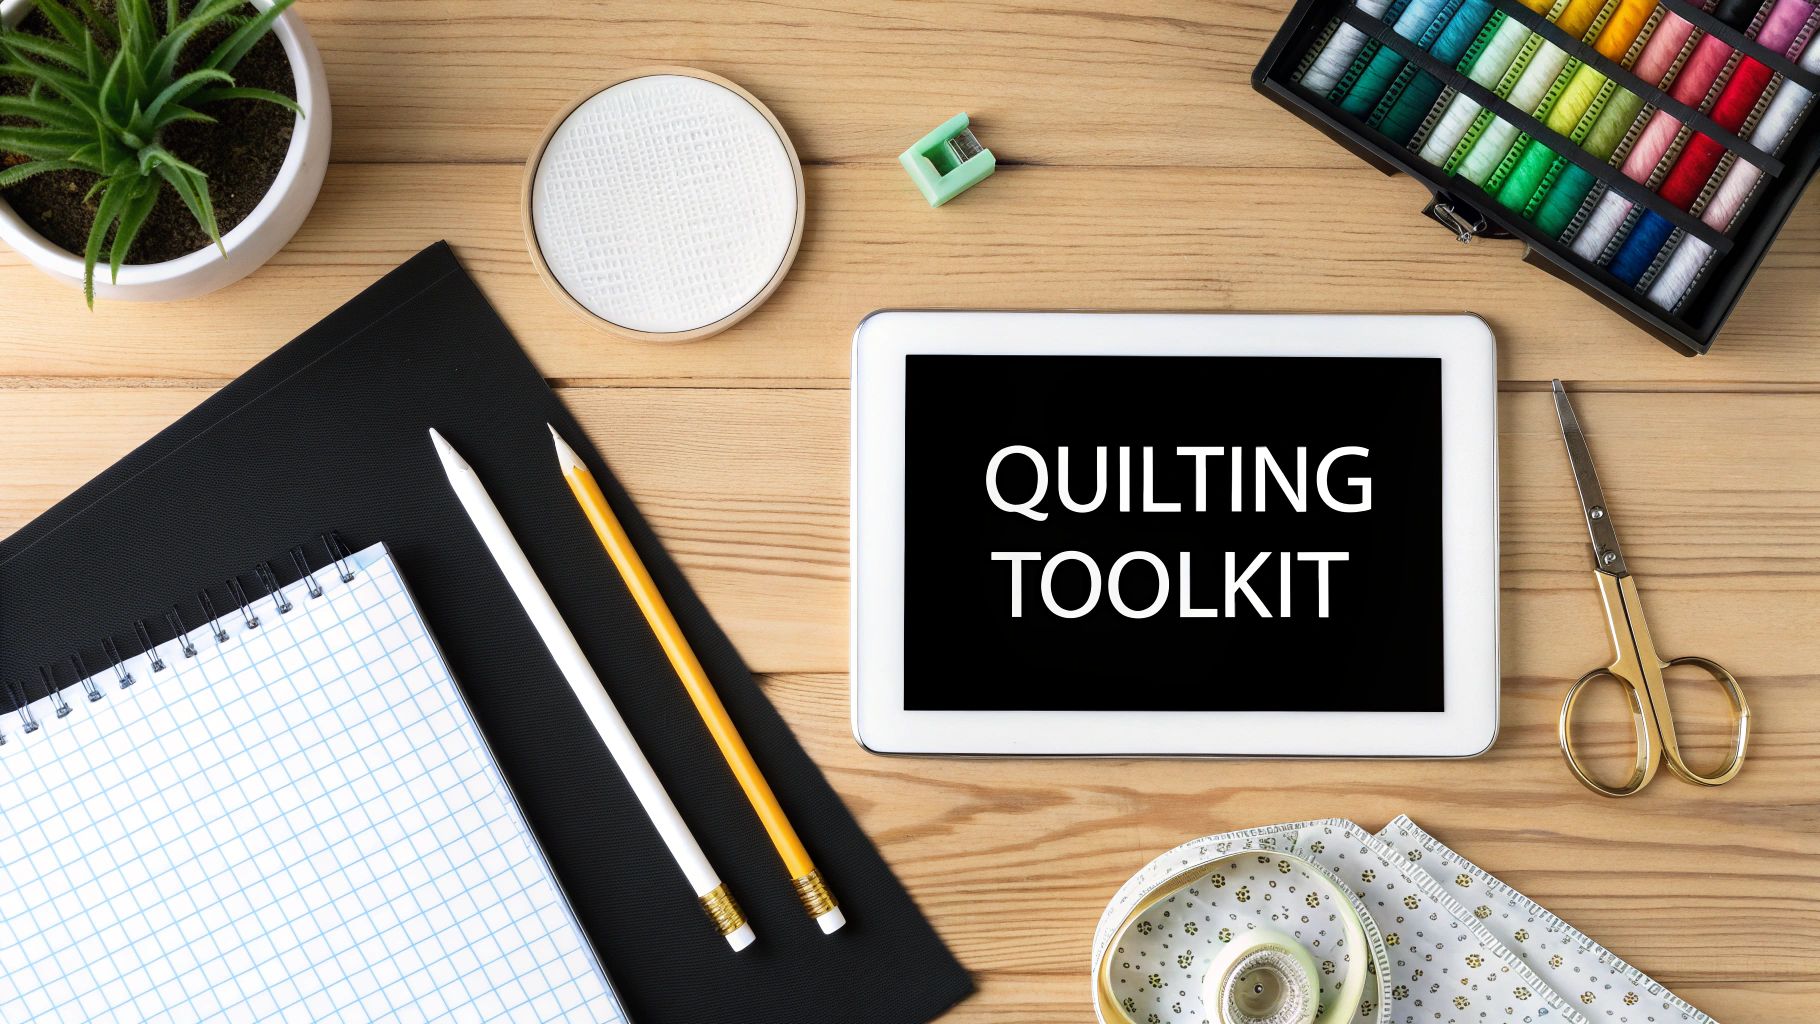
Learning how to hand sew a quilt starts with a handful of simple, well-chosen tools. The right equipment doesn't just make the work easier; it dramatically improves the quality of your stitches and the final look of your quilt. Think of it like a chef prepping their station—each tool has a specific job that contributes to the final masterpiece.
Your needle is easily the most critical tool you'll use. For hand quilting, you need to look specifically for needles called "betweens." They're shorter and much stronger than regular sewing needles, designed to power through the three thick layers of a quilt sandwich without bending. They typically come in sizes 7 through 12, and I've found that a size 9 or 10 is a fantastic starting point for most people.
The thread is just as crucial. You'll want a high-quality, 100% cotton quilting thread. This isn't the same as your all-purpose sewing thread; quilting thread often has a special glaze that helps it glide through the fabric with less friction and, thankfully, less tangling. If you want your stitches to really pop and become a decorative feature, a lot of quilters love using Perle cotton in size 8.
Let’s be honest: hand quilting means pushing a needle through thick fabric thousands of times. Your fingers will not thank you if you skip this part. A thimble is an absolute must-have. While the classic metal thimble works for some, many quilters (myself included) find more modern options way more comfortable:
To get those quilt blocks pieced accurately, you'll also need a reliable way to mark your fabric. A good fabric marker is a game-changer. Look for one that disappears with air, water, or a little heat. My best advice? Always test it on a scrap of your project fabric first to make absolutely sure it vanishes without a trace.
To make things a bit clearer, here’s a quick-glance table of the supplies I've found to be the most essential over the years.
| Tool | Primary Use | Pro Tip |
|---|---|---|
| "Between" Needles | Quilting through the three layers of the quilt sandwich (top, batting, backing). | Start with a size 9 or 10. They offer a good balance of strength and a small enough eye to create tiny stitches. |
| Quilting Thread | Strong, smooth thread for piecing and quilting that resists tangling and breaking. | 100% cotton is the traditional choice. A neutral color like gray or cream will blend with almost any fabric. |
| Thimble | Protecting the finger you use to push the needle through the fabric. | Try a few different styles (metal, leather, silicone) at your local shop to see what feels most natural to you. |
| Fabric Marker | Drawing seam allowances and quilting patterns directly onto the fabric. | Choose a marker that is easily removed by air, water, or heat, and always test it on a fabric scrap first. |
| Fabric Scissors | Cleanly cutting fabric without snagging or creating frayed edges. | Dedicate one pair of scissors only for fabric. Never use them on paper, as it will dull the blades instantly. |
| Quilting Hoop | Holding the quilt sandwich taut for even stitching. | A 14-inch or 18-inch wooden hoop is a perfect, inexpensive starting point for most projects. |
Getting these basics right will make all the difference in the quality and enjoyment of your hand quilting journey.
A sharp, dedicated pair of fabric scissors or snips is a quilter's best friend. Using them only for fabric keeps the blades pristine, ensuring clean, fray-free cuts every time.
Finally, you should really consider getting a quilting hoop or frame. While you don't need it for piecing the top together, a hoop is invaluable once you start the actual quilting. It holds all the layers perfectly taut, which makes creating those consistent, evenly spaced stitches so much easier. A simple 14-inch or 18-inch wooden hoop is a fantastic and affordable tool to add to your collection. It will help you find that beautiful, rhythmic stitching motion that makes hand quilting so meditative.
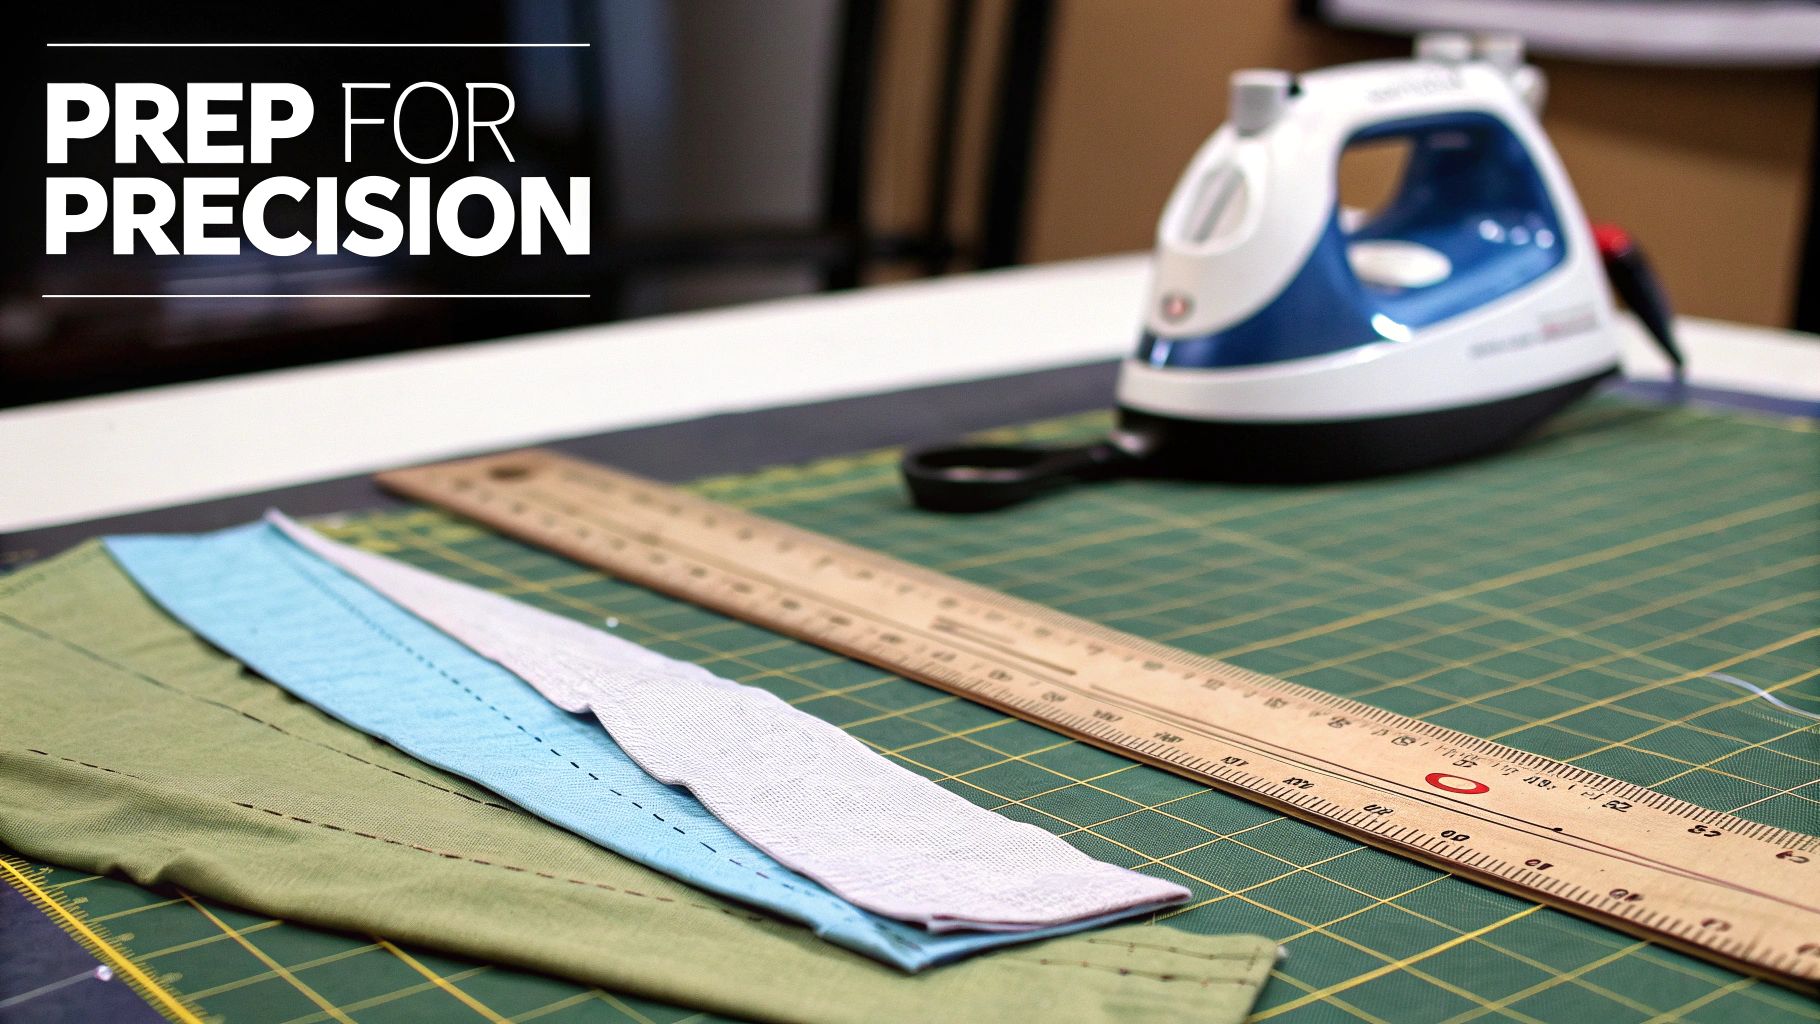
Before you even think about threading a needle, the real work of creating a beautiful, flat-lying quilt begins. This initial prep work is the bedrock of your entire project. It's what ensures your blocks fit together like a puzzle and that your quilt will survive its first wash—and many more to come.
One of the biggest debates in any quilting circle is whether to pre-wash fabrics. Honestly, there's no single right answer, but understanding the "why" behind both approaches is key.
Pre-washing gets rid of any sizing or chemicals from the manufacturing process, but more importantly, it pre-shrinks the cotton. This is a lifesaver for preventing puckering down the road, especially when you're mixing fabrics from different lines or manufacturers that might shrink at different rates. It’s also your best defense against colors bleeding. There’s nothing more heartbreaking than watching a beautiful deep red run all over your crisp white sashing. A quick pre-wash with a color catcher sheet can prevent that disaster.
So, how do you decide? It really comes down to the specific fabrics you're working with.
I always recommend pre-washing if:
Now, there are times to skip it. Some quilters love the crispness that factory sizing gives the fabric. It can make rotary cutting feel incredibly precise. If you're working with a pre-cut bundle like a jelly roll or a charm pack from a single, high-quality fabric line, you can usually get away with not washing, as those pieces are designed to work together.
The most important thing is consistency. Whether you choose to wash or not, do the same for all the fabrics going into your quilt top. This is the only way to guarantee everything will behave the same and shrink uniformly.
Once you've made your washing decision, pressing is absolutely non-negotiable. Get your iron hot and dry, and press out every single crease and fold line. A tiny wrinkle might not seem like a big deal, but it can easily throw off your measurements and lead to wonky blocks.
When you're ready to cut, you need to pay attention to the fabric grain. The lengthwise grain, which runs parallel to the selvage (the finished edge of the fabric), is the most stable and has virtually no stretch. Always try to make your primary cuts along this grain. This simple habit will keep your pieces from stretching out of shape as you work with them.
For the cleanest, most accurate cuts, nothing beats a sharp rotary cutter, a clear acrylic ruler, and a self-healing mat. This combination gives you a level of precision that you just can't get with scissors. It's this accuracy that makes learning how to hand sew a quilt so satisfying when all your points match up perfectly.
This is where the magic really starts to happen, as your carefully cut fabric pieces begin to form a beautiful, cohesive design. Hand piecing is a wonderfully slow and meditative process. Taking the time to get a few key techniques down will make all the difference in creating strong, accurate quilt blocks.
It all boils down to one simple thing: the humble seam allowance.
A consistent quarter-inch seam allowance is the bedrock of accurate piecing. When you're sewing by hand, you don't have a special machine foot to guide you, so you have to create that guide yourself. I always use a clear acrylic ruler and a good disappearing fabric marker to draw a line exactly 1/4 inch from the edge on the wrong side of my fabric. This line becomes your road map—stick to it, and your points will come together perfectly later on.
The workhorse of hand piecing is the running stitch. It's simple, strong, and creates a lovely, traditional look. After threading your needle, make a small quilter’s knot at the end. The trick to a neat start is to hide that knot.
Here's how I do it: Push your needle through just the top layer of fabric, about an inch away from where you want to start sewing, and bring it up right on your marked starting point. Give the thread a gentle tug, and you'll feel the knot "pop" through the fabric, nesting it securely inside the seam allowance. This little move keeps the back of your quilt looking just as tidy as the front.
My best advice? Focus on rhythm, not perfection. Aim for about 8-12 stitches per inch, but don't get hung up on counting. Even, consistent stitches are far more important for a strong seam than tiny, perfect ones. You'll find your groove with practice.
Ready to sew? Place your two fabric pieces with their right sides together, making sure those seam allowance lines you drew are perfectly aligned. I like to place pins perpendicular to my sewing line every inch or so. It might seem like a small thing, but it's your best insurance against the fabric slipping and sliding while you stitch.
Once you’ve finished sewing a seam, it’s time to press. Now, here’s a technique that veteran quilters swear by for getting those crisp, perfect points where corners meet: nesting your seams.
It's a simple but game-changing pressing strategy.
When you lay these two rows right-sides-together to join them, the bulky parts of the seam allowances will fit into each other like little puzzle pieces. You can actually feel them lock into place with your fingertips. This simple trick dramatically reduces bulk at the intersections and helps you line up your points with amazing accuracy. It’s how a beautiful quilt top is built, one mindful stitch at a time.
You've pieced your top, and it looks fantastic. Now it's time for the magic that turns that flat piece of fabric into an actual quilt. We're going to build the "quilt sandwich," which is simply the three layers that give a quilt its classic texture and coziness. A smooth, well-prepared sandwich is everything—it's the key to getting those beautiful quilting stitches you're dreaming of.
First, find a clean, flat surface large enough to work on. Your floor is probably the best bet! Lay your backing fabric down, wrong side up. I like to use painter's tape to secure the corners and edges to the floor. You want it smooth and taut, but be careful not to stretch the fabric out of shape.
Next, lay your batting over the backing, smoothing out any wrinkles. Finally, place your beautifully pressed quilt top on top, right side up. Stand back and admire it for a second. This layered foundation is what you'll be working with from here on out.
Basting is how we temporarily hold the quilt sandwich together. It's a crucial step. If you skip it, the layers will shift as you quilt, leaving you with frustrating puckers and tucks on the back. You've got a couple of solid options here.
This simple infographic breaks down the core actions of hand sewing from marking to pinning and stitching.
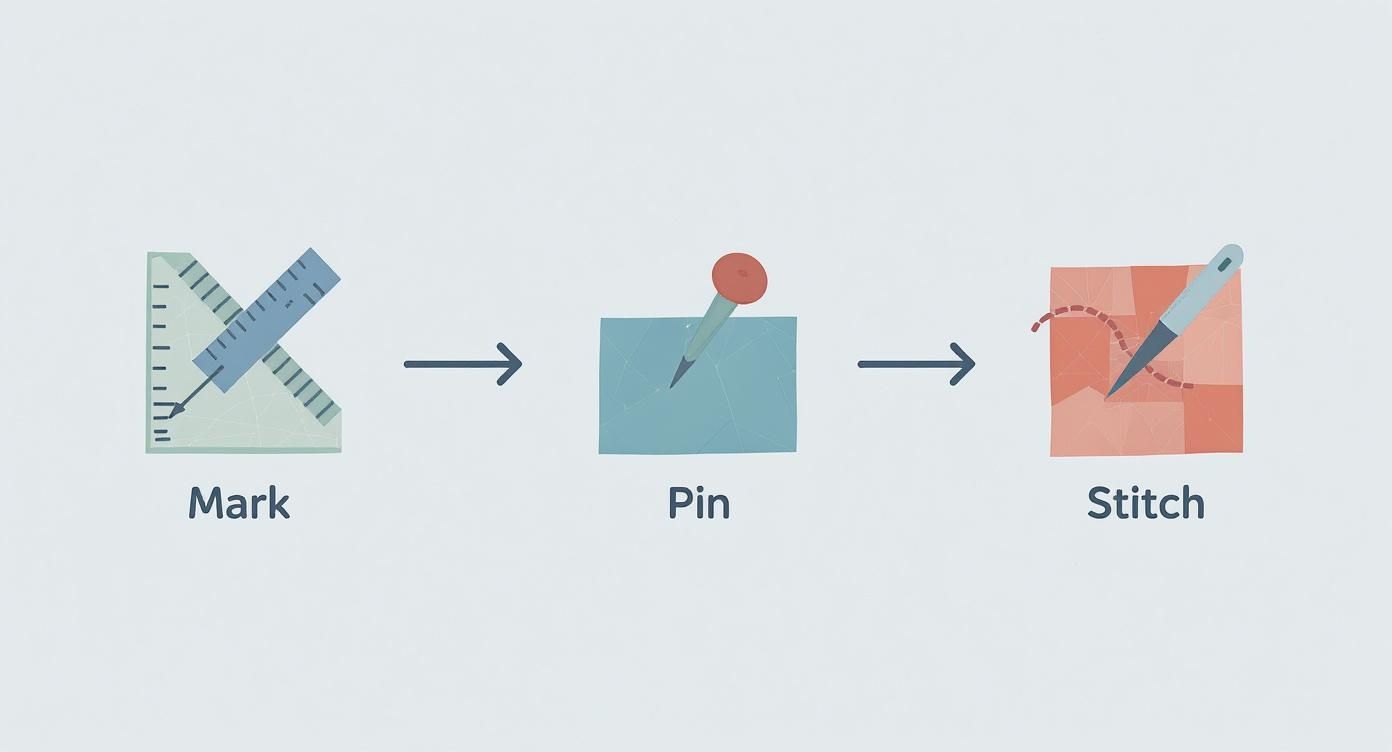
This visual shows how each step builds on the last. Good marking and secure pinning are what set you up for a great final stitch.
This is the part that truly brings your quilt to life. The quilting stitch adds texture, strength, and your own unique signature to the work. We'll use a technique often called the "rocking motion," which, with a little practice, becomes a wonderfully rhythmic and relaxing process.
Start by threading your needle and making a good quilter's knot. To hide this knot, bring your needle up from the back, but push it only through the top fabric layer about an inch away from where you want your first stitch to be. Pull the needle up at your starting point and give a gentle tug. You'll feel a tiny "pop" as the knot goes through the top fabric and gets buried inside the batting.
Now, with your non-sewing hand underneath the quilt sandwich, use your thimble-clad finger on your dominant hand to push the needle straight down through all three layers. As soon as you feel that needle tip with your hand below, use that bottom hand to help rock the needle back up through the layers a short distance away. This fluid, up-and-down motion is what lets you load several small, even stitches onto your needle before you pull the thread all the way through.
Don't get hung up on making your stitches tiny from the get-go. Consistency is far more important. A line of evenly spaced stitches, no matter the length, will always look more polished than a mix of tiny stitches and long ones. Your stitch is your handwriting—it's part of what makes the quilt yours.
The skill of how to hand sew a quilt is seeing a real resurgence. In a world of mass production, hand-sewn and artisanal quilts are a fast-growing part of the global market. People are increasingly drawn to personalized, handcrafted goods. The premium quilt segment, which is full of hand-sewn creations, is a leading driver of industry growth. You can dive deeper into these market trends and their impact on quilting.
The final step in hand-sewing your quilt is framing your masterpiece with a clean, durable binding. This polished edge does more than just protect the raw edges of your quilt sandwich; it’s the final touch of craftsmanship that truly defines a handmade treasure. This process is surprisingly straightforward and incredibly satisfying to complete.
First things first, you need to figure out how much fabric you'll need for the binding. There's a simple formula I always use: measure the perimeter of your quilt (add up all four sides) and then add an extra 15-20 inches. This little bit of wiggle room is crucial for joining your strips and getting those perfect mitered corners without any stress.
With your total length calculated, it’s time to cut your binding fabric. I almost always cut my strips 2.5 inches wide. From my experience, this width gives you plenty of fabric to fold over, creating a substantial, long-lasting edge that can handle years of use.
To create one continuous piece, you'll need to join these individual strips together on a diagonal. This simple trick is the key to reducing bulk in your seams, so they lay nice and flat.
When you open the strips up, they’ll form a straight line with a nearly invisible diagonal seam. Keep doing this until all your strips are joined into one long piece. The last prep step is to press the entire length in half with the wrong sides together. This creates your double-fold binding, ready to go.
Now for the fun part: attaching the binding to the quilt. I like to start somewhere in the middle of one of the sides, leaving a loose tail of about 8 inches before I begin pinning. Align the raw edges of your binding with the raw edge of your quilt top.
Using your trusty running stitch and a consistent 1/4-inch seam allowance, sew the binding to the front of your quilt.
When you get close to a corner, stop stitching exactly 1/4 inch from the edge. This is a critical measurement! Lift your binding strip and fold it straight up, creating a 45-degree angle. Then, fold it back down along the next side of the quilt. This little maneuver creates a neat pocket of fabric that will form a perfect mitered corner when you finish. You can now continue sewing down the next side, repeating this fold at each corner.
It's an exciting time to be a quilter! The residential segment, covering everything from bedding to decorative wall hangings, is projected to grow at a CAGR of 6.9% between 2025 and 2034. This growth is fueled by a steady supply chain, with global fiber production hitting 116 million tons in 2022 and forecasted to reach 147 million tons by 2030. That means plenty of beautiful fabrics for all our future projects. You can find more details about the quilt market's growth in this market report.
To finish, simply fold the binding over to the back of the quilt. Make sure the folded edge just covers your original stitch line. Pin it securely in place, taking extra care to tuck and fold your mitered corners neatly.
Using a blind stitch (sometimes called a ladder stitch), you can invisibly secure the binding. This final step gives your quilt a truly professional finish that will stand the test of time.
As you start your journey into hand quilting, you’re bound to have questions. It’s a craft with a rich history, and trust me, every single one of us has wondered about these exact same things at some point. Let's tackle some of the most common queries so you can stitch with confidence.
So, how long is this really going to take? That's usually the first thing people ask. The honest answer is: it depends entirely on the project. A simple lap quilt might take you 40-60 hours of focused stitching, while a king-sized, intricately patterned heirloom could easily run into the hundreds of hours. My advice? Try not to focus on the finish line. The magic of hand quilting is in the slow, meditative process itself.
The love for these handcrafted treasures isn't just a feeling; it's a massive global market. The quilting industry has grown from $1.8 billion back in 2000 to an estimated $5.32 billion in 2024. That’s a huge jump, and it shows just how much we still value the unique comfort and artistry that only a quilt can provide. You can read a more detailed breakdown of the growing global quilt market on expertmarketresearch.com.
Another big question I hear all the time is about batting. Walking into a quilt shop and seeing all the options can be overwhelming, but a few types are perfect for hand quilters.
Now, let's talk about those first stitches. Are they looking a little… wobbly? A bit uneven? Good. That means you’re doing it right. Nobody’s first stitches are perfect.
The real secret to beautiful hand quilting isn't tiny stitches—it's consistent stitches. Find a comfortable rhythm with the rocking motion of your needle. Those slight imperfections are what give your quilt its soul.
One of the best things you can do to improve your consistency is to use a quilting hoop or frame. It keeps the fabric sandwich nice and taut, giving you much better control over your needle and helping you find that steady rhythm. Every stitch you place is a part of your story, so embrace the process.
Here at High Country Quilts, we're passionate about the art of the handmade quilt. From finding the perfect fabric to selecting the right needle and thread, we've got what you need to bring your creative vision to life. Come explore our collection and get inspired for your next hand-sewn project at https://hcquilts.com.
At High Country Quilts we care deeply about community. With our experiences in retail, we know that a store is not only a place to shop but also a place for the community to gather and share. During this busy...

Hi! We’re Adam and Renee Wheaton, the new owners of High Country Quilts! For more than 40 years, we’ve owned and operated vacuum and sewing businesses. Following in Renee’s father’s footsteps after he retired from All Discount Vacuum and Sewing in Colorado...


Leave a comment