

We Love Our Quilting Community
At High Country Quilts we care deeply about community. With our experiences in retail, we know that a store is not only a place to shop but also a place for the community to gather and share. During this busy...


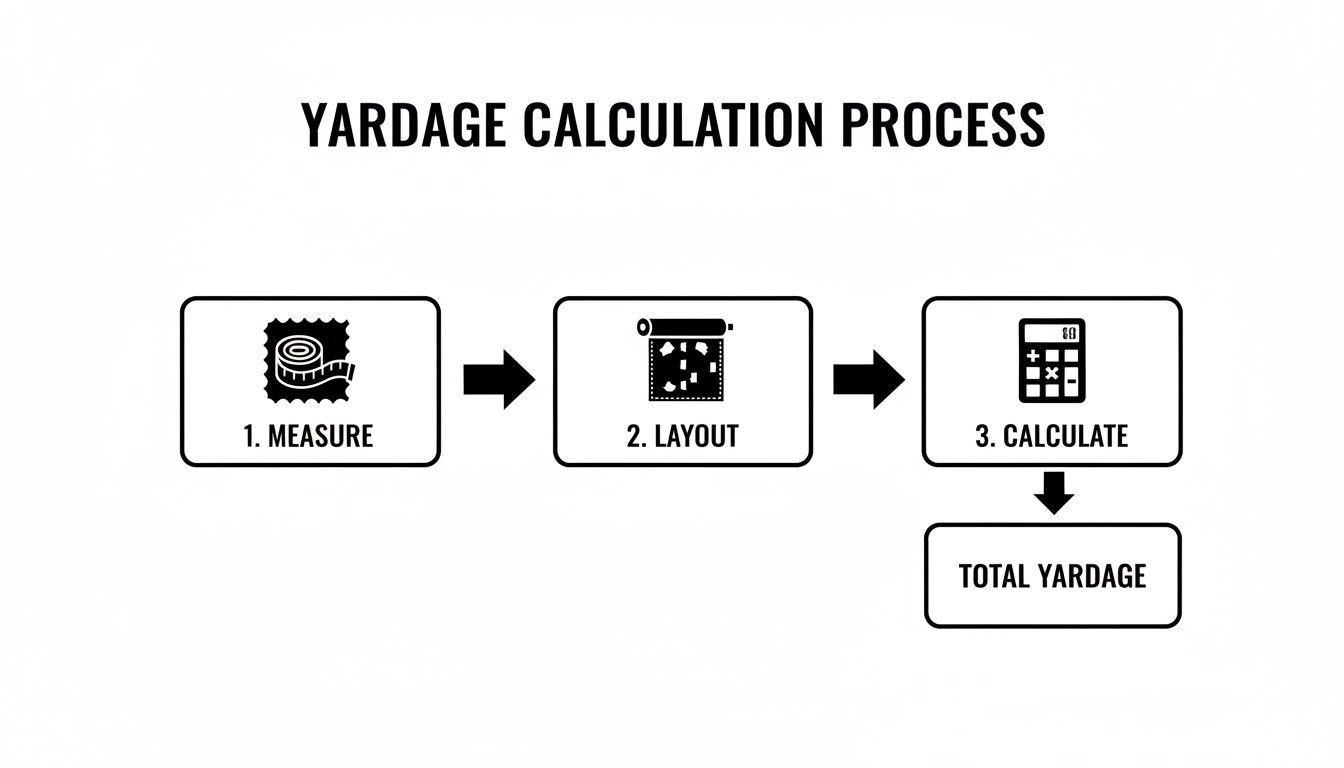
Figuring out how much fabric you need boils down to a pretty simple idea: measure your pattern pieces, lay them out virtually on your fabric's width, and then add a little extra for a safety net. Once you get the hang of this, you'll walk into the fabric store knowing exactly what you need for any project, which means no more wasteful leftovers or that sinking feeling when you run short.
Have you ever stood in a fabric store, completely captivated by a bolt of fabric, only to be hit with a wave of anxiety? You start wondering, "How much of this do I actually need for that skirt pattern?" Or maybe you've finished a quilt and ended up with a huge, unusable pile of scraps, feeling like you just threw money away.
Even worse is that gut-wrenching moment you realize you’re just a few inches short of finishing your project, and of course, the fabric is now completely sold out. This is a classic sewing dilemma, but it's one you can absolutely avoid.
Learning to calculate fabric yardage is less about complicated math and more about smart planning. It shifts you from guessing to knowing, making sure every project gets off to a smooth start. It's a foundational skill that gives you the confidence to tackle anything from an intricate gown to simple pillow covers.
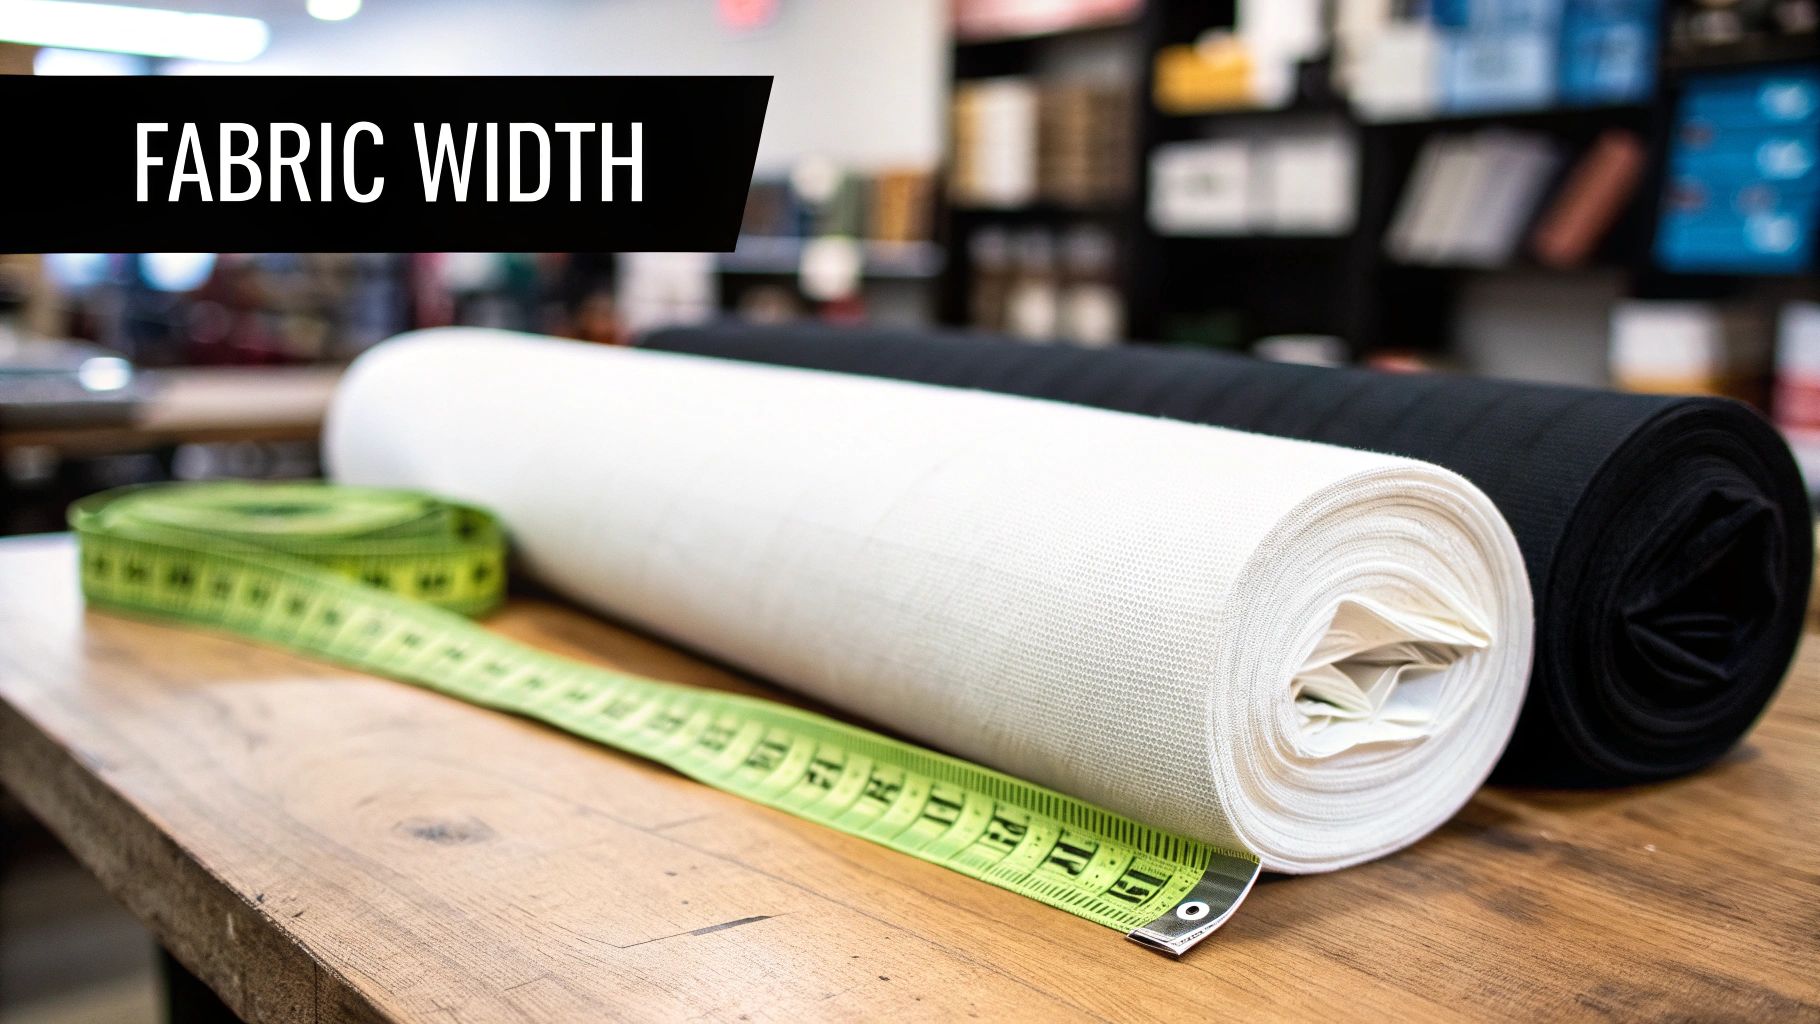
Before you can start calculating, you have to get familiar with the two key measurements you'll be working with. I always tell people to think of a bolt of fabric like a very, very long ribbon.
Key Takeaway: The length of fabric (what you buy) is measured in yards, but its width is a fixed dimension that directly impacts how much length you'll need. A wider fabric often means you can buy less yardage.
For example, most quilting cottons are around 42-44 inches wide. But apparel fabrics, like drapey rayons or cozy knits, often come in much wider widths of 54-60 inches. That difference is huge! Just try to imagine fitting the wide pattern pieces for a circle skirt onto a narrow quilting cotton—you’d need a much longer piece of fabric to make it all fit.
Relying only on the suggestions printed on the back of a pattern envelope can be a real gamble. Those charts are a great starting point, but they can't account for several critical things that can completely change how much fabric you need. Forgetting to factor in these variables is the number one reason sewists either overbuy or, worse, run short.
This guide will teach you how to think beyond that basic chart. We'll get into the details of accounting for one-way prints, planning for pre-wash shrinkage, and optimizing your pattern layout to be as efficient as possible. This knowledge will save you money, cut down on waste, and give you the peace of mind to start every project with total confidence.
Diving into the math of fabric yardage doesn't have to be a headache. Forget complex algebra—at the end of the day, it's about turning your creative idea into a few simple numbers. With a couple of reliable formulas, you'll know exactly how much fabric to grab for any project, whether it's a simple skirt or a massive quilt.
Let's start with the universal method. This one's a lifesaver for any project where you're cutting a bunch of pieces of the same size, like quilt blocks or a set of custom dining chair cushions. It breaks the whole process down into a couple of manageable steps.
First, you figure out how many pieces you can slice from the width of your fabric. This is your starting point, and getting it right is key to using your material efficiently.
The logic here is pretty simple: you determine how many rows of pieces you'll need, then you calculate the total length those rows will take up.
My best advice? Always round your final number up to the next quarter or half yard. That little bit of extra fabric is your safety net for any small cutting mistakes or shrinkage in the wash.
Let's put this into practice. Imagine you're whipping up a simple A-line skirt without a commercial pattern. You've drafted your own front and back pieces, and each one is 30 inches long and 25 inches wide at its widest point. The fabric you’ve fallen for is a lovely linen blend that's 54 inches wide.
So, (36 inches ÷ 36) equals exactly 1 yard. For this skirt, you'd need just 1 yard of that 54-inch wide fabric. See? Not so scary.
Quilters are often juggling dozens, sometimes hundreds, of small pieces, which makes a formulaic approach almost non-negotiable. Precision is everything. Knowing that one yard is exactly 36 inches is the bedrock of quilting math.
This level of accuracy is also crucial for complex projects. For anyone learning how to design a show choir costume, mastering these core formulas is an absolutely essential first step before you even think about cutting.
Let's say you need to cut 80 squares, each measuring 5x5 inches, from a standard quilting cotton that is 42 inches wide.
In this case, you’d buy 1.5 yards to play it safe. A 2023 survey revealed that 68% of quilters admitted to overbuying by at least 12% because of miscalculations—that’s a lot of wasted fabric! Following a simple formula helps you avoid becoming part of that statistic and lets you approach your projects with confidence.
Working with a simple, solid-colored fabric is pretty straightforward. But the moment you bring a pattern into the mix, the game completely changes. Directional fabrics—anything with a distinct one-way print, a textured nap like velvet, or a repeating motif—require a much more careful plan.
It’s the small detail that separates a project that looks professionally polished from one where the seams jarringly chop up a beautiful floral design.
This is a classic sewing mistake. You might lay out all your pattern pieces just right, only to cut them and realize every bird on the back of your dress is flying upside down. It happens! Fabrics like velvet and corduroy have a nap, a texture that runs in one direction. If you cut one piece with the nap running up and another running down, they’ll catch the light differently and look like two totally different shades of fabric.
First things first, you have to become a bit of a fabric detective. Unroll a yard or so of your fabric and take a good, hard look. Does the pattern have a clear top and bottom? A floral print with all the stems pointing one way is directional. A random polka dot or a non-symmetrical geometric pattern probably isn't.
To check for a nap, just run your hand along the fabric's surface. One way will feel smooth, and the other will feel a little rough or resistant. For that perfect, professional finish, you need to make sure every single pattern piece is laid out so the nap runs in the same direction—which is almost always downwards.
My Favorite Trick: Once you’ve figured out the "top" of your fabric, mark it. I use a safety pin or a small piece of painter's tape on the selvage. This little visual reminder has saved me countless times from accidentally flipping the fabric and cutting a piece the wrong way.
Once you've confirmed you're working with a directional print, the next step is to measure the vertical repeat. This is just the distance from one point in the pattern to the next identical point.
Find a very specific element in the design—like the tip of a particular leaf or the eye of a peacock feather. Place your measuring tape right there and measure straight down until you find that exact same element again. That distance is your pattern repeat. It can be just a few inches or stretch to 27 inches or more on big, bold home decor fabrics. This number is the key to everything that follows.
This basic process—measure, layout, calculate—is the foundation for any project, but a pattern repeat adds a crucial variable you have to account for.
So, what do you do with that measurement? The goal is to make the pattern flow seamlessly across your seams, which means you’ll need to buy extra fabric. The amount you add is directly tied to the size of that repeat.
Here’s a good rule of thumb I use:
This extra fabric isn't waste; it's your matching insurance. It gives you the wiggle room to slide your pattern pieces up or down to get that perfect alignment at the seams. For big-ticket projects like drapery or upholstery, getting this wrong is a painful and expensive mistake. In fact, some industry data shows that miscalculating repeats is why 22% of U.S. upholstery projects require a frustrating second trip to the fabric store. To get a more technical breakdown of these calculations, you can explore detailed fabric yardage guides.
Let's walk through a common project: making a pair of curtains. Each finished panel needs to be 84 inches long, and you've fallen in love with a fabric that has a large, beautiful floral print with a 24-inch vertical repeat.
If this were solid fabric, you’d just need two 84-inch cuts. Easy. But to make these curtains look right, the top of each panel has to start at the exact same point in the pattern.
So, you cut your first 84-inch panel. Now, to cut the second one, you have to unroll more fabric, lay your first panel on top to align the pattern perfectly, find that matching starting point, and then measure out your next 84 inches.
Because of that 24-inch repeat, you could end up with up to 23 inches of unusable fabric between the end of your first cut and the start of your second. This is exactly why you buy extra! For this project, a safe bet would be to add one full repeat (24 inches) to your length calculation for the second panel, guaranteeing you have enough fabric to make them match perfectly.
The width of a fabric bolt is one of those details that's easy to overlook but makes a huge difference in your final yardage. Think of it like this: a wider fabric is like a multi-lane highway. You can fit more pattern pieces side-by-side, which often means you need less length overall.
Getting a handle on this relationship is your secret weapon for buying fabric smartly. Let's say you're eyeing two gorgeous linens for a summer dress. One is 44 inches wide and the other is 60 inches. Your first instinct might be to grab the one with the lower price per yard, but the wider fabric could actually be the more economical choice because you'll need to buy less of it.
Let’s walk through a real-world example. You're making a pair of flowy, wide-leg trousers, and the main pattern pieces are about 20 inches across at the widest point. How you lay those out completely changes based on the fabric's width.
On 44-inch Fabric: You can only fit one leg piece across the width. To get the second leg, you have no choice but to place it below the first, essentially doubling the length of fabric you need.
On 60-inch Fabric: Now you've got room to maneuver! You can easily place both 20-inch leg pieces next to each other (20" + 20" = 40", which fits nicely within 60"). This simple change means you only need the length of a single leg piece, effectively cutting your yardage requirement in half.
This is exactly why you'll often see apparel fabrics in wider 54-inch or 60-inch bolts, while quilting cottons usually stick to a narrower 42/44-inch width. The industry standard is designed for the most efficient use.
Pro Tip: Before you even head to the store, do a quick sketch. Draw a long rectangle representing the fabric width and try arranging your largest pattern pieces. This little bit of planning can save you from a major headache (and a lighter wallet) at the cutting counter.
Now, this doesn't mean you should automatically reach for the widest bolt every time. If your project is made up of lots of small, narrow pieces—think a child’s dress with skinny straps or a quilt with tons of tiny blocks—that extra width might not help.
You could just end up with long, skinny scraps that are hard to use for anything else. For projects like that, a standard 44-inch quilting cotton can be a much more practical and less wasteful choice. The real skill is in matching the fabric width to the general size and shape of your pattern pieces. It’s all about buying smarter, not just wider.
To give you a head start, I've put together a quick chart with some ballpark estimates for common projects. These numbers show just how much yardage can vary depending on the fabric width you choose.
This table provides a general guideline for how much fabric you might need. Always, always check your specific pattern for the most accurate requirements, but use this as a starting point for your planning.
| Project Type | Fabric Width (44/45") | Fabric Width (54") | Fabric Width (60") |
|---|---|---|---|
| Simple A-Line Skirt | 2.5 yards | 2 yards | 1.5 yards |
| Adult Pajama Pants | 3 yards | 2.5 yards | 2.25 yards |
| Basic Throw Pillow (18") | 0.75 yards | 0.5 yards | 0.5 yards |
| Simple Shift Dress | 3 yards | 2.5 yards | 2.25 yards |
Looking at the chart, it's clear how much of a difference width makes. Choosing a 60-inch fabric over a 44-inch one for a simple dress can save you almost a full yard! That’s a significant savings. Luckily, most commercial patterns do the math for you and list different yardage needs for different widths right on the envelope.
I think every person who sews has a horror story about running out of fabric just inches from the finish line. It’s a painful lesson, but one you only need to learn once. Building a small buffer into your fabric purchase isn't just a "nice-to-have"—it's the secret to keeping a project from going off the rails.
Think of it as your project's insurance policy. The biggest reason you need it is something people often forget until it’s too late: pre-wash shrinkage. Natural fibers like cotton, linen, and rayon are famous for this.
It’s completely normal for a fabric like quilting cotton to shrink by up to 5% after its first trip through the washer and dryer. That means a single yard (36 inches) could lose almost two inches of length before you even touch it with a pair of scissors. If your initial calculation was already tight, that shrinkage alone could wreck the whole project.
But the need for extra fabric goes far beyond just accounting for a hot water wash. This buffer is your safety net for all the little, unpredictable things that happen when you're in the creative zone. We’ve all been there—your rotary cutter slips, you accidentally snip into the wrong piece, or you realize a grainline isn't perfectly straight after you've already made a cut.
Having that extra quarter or half-yard on hand turns a potential disaster into a minor inconvenience. Instead of panicking, you can just recut the piece and keep going.
"Your extra fabric is the difference between a frustrating trip back to the store—where your dye lot might be gone—and the ability to solve a problem on the spot. It’s a small investment in peace of mind."
This buffer also gives you creative freedom. What if, halfway through making a blouse, you decide it would look amazing with a matching patch pocket or a cute tie belt? With extra fabric, that spontaneous flash of inspiration is possible. Without it, you’re stuck with your original plan or, even worse, a mismatched addition.
So, how much extra is enough? A solid rule of thumb I always follow is to add a bit more to my final, calculated yardage. It's a simple habit that has saved me from immense frustration more times than I can count.
Here’s a practical guideline I stick to:
This small, additional purchase is one of the smartest things you can do. It protects your time, your money, and your sanity. The next time you're at the cutting counter, remember that a little extra fabric is never a waste—it's a critical part of a successful sewing project.
Even with the best formulas and a solid plan, sewing has a way of throwing curveballs. This is where we tackle those tricky, real-world questions that pop up right when you’re in the middle of a project. Getting these details right is often what separates a good result from a great one.
We'll dig into some of the most common challenges sewists run into, from the fabric-hungry nature of bias cuts to figuring out if you can really trust the yardage chart on a commercial pattern. Think of this as your quick-reference guide for solving those on-the-fly calculation puzzles.
Cutting fabric on the bias—that 45-degree angle to the grain—is what gives you that beautiful, fluid drape perfect for slinky dresses and flowing skirts. The catch? This technique is notoriously wasteful. When you lay pattern pieces out diagonally, you're left with big, unusable triangles of fabric in the corners.
So, for any project cut on the bias, you have to plan for significantly more fabric. Your standard, straight-grain calculation just won't cut it.
As a rule of thumb, plan on buying at least 25-50% more fabric than a standard pattern suggests. For something like a full-length gown or a large circle skirt, you might even need to double the initial yardage to be safe.
The most foolproof method, especially with expensive fabric, is to get out some paper and a pencil. I like to make scale drawings of my largest pattern pieces and arrange them on a paper template representing my fabric's width. This little visual map gives a much more accurate estimate before you commit to the purchase.
That yardage chart on the back of a commercial pattern envelope is an excellent starting point, but you should always treat it as a baseline, not gospel. Pattern companies are usually a bit generous with their estimates, which is helpful.
However, they’re making a few key assumptions:
If your fabric has a one-way print, a distinct nap like velvet, or a large pattern repeat, you will almost certainly need more than the envelope recommends. My advice? Start with the pattern’s suggestion for your size and fabric width. Then, adjust it based on the unique personality of your fabric, and always add a little personal buffer for mistakes.
Figuring out quilt backing might seem tricky, but it’s a pretty logical process. Your goal is simple: create one big piece of fabric that's larger than your quilt top on all sides. This extra fabric, or "overage," is absolutely crucial for the quilting process, especially if you're sending it to a longarmer.
First, measure your finished quilt top's length and width in inches. Don't eyeball it—grab a tape measure and get the real numbers.
Next, you’ll add a buffer to those dimensions. A standard safety margin is 4-5 inches on each side, which means adding a total of 8-10 inches to both the length and the width. For example, if your quilt top is 60" x 70", you'll want a backing piece that’s at least 68" x 78".
From there, it’s just a matter of piecing your backing fabric to hit that final size. If you're using standard 44-inch wide quilting cotton, you'll probably need to sew two or more lengths together. Or, you can make your life easier by opting for an extra-wide 108-inch backing fabric, which often lets you get the job done with a single, seamless piece.
Custom piping and bias binding are those little details that can give a project a truly professional finish, but they both require long, continuous strips of fabric. Calculating yardage for these is all about figuring out the total length you need.
Start by measuring the entire perimeter of the area you need to cover. For a pillow, that's all four sides. For a quilt, it’s the whole outer edge. Be sure to add about 10-12 extra inches to this total; you’ll need it for neatly joining the ends and turning corners.
Next, decide how wide your strips need to be. For bias binding, 2.5 inches is a pretty standard width. For piping, you’ll need enough fabric to wrap around your cording, plus your seam allowance.
The final step is figuring out how much yardage will give you that total length of strips. Honestly, the easiest way to do this is with an online binding calculator. These tools save you a ton of time and prevent frustrating math errors. Just plug in your total length, strip width, and fabric width, and it will tell you exactly how much fabric to buy.
At Famcut.com, we know that having the right materials is the first step to a project you can be proud of. Whether you're a seasoned quilter or a cosplay enthusiast, we're here to support your creative journey with high-quality fabrics and expert advice. Explore our collection and find the perfect material for your next masterpiece at https://famcut.com.
At High Country Quilts we care deeply about community. With our experiences in retail, we know that a store is not only a place to shop but also a place for the community to gather and share. During this busy...

Hi! We’re Adam and Renee Wheaton, the new owners of High Country Quilts! For more than 40 years, we’ve owned and operated vacuum and sewing businesses. Following in Renee’s father’s footsteps after he retired from All Discount Vacuum and Sewing in Colorado...


Leave a comment