

We Love Our Quilting Community
At High Country Quilts we care deeply about community. With our experiences in retail, we know that a store is not only a place to shop but also a place for the community to gather and share. During this busy...


So, you're ready to tackle a queen-size quilt? Fantastic! Let's get right into one of the most common questions I hear: "How much fabric do I actually need?"
The quick answer is you'll typically need around 8 to 9 yards for a pieced top, another 8 yards for the backing, and about ¾ yard for the binding. Think of these numbers as a solid starting point, but remember, the final amount really depends on your specific pattern and the width of the fabric you choose.
Before you even think about cutting, it helps to have a mental shopping list. These initial numbers will give you the confidence to start gathering your materials without worrying you've forgotten something major. The estimates we'll walk through are based on standard quilt dimensions and fabric widths—they're the perfect launchpad for your project.
First things first, what size are you actually aiming for? A standard queen quilt usually lands somewhere around 90 by 90 inches. Some quilters like to go a little bigger, maybe 95 by 95 inches, to get a more generous drape over the sides of the mattress. Deciding on this final size is crucial because every other calculation will build on it. If you're still on the fence, this is a great resource for figuring out the perfect size of a queen duvet cover.
A few key things can dramatically change how much fabric you end up buying. I've learned to keep these in mind from the very beginning to avoid those last-minute trips back to the fabric store.
Let's say you're making a simple, solid-color quilt top with standard 45-inch wide fabric. Just for the top, you'd be looking at roughly 8 yards to get the coverage you need and have enough wiggle room for quilting and squaring up. This really shows how much of a role fabric width plays in your planning.
To make things a bit easier, here’s a quick-reference chart that breaks down the estimates for a standard 90" x 90" queen quilt. It’s a handy little cheat sheet to bring to the fabric store.
| Quilt Component | 45-Inch Wide Fabric | 108-Inch Wide Fabric |
|---|---|---|
| Quilt Top | 8 to 9 yards | Not typically used |
| Backing | 8 yards | 3 yards |
| Batting | N/A (Sold by size) | N/A (Sold by size) |
| Binding | ¾ yard | ¾ yard |
This chart gives you a great at-a-glance estimate. As you can see, choosing a 108-inch wide fabric for your backing can save you a significant amount of yardage and the hassle of piecing the back together.
The quilt top is where all the fun happens—it's your canvas. But let's be honest, it's also where the math can get a little fuzzy. Once you move past a simple whole-cloth quilt, you're dealing with piecing, which means every pattern becomes a unique puzzle for fabric calculation.
A design with big, simple blocks will naturally use less fabric than one with hundreds of tiny, intricate pieces. It all comes down to the seam allowance. Every time you sew two pieces together, you lose a little fabric—usually a quarter-inch on each side. A quilt made from 6-inch squares has way more seams than one made from 12-inch squares, so it eats up more fabric to get to the same finished size.
This image gives you a great visual of the standard queen dimensions we're aiming for. It's a helpful reference to keep in mind as we start breaking down the pattern.
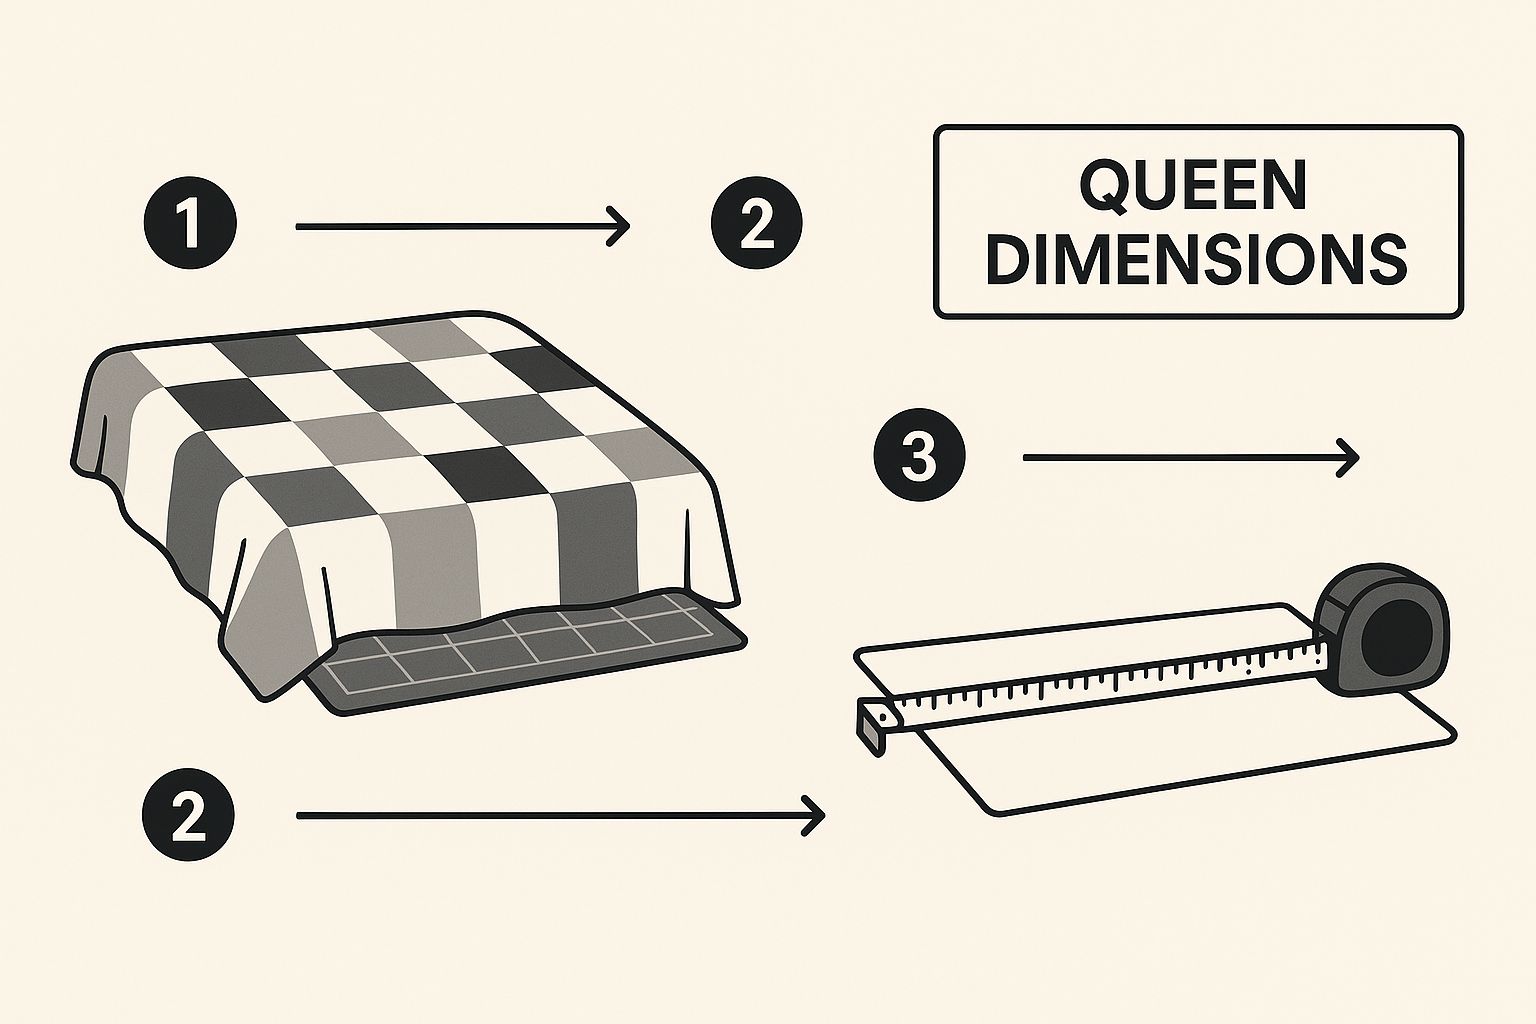
Knowing these target measurements helps you start thinking about how many blocks you'll need to fill that space.
To get a truly accurate number, you have to look at your pattern and break it down into its basic parts. Grab your design and make a list of every different fabric color and all the specific shapes you need to cut from each one.
Think about elements like these:
Once you have this list, you can start calculating the yardage for each color one by one. For example, if your pattern calls for 24 red 4.5-inch squares, you can calculate how many you can cut from a single strip of fabric and then how many strips you'll need in total.
A Little Friendly Advice: Always, always round up your fabric purchase to the nearest quarter or half yard. Having extra is an absolute lifesaver when a cutting mistake happens (and it happens to all of us!). It’s so much better than the panic of running out of a specific fabric halfway through your project.
You might be surprised by just how many individual pieces go into a quilt top. For a queen-size quilt using 6-inch blocks, you could be looking at around 14 blocks across and 15 blocks down. That comes out to 210 blocks total! This really drives home why careful planning is so critical before you ever make that first cut. If you want to dive deeper, you can find some fantastic quilting guides online that explore dimensions and block counts in more detail.
Let's walk through a real-world example. Say your pattern requires 100 squares of Fabric A, and each needs to be cut at 5x5 inches. Standard quilting cotton gives you about 42 inches of usable width (often called the WOF, or width of fabric). You can comfortably cut eight 5-inch squares across a single WOF strip.
To get your 100 squares, you'll need 13 strips (100 divided by 8 is 12.5, so you have to round up to 13). Each strip is 5 inches wide, so your total fabric length needed is 65 inches (13 strips x 5 inches each). To turn that into yards, just divide by 36 inches, which gives you about 1.8 yards. To be safe, you'd head to the store and buy 2 yards of Fabric A.
Now, just rinse and repeat that process for every single color and component in your quilt top. It takes a little time upfront, but it saves so much guesswork later.
While the quilt top gets all the attention, the backing and batting are the unsung heroes that provide structure and that cozy warmth we're all after. Sizing these layers correctly is one of the most critical steps for a smooth, pucker-free finish.
The golden rule here is overage. Think of it as your quilting insurance policy. Your backing fabric and batting must be larger than your quilt top. This isn't just a friendly suggestion—it's essential for success, whether you're sending it to a longarmer or wrestling it through your own machine at home.
The standard advice is to add at least 4 to 6 inches of extra material on all four sides. So, for our 90 x 90 inch queen top, the backing and batting need to be at least 98 x 98 inches.
This extra margin is what allows a longarmer to properly attach the quilt to their frame. It also gives you a much-needed buffer for the slight shifting and shrinking that naturally happens during the quilting process. Without it, you risk stitches running off the edge or layers shifting unevenly, which is how you end up with frustrating puckers.
This chart is a fantastic visual reference for common bed and quilt sizes. It really helps to see the standard mattress dimensions next to the typical comforter size, making it clear why a generous drape—and a larger quilt—is so desirable for a queen bed.
When it's time to pick your backing, you really have two main paths to choose from. Each has its own benefits when you're figuring out how much material you need for a queen-size quilt.
I almost always go for a wide-back fabric for queen quilts. It might seem like a bigger investment per yard, but you buy fewer yards overall. For me, the real win is avoiding the headache of matching and sewing a perfectly straight, 8-foot-long seam. The time and frustration saved are worth every penny.
Ultimately, the choice comes down to your priorities. If you're working with a tight budget or have your heart set on a specific print that only comes in standard width, piecing is a perfectly good option. But if speed and a seamless finish are what you're after, investing in a 108-inch wide-back is the way to go.
No matter which you choose, just remember to add that crucial overage
The binding is the final frame for your quilt, and getting this last step right is what creates that crisp, professional finish we all strive for. The calculation isn't tough, but it does demand a little precision. It all starts with the perimeter of your finished quilt top.
First, you’ll just add up the lengths of all four sides. For our 90 x 90 inch queen quilt, the math is pretty simple: 90 + 90 + 90 + 90 = 360 inches. This is the total length of continuous binding you need to go all the way around. I always add a bit of a cushion—about 15 to 20 inches—to give myself plenty of room for joining the ends and mitering the corners without any stress. This brings our target length up to around 380 inches.
So, how does that length translate into fabric strips? Most quilters I know cut their binding strips somewhere between 2.25 and 2.5 inches wide. For this example, let's stick with the very common 2.5-inch width.
A standard bolt of quilting cotton gives you a usable width of about 42 inches (you'll often see this referred to as WOF, or Width of Fabric). To figure out how many strips you need to cut, just divide your total length by that fabric width: 380 inches ÷ 42 inches = 9.04. Since you can't cut a fraction of a strip, you always have to round up. In this case, you'll need to cut 10 strips of fabric.
Now for the final yardage calculation. Multiply the number of strips by how wide you're cutting them: 10 strips x 2.5 inches = 25 inches of fabric needed. Since a yard is 36 inches, that's just a bit shy of three-quarters of a yard.
To be safe, I always recommend buying ¾ of a yard for the binding on a queen-size quilt. This small buffer accounts for any little cutting mistakes or fabric shrinkage and makes sure you have enough to finish the job perfectly.
For most quilts with straight edges, you’ll cut your binding strips along the straight grain of the fabric. It’s the most efficient way and uses the least amount of material. Simple and effective.
But what if your queen quilt has curved edges or scalloped borders? That's when you need to make bias binding. This involves cutting your strips at a 45-degree angle to the fabric's grain, which gives the binding just enough stretch to hug those curves smoothly without puckering.
Be warned, though—cutting on the bias eats up a lot more fabric. The exact amount depends on your cutting method, but a safe bet is to double your initial estimate. So for a queen quilt with curves, you'd want to buy at least 1.5 yards just for the binding. Knowing this difference is a crucial part of planning how much material for a queen size quilt you'll actually need for that polished, beautiful finish.
Once you’ve figured out how much material you need for a queen-size quilt, the real fun begins at the fabric store. But the choices you make there, and how you treat your fabric once you get it home, can make or break your entire project. I've learned a few things over the years that save a ton of frustration and help ensure a beautiful finish.

Let's start with the great debate: to pre-wash or not to pre-wash? I’m firmly in the pre-wash camp, and here’s why. Most quilting cotton can shrink by a surprising 3-5% the first time it hits the water. If you skip this step, that shrinkage happens after you’ve pieced everything together, leading to puckers and a quilt that just won't lie flat. It's a simple step that prevents a lot of heartache later.
If there's one piece of advice every quilter will give you, it's this: always buy more fabric than the pattern calls for. I always add an extra ¼ to ½ yard to my total for the main fabrics, especially the background and backing.
This little buffer is your project's insurance policy.
Trust me, there is nothing worse than running out of a specific fabric, only to find out it’s been discontinued. You might also find inspiration in your own closet by upcycling existing fabrics, which can add a beautifully personal and sustainable element to your quilt.
Think of your quilt pattern as a roadmap, not a rigid set of rules. It’s important to read it carefully, especially when it comes to fabric width. Most patterns are written assuming a standard 42-44 inch width of fabric (WOF). If you fall in love with a gorgeous bolt that's wider or narrower, you'll have to adjust your yardage math.
The basic idea is to figure out the total square inches you need, then divide that by the usable width of your fabric, always adding a little extra for seams and squaring up. Getting comfortable with these quick calculations is a huge confidence booster for any quilter.
My biggest tip? Trust the process, but also trust your gut. If a calculation feels too tight, it probably is. Adding that extra quarter-yard has saved my projects more times than I can count, especially when I'm working with a complex pattern or a print I just can't get enough of.
Finally, set yourself up for success before you even make the first cut. After you've pre-washed and dried your fabric, give it a really good press. A hot iron and a bit of steam or starch alternative will make your cotton crisp and stable. This simple prep step leads to much more accurate cutting and precise piecing, making the whole quilting experience smoother from start to finish.
Even after doing all the math, a few questions always seem to pop up when you're gathering materials for a queen-size quilt. Let's dig into some of the most common ones I hear from quilters, from smart fabric hacks to those tempting pre-cuts.
This is a classic, and for good reason! The short answer is yes, you absolutely can. Grabbing a 100% cotton queen-size top sheet is a fantastic way to save both time and money. It's already large enough, which means you get to skip piecing together multiple cuts of fabric for the back.
But there's a small catch. Sheets with a really high thread count are woven incredibly tightly, and some longarm quilters find them tricky to needle through. If you're sending your quilt out to be finished, it’s always smart to check with your longarmer first to see if they have any policies on using sheets. If you’re quilting it yourself on a domestic machine, you should be just fine.
Ah, the great pre-washing debate! I know it’s tempting to skip this step and dive straight into cutting, but trust me, pre-washing is your best friend. Most quilting cottons will shrink by about 3-5% the first time they hit the water.
If you don't wash your fabric beforehand, all that shrinking happens after your quilt is beautifully pieced and quilted. This can cause puckering and pull your seams out of whack. Pre-washing also rinses out any excess factory chemicals and dyes, which is a lifesaver for preventing colors from bleeding all over your masterpiece. It’s a little extra time upfront that can save you a world of heartache later.
Here’s the big exception to the pre-washing rule. Never, ever wash pre-cuts like jelly rolls, charm packs, or layer cakes before you sew them. They’re simply too small and will turn into a frayed, shrunken, tangled disaster in your machine.
For any project made with pre-cuts, you have to skip the pre-wash. The solution comes later: when you wash the finished quilt for the first time, toss a few color catcher sheets in with it. They work like magic, trapping any loose dye before it can settle on your lighter fabrics.
You'll see "WOF" all over quilting patterns. It simply means Width of Fabric. Most patterns are written with the assumption that your fabric has a standard usable width of 42 inches after you trim off the selvage edges from a 44/45-inch bolt.
Keep this in mind if you fall in love with a fabric that has a different width. A wider fabric, for instance, might let you get more cuts from a single strip, which could mean you need less yardage overall. It’s a small detail, but understanding WOF helps you adapt any pattern to the fabric you actually have in your hands.
Ready to find the perfect fabric for your next queen-size quilt? At High Country Quilts, we have a stunning selection of high-quality cottons, wide-backs, and pre-cuts to bring your vision to life. Explore our collection and get inspired today.
At High Country Quilts we care deeply about community. With our experiences in retail, we know that a store is not only a place to shop but also a place for the community to gather and share. During this busy...

Hi! We’re Adam and Renee Wheaton, the new owners of High Country Quilts! For more than 40 years, we’ve owned and operated vacuum and sewing businesses. Following in Renee’s father’s footsteps after he retired from All Discount Vacuum and Sewing in Colorado...


Leave a comment