

We Love Our Quilting Community
At High Country Quilts we care deeply about community. With our experiences in retail, we know that a store is not only a place to shop but also a place for the community to gather and share. During this busy...


Foundation paper piecing is one of those techniques that can absolutely transform your quilting. If you've ever struggled to get those perfect, razor-sharp points on a star or line up a tricky angle, you know the frustration. So, what exactly is paper piecing? At its heart, it's a clever method where you sew your fabric pieces directly onto a printed paper pattern, following a numbered sequence. This paper acts as your guide, stabilizing the fabric and ensuring every seam is exactly where it needs to be.
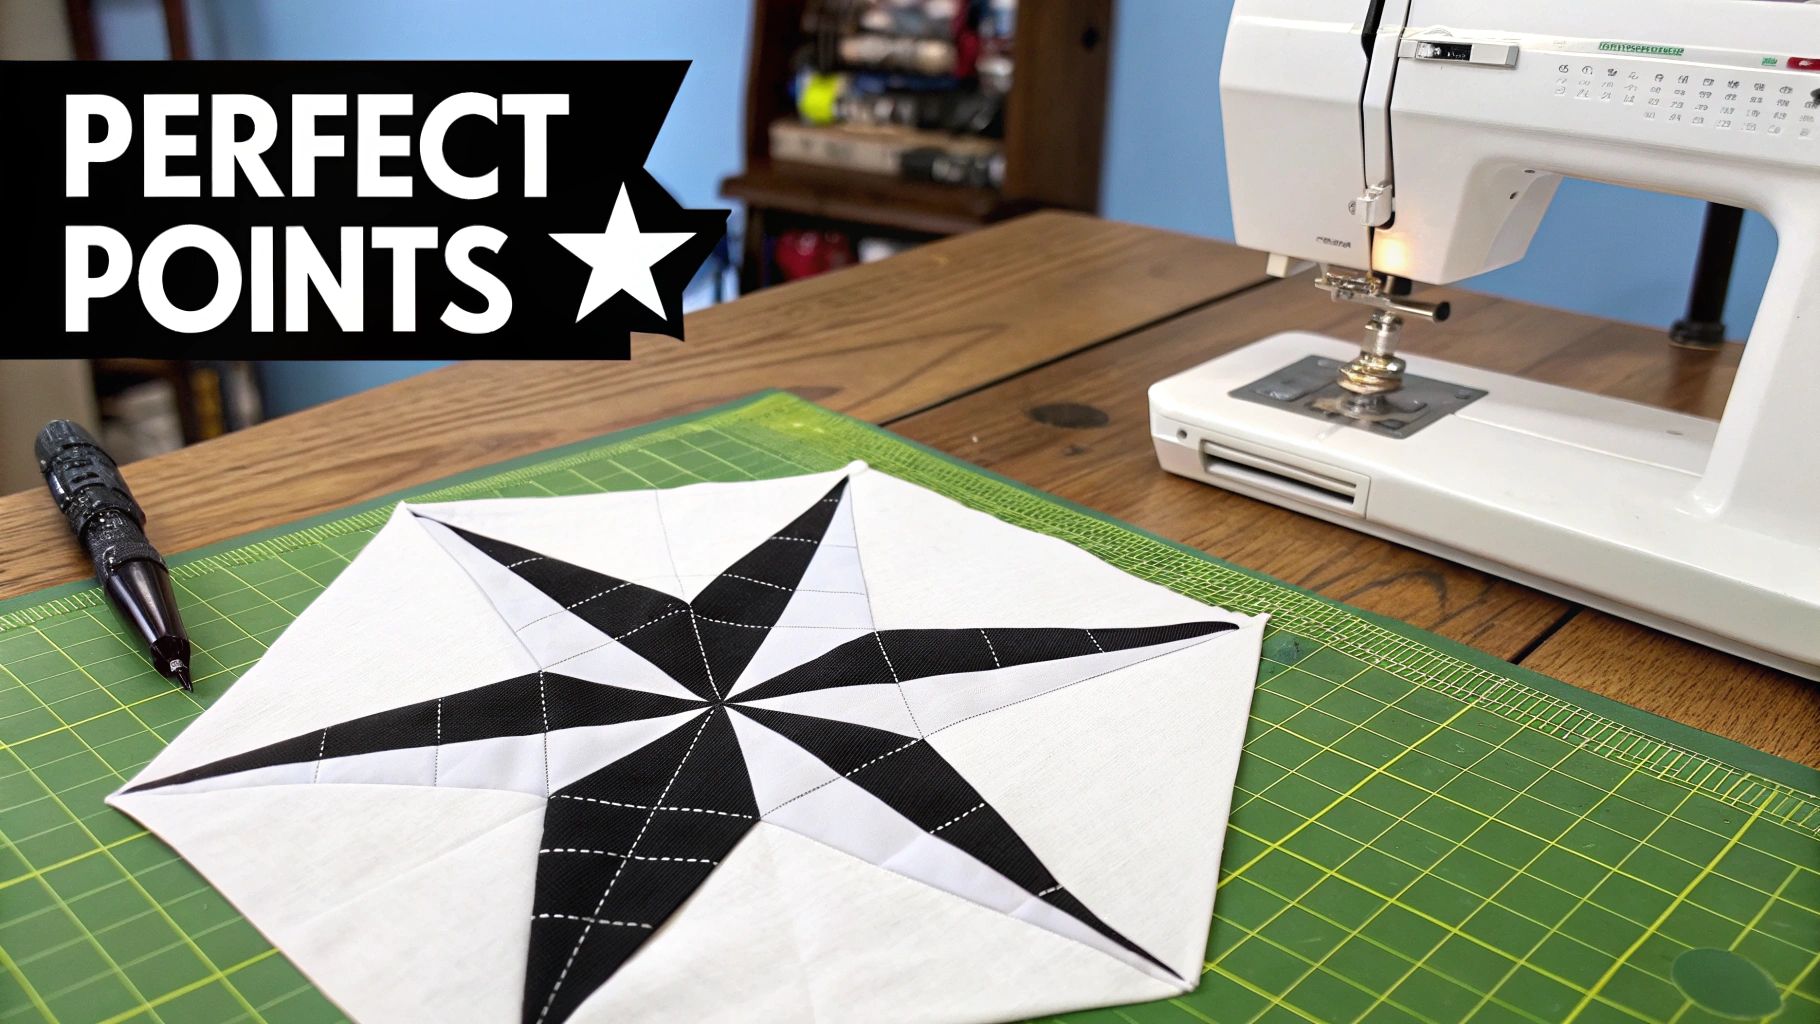
Let's be honest, we've all been there—staring at a block with points that don't quite meet or seams that have gone wonky. Foundation paper piecing (often called FPP) is the answer to that headache. It’s like quilting with a blueprint. Every stitch is guided by a line on the paper, which means you get flawless results every single time. Think of it as painting by numbers, but with your favorite fabrics and a sewing machine.
The real beauty of this technique is how it builds confidence. Instead of stressing over meticulous cutting and maintaining a perfect quarter-inch seam allowance on your own, you just focus on one thing: sewing on the line. This simple, structured process makes it possible to tackle incredibly intricate and detailed quilt blocks—the kind that might seem impossible with traditional methods.
While it might feel like a modern quilting hack, the idea of sewing on a foundation is anything but new. Paper piecing's roots go all the way back to the early 18th century, but it really took off in the United States toward the end of the 19th century. Crafters used it to achieve the kind of geometric precision that was incredibly difficult to get freehand. By the 1930s, it was a go-to technique in many quilting circles, which just goes to show its timeless appeal. You can find more insights about the evolution of paper in crafts and other industries.
Key Takeaway: Foundation paper piecing swaps the anxiety of perfect cutting for the simplicity of sewing along a line. It’s a system designed for accuracy, making it perfect for beginners who want professional-looking results and for seasoned quilters ready to take on a challenge.
The process can feel a bit backward at first. You're sewing on the printed side of the paper, but your fabric is actually underneath, on the blank side. It sounds strange, but after a few seams, it clicks and becomes surprisingly intuitive. You’ll build your design section by section, following the numbers on the pattern.
Before diving into the nitty-gritty steps, it helps to see the big picture. This table breaks down the entire workflow, so you can get a feel for the process from start to finish.
| Stage | Objective | Key Action |
|---|---|---|
| Preparation | Get your pattern and fabric ready. | Print or trace your pattern, cut oversized fabric pieces for each section. |
| Positioning | Place the first two fabric pieces. | Place fabric for section 1 on the unprinted side, then place fabric for section 2 on top. |
| Sewing | Stitch your first seam along the line. | Flip the paper over and sew directly on the line between sections 1 and 2. |
| Pressing | Open and press the seam. | Flip the paper back over, open up the fabric pieces, and press the seam flat. |
| Trimming | Trim the seam allowance. | Fold the paper back along the stitch line and trim the seam allowance to 1/4 inch. |
| Repeat | Continue for all remaining pieces. | Follow the numbered sequence, adding one fabric piece at a time using the same process. |
| Finishing | Trim the final block to size. | Once all pieces are sewn, trim the entire block along the outer seam allowance line. |
Each step logically builds on the last, creating a stable and perfectly constructed block. Here's a quick look at how it plays out:
This systematic approach is what makes paper piecing so reliable. It practically eliminates error and ensures your finished blocks are the exact size they should be, which makes assembling your final quilt top an absolute dream.
Before you even think about fabric, let's talk about setting up your sewing space. A little prep work here makes all the difference between a fun, creative session and a frustrating one. You don't need a ton of fancy gadgets, just the right ones close at hand so you can get into a good rhythm.
The very first thing to do is adjust your sewing machine. You'll want to shorten your stitch length—I usually set mine somewhere between 1.5mm and 1.8mm. This is probably the most important tip I can give you. Those tiny stitches act like a perforation, just like on a postage stamp. When it’s time to tear the paper away later, it will come off cleanly instead of you having to pick little bits out of your seams. It also keeps those small pieces incredibly secure.
The "paper" in paper piecing is a surprisingly big deal, and honestly, not all paper is up to the task. You can definitely start with regular printer paper if that's all you have, but you’ll quickly notice it’s a bit thick, hard to see through, and can be a real pain to remove.
Once you get hooked, you'll want to explore some other options. Each one has its fans:
It might seem like just a simple craft supply, but specialty papers are part of a massive global industry projected to hit USD 551 billion by 2034. This growth is fueled by crafters like us who need specific products, from thin, easy-to-tear foundation sheets to newer adhesive-backed options. As the quilting community becomes more eco-conscious, we're also seeing a rise in demand for sustainable and recyclable papers, which is a fantastic trend. You can read more about the broader trends in the pulp and paper market if you're curious.
Okay, beyond your machine and paper, there are a few tools that I consider non-negotiable for getting those sharp, perfect points that make paper piecing so satisfying.
First up is an Add-A-Quarter Ruler. If you buy one thing, make it this. It has a little quarter-inch lip that hooks right onto the folded edge of your paper pattern. This lets you trim your seam allowance perfectly every single time, with zero guesswork. It's a game-changer for accuracy.
Next, you need a good rotary cutter with a fresh, sharp blade. I prefer a smaller one, like a 28mm, for paper piecing because it gives me more control when I’m trimming around small or oddly shaped pieces. A sharp blade is crucial for clean cuts and preventing your fabric from fraying.
Pro Tip: I keep a separate, smaller rotary cutter just for paper piecing. Cutting through both fabric and paper dulls blades much faster, so this trick saves the super-sharp blade on my main cutter for cutting my fabric pieces.
Finally, I highly recommend a simple seam roller. While a hot iron is great, it can sometimes make the printer ink on your pattern transfer to your fabric or cause the paper to warp from the steam. A seam roller lets you press your seams open or to the side with firm, even pressure, creating a crisp fold without any heat. It's surprisingly effective and really speeds up the whole process.
Getting these things in order—your stitch length, the right paper, an Add-A-Quarter ruler, a sharp cutter, and a seam roller—is the secret to setting yourself up for success. You'll be making professional-looking blocks before you know it.
Alright, let's get to the good stuff—where fabric meets paper and those perfect, sharp points start to take shape. This is where the magic of foundation paper piecing really comes alive. We’ll walk through the process together using a simple pattern piece, focusing on the rhythm of the actions. Once you get the hang of it, it becomes second nature.
That first fabric placement is often the biggest hurdle for newcomers. It can feel a bit backward because you’re working on the unprinted side of the paper, almost in reverse. But trust me, once you nail this first step, everything else clicks into place.
This little setup shows the essential workflow you'll repeat for every single section: get your pattern ready, cut your fabric, and then sew it all together.
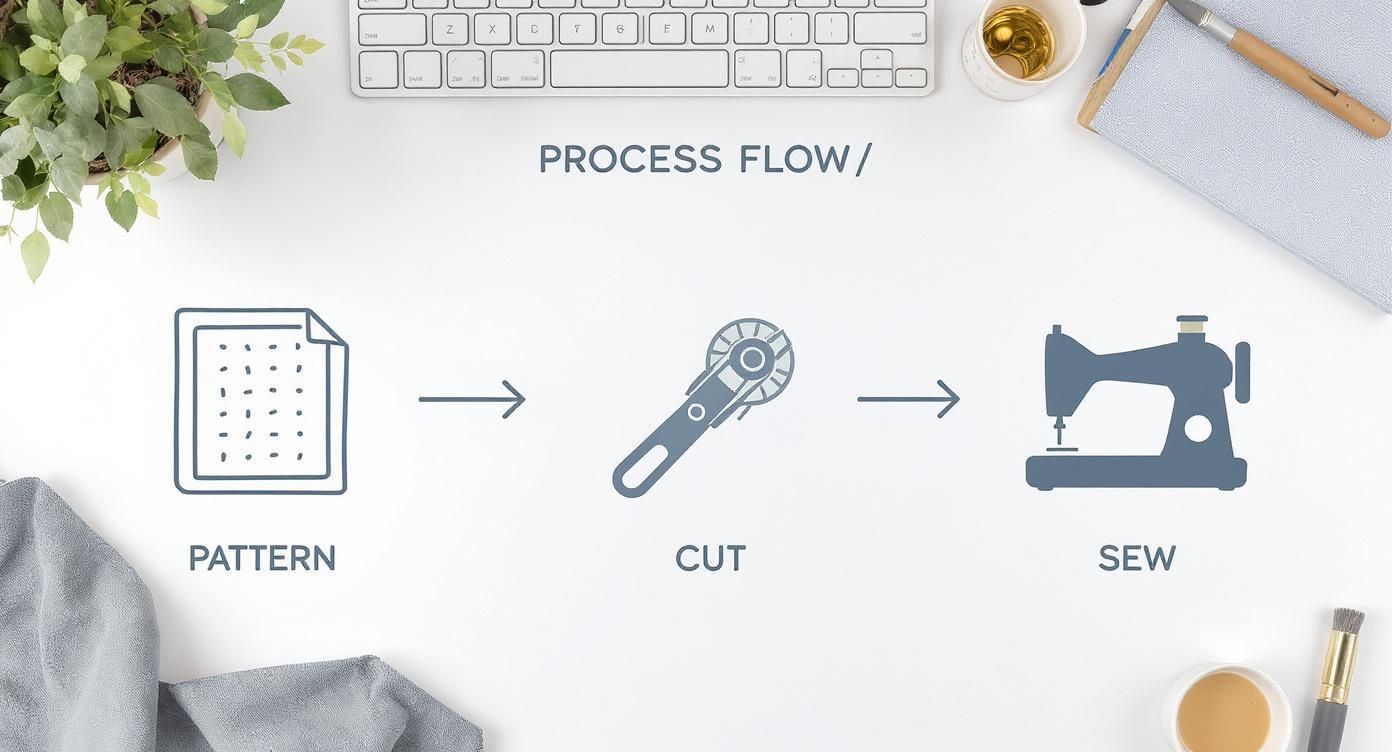
It’s a simple, repeatable cycle that makes even the most complex-looking quilt blocks completely manageable.
Let’s jump in. Grab your paper pattern and flip it over to the blank side. Now, take the fabric you’ve cut for section #1.
Place this first piece of fabric right side up on your work surface. Then, lay the paper pattern on top of it, printed side up, roughly centered over the fabric.
Hold the two layers together and bring them up to a light source—a window or a lightbox works great. You want to see that your fabric completely covers the area for section #1, with at least a ¼-inch seam allowance bleeding over on all sides. Being generous with your seam allowance is your best friend here; you can always trim it down, but you can't add more.
Once you’re happy with the placement, a tiny dab from a glue stick on the unprinted side of the paper, right in the middle of section #1, is perfect for holding it in place. Just press your fabric onto it.
Now for the second piece. Take your fabric for section #2 and place it directly on top of your first piece, with the right sides of the fabric facing each other. Line up the raw edges along the side where you'll be sewing the line between sections #1 and #2. Again, double-check that this new piece is big enough to cover its entire section when you flip it open later.
With your fabrics pinned or glued, flip the whole unit over so the printed side of the paper is facing up. You’re going to stitch directly on that printed line separating section #1 from #2.
Remember to use that short stitch length we talked about—around 1.5 mm is ideal. I like to sew a few stitches past the line on both ends. This really helps lock the seam in place, which is especially helpful when you start joining different sections of a block together.
A Quick Tip: There’s no need to backstitch when you start or end a seam. The short stitch length, combined with the fact that other seams will cross over it later, is more than enough to keep everything secure. Backstitching just adds unnecessary bulk.
After sewing that single line, you're ready for the most important part of the whole process.
This little three-step dance—fold, trim, press—is the heart and soul of paper piecing. You will repeat this for every single piece you add to your block. Getting this sequence down is the key to everything.
First, with the paper side facing you, gently fold the paper back along the line you just stitched. This will expose the seam allowance of your two fabric pieces underneath.
This is where an Add-A-Quarter ruler absolutely shines. Line up the ruler’s little grooved lip right against the folded edge of the paper. Grab your rotary cutter and trim away the excess fabric, leaving a perfect ¼-inch seam allowance.
Now, unfold the paper so it’s flat again and flip the unit over to the fabric side. Open up the fabric for section #2 (the piece you just added) so its right side is facing up. I usually finger-press the seam first, then follow up with a seam roller or a dry, hot iron to get it really crisp and flat.
You’ve done it! The first two pieces are attached, and you've completed one full cycle. The rest of the block is just doing that same thing over and over, following the numbers on your pattern.
Here’s the flow from here on out:
You just keep adding pieces one by one, in numerical order, until every section of the pattern is covered in fabric. It might feel a bit slow at first, but you'll quickly find a smooth, satisfying rhythm.
Even with the best instructions, things can go sideways. It happens to all of us! Here’s a quick troubleshooting guide for some of the most common hiccups beginners run into during the sewing process.
| Common Mistake | Why It Happens | How To Fix It |
|---|---|---|
| Fabric Doesn't Cover Section | The piece was cut too small or positioned incorrectly before sewing. | Unpick the seam with a seam ripper. Reposition the fabric, ensuring it has at least a ¼" seam allowance on all sides, and resew. |
| Sewed on the Wrong Line | It's easy to get distracted and stitch on a line out of numerical order. | Carefully unpick the seam. Double-check the pattern numbers and resew on the correct line. Using a highlighter can help! |
| Seams are Bulky | Using a standard stitch length (2.5mm+) or backstitching at the start/end of seams. | Always use a short stitch length (1.5 mm is great). Avoid backstitching—your crossing seams will secure everything. |
| Trimming the Wrong Seam | Accidentally trimming the seam allowance before folding the paper back. | Unfortunately, this usually means the fabric piece is now too small. You'll likely need to unpick and replace it with a new, larger piece. |
Don't get discouraged if you make a mistake. A good seam ripper is a quilter's best friend for a reason. Every error is just a chance to learn the process a little bit better.
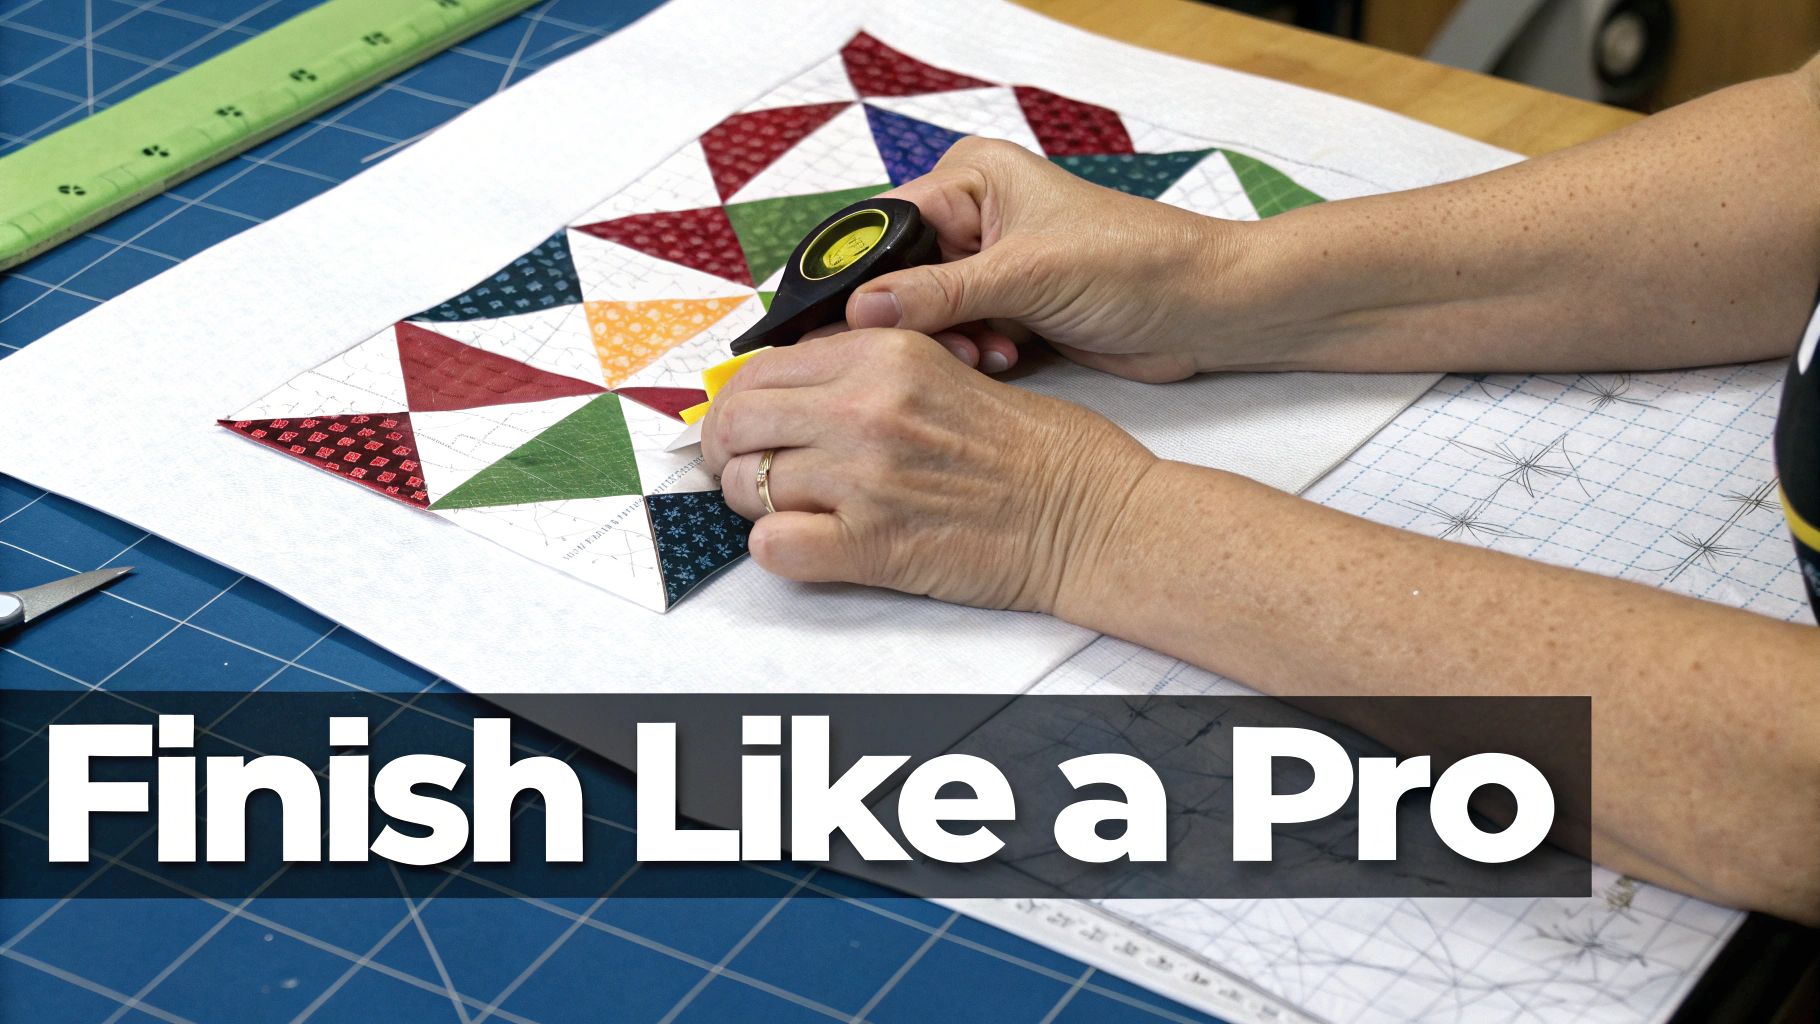
You’ve sewn your last seam, and the block is a masterpiece of precision and color. It's a great feeling, but we're not quite done yet. The final steps—removing the paper, trimming the block, and joining it with others—are what elevate a beautifully sewn piece into a polished, professional part of a quilt top.
This is where all your earlier accuracy really pays off. If you rush through these last few steps, you can easily undo all that hard work. So, take your time and get them just right. With a couple of simple techniques, you'll have perfectly square blocks and a quilt top that lies beautifully flat.
Here comes the moment of truth! It's time to reveal the crisp, perfect seams hiding under the paper. This part is incredibly satisfying, and it’s all thanks to that short stitch length you used earlier. The paper is essentially perforated along every single seam, which makes it a breeze to remove.
I like to start by gently folding the paper back and forth along an outer seam line to weaken the fibers even more. Then, begin tearing the paper away, starting from the center of the block and working your way out. As you pull, always be sure to support your stitches with a thumb or finger.
Crucial Tip: Hold the seam line firmly with one hand while you tear the paper away with the other. This simple move stops you from accidentally tugging on your stitches and stretching your fabric. If you have tiny, stubborn pieces of paper stuck in the intersections, a pair of blunt-nosed tweezers will become your new best friend.
Once the paper is gone, your block is ready for a final haircut. Honestly, this is probably the most critical step for making sure your quilt comes together without any headaches. Your pattern has two key lines: a solid one showing the final block size, and a dashed line a quarter-inch outside of it. You will be trimming on the outer dashed line.
Lay a square quilting ruler over your block, carefully aligning its quarter-inch mark with the solid "finished size" line printed on the pattern. This alignment is everything.
Take a second to make sure the ruler is perfectly square with the block’s main design lines, not just the raw edges. Once you're confident it's perfectly placed, use a sharp rotary cutter to trim one side. Then, rotate the block and do the same for the other three sides, always re-checking your ruler alignment before each cut. A perfectly trimmed block is the secret ingredient for a stress-free quilt assembly.
Now for the magic—seeing your vision come to life as you join your finished blocks! The good news is that the precision of paper piecing makes this process much smoother than with traditional piecing. The main thing to watch out for is managing bulk where lots of points come together.
When you're ready to join two blocks, place them right sides together. Your number one goal is to nest the seams. This just means pressing the seam allowances on one block in one direction and the seams on the block next to it in the opposite direction.
It’s amazing to think how far paper piecing has come. It's moved from a completely manual art form to one that's enhanced by digital tools. The availability of ultra-fine, laser-printed foundation papers and the explosion of digital pattern distribution have boosted both our accuracy and our creative options. In fact, the digital economy for quilting patterns, which includes instant downloads and pre-printed kits, now accounts for an estimated 18-25% of the modern quilting market. You can learn more about the growth of the paper market and how it’s affecting crafts.
These finishing touches—careful paper removal, precise trimming, and thoughtful seam nesting—are the small details that make a huge difference. They make sure the precision you worked so hard for is carried all the way through to your stunning finished quilt.
You've done it! You have a stack of beautifully finished blocks, and now the real fun begins. Knowing the steps of paper piecing is one thing, but using those skills to create something amazing is a whole other level of joy. The trick is to pick projects that are a good fit for where you're at right now—something challenging enough to be interesting, but not so hard it becomes frustrating.
Starting small is always my advice. A set of coasters or a cute mug rug makes for a perfect first project. They're quick, don't use up a ton of fabric, and you get that wonderful feeling of a finished item almost instantly. You'll get to practice the entire process from start to finish on a small scale, which really helps lock in the muscle memory.
Once you feel good about the basic workflow, it's time to play with some classic blocks that are perfect for beginners. These patterns are fantastic for honing your accuracy and getting a real feel for how simple shapes build into a gorgeous design.
The real goal here is building that muscle memory. Once you've repeated the core steps on these forgiving patterns, you'll stop thinking so hard about fabric placement and seam trimming. It just becomes second nature, which frees up your brain to tackle more ambitious designs down the road.
When you're feeling confident and ready for your next adventure, it’s time to explore more intricate patterns. This is where the true magic of foundation paper piecing really comes alive. I'd suggest looking for pictorial patterns—those fun designs that create an actual image, like an animal, a flower, or a little landscape scene.
These patterns often have a lot of tiny, weirdly-shaped pieces, and they really make you think about your fabric and color choices. Learning to read these more complex patterns is a skill in itself. You have to pay close attention to the numbering, because that's what dictates how the fabrics layer to create the final picture. A good rule of thumb is to start with a pictorial pattern that has fewer than 20 pieces per block before you jump into something super detailed.
And who knows? If you get really into it and start sketching your own ideas, you can even learn how to create and sell your own digital quilting patterns. It's a fantastic way to share your unique creative voice with the quilting community.
At the end of the day, the best project is one that makes you excited to sit down at your sewing machine. Whether it's a simple geometric pillow or an elaborate wall hanging, choosing a design you genuinely love is what will keep you going. Don't be afraid to experiment, and remember that every single block you make—even the wonky ones—is making you a more skilled and confident quilter.
As you get the hang of foundation paper piecing, you're bound to run into a few head-scratchers. It’s a technique with a few quirky, counterintuitive steps, so hitting a snag is all part of the process. We've pulled together the most common questions we hear in our classes to give you clear answers that will help you quilt with confidence.
This is, without a doubt, the number one frustration for beginners. It almost always comes down to the initial fabric placement. The piece of fabric you're adding must be large enough to cover its entire numbered section on the pattern, plus a quarter-inch seam allowance on every side that will eventually be sewn.
Here's a simple trick that will save you a world of trouble: before you sew a single stitch, hold your paper pattern and fabric up to a window or a lightbox. This lets you see right through the paper, so you can visually confirm that your fabric is positioned correctly and is big enough to do the job.
Pro Tip: When you're just starting out, be extra generous when cutting your fabric pieces. An extra half-inch on all sides is a fantastic insurance policy. You can always trim the excess later, but you can’t add fabric back once a piece is too small.
A short stitch length is absolutely key here. I always recommend a setting between 1.5 mm and 1.8 mm on your machine. Using a tiny stitch accomplishes two critical things for your project.
First, it creates an incredibly strong and secure seam, which is a big deal when you're working with small or bias-cut pieces. More importantly, those short stitches perforate the paper foundation. This is what makes removing the paper at the end so satisfying—it tears away cleanly, just like a postage stamp. If you use a standard stitch length, you’ll find yourself tediously picking tiny bits of paper out of your seams, which can easily distort those perfect stitches you worked so hard for.
Yes, you really do. This is the golden rule of paper piecing. Those numbers on the pattern aren't just suggestions; they are your roadmap for building the block correctly. Each new fabric piece is layered and stitched onto the previously sewn unit in a very specific sequence.
Think of it like building with LEGOs—you have to put down the foundation before you can add the next layer. If you sew the pieces out of order, you’ll inevitably trap fabric in the wrong place or cover a seam allowance you need to sew later. The block just won't come together as the designer intended. Always start with piece #1, attach #2 to it, then attach #3 to that combined 1-2 unit, and so on.
You can, but you have to be careful. Pressing directly on the paper side with a hot, steamy iron can cause a few problems. Sometimes, the ink from your home printer can transfer onto your fabric or even your iron's soleplate. Heat and steam can also make the paper foundation warp or get soft, which defeats the purpose of using it for stability.
Many of us who do a lot of paper piecing prefer a different approach:
This method gives you the flat seams you need without risking ink transfer or damaging the paper foundation that's key to your accuracy.
Ready to put these tips into practice? At High Country Quilts, we have all the tools and supplies mentioned here, from Add-A-Quarter rulers to specialty foundation paper. Visit us in-store or check out our selection online to get everything you need for your next paper piecing project. Find your perfect quilting supplies at https://hcquilts.com.
At High Country Quilts we care deeply about community. With our experiences in retail, we know that a store is not only a place to shop but also a place for the community to gather and share. During this busy...

Hi! We’re Adam and Renee Wheaton, the new owners of High Country Quilts! For more than 40 years, we’ve owned and operated vacuum and sewing businesses. Following in Renee’s father’s footsteps after he retired from All Discount Vacuum and Sewing in Colorado...


Leave a comment