

We Love Our Quilting Community
At High Country Quilts we care deeply about community. With our experiences in retail, we know that a store is not only a place to shop but also a place for the community to gather and share. During this busy...


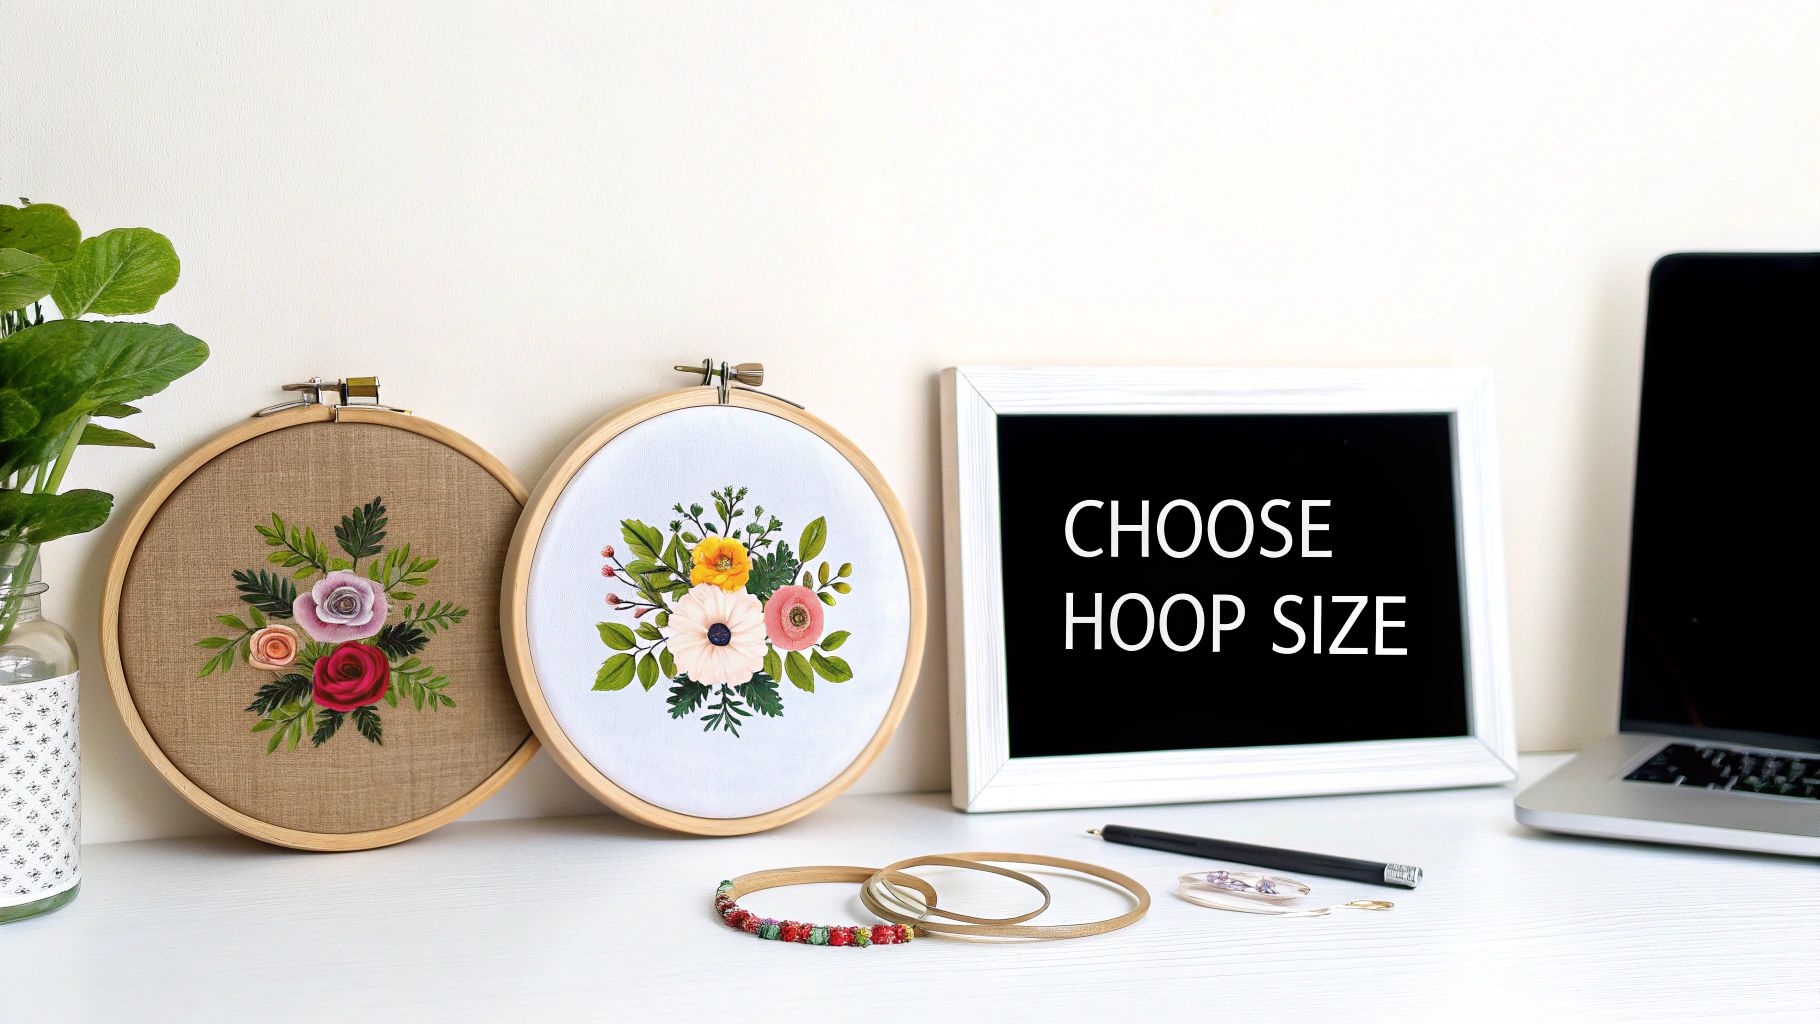
Every beautiful embroidery project starts with one key decision: picking the right hoop. The most common hoop sizes for embroidery you'll encounter are 4x4, 5x7, 6x10, and 8x12 inches. Each one is a tool for a different job, from tiny monograms to sprawling jacket back designs. The secret to a perfect stitch-out is simple—always choose a hoop that's just a little bit bigger than your design.
Think of an embroidery hoop as the foundation of your entire project. Its main job is to hold your fabric perfectly taut and still, creating a surface that’s as smooth and stable as a painter's canvas. If you don't have that solid base, your machine’s needle simply can't form those crisp, beautiful stitches we're all after.
When it comes to hooping, I always tell people to follow the 'Goldilocks principle'—not too big, not too small, but just right. You want a hoop that's slightly larger than your design so you get good, even tension across the whole stitching area. Getting this right from the start is the best way to avoid common headaches like fabric puckering, shifting designs, and distorted stitches.
Thanks to digitized embroidery and quilting, we've moved way beyond the classic hoop sizes of the past. Most entry-level machines will come with a standard 100 × 100 mm (that’s roughly 4 × 4 inches) hoop, which is fantastic for getting your feet wet with projects like quilt labels or small gifts.
But as crafters get more ambitious, there's a huge demand for bigger, more versatile hoop systems. We're seeing more and more people wanting 5 × 7, 6 × 10, and even 8 × 12-inch hoops to tackle larger quilting projects and in-the-hoop creations. If you're curious about what's popular, you can dig into the full research on embroidery equipment to see where the market is headed.
To get you started, here’s a quick-glance table to help you match common hoop sizes with the right kind of project.
This little cheat sheet breaks down the standard hoop sizes and what they're generally used for, making it easier to grab the right one for the job.
| Hoop Size (Inches) | Hoop Size (mm) | Best For Projects Like... |
|---|---|---|
| 4x4 | 100x100 | Monograms, baby onesies, quilt labels, and small gift items. |
| 5x7 | 130x180 | Apparel designs on T-shirts, tote bags, and standard quilt blocks. |
| 6x10 | 160x260 | Larger designs for jacket backs, towels, and decorative pillows. |
| 8x12 | 200x300 | Expansive designs for quilting, large home décor, and banners. |
Once you get a feel for these basics, you’ll be able to confidently pick the perfect hoop for any project that comes your way, setting yourself up for a flawless finish every single time.
Ever wondered why your collection of embroidery hoops seems to multiply? It's not just you. The sheer variety of shapes and sizes we have today is the result of a long, fascinating journey, tracking needlework's evolution from a simple domestic chore to the high-tech hobby we love.
Long before our machines did the heavy lifting, everything was stitched by hand. The hoops from that era were all about practicality. Think small, nimble hoops—perfect for the incredibly detailed, intricate work that was so popular back then.
This focus on getting the job done is easy to see when you look back. For hand embroidery, the standard hoop sizes really took off alongside domestic needlework. In late 19th-century sewing manuals, you'd find recommendations for small 4 to 6-inch hoops for things like delicate monograms. The bigger jobs, like tablecloths or linens, called for larger 8 to 10-inch hoops.
Fast forward to a typical 1950s craft catalog, and you’d likely see hoop sets with 4, 6, 8, and 10-inch rings. The 6-inch hoop was the go-to workhorse, used for over 60% of projects. For a deeper dive into market trends, you can explore the embroidery hoop set market analysis on Verified Market Research.
The takeaway here is that having a range of hoop sizes has always been part of the craft. Each one had a specific job, helping the stitcher get just the right fabric tension for the project at hand.
The real explosion in hoop diversity, though, came when digital embroidery machines entered the scene. Crafting had shifted from a necessity to a passion, and with that came a huge demand for more creative freedom. All of a sudden, we weren't just stitching small monograms anymore. We wanted to tackle huge quilt blocks, bold jacket-back designs, and clever "in-the-hoop" projects.
This creative burst demanded hoops that were not just bigger but also came in all sorts of new shapes—rectangles, ovals, and even magnetic styles—to keep up with the boundless imagination of the modern embroiderer.
This is exactly why today’s hoop collections are so wonderfully varied. Each size and shape unlocks a whole new world of possibilities, from putting a tiny detail on a baby onesie to creating a sprawling design on a quilt. Knowing this history gives you a real appreciation for the tools of the trade and shows why building a versatile hoop collection is one of the smartest moves you can make.
Choosing the right embroidery hoop is about more than just fitting your design inside. It’s really a balancing act between what your machine can handle, what your fabric needs, and what your creative vision demands. When all three of these things are in sync, you get that perfect, professional-looking stitch-out you're after.
It all comes back to that "Goldilocks principle" – you want the one that's just right. If the hoop is too big, your fabric can get floppy in the middle, and that's a recipe for puckering. On the other hand, a hoop that’s too small for your design means you'll be stuck trying to perfectly re-hoop it, which is a headache nobody needs. The sweet spot is always a hoop that’s just a little bit bigger than your design.
Every single embroidery machine has a maximum embroidery field. Think of it as the machine's absolute largest stitching playground; it's a physical limit built into its mechanics. A common mistake I see people make is buying a huge hoop, only to find their machine can't actually use it.
For example, a BERNINA machine might have a massive field of 8.2 x 15.7 inches (210 mm x 400 mm). You can pop on any hoop that fits within that area, but you can’t attach one that’s bigger than the machine was designed for. It just won't be recognized, and you'll be stuck.
Always, and I mean always, check your machine’s manual for its maximum embroidery field. Knowing this single piece of information will save you from buying hoops you can't use and picking out designs that won't fit.
The fabric you’re working with is a huge factor in picking the right hoop sizes for embroidery. Different materials behave in wildly different ways, and they all need the right kind of support to get the tension just right.
And don't forget the stabilizer! It's your hoop's trusty sidekick. A beefy cut-away stabilizer is perfect for a dense design on a stretchy knit, while a simple tear-away might be all you need for a light monogram on a stable cotton. The hoop's job is to hold this fabric-and-stabilizer sandwich perfectly still. Getting that combination right is just as crucial as picking the hoop itself.
Ultimately, this all becomes second nature with a bit of practice. Just keep those three things in mind: your machine's limits, your fabric's personality, and your design's true size. When you line them all up, you're setting every project up for success.
The real secret to embroidery that looks sharp and professional isn’t just your machine or the design you picked. It all comes down to how you hoop your fabric.
Think of your embroidery hoop like a canvas stretcher for a painter. You need a firm, even foundation to create a masterpiece. If your fabric is loose or crooked, you’ll end up with puckering, shifting, and distorted stitches—the classic signs of a poorly hooped project.
The trick is getting that perfect, drum-tight tension without actually stretching the fabric out of shape. It's a skill, but one you can definitely master. Your goal is to get the fabric and stabilizer to act as a single, stable unit, creating the perfect surface for your machine to work its magic.
Before you even think about starting a project, it helps to run through a quick mental checklist. Is the fabric grain straight? Is my stabilizer the right type for both the fabric and the density of the design? And is the hoop just slightly larger than my design? Getting into this simple habit can head off most common embroidery headaches before they even begin.
Choosing the right hoop, fabric, and machine settings from the get-go is a critical first step. This visual guide breaks down that exact workflow.
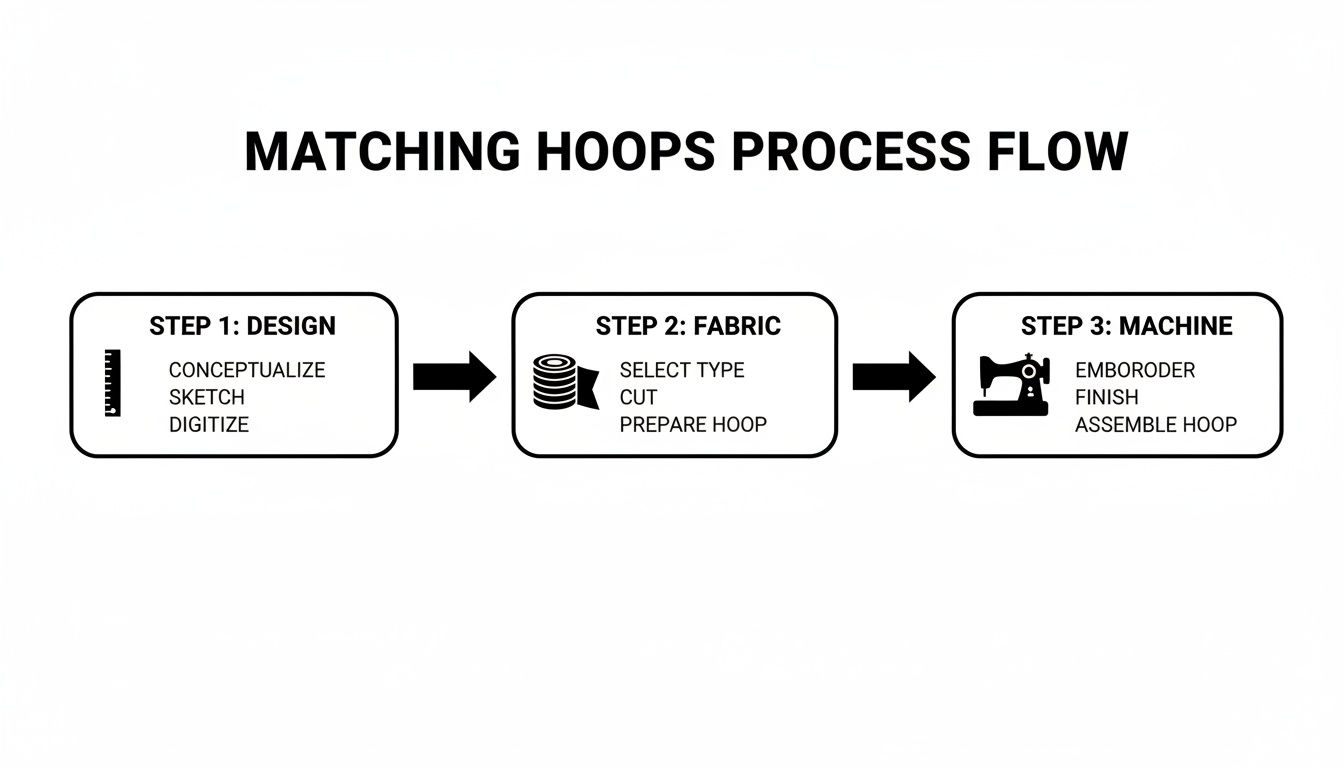
As you can see, matching your design to your fabric and then to your machine isn't just a suggestion—it's a step-by-step process that ensures everything works together for a beautiful stitch-out.
Even when you've done everything right, problems can still pop up. Slippery fabrics like satin can be a nightmare to grip, while bulky materials like fleece or quilt blocks bring their own set of challenges. But don't worry—for every hooping problem, there's a practical solution.
Let’s walk through some of the most common hooping headaches and how to fix them.
Even seasoned embroiderers run into trouble now and then. Here’s a quick guide to diagnosing and fixing the most frequent issues.
| Common Problem | Potential Cause | How to Fix It |
|---|---|---|
| Fabric Puckering | The fabric wasn't hooped tightly enough, or your stabilizer is too light for the design's stitch count. | Re-hoop the fabric until it’s taut like a drum, but not stretched. Try switching to a heavier cut-away stabilizer to better support the stitches. |
| Design Shifting | The fabric is slipping inside the hoop. This happens a lot with slick materials or heavy garments like jackets. | Use a non-slip hoop grip tape on the inner ring. You can also use a temporary spray adhesive to lightly bond the stabilizer to the fabric. |
| Fabric Distortion | You stretched the fabric too much during hooping, which is especially common with knits like t-shirts. | Hoop the fabric with its natural grain, making sure it's smooth but not stretched. For super stretchy items, try "floating" the fabric on a hooped piece of stabilizer instead. |
Remember, the goal is always a stable, flat surface. These quick fixes can save a project from the "oops" pile!
For those really tricky items, sometimes you need to call in the specialists—specialty hoops, that is. Magnetic hoops, for instance, are a total game-changer for materials that are too thick or delicate to be clamped in a standard hoop. They use powerful magnets to secure the fabric, which means no more "hoop burn" or damage.
Hooping is a foundational skill that truly opens up new creative doors. Once you master it, you can confidently take on projects on any material, from delicate baby onesies to bulky towels.
Beyond just using your standard hoops, learning about different applications, like the art of graduation sash embroidery, can give you a whole new appreciation for the craft. Every project is a chance to fine-tune your hooping technique. With the right tools and a bit of practice, you’ll be getting those flawless results every single time.
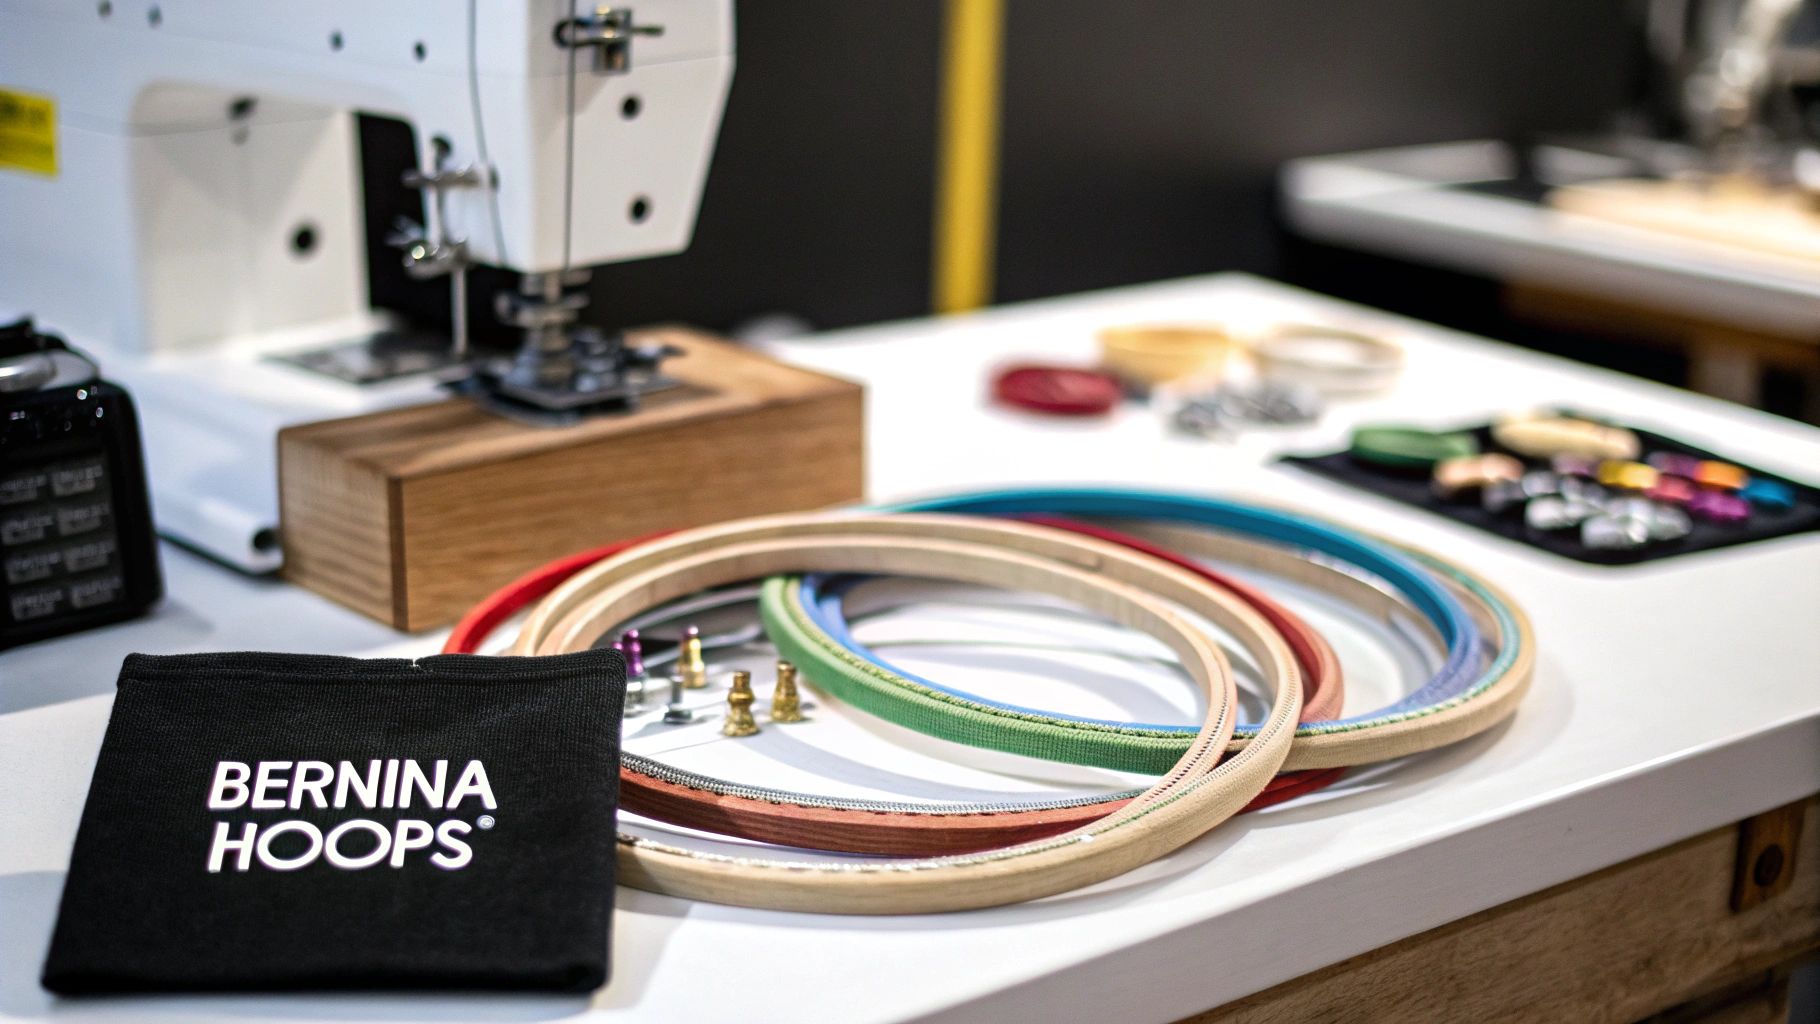
As a BERNINA dealer, we get to see up close just how much thoughtful engineering can change the entire embroidery experience. Sure, all hoops are designed to hold fabric, but BERNINA hoops are built to make the whole process smoother, more accurate, and a lot less frustrating—especially when you’re wrestling with a tricky project.
One of the first things people fall in love with is the ergonomic twist-lock mechanism. Instead of fumbling with a traditional screw that can be a real pain to tighten just right, this brilliant design lets you lock down your fabric with a simple, easy twist. You get a super-firm grip without a struggle, which means your fabric stays perfectly taut from the first stitch to the last.
Beyond the standard hoop sizes for embroidery, BERNINA has developed a whole lineup of specialty hoops that solve some of the most common creative headaches. Each one is a purpose-built tool designed to help you nail projects that might otherwise feel completely out of reach.
These specialty accessories really open up a world of possibilities:
These aren't just extra accessories; they're clever solutions that stretch what your machine—and your creativity—can do.
What really makes the BERNINA ecosystem shine is how its technology integrates so seamlessly with these hoops. The Pinpoint Placement feature is the perfect example of this, designed to give you perfect alignment every single time.
Pinpoint Placement is a feature that lets you precisely position your design on the fabric after it’s already been hooped. You can literally use the machine’s screen to nudge the design into the exact spot you need it, which guarantees flawless results.
This completely takes the guesswork and stress out of getting your alignment perfect. It turns what used to be challenging tasks—like adding a monogram to a tiny shirt pocket or perfectly centering a design on a quilt block—into simple, foolproof steps. By pairing intuitive hoops with smart technology, BERNINA gives you the confidence to bring your most ambitious ideas to life.
When you first unboxed your embroidery machine, it probably came with a standard hoop or two—perfect for getting your feet wet. But as you get more ambitious with your projects, you'll quickly realize that thinking of new hoops as a strategic upgrade, rather than just another expense, is one of the best investments you can make in your craft.
Having the right hoop for the job is a total game-changer. It’s not just about convenience; it saves time, cuts down on stabilizer waste, and gives you much cleaner, more professional-looking results. Just think about using a huge hoop for a tiny monogram—you'd waste a big sheet of stabilizer and struggle to get the fabric tension just right.
Imagine you’re trying to stitch a small logo onto a polo shirt pocket. Trying to wrangle that small area into a big 5x7 hoop would be a nightmare. But if you have a 4x4 or a specialty compact hoop on hand? The job becomes simple, precise, and frankly, a lot more fun. This is where having a variety of hoop sizes for embroidery really proves its worth.
This need for versatility is a big reason why home crafting is booming. The global market for embroidery hoop sets was valued at a whopping USD 1.2 billion in 2023 and is on track to nearly double by 2032. That surge is all thanks to crafters like us who know that having the right tools opens up a whole new world of creative possibilities. If you're curious, you can learn more about these craft industry findings.
A well-rounded hoop collection empowers you to say "yes" to more projects. It removes limitations, allowing you to tackle everything from delicate baby clothes to expansive quilt blocks with confidence and ease.
At the end of the day, owning a few different hoop sizes just makes embroidery more enjoyable. Instead of fighting to make one hoop work for everything, you can grab the perfect tool for the task, which guarantees better tension and a flawless stitch-out. That efficiency doesn't just save you money on supplies; it saves your most valuable resource—your creative energy. Your projects will look better, and you'll find yourself even more in love with the craft.
As you get deeper into machine embroidery, you're bound to run into a few head-scratchers, especially when it comes to hooping. Don't worry, we've all been there! Let's clear up some of the most common questions we get from embroiderers just like you.
This is a big one, and the short answer is almost always no. Think of embroidery hoops like keys cut for a specific lock. Each brand designs its hoops with a unique attachment system that's made to fit their machines perfectly.
A BERNINA hoop simply won't connect to a Brother machine, and trying to force it could lead to some really expensive damage to your embroidery arm. Sticking with hoops made specifically for your machine’s make and model isn't just a recommendation—it’s the best way to keep your machine safe and sound.
"Floating" is a fantastic trick to have up your sleeve. Instead of hooping your fabric and stabilizer together, you hoop just the stabilizer. Then, you secure your fabric on top of that taut surface, usually with a light temporary adhesive spray or by using a special sticky-backed stabilizer.
So, when would you use this technique? It's a lifesaver for materials that just don't like being clamped in a hoop.
Floating gives you a way to stitch on all sorts of challenging items without risking damage or distortion.
The whole point of floating is to give your fabric a stable foundation without having to clamp it directly. Mastering this little trick opens up a whole new world of projects you can tackle.
Okay, let's break this down, because there are two different scenarios here.
First, if a design file is larger than your machine's maximum embroidery field (the biggest area it's physically capable of stitching), then unfortunately, you won't be able to stitch it out.
However, if the design is within your machine's capabilities but just too big for any single hoop you own, you've got options! This is where multi-hooping comes in. Using your embroidery software, you can split the design into smaller, manageable sections. The software is smart enough to add special alignment stitches, which act as guides to help you perfectly re-hoop the fabric for the next section. It’s a clever way to create massive, seamless embroideries piece by piece.
Here at High Country Quilts, we live and breathe this stuff. We can help you find the perfect BERNINA hoops and accessories for whatever project you're dreaming up next. Swing by the store to chat, or check out our online selection at https://hcquilts.com to level up your creative game.
At High Country Quilts we care deeply about community. With our experiences in retail, we know that a store is not only a place to shop but also a place for the community to gather and share. During this busy...

Hi! We’re Adam and Renee Wheaton, the new owners of High Country Quilts! For more than 40 years, we’ve owned and operated vacuum and sewing businesses. Following in Renee’s father’s footsteps after he retired from All Discount Vacuum and Sewing in Colorado...


Leave a comment