

We Love Our Quilting Community
At High Country Quilts we care deeply about community. With our experiences in retail, we know that a store is not only a place to shop but also a place for the community to gather and share. During this busy...


Finishing a quilt by hand is the classic way to do it. You’re essentially folding your binding fabric over the raw edges and stitching it down, all by hand. It’s a technique loved by quilters for the nearly invisible, soft, and incredibly durable finish it creates. This final step can truly elevate a quilt, turning it from a cozy blanket into a family heirloom. It’s also a wonderfully meditative process that connects you to a long, rich history of the craft.
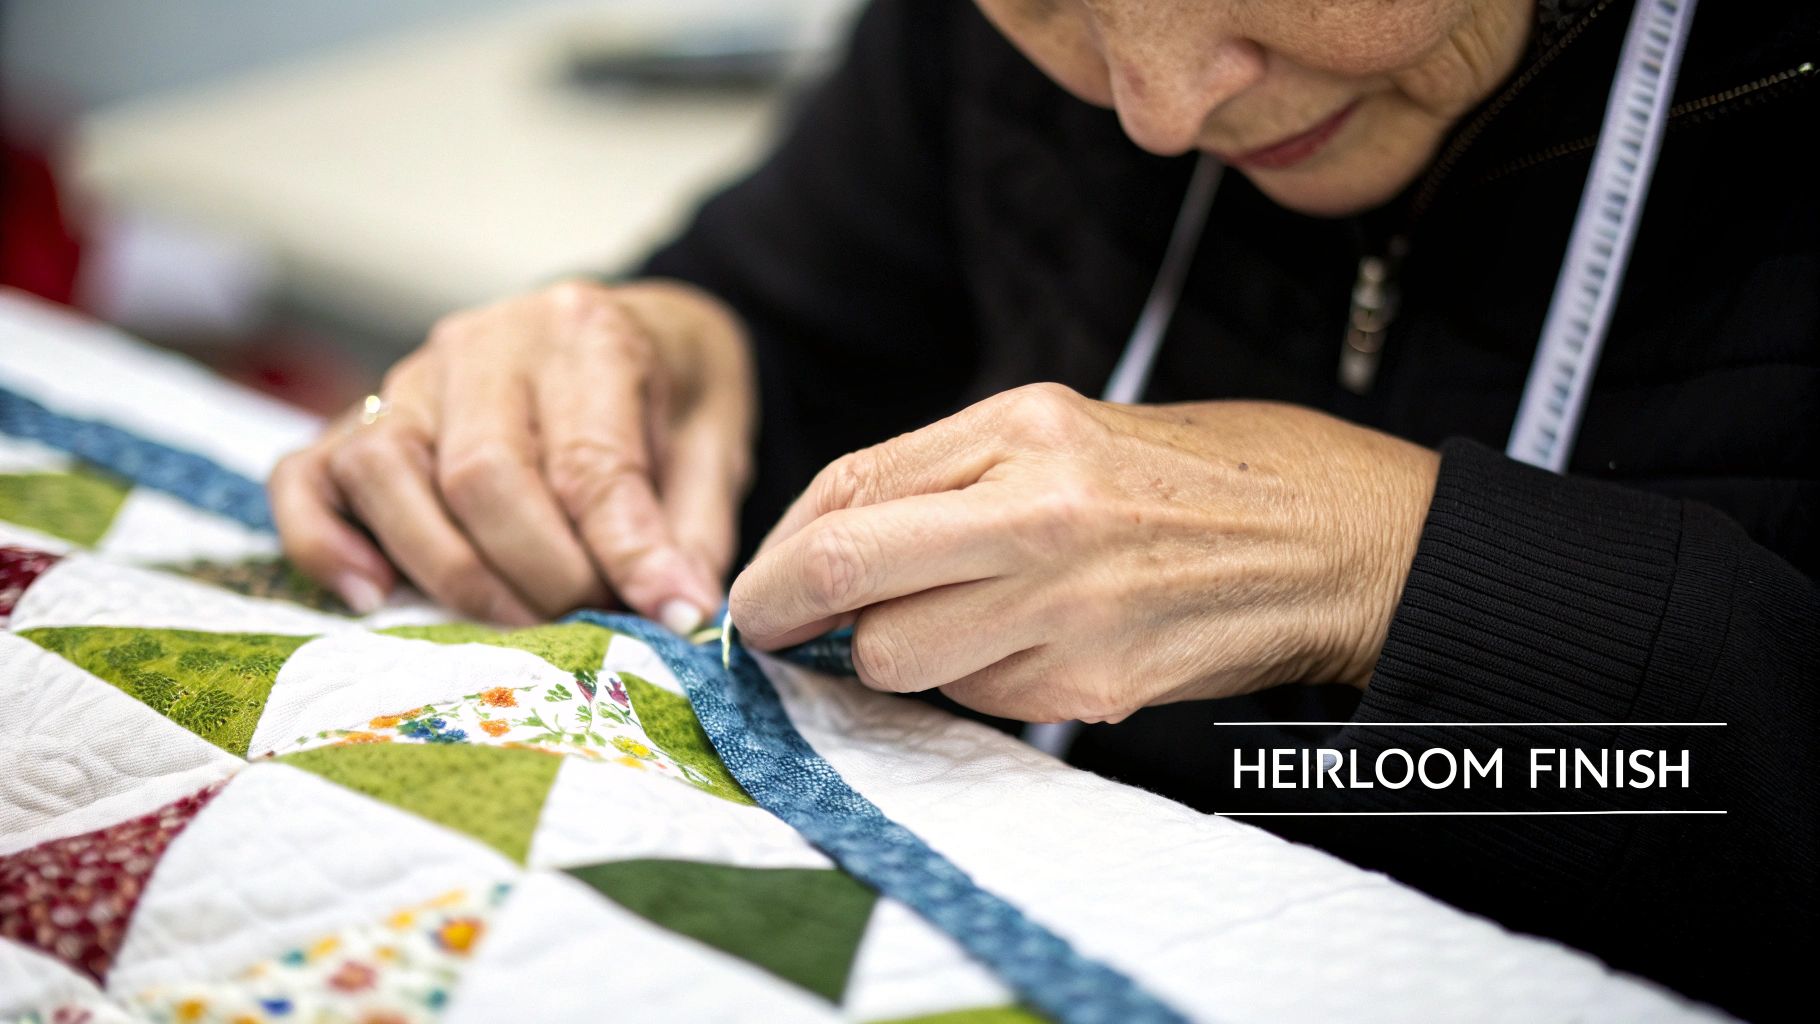
In a world full of quick fixes and machine shortcuts, taking the time to hand-bind a quilt might seem a bit old-fashioned. But there's a good reason this timeless technique is still so cherished. It’s not just about tradition; it’s about achieving a level of quality and a personal connection that a sewing machine just can't match.
There's a unique satisfaction that comes from this slow, rhythmic work. As you meticulously fold the fabric and guide your needle through the layers, you're adding the final, personal signature to your quilt. This last step becomes a quiet celebration of all the hours you’ve poured into your project.
A machine-bound edge is fast, no doubt, but it can often feel stiff and bulky. Hand binding, on the other hand, results in a much softer, more flexible edge that drapes beautifully. The stitches are neatly tucked away, creating a clean, seamless line that lets your quilt top be the star of the show. The result is a finish that not only looks better but holds up better, too.
Here’s why so many of us swear by it:
When you choose to hand-bind, you're also connecting with generations of quilters who came before you. This method was a fundamental part of quilt-making, especially during the golden age of American quilts in the 19th century. As the American cotton industry grew after 1800, quilting became more widespread, and hand stitching was cemented as a hallmark of quality craftsmanship. You can dive deeper into this fascinating past with resources on quilting history from the Library of Congress.
Choosing to hand-bind is an investment in your work. It's a declaration that the final details matter, transforming your project into a lasting piece of art that can be cherished for generations.
Ultimately, hand binding a quilt is a conscious choice to put craftsmanship before speed. The time you put in pays off beautifully, giving you a durable, gorgeous finish that honors both your own hard work and the rich tradition of quilting.
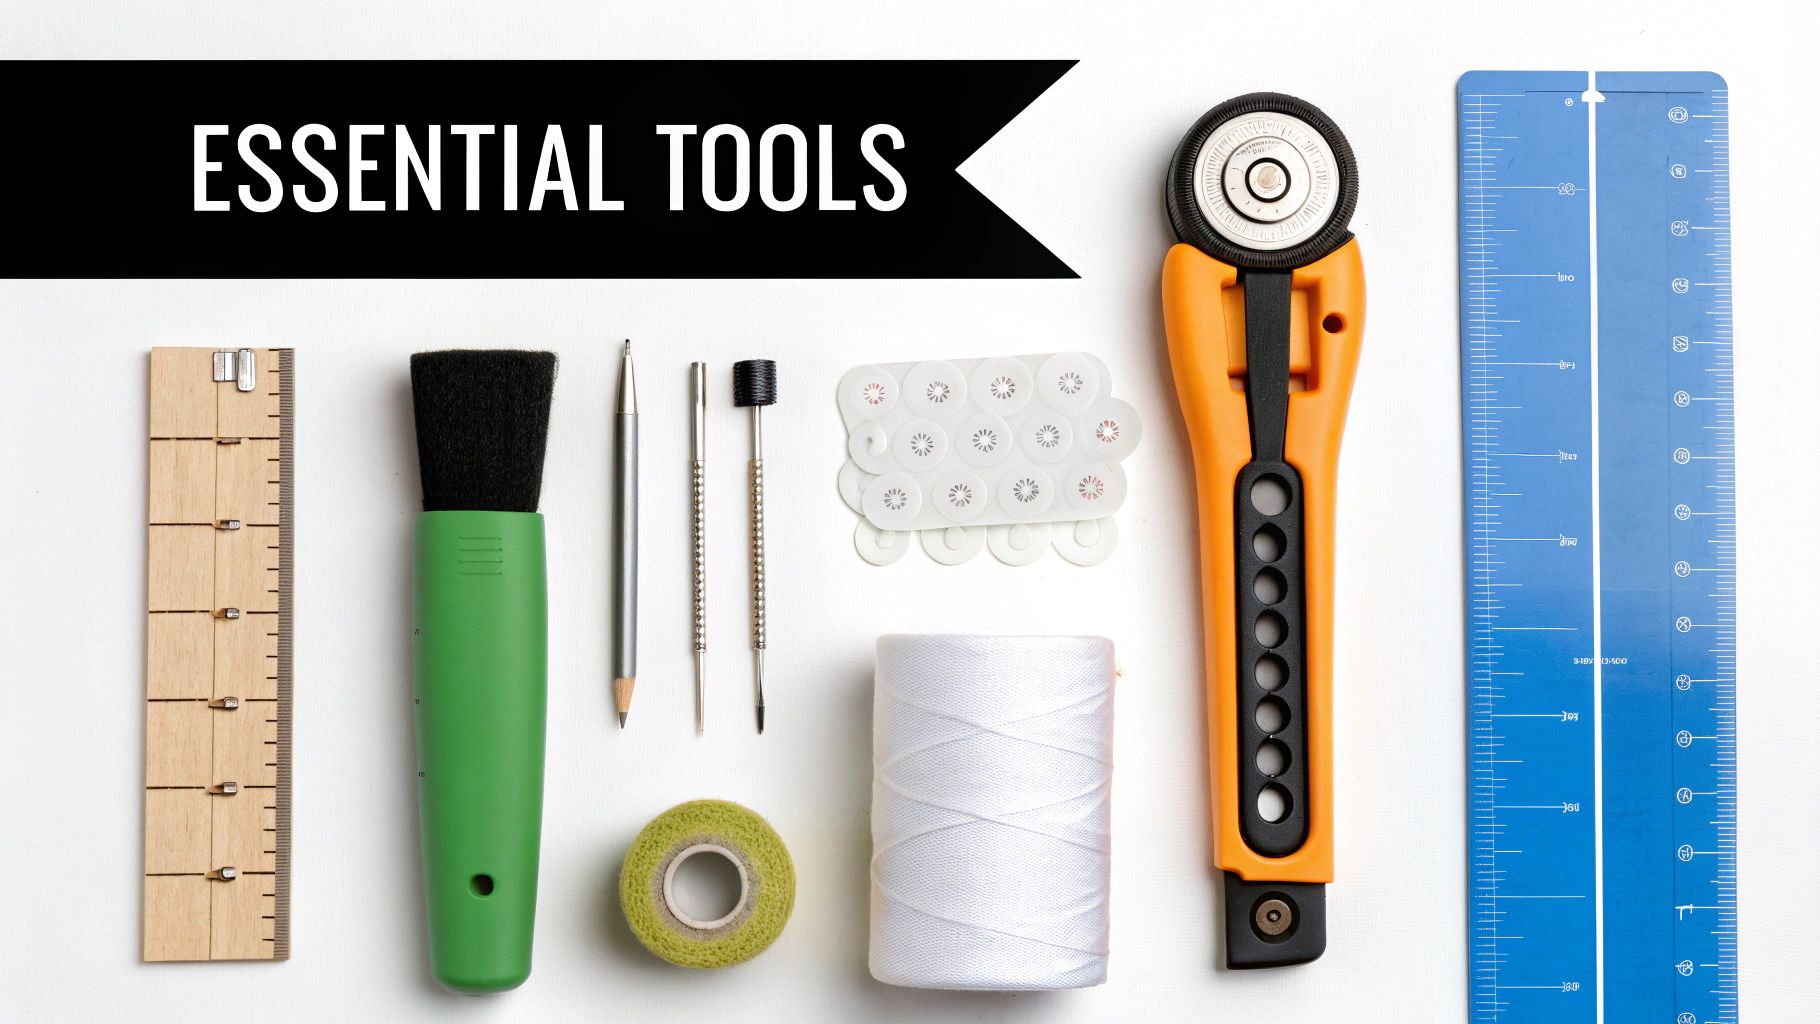
Before you can settle into the rhythmic, meditative process of hand-stitching your binding, you need to gather the right supplies. Having the proper tools isn’t just about making the job easier; it’s about setting yourself up for a beautiful, professional finish that will last for years. Think of this as gathering your ingredients before you start cooking—it makes everything flow so much better.
The first major task is cutting your fabric strips, and for that, precision is everything. A sharp rotary cutter, a good self-healing mat, and a long quilting ruler are non-negotiable here. I can't stress this enough: start with a fresh blade in your cutter. A dull one will only snag and stretch your fabric, leading to a wavy, uneven binding down the line.
With your binding strips cut and ready, the real magic begins with your needle and thread. The whole point of hand binding is to create a nearly invisible finish where the stitches just melt into the fabric. The best way to achieve this is with a high-quality 50wt cotton thread that perfectly matches your binding fabric. Its fine texture helps it sink right in. I personally swear by brands like Aurifil or Mettler for their strength and massive color selection.
Choosing the right needle is a surprisingly personal decision, but it can make a world of difference for your hands, especially on a big quilt. There are two main camps when it comes to hand-binding needles:
If you're unsure, grab a pack of each in a size 9 or 10. Try them both out and see what feels like a natural extension of your hand.
You need something to hold your binding securely against the quilt edge while you work. For decades, quilters used straight pins, and they certainly get the job done. But if you haven't tried binding clips yet, you're in for a treat.
I made the switch to clips a few years ago and have never looked back. They don’t warp the fabric layers, you can slide them along as you go, and you completely eliminate the "ouch" factor of accidentally pricking your finger while the quilt is bundled in your lap.
The table below breaks down the key items you'll need, my personal recommendations, and a few tips I've picked up over the years.
This table compares different options for key binding materials to help you select the best ones for your project.
| Item | Recommended Option | Why It's a Good Choice | Pro Tip |
|---|---|---|---|
| Thread | 50wt Cotton (e.g., Aurifil) | Fine weight sinks into fabric for an invisible finish. Strong and available in countless colors. | When in doubt, choose a thread color that is one shade darker than your fabric. It will blend in better than a lighter one. |
| Needle | Size 9 or 10 Betweens | Short and sturdy, offering excellent control for small, even stitches. | Buy a variety pack of needles. The perfect needle can vary depending on the fabric and batting thickness. |
| Fasteners | Binding Clips | Holds layers securely without piercing or distorting the fabric. Quick and easy to move as you sew. | Get more clips than you think you'll need! It's great to be able to clip a whole side of a quilt at once. |
| Thimble | Leather or Metal Thimble | Protects your finger from getting sore, allowing you to quilt comfortably for longer periods. | Try a few different styles to find one that fits snugly but doesn't feel clumsy. A good fit is crucial. |
Ultimately, whether you use clips or pins is up to you. But if you're just starting, I highly recommend giving clips a try. They let you focus purely on your stitching technique without any fuss.
And don't forget the small-but-mighty extras: a comfortable thimble to save your finger and a sharp pair of thread snips for clean cuts. With these tools by your side, you're ready to turn the final step of quilting into a truly enjoyable experience.
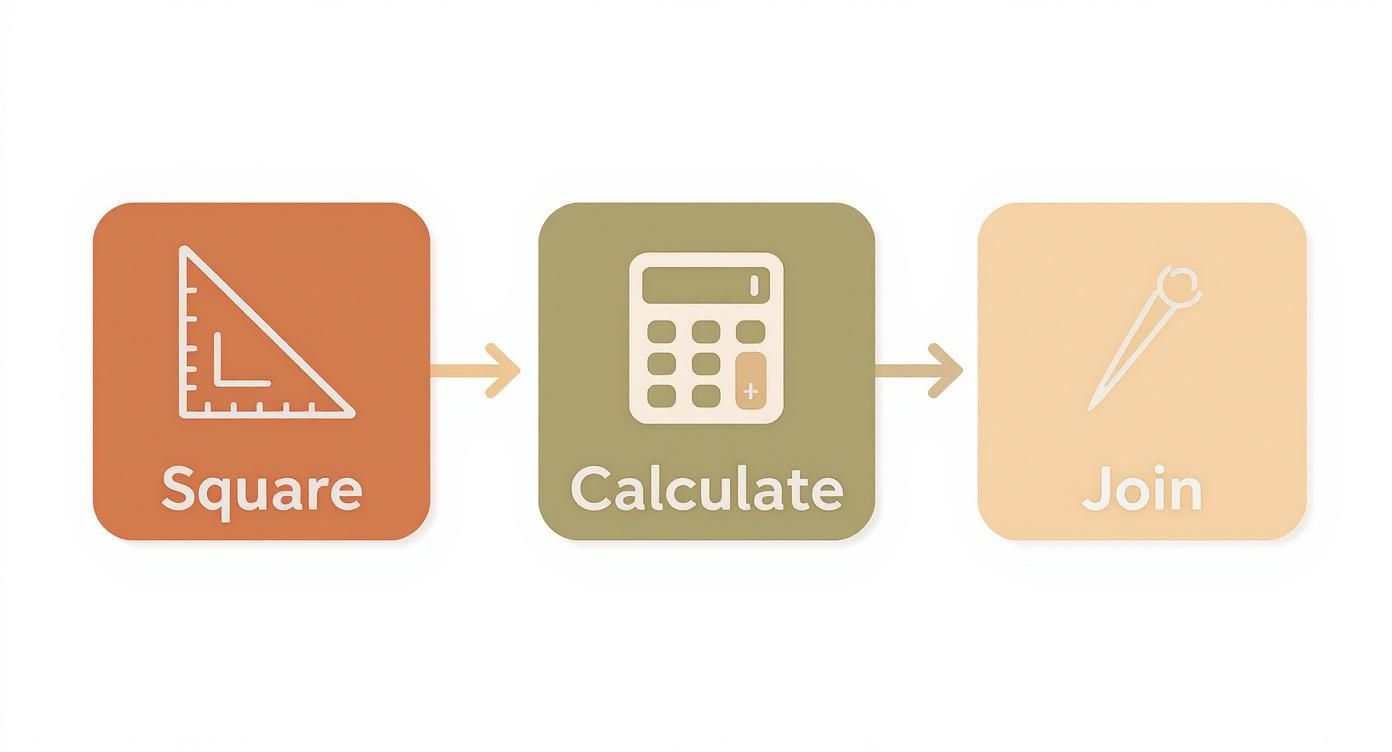
A beautiful hand-bound finish is all in the prep work. Seriously. Taking a little extra time now to get your quilt perfectly square and your binding just right will save you a world of frustration later. Think of it as laying a solid foundation—it makes the final steps so much more enjoyable and the result so much cleaner.
The first order of business is to square up your quilt. After all the piecing and quilting, it’s completely normal for the edges to be a bit wavy or uneven. Trimming everything up now is the secret to getting a binding that lies perfectly flat and corners that look sharp and professional.
Grab a large square ruler and a long acrylic one. You’ll want to line up the ruler's grid with the seams or blocks in your quilt top. This is a great little trick to make sure your cuts are perfectly parallel to your piecing. With a sharp rotary cutter, carefully trim away the excess batting and backing along one side.
Now, just rotate the quilt 90 degrees and do it again. Use that freshly cut edge and your square ruler to guarantee this new cut is perfectly perpendicular to the first one. Keep going until all four sides are straight and you’ve got four crisp, 90-degree corners.
With a perfectly squared quilt, you can now figure out exactly how much binding to make. There’s truly nothing worse than getting almost all the way around your quilt and realizing you’re a few inches short. A simple bit of math will save you from this nightmare every single time.
First, measure the perimeter. Just add up the lengths of all four sides. Let’s say you have a quilt that measures 60 inches by 70 inches.
Next, add an extra 10 to 12 inches to that number. This little bit of extra length is your safety net—it gives you plenty of room to join the ends and easily maneuver around the corners. So, for our example quilt, we'd need 260 + 12 = 272 inches of binding.
So, you know how long your binding needs to be, but how much fabric does that translate to? Most of us in the quilting world cut our binding strips 2.5 inches wide. It’s the gold standard for a reason—wide enough to fold over the edge without a struggle, but not so wide that it looks bulky.
To figure out how many strips to cut, just divide your total required length (our 272 inches) by the usable width of your fabric. Most quilting cotton is about 40-42 inches wide after you trim off the selvages.
Since you can't cut a sliver of a strip, you always round up. In this case, you’ll need to cut 7 strips, each 2.5 inches wide. To find the total yardage needed, just multiply the number of strips by the width: 7 strips x 2.5 inches = 17.5 inches. That’s just under half a yard of fabric.
Pro Tip: Always join your binding strips with a diagonal seam. This is one of those non-negotiable steps for a professional finish. It distributes the bulk of the seam allowance so you don’t get a noticeable lump in your binding. A straight seam creates a thick, stiff spot that really disrupts the smooth look you’re going for.
Creating that diagonal seam is easy. Lay two of your binding strips right sides together, perpendicular to each other, to make an "L" shape. Using a fabric marker, draw a diagonal line from the top left corner to the bottom right where the strips overlap.
Stitch directly on that line. Here’s a little sanity check I always do: before trimming, fold the top strip back to make sure it creates a perfectly straight line of binding. Once you’ve confirmed it’s correct, trim the excess fabric, leaving a ¼-inch seam allowance.
Press the seam open—this helps reduce the bulk even more. Keep adding strips one by one until you have one long, continuous piece of binding.
The art of hand binding a quilt is a true mark of quality craftsmanship, celebrated for creating an edge that is both beautiful and incredibly durable. This traditional method, where you machine-sew the binding to one side and then patiently hand-stitch it to the other, is a hallmark of award-winning quilts. You can dive deeper into the rich history of quilting traditions over at Britannica.
Finally, take your long binding strip and press it in half lengthwise, with the wrong sides together. And just like that, your binding is prepped and ready. You’ve set the stage perfectly for the satisfying final step of stitching it to your masterpiece.
With your binding all prepped and pressed, it's time for what I think is the most rewarding part of the entire process. This is where you get to settle in and see your quilt come together with a finish that’s not only beautiful but also incredibly durable.
First things first, we’ll attach the binding to the quilt top with a quick seam on the machine before we get to the meditative part of hand stitching.
Grab your quilt and start sewing the folded binding to the front. I always start somewhere in the middle of a side, not right at a corner. Make sure to leave an 8 to 10-inch "tail" of unsewn binding where you begin—we'll need that later. If you have a walking foot, now is the time to use it! Stitch the binding down with a perfect quarter-inch seam allowance, stopping about a quarter-inch from the first corner.
Those crisp, mitered corners are what give a quilt that professional, polished look. They can seem intimidating, but it’s really just a simple, clever fold. Once you've stopped a quarter-inch from the corner, backstitch a little and cut your threads.
Take the quilt off your machine. Now, fold the binding strip straight up, away from the quilt, which creates a neat 45-degree angle at the corner. Hold that fold in place with your finger, then bring the binding strip straight back down so it lines up with the raw edge of the next side of the quilt. That first fold should be tucked neatly underneath, making a little fabric triangle.
Pin that fold or use a binding clip to hold it steady. Begin stitching again right from the very edge of this new side, going through all those folded layers. Just repeat this little dance for all four corners, and you're ready for the hand-stitching magic.
The blind stitch, sometimes called a ladder stitch, is the absolute heart of hand binding. The whole point is for it to be invisible from the front, securing the binding to the back without a single stitch showing. It takes a bit of precision, but I promise it quickly becomes a rhythmic, relaxing motion.
To get going, wrap the binding around to the back of your quilt and hold it in place with binding clips. Thread your needle with a single strand of 50wt cotton thread—an 18-inch piece is perfect—and tie a small quilter’s knot at the end.
All that prep work of squaring the quilt and joining the strips is what sets you up for success here. It ensures your fabric is perfectly ready for this detailed handwork, which is the best way to prevent puckers and uneven edges.
Key Takeaway: The secret to an invisible stitch is all about where you place your needle. Your goal is to catch just a few threads of the backing fabric and then travel through the fold of the binding itself.
Here’s how you do it:
Keep this pattern going all the way around the quilt. Your stitches on the back should look tiny and consistent. Perfecting this stitch and getting those sharp corners relies heavily on your hand dexterity, which, like any skill, gets so much better with a little practice.
Getting your tension right is crucial. If you pull the thread too tight, the binding will pucker and look strained. If it’s too loose, the binding will look floppy and could snag on things later. You're looking for that "Goldilocks" tension—just right, so the binding lies perfectly flat.
A big tip: don't try to be a hero and use a super long piece of thread. It seems more efficient, but trust me, it’s far more likely to get tangled up in a frustrating knot. Working with shorter, 18-inch lengths is much easier to manage. When you're running out of thread, just tie another small knot close to the fabric, pop it under the binding like you did at the start, and trim the tail.
As you get settled in, it's worth appreciating the time this beautiful finish takes. Let’s be real: hand binding is a much slower process than zipping it all up on a machine. Surveys of fellow quilters show that hand-stitching the binding on an average-sized quilt can take anywhere from 8 to 20 hours. With a typical stitch length of 1/8 inch, that's roughly 6,000 to 8,000 stitches to finish the job.
This deliberate pace is honestly part of the appeal for me. It turns the final step into a meaningful part of the creative journey. As you come back around to where you started, you'll need to join the two binding tails. Trim them so they overlap by exactly the width of your binding (usually 2.5 inches). Unfold the ends, place them right sides together, and sew a diagonal seam to join them into one continuous loop. Refold the binding, and stitch that last little section down. And just like that, you've completed the final, most artful step of finishing your quilt.
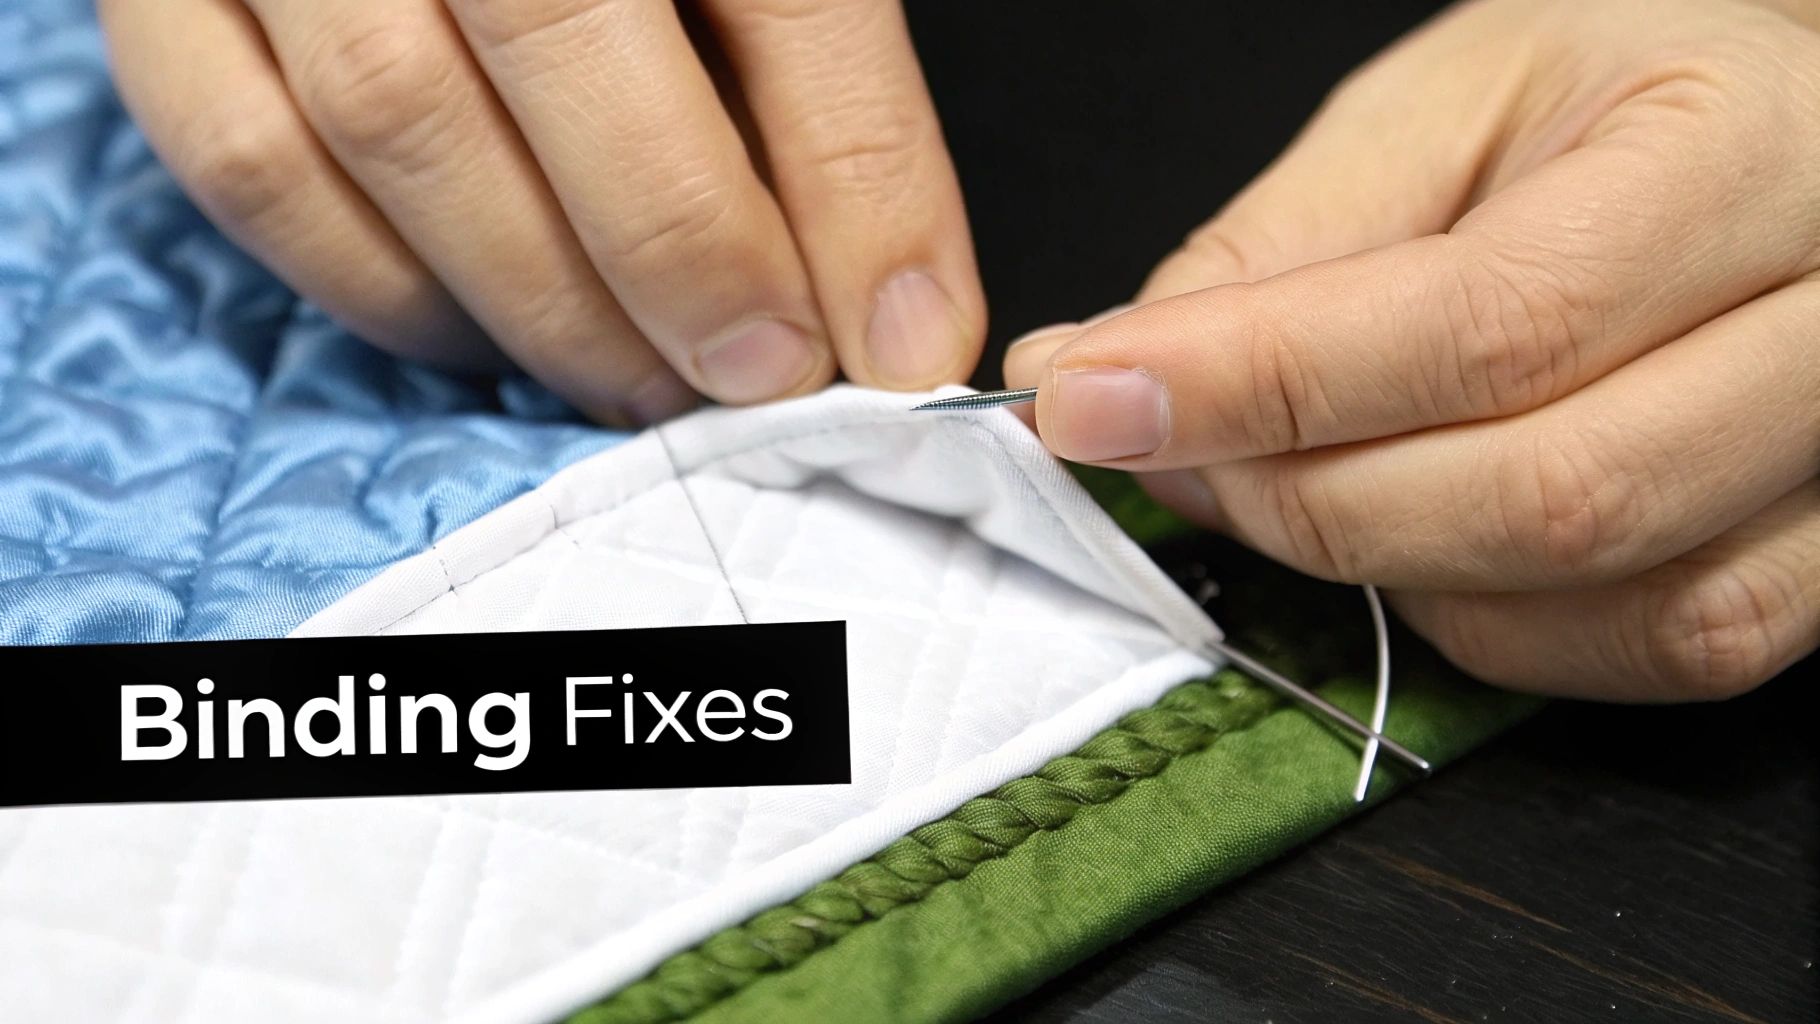
Even after years of quilting, a few little hiccups can pop up during the hand-binding process. It happens to all of us. The good news is that most of these common issues are easy to fix and are fantastic learning opportunities. Think of this as your go-to guide for turning those "oops" moments into a beautifully flawless finish.
One of the most frequent frustrations is a wavy or ruffled binding. Nine times out of ten, this is because the binding strip got stretched a little too much while it was being sewn to the quilt's edge. It's an easy trap to fall into, especially when you're wrangling a large, heavy quilt through your sewing machine.
If you spot this waviness after machine-sewing the binding to the front, the best course of action is to grab your trusty seam ripper. I know, nobody loves unpicking, but it's worth it. Carefully remove the stitches, give the binding a quick press with a warm iron to help it relax, and then sew it back on. This time, focus on letting the machine's feed dogs do all the work—your only job is to guide, not pull.
Another classic challenge is finding little puckers in the fabric along your hand-stitched seam on the back. This is almost always a sign that your thread tension is a tad too tight. You're simply pulling each stitch with a little too much oomph, causing the fabric to bunch up.
To fix it, you just need to ease up. Consciously pull each stitch until it’s snug, but not tight, allowing the binding to lie perfectly flat against the quilt back. If you have a section that's already puckered, you can often gently tug the fabric on either side of the seam to release the tension. For more stubborn puckers, it’s best to just snip a few stitches, pull them out, and restitch that small area with a looser hand.
As for inconsistent stitches—some long, some short—that really just comes down to practice and muscle memory. A few things can help you get there faster:
Ah, the mitered corner. It's a thing of beauty when it's crisp and flat, but a real pain when it ends up bulky or rounded. This usually happens for two reasons: the fabric wasn’t folded precisely, or there’s just too much batting and fabric bulk trapped inside.
Before you start hand-sewing a corner, take a second to poke something pointy—like a turning tool or even a closed pair of scissors—gently into the corner fold. This helps ensure the fabric is fully turned out and the point is sharp. If it still feels too thick, you might need to carefully trim a tiny bit of the excess batting and seam allowance from inside the fold. Just be very, very careful not to snip through your machine stitching!
Here's a pro tip I swear by: To reduce bulk before you even sew, trim the seam allowance at a 45-degree angle right at the corner point. This removes a little triangle of fabric right where things tend to get crowded.
Realizing your binding strip isn't going to make it all the way around the quilt is a heart-sinking moment. But take a deep breath—you do not have to rip the whole thing off.
Simply cut another binding strip of the same width. Join it to the end of the binding that's already attached using the exact same diagonal seam method you used to join your strips initially. Press the seam open, and then just keep on sewing it to the quilt. Once it's all folded over and stitched down by hand, no one will ever spot the join. These little saves are just part of the journey, and they make you a more confident quilter with every project.
Once you get into the rhythm of hand binding, you'll find that little questions start to pop up. It happens to everyone, even quilters who have been at it for years. I’ve put this section together to be your go-to resource for those "what if" moments that come up mid-stitch.
Think of it as having a quilting friend right there with you, ready to help you sort through those small but important details. From choosing the right thread to tackling finicky fabrics, let’s get those questions answered.
You can, but I almost always steer people toward 100% cotton thread. It really comes down to how the materials in your quilt will age together. Your quilt top, backing, and binding are all most likely cotton, and you want your thread to play nicely with them over the long haul.
Cotton thread shrinks and wears at a similar rate to your cotton fabric, so everything will stay smooth and even through countless washes. Polyester, on the other hand, is much stronger than cotton. Over time, that super-strong thread can actually act like a tiny saw and cut right through the fibers of your binding. It's a real phenomenon quilters call "thread cutting," and it's best to avoid it.
Treating your hand-bound quilt with a little extra care in the laundry will keep those beautiful stitches looking their best for years to come. Your handwork is surprisingly durable, but a gentle approach is always a good idea.
Here are the best practices I follow for washing my own quilts:
Working with beautiful fabrics like cotton lawn, voile, or sateen for a binding can feel a bit like wrestling an octopus, but the gorgeous, drapey finish is so worth it! The secret is to give the fabric some stability before you ever make a cut.
A lightweight, spray-on starch or a starch alternative like Best Press is your best friend here. Just give your fabric a good spray and a hot press before cutting your strips. This temporarily adds body to the fabric, making it behave much more like regular quilting cotton and stopping it from stretching and sliding all over the place.
I get asked about stitch length all the time. A good goal is to aim for about 8-12 stitches per inch. But honestly, consistency is far more important than the exact count. A row of evenly spaced stitches will always look more polished than a mix of tiny stitches and long ones.
Ah, the great pre-washing debate! You'll find passionate quilters on both sides of this argument. My advice is simple: be consistent with what you did for the rest of the quilt.
If you pre-washed your top and backing fabrics, you absolutely need to pre-wash your binding fabric. This ensures all your materials have already shrunk and will behave the same way when the quilt is eventually washed. If you didn't pre-wash the main fabrics, adding an unwashed binding is asking for trouble—it can shrink up in the first wash and leave you with a puckered, wavy edge.
At High Country Quilts, we believe that every stitch tells a story. Whether you're a seasoned artisan or just starting your quilting journey, we have the fabrics, tools, and expert advice to help you create something beautiful. Explore our classes and extensive collection at https://hcquilts.com to get inspired for your next project.
At High Country Quilts we care deeply about community. With our experiences in retail, we know that a store is not only a place to shop but also a place for the community to gather and share. During this busy...

Hi! We’re Adam and Renee Wheaton, the new owners of High Country Quilts! For more than 40 years, we’ve owned and operated vacuum and sewing businesses. Following in Renee’s father’s footsteps after he retired from All Discount Vacuum and Sewing in Colorado...


Leave a comment