

We Love Our Quilting Community
At High Country Quilts we care deeply about community. With our experiences in retail, we know that a store is not only a place to shop but also a place for the community to gather and share. During this busy...


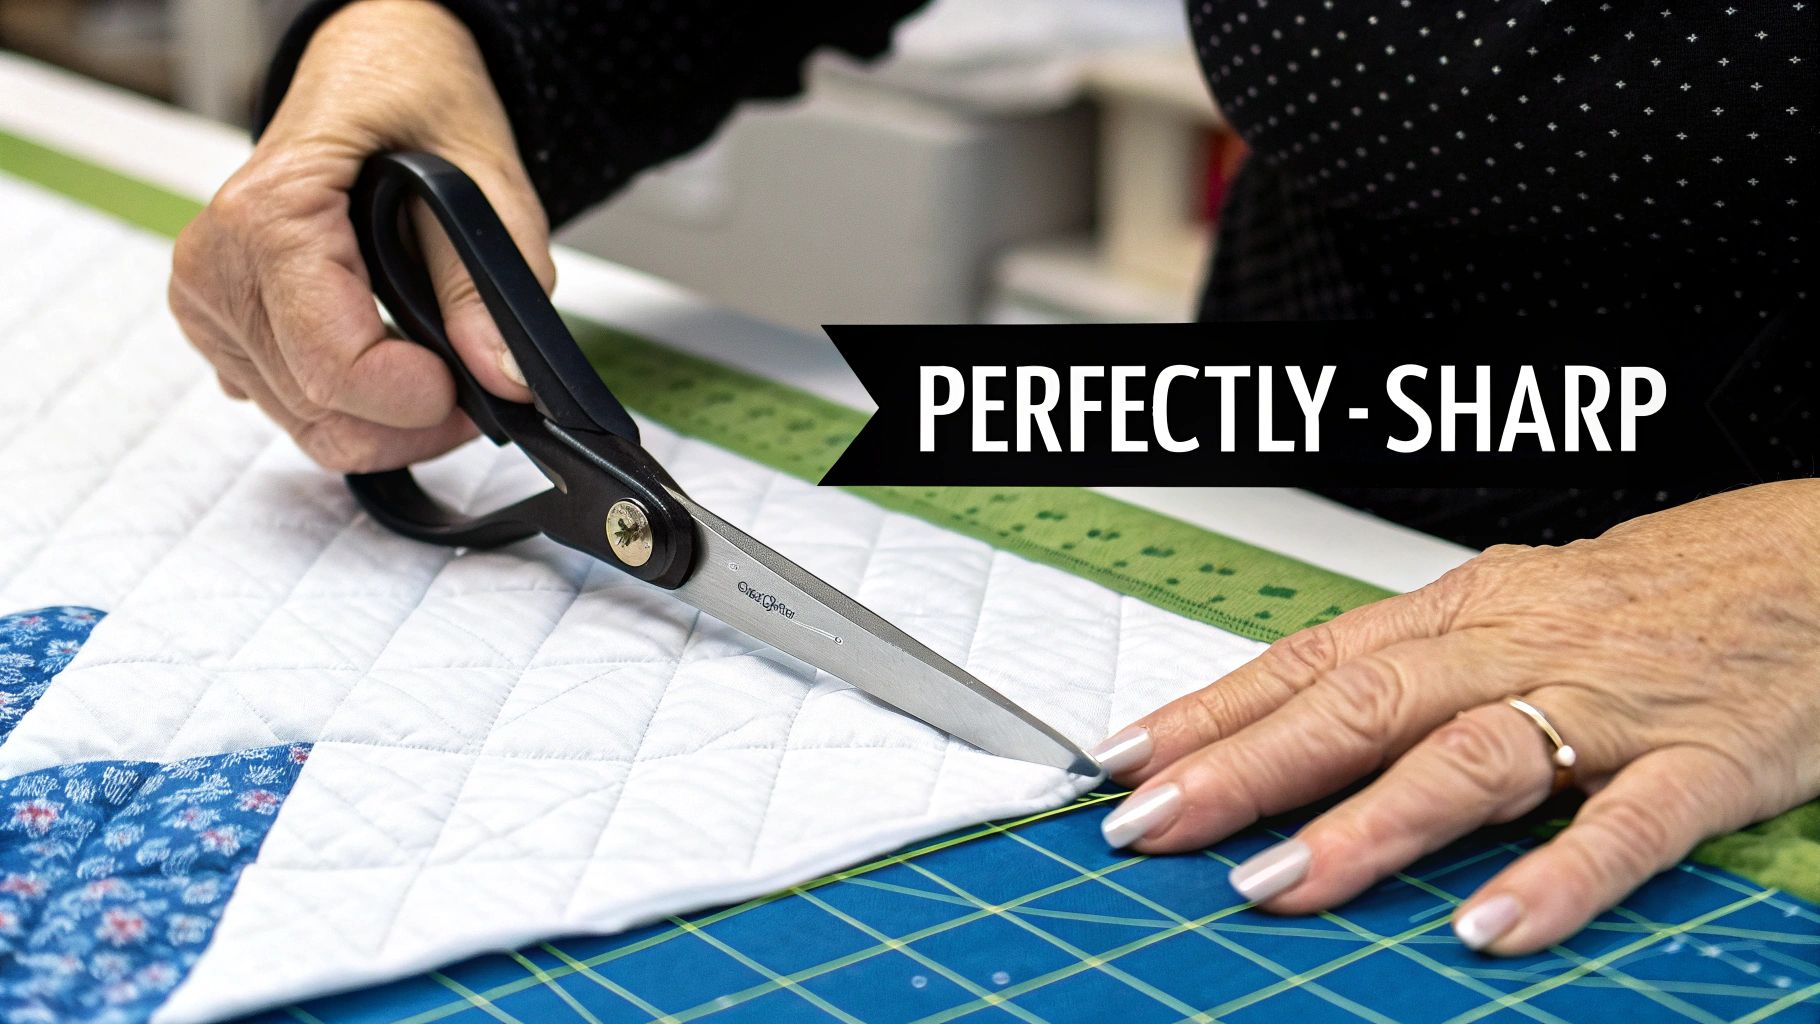
If you’ve ever felt that frustrating drag of a dull blade through a beautiful piece of fabric, you know the truth: sharp scissors are the heart of precision quilting. Keeping your Gingher scissors in top shape is the key to maintaining their legendary performance, and that means knowing how to sharpen them correctly for those crisp, effortless cuts every single time.
This guide is your complete resource for keeping your favorite tool in perfect condition, whether you decide to tackle it yourself or send it to the pros.
A perfectly sharp pair of Gingher scissors isn't a luxury; it's a fundamental requirement for high-quality quilting and sewing. When your blades are honed to a razor's edge, they slice through fabric fibers cleanly, preventing the fraying and distortion that can ruin a project. This level of precision is absolutely critical when you're working on intricate quilt blocks where even a millimeter of error can throw off an entire design.
For quilters, the difference between a sharp and a dull blade becomes painfully obvious when cutting delicate materials. A dull edge will snag or pull threads on fine fabrics like silk or batik, ruining expensive pieces and causing a world of frustration.
A sharp blade is an extension of your creative intent, translating your vision into clean lines and perfect shapes without a fight. It's about working with your fabric, not against it.
Gingher scissors are a long-term investment, famous for their incredible durability. But you only get that legendary performance if you maintain the blades. Skipping regular sharpening has real consequences that go way beyond just a messy cut.
Here's what you're really risking with a dull pair of scissors:
Feedback from sewing communities consistently shows that using sharp scissors can reduce fabric snags by up to 70%—that’s a huge difference. Getting that perfect edge is about more than just the sharpening motion; it’s also about understanding the blade itself. For a deeper dive, learning about selecting the right blade for precision tasks offers some great context. This guide will walk you through everything you need to know to keep your Ginghers in prime condition, protecting your investment and making sure your creative process remains a joy.
Before we even get into how to sharpen your Ginghers, let's talk about when. It's a skill every sewist and quilter needs to develop—learning to spot the subtle cues that your blades are starting to lose their edge. Pushing through with dull scissors doesn't just lead to sloppy cuts; it can chew up expensive fabric and put a surprising amount of strain on your hands.
The most obvious sign is that clean, satisfying snip is just… gone. A sharp pair of Ginghers should feel like they're gliding. When they start to go dull, you'll feel them pushing the fabric away instead of slicing right through it.
Start by paying close attention to the fabric itself. A dull blade won't leave a crisp, clean line. Instead, you might notice the fabric folding or creasing right at the cut line, almost like it's being pinched rather than severed. This is especially easy to spot on quilting cottons and batiks.
The sound is another dead giveaway. Your scissors might start making a faint ‘crunching’ or ‘chewing’ noise as they cut. You’ll really hear this when you’re cutting through multiple layers for a quilt block. That sound is the blades struggling to get through the fibers—a clear signal they’re not sharp enough for the job.
A perfectly sharp pair of Gingher scissors should feel like an extension of your hand, moving effortlessly through fabric. When you start to feel like you're fighting the tool, it's a clear signal that the blades need sharpening.
You'll also notice more snagging. This is a quilter's nightmare. A dull blade can easily catch and pull delicate threads on materials like silk, satin, or even those beautiful, high-thread-count batiks. One bad snag can ruin a whole piece of fabric you’ve been saving for the perfect project.
Beyond what you can see or hear, the way the scissors feel is probably the most reliable sign. Are you having to squeeze the handles harder or consciously push to get through the fabric? That’s it right there. This extra effort quickly leads to hand fatigue and soreness, which takes all the joy out of sewing.
Think about a classic quilting task, like trimming a stack of half-square triangles. A slightly dull pair of scissors will stumble over that bulky seam allowance. You end up with a chewed-up, jagged edge that makes it nearly impossible to get your points to line up perfectly.
It’s a classic example of how a seemingly small issue—a blade that's just a little off—can snowball. Suddenly, your blocks don't match, and the geometry of your whole quilt top is thrown off. Recognizing these early signs is the best way to save yourself time, fabric, and a whole lot of frustration.
Taking matters into your own hands and sharpening your own Gingher scissors is a genuinely rewarding skill. It not only keeps your favorite tool in perfect condition between professional servicings but also deepens your connection to your craft. While it does take a bit of patience and the right gear, learning the process means your scissors will always be ready for that next big project.
Before we dive in, let's talk about the most critical detail: Gingher scissors are famous for their precise "knife-edge" bevel. The entire goal of at-home sharpening is to maintain that original blade angle. If you change that angle, you risk damaging the scissors for good. A steady hand and a smooth, consistent motion are everything.
This is exactly what we're trying to prevent—those frustrating moments when your scissors snag, chew, or fold the fabric instead of slicing through it cleanly.
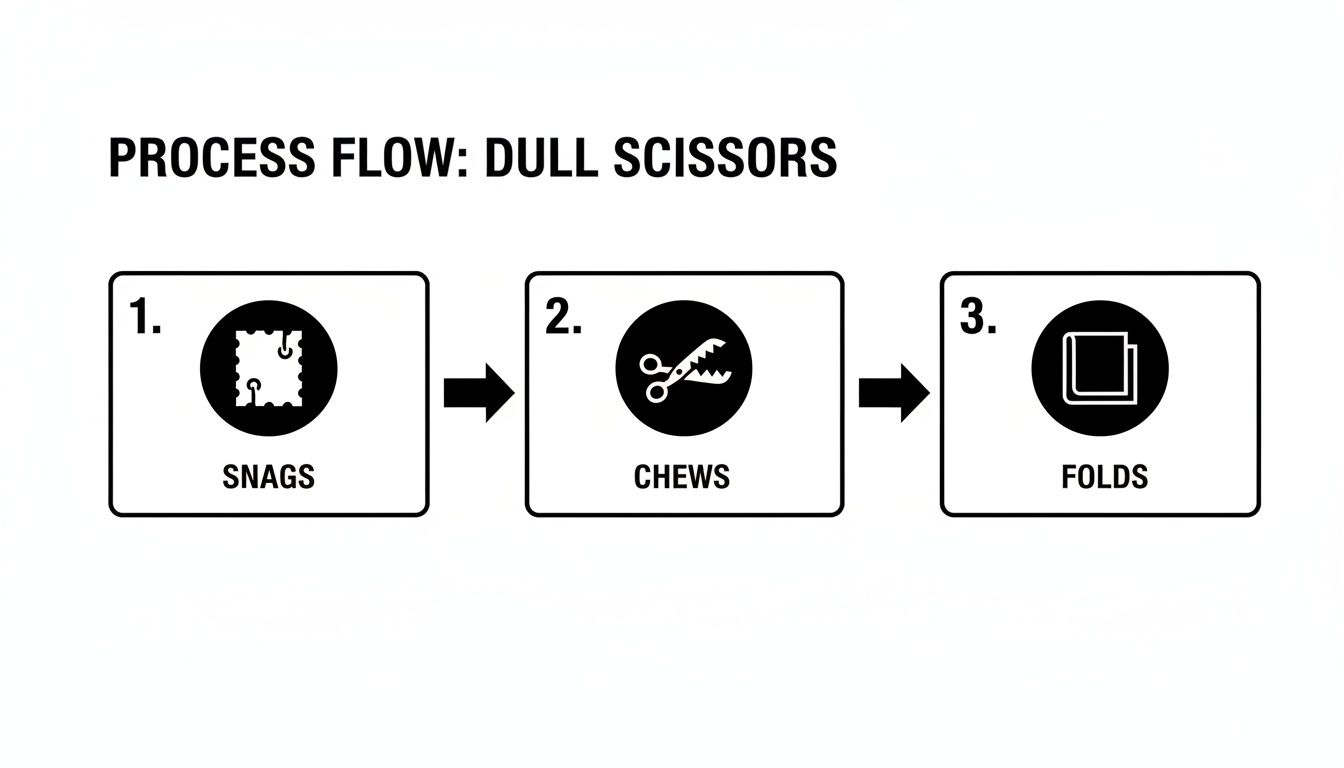
Every one of those issues comes from a blade that’s pushing fibers apart instead of shearing them. A sharp blade makes all the difference.
You wouldn’t start a quilt without the right fabric and rotary cutter, right? The same logic applies here. Grabbing the wrong kind of sharpener can actually do more harm than good, so let’s get your toolkit sorted.
Here's a look at the essential tools you'll need to do the job safely and effectively right at your sewing table.
| Tool | Primary Purpose | Pro Tip for Quilters |
|---|---|---|
| High-Quality Scissor Sharpener | To restore the cutting edge. | Look for one with a ceramic or diamond abrasive surface. Models with built-in angle guides are fantastic for beginners because they remove the guesswork. |
| Sharpening Stone (Optional) | For more advanced sharpening and restoring very dull blades. | If you're comfortable with freehand sharpening, a fine-grit whetstone (at least 6000 grit) offers incredible control, especially for a slightly nicked blade. |
| Soft, Lint-Free Cloths | Cleaning the blades before, during, and after sharpening. | Simple microfiber cloths are perfect. Keep a couple handy to wipe away metal filings and old residue. |
| Honing Oil or Water | Lubricating a sharpening stone. | This tiny step makes a huge difference. It lifts away metal filings (called swarf) so they don't clog up the stone's surface and dull your results. |
| Leather Strop (Optional) | Polishing the final edge to razor sharpness. | This is the secret to that factory-fresh feel. Stropping removes the microscopic burr left after sharpening for the smoothest cut imaginable. |
Remember, proper preparation is half the battle. Having your tools laid out on a stable, well-lit surface makes the entire process smoother and, more importantly, much safer.
With your tools at the ready, it’s time to bring back that signature Gingher glide. The key here is to work slowly and methodically. This is a job for precision, not speed.
First things first, give the blades a thorough cleaning. Use a soft cloth to wipe away any lint, thread bits, or adhesive gunk. If you have some stubborn residue, a little isopropyl alcohol on the cloth works wonders—just make sure the blades are completely dry before you start. You don't want any debris getting in the way.
Now for the main event. Open your scissors wide to work on one blade at a time. Rest your sharpener’s abrasive surface against the beveled edge, feeling for that perfect fit where it sits flush with the original factory angle. From there, draw the blade across the sharpener from the pivot all the way to the tip in one smooth, continuous stroke.
Consistency is your best friend here. Use light, even pressure. It’s far better to make several light passes than one heavy-handed one that could alter the angle. Depending on how dull the scissors are, you'll probably need between 5 and 15 strokes per blade.
After you've sharpened both blades, you’ll have a tiny, almost invisible metal burr along the cutting edge. The final step is to hone that away. You can do this by carefully drawing each blade across a leather strop. If you don't have one, simply opening and closing the scissors a few times can help knock that burr right off.
Finally, the moment of truth! Grab a scrap of quilting cotton or, for a real test, a single strand of thread. A truly sharp pair of scissors should snip that thread cleanly at the very tip without folding it over. If the cut isn't quite perfect, just repeat the process with a few more light, careful strokes.
In the world of sewing, how often you sharpen your tools has a direct impact on their lifespan. It's interesting to note that while a survey found 59% of Americans are willing to sharpen tools at home, over half admit they don't have the right equipment. For dedicated quilters, tools like the beloved 4-inch embroidery scissors can stay sharp through hundreds of thread trims, easily outlasting cheaper alternatives by 3 to 5 times with just a little care. You can explore more insights on Gingher tool performance and see just how much proper maintenance pays off.
Sometimes, the best thing you can do for your tools is to hand them back to the people who made them. For Gingher scissors, their official mail-in service is legendary in the quilting world for a reason. It's more than just getting a sharp edge; it's about restoring your scissors to that perfect, fresh-out-of-the-box condition.
Let’s be honest, at-home sharpening is great for a quick touch-up, but it can’t compare to a factory restoration. If your favorite pair has taken a tumble off the cutting table, has a few nicks from years of loyal service, or just feels tired, sending them home to Gingher is the absolute best move. It takes all the guesswork out of the process.
When your scissors arrive at the Gingher facility, they get a full spa treatment, not just a quick pass on a grinder. Their technicians perform a complete overhaul that’s key to getting back that signature buttery-smooth cutting action.
Here’s a look at what they do:
This comprehensive tune-up is why so many quilters swear by it. I know people who've sent in 20-year-old scissors and had them come back feeling brand new, ready for another two decades. It's a true investment in the life of your tool.
The real value of the Gingher service is the peace of mind. You know your scissors are in the hands of experts who intimately understand the tool they created.
Sending your scissors in is refreshingly simple. First, wrap them up securely. You don't want those sharp points poking through the package. A small, sturdy box or a heavily padded mailer works perfectly.
Tuck your contact info, return address, and payment inside with your scissors. Before you seal the package, I always recommend double-checking the official Gingher website for the current shipping address and fee information, just in case anything has changed.
The turnaround usually takes a few weeks, but believe me, the wait is worth it. When they arrive back home, they'll be gleaming, perfectly tuned, and ready to slice through fabric like a dream.
The value is incredible, too. For a flat fee that’s often around $12 (which includes the sharpening, repairs, and return shipping in the US), it’s often 50-70% cheaper than other services. With quilting's popularity on the rise, having access to affordable, professional maintenance is a game-changer. This kind of care can easily extend a blade's life to 5-10 years and has been shown to reduce cutting errors by as much as 60%—think of all the fabric that saves! You can find more perspectives on the benefits of professional scissor care on chutingstar.com.
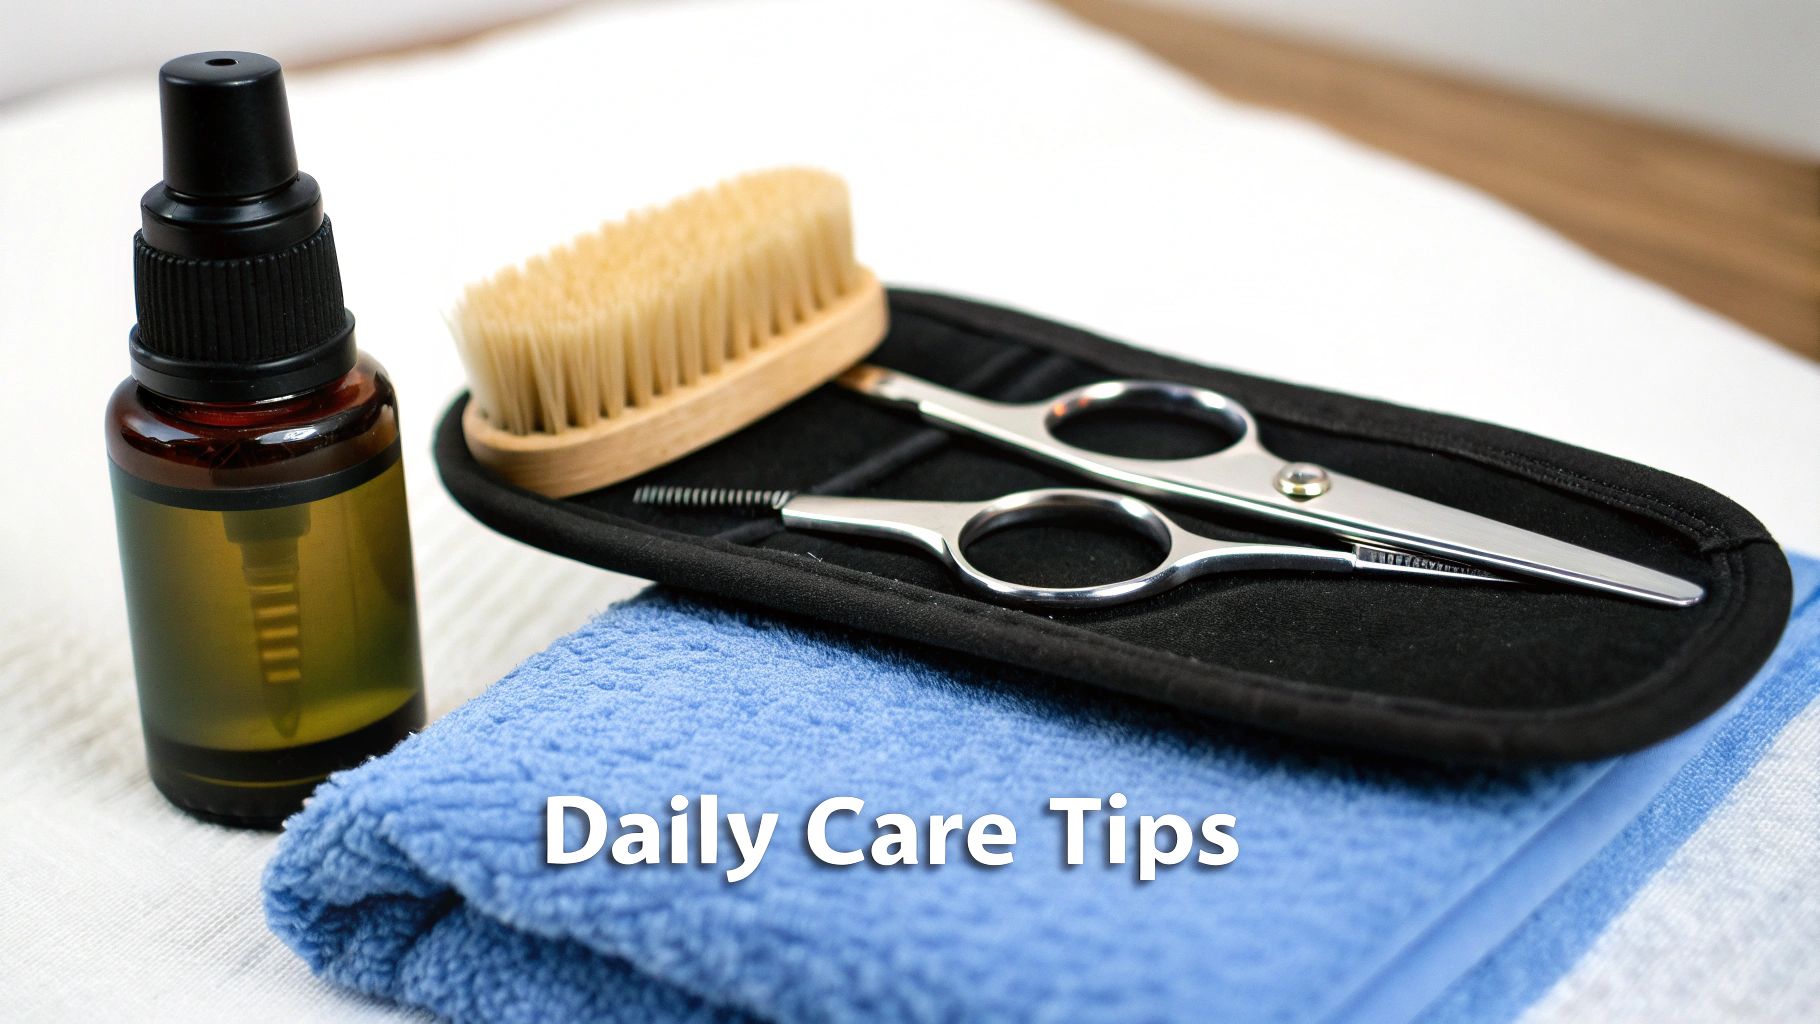
A razor-sharp edge is fantastic, but it's the small, daily habits that truly preserve your Gingher scissors for the long haul. Think of sharpening as a major tune-up and maintenance as the regular oil changes that keep everything running smoothly.
These simple practices prevent unnecessary wear and tear, ensuring your scissors glide through fabric beautifully year after year.
Honestly, neglecting basic care is one of the fastest ways to ruin your scissors' performance. Lint buildup, sticky adhesive residue, and just tossing them in a drawer can make your Ginghers feel dull, even when the blades are technically still sharp.
Your blades are the heart of the scissors, and they need to be kept clean. Fabric lint, stray threads, and gunk from fusible interfacing can build up around the pivot screw and along the cutting edge. This creates friction and makes the blades feel sticky or stiff.
After a long sewing session, just take a soft, dry cloth and give the blades a good wipe-down from the pivot to the tips. For more stubborn stuff, like that tacky residue from a stabilizer, a cloth lightly dampened with isopropyl alcohol works wonders. Just be sure to dry the blades completely right after to prevent any chance of rust.
A clean pivot is a happy pivot. Regularly clearing away lint and debris from this crucial joint is the single best thing you can do to maintain that smooth, effortless cutting motion Gingher is known for.
One of the biggest mistakes I see people make is tossing their expensive shears into a drawer with other metal tools. This is a recipe for disaster. It can easily lead to nicks in the blade, scratches, and even bent or misaligned tips. Your Ginghers have earned their own safe space.
Here are a few simple storage solutions that actually work:
The pivot screw on your Ginghers is what controls the tension—how tightly the blades are held together. Over time and with lots of use, this can loosen up. You're looking for that sweet spot where the blades open and close smoothly with minimal effort, but are tight enough that they don't feel floppy.
Here's a quick way to test it: hold one handle and lift the other blade to a 90-degree angle, then just let it go. The blade should close about two-thirds of the way on its own. If it snaps shut completely, the tension is too loose. If it barely moves, it's too tight. A small screwdriver is all you need to make tiny adjustments until it feels just right.
And finally, let’s bust the biggest myth once and for all: never use your Gingher fabric scissors to cut paper. Paper contains tiny, abrasive materials that will rapidly dull the fine knife-edge specifically honed for slicing through fibers. Keep a separate pair of craft scissors just for paper, and your Ginghers will thank you with years of crisp, clean cuts.
Over the years, we've heard just about every question there is when it comes to keeping quilting tools in top shape. Caring for a good pair of Gingher scissors is a hot topic, so let's clear up some of the most common questions we get from fellow quilters.
Absolutely. One of the best things about investing in Gingher scissors is that they're built to last a lifetime, thanks to their high-quality carbon steel. Pretty much any pair you own can be brought back to life with a good sharpening.
The one major exception? Models with a micro-serrated blade. These require special, professional-grade equipment to get the serrations just right. If you try to sharpen these at home with a standard tool, you'll smooth out and ruin that unique cutting edge. So, always double-check your model before you start.
There's no magic number here—it really comes down to how much you use them. If you’re an avid quilter, churning out projects every month, you’ll probably want to get them sharpened every 6 to 12 months. If you only pull them out for occasional projects, you might go years between sharpenings.
The best way to know is to listen to your scissors. They'll tell you when it's time. If you start to feel them drag, notice the fabric folding instead of cutting, or hear a gritty "crunch," that's your cue for a tune-up.
This is one I feel strongly about: please don't. Pinking shears are a different beast altogether and should always be handled by a professional—ideally, sent directly to Gingher's official service.
Those zigzag teeth are complex and need specialized machinery to sharpen every angle perfectly without throwing off the blade alignment. A DIY attempt almost guarantees you’ll ruin their ability to make that clean, non-fraying cut. It's a small price to pay for a professional service to protect a tool that can last for decades.
At High Country Quilts, we know that the right tools can make or break a project. If your scissors are past the point of a simple tune-up or you’re ready to invest in a new pair, stop by for some expert advice. We've got a handpicked selection of the best quilting supplies out there. See what we have to offer at https://hcquilts.com.
At High Country Quilts we care deeply about community. With our experiences in retail, we know that a store is not only a place to shop but also a place for the community to gather and share. During this busy...

Hi! We’re Adam and Renee Wheaton, the new owners of High Country Quilts! For more than 40 years, we’ve owned and operated vacuum and sewing businesses. Following in Renee’s father’s footsteps after he retired from All Discount Vacuum and Sewing in Colorado...


Leave a comment