

We Love Our Quilting Community
At High Country Quilts we care deeply about community. With our experiences in retail, we know that a store is not only a place to shop but also a place for the community to gather and share. During this busy...


When you're choosing the best fabric for your quilt backing, you'll almost always want to reach for a high-quality, 100% cotton fabric. Many quilters swear by the special 108-inch extra-wide fabrics because they let you finish the back without having to piece together multiple cuts.
What you choose for the back has a huge say in the quilt's final durability, how soft it feels, and the way it drapes. It's a bigger decision than you might think for the final look and feel of your project.
Think of your quilt backing as the foundation of a house. It’s not the flashy part that everyone notices first, but it provides the essential structure and support for the beautiful design on top. While your quilt top gets all the glory, the backing is the unsung hero.
The backing is what determines how the quilt feels against your skin, how well it holds up in the wash, and how gracefully it hangs or lays. The right choice pulls the whole project together, but the wrong one can cause frustrating puckers, uneven wear, or a quilt that feels stiff and uninviting.
One of the first decisions you'll make is whether to piece together standard 44-inch quilting cottons or spring for a seamless, 108-inch wide back fabric. This choice will impact your time, your budget, and the final, uninterrupted look of your quilt.
Beyond just the width, a few other factors come into play. It's smart to match your backing choice to the quilt's intended purpose and the fabrics you've already used on the top.
Ultimately, the fabric you choose for the back is more than just a final step. It's a decision that completes the story of your quilt, ensuring it’s not just beautiful, but also loved and used for years to come.
Choosing the right backing for your quilt is a bit like picking out the perfect pair of shoes. The right ones feel great, fit the occasion, and pull the whole look together. Your backing fabric does the same thing—it sets the final tone, feel, and personality of your entire quilt.
The go-to choice for most quilters, and for good reason, is 100% quilting cotton. Think of it as the reliable workhorse of the quilting world. It’s breathable, a dream to work with, and comes in every color and print imaginable. Plus, you can often find it in extra-wide 108-inch bolts, which means no piecing seams for larger quilts. It’s a fantastic starting point for quilters at any skill level.
If your quilt is destined for snuggling on a chilly evening, flannel is an incredible choice. That brushed surface adds a layer of warmth and a softness that’s just begging to be touched. A word of caution, though: flannel is notorious for shrinking. You absolutely must pre-wash it, or you risk turning your beautifully flat quilt top into a puckered mess after its first wash.
For pure, unadulterated luxury, nothing beats minky or Cuddle® fabric. These polyester knit fabrics are unbelievably plush with a silky feel that makes them a top pick for baby quilts and cozy throws. But all that softness comes with a challenge—stretch. These fabrics have a mind of their own.
Pro Tip: When you’re quilting with a stretchy fabric like minky, a walking foot is non-negotiable. It grips the top and bottom layers of your quilt sandwich and feeds them through your machine evenly, preventing the fabric from wiggling and stretching out of shape. A 90/14 ballpoint or stretch needle is also a good idea to avoid skipped stitches.
Don't be afraid to think outside the quilting aisle! A high-quality 100% cotton bed sheet can make for a seamless and surprisingly budget-friendly backing. The trick is to find one with a percale weave and a thread count around 200-250. If the thread count is too high, the weave becomes too dense for your needle to punch through cleanly, which can lead to a lot of frustration.
If you love the feel of natural fibers and want to add some beautiful drape and texture, you could even explore options like heavy linen fabrics. The key with any unconventional choice is to match the weight and fiber content to your quilt top as closely as you can. This ensures both layers will wear and wash similarly over the years.
To help you weigh your options, I've put together a quick comparison of the most common choices.
This table breaks down what you can expect from each fabric—its feel, its best use, and how challenging it might be to sew with.
| Fabric Type | Key Characteristics | Best For | Sewing Difficulty |
|---|---|---|---|
| Quilting Cotton | Breathable, stable, wide variety | All-purpose quilts, beginners | Low |
| Flannel | Soft, warm, cozy | Winter quilts, baby blankets | Low-Medium |
| Minky/Cuddle® | Ultra-soft, plush, stretchy | Baby quilts, luxurious throws | Medium-High |
| Cotton Sheets | Economical, seamless | Large quilts on a budget | Low-Medium |
Ultimately, each of these fabrics brings its own unique character to a quilt. Knowing what makes them special helps you choose a backing that not only looks fantastic but also feels perfect for how your quilt will be loved and used.
One of the first big decisions you'll make for your quilt backing is whether to use standard-width fabric or spring for a specialty wide back. This choice really boils down to your priorities: are you focused on budget and creativity, or are time and a seamless finish more important? Think of it like this: you can build a bookshelf by joining several smaller boards, or you can start with one huge, solid piece of wood. Both methods work, but the process—and the final look—are completely different.
Standard quilting cotton usually comes in bolts that are 42 to 44 inches wide. Unless you're making a small baby quilt, this means you're going to have to sew multiple pieces together to create a backing large enough for your quilt top.
This isn't necessarily a bad thing! Piecing a back can be a great way to use up scraps from the quilt top, giving the back its own unique, "bonus" design. It's often friendlier on the wallet, too. The trade-off is the extra time and care it takes to cut, sew, and press everything perfectly flat and square.
Going with standard-width fabric is a classic for a reason. It's often the most economical choice, letting you take advantage of fabric sales or dive into your own stash. The process involves sewing long panels together, typically with a 1/2 inch seam allowance, and then pressing those seams open to keep things as flat as possible.
Getting this right requires some careful math. You have to know your quilt top's final dimensions before you start cutting. If you're unsure about typical bed sizes, consulting a comprehensive guide to quilt sizes in Australia can give you a solid starting point, no matter where you live.
Wide back fabrics are a quilter’s best friend for finishing projects fast. These bolts are made specifically for backing and are massive, usually measuring between 108 and 120 inches wide. That's wide enough to cover most quilts—even up to a king size—with one single, beautiful piece of fabric. No seams required.
For many of us, skipping the piecing process is the biggest win. It saves a ton of time and guarantees a perfectly smooth surface for your quilting. If you've ever used a longarm quilter, you know they absolutely love wide backs; they're a breeze to load onto the machine and offer an uninterrupted canvas.
The seamless finish of a wide back is more than just a time-saver; it ensures the quilting stitches are the star of the show. With no seams to navigate, the quilting pattern can flow uninterrupted across the entire back, creating a professional and polished look.
Options like a quality natural muslin wideback cotton fabric provide a beautifully neutral and smooth finish that works for just about any project. While the price per yard is higher than standard cotton, remember that you often need less yardage overall, so the final cost can sometimes be surprisingly close.
This infographic can help you decide which path to take based on your project's main priority.
Ultimately, the choice is yours. It's all about balancing time, money, and the final look you're going for—the scrappy, custom feel of a pieced back or the quick, flawless finish of a wide back.
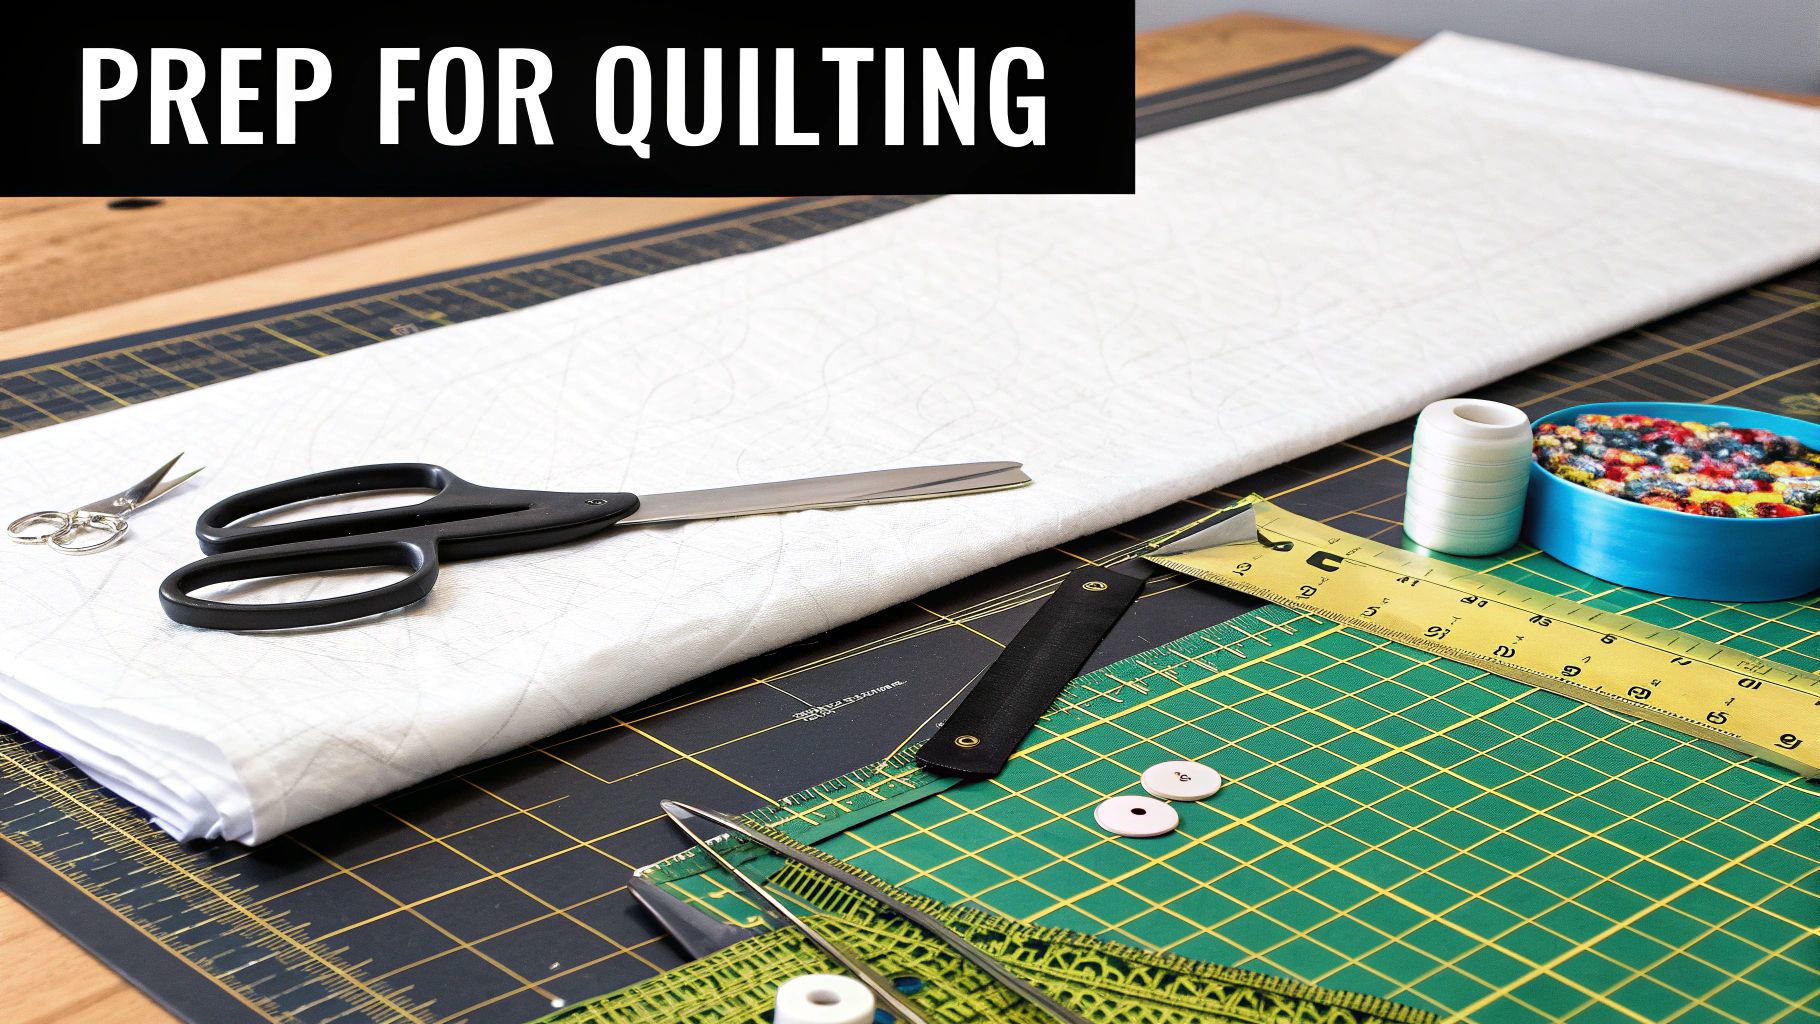
Getting your backing fabric ready is one of those behind-the-scenes steps that makes all the difference. It's the secret to a quilt that lays flat, wears well, and has that truly professional look. Think of it like a chef preparing ingredients before they start cooking—this prep work is foundational, ensuring your beautiful quilt top isn't let down by a backing that shifts or shrinks later on.
First things first, let's talk numbers. You need to make sure you have enough fabric for quilt backing before you do anything else. Whether you're working with standard-width fabric or a nice wide back, the guideline is simple: your backing needs to be 4-6 inches larger than your quilt top on all four sides. This extra fabric is often called "overage," and it’s your best friend during the quilting process.
That extra margin of fabric isn't just for "just in case"—it’s absolutely critical, especially if you're sending your quilt to a longarmer.
Here's why that buffer is so important:
Without that safety net, you risk the quilting design falling short of the edges or, even worse, the backing shifting and creating frustrating wrinkles. It’s a simple step that prevents a lot of headaches.
Once you've got your fabric, the age-old question pops up: to pre-wash or not to pre-wash? While you'll find quilters on both sides of the fence, I’m a firm believer in pre-washing your backing. It’s your best insurance policy against two major quilting pitfalls: shrinking and bleeding.
Washing first preshrinks the cotton, so it won’t shrink up later and cause your finished quilt to look puckered and crinkly after its first real wash. It also rinses out any excess dye that could otherwise bleed onto your pieced top. Better to find out in the washing machine than on your finished masterpiece!
After a trip through the washer and dryer, the final—and most satisfying—step is a good, thorough pressing. You want a perfectly flat, smooth canvas to work with. A great iron can make this a breeze; something powerful like the Oliso Pro Plus Smart Iron helps you get out every last wrinkle and crease before you layer up your quilt sandwich. This meticulous pressing is what helps your layers stick together smoothly for basting.
It’s interesting to note that while quilting is a huge hobby here in the US, most quilting cottons are actually imported. This makes quality control steps like pre-washing even more important for getting consistent, reliable results every time. Taking these simple preparation steps seriously is what sets you up for a fantastic finish.
So, you've poured your heart and soul into a stunning quilt top. But why should the front get to have all the fun? It's time to start thinking about the back of your quilt not as an afterthought, but as a second canvas—a secret surprise waiting to be discovered.
Think of it as adding a hidden story or an unexpected pop of personality to your work. A creative backing can turn a standard project into a completely reversible piece of art. Even better, it's a fantastic way to put those leftover fabric scraps to good use instead of letting them pile up.
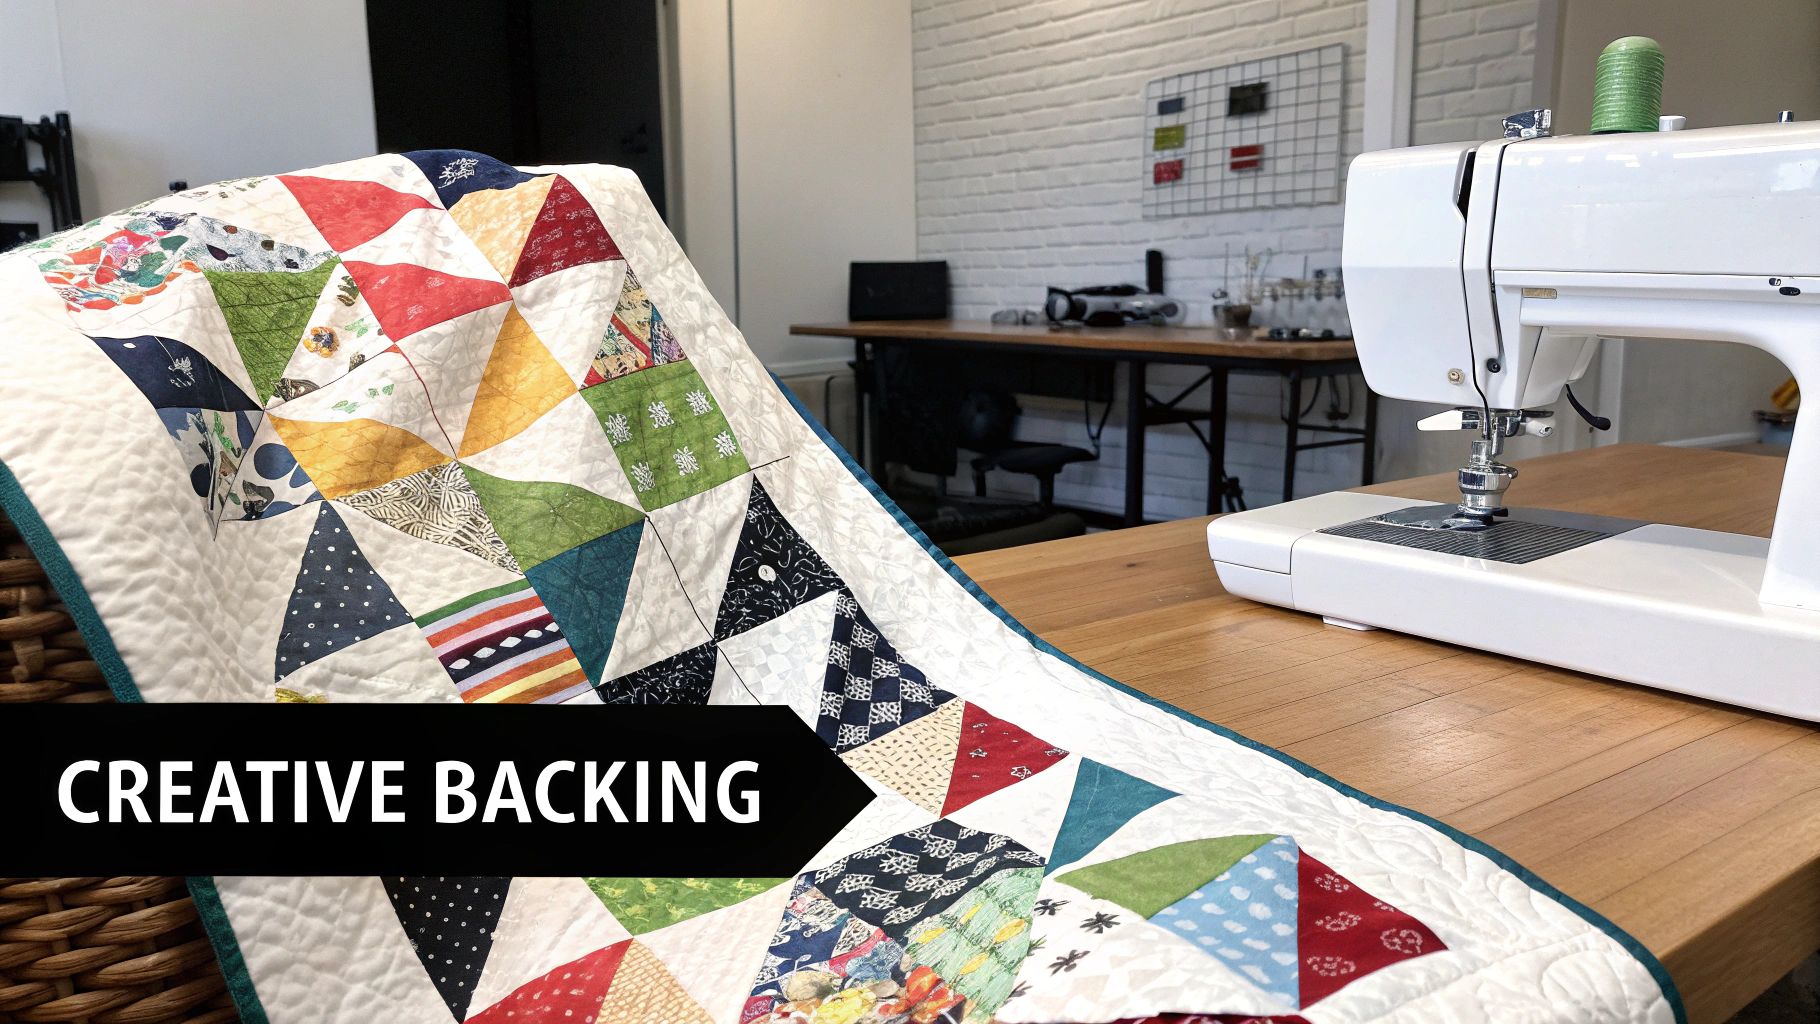
One of my favorite ways to make a quilt special is by creating a pieced backing. This just means sewing together different pieces of fabric—leftover scraps from your quilt top, or even entire blocks—to create a completely unique design for the back.
Here are a few ideas to get you started:
Using this approach does more than just reduce waste; it creates a quilt that tells a complete story, connecting the front and back with shared fabrics and patterns.
When you piece your backing, you're making every single part of your quilt intentional. It's a deliberate design choice that adds so much depth and character, showing that you’ve put thought into every last layer.
Have you ever fallen in love with a fabric that was just too bold or large-scale for a busy quilt top? The backing is its perfect home. This is where those stunning prints can finally shine without being chopped up, making a breathtaking, uninterrupted statement. A dramatic floral or a quirky novelty print can give your quilt a whole second personality when you flip it over.
You don't need a complicated pattern to make a big impact, either. You can create a really striking look with something as simple as wide, colorful stripes or a classic checkerboard using just two fabrics. For an extra touch of luxury, think about texture. A beautiful ivory Cuddle® 3 extra wide minky fabric gives you a seamless, incredibly soft finish that feels amazing and looks wonderfully elegant.
And don't forget to make it personal! The back is the perfect spot to embroider a label with your name, the date, or a sweet message for the recipient. When you start exploring these creative options, the fabric for quilt backing transforms from a simple necessity into a true opportunity.
We've all been there. Learning from a few common stumbles can save you a ton of frustration and lead to a much more beautiful finished quilt. By getting ahead of these frequent pitfalls with your backing fabric, you're setting yourself up for a smoother, more enjoyable quilting experience from the get-go.
One of the most classic mistakes is skimping on yardage. It's so tempting to buy just enough, but that leaves zero room for squaring up the fabric or for the crucial overage your longarmer (or you!) needs for quilting. Always buy more fabric for quilt backing than you think you need. Trust me, that extra half-yard is a much smaller headache than trying to Frankenstein a narrow strip on at the last minute.
Another huge one? Failing to match your fabric types. If you pair a lightweight cotton top with a heavy, beefy flannel back, for example, you're asking for trouble. The two layers will fight each other, leading to weird draping issues and uneven shrinkage in the wash. For a quilt that hangs beautifully, try to keep your backing and top in the same family of weight and fiber.
Skipping the prep work is a mistake that will almost always come back to haunt you.
"When pressing a pieced backing, press the seams open, not to one side. This simple step reduces bulk and helps the entire backing lay as flat as possible, which is essential for a smooth, professional quilting finish."
Finally, think about the quilt as a whole sandwich, including the batting. Different battings behave differently, and your choice can have a huge impact on the final drape and warmth of your quilt. A great way to learn more is by checking out a Hobbs batting recommendation chart to find the perfect partner for your project.
By sidestepping these common mistakes, you're making sure all your hard work on the quilt top is supported by a flawless finish.
Getting the backing right can feel like its own project, and it's totally normal to have a few questions. Let's walk through some of the most common things quilters ask when they get to this final, crucial stage.
You absolutely can, but there's a trick to it. If you're going to use a sheet, make sure it's 100% cotton with a thread count right around 200.
If the thread count gets much higher, the weave becomes incredibly dense. This makes it tough for the needle to punch through cleanly, which can lead to frustrating skipped stitches or even bent needles. And always, always pre-wash sheets to get any potential shrinkage out of the way before you attach them to your quilt top.
The golden rule here is to give yourself plenty of wiggle room. You'll want to cut your backing fabric and your batting at least 4 inches larger than your quilt top on all four sides.
This gives you a total of 8 extra inches in both length and width. This isn't just for fun; that extra margin is critical for getting the quilt properly loaded onto a longarm machine or for taping it down smoothly if you're quilting on your home machine.
Think of this extra fabric as your quilting "seam allowance." It gives the longarm machine's clamps something to hold onto and ensures your quilting stitches can run right off the edge of your quilt top, giving you that beautiful, professional finish.
This is one of the great debates in quilting, but I always land on the side of pre-washing. It’s the single best way to prevent your backing from shrinking differently than your top, which can cause your finished quilt to look puckered or distorted after its first wash.
Pre-washing also gets rid of any chemicals from the manufacturing process and, most importantly, lets you check if the dye is going to bleed. You don't want to find out a vibrant red backing has stained your pristine white quilt top after all your hard work! For more on getting the basics right, take a look at our tips on finding free sewing lessons.
Here at Famcut, we live and breathe fabric. We're all about helping you find the perfect materials and knowledge to bring your creative vision to life. Dive into our huge selection of top-notch fabrics and quilting supplies to get started on your next masterpiece at Famcut.com.
At High Country Quilts we care deeply about community. With our experiences in retail, we know that a store is not only a place to shop but also a place for the community to gather and share. During this busy...

Hi! We’re Adam and Renee Wheaton, the new owners of High Country Quilts! For more than 40 years, we’ve owned and operated vacuum and sewing businesses. Following in Renee’s father’s footsteps after he retired from All Discount Vacuum and Sewing in Colorado...


Leave a comment