

We Love Our Quilting Community
At High Country Quilts we care deeply about community. With our experiences in retail, we know that a store is not only a place to shop but also a place for the community to gather and share. During this busy...


The drunkard path quilt pattern is one of those classic designs that looks much trickier than it really is. It’s built from a single, iconic block made of two pieces: one with a convex (outward) curve and one with a concave (inward) curve. But don't let that simple construction fool you. The way these blocks can be arranged creates dozens of dynamic, visually complex layouts, making it a truly rewarding challenge for quilters of all skill levels.

The Drunkard's Path is more than just a quilt block; it's a piece of history stitched into fabric. This distinctive curved design has ancient roots, with similar motifs found on Roman artifacts and even in Egyptian art. The pattern made its way from England to America in the early 1800s, quickly captivating quilters with its unique piecing challenge.
Its popularity really took off in the late 19th and early 20th centuries. It became particularly meaningful among members of the Women's Christian Temperance Union (WCTU), an organization founded in 1874 to campaign against alcohol abuse. You can dive deeper into the pattern's historical journey on QuiltIndex.org.
Today, modern quilters are carrying on this legacy, turning those famous curves into stunning works of art. At shops like High Country Quilts in Colorado Springs, the tradition is kept alive with classes and modern BERNINA machines that make mastering this technique easier than ever.
So, what gives the Drunkard's Path quilt pattern its staying power? The magic is in how it's both simple and complex at the same time. A single block, just by being rotated and repeated, can produce an incredible variety of designs. This versatility is exactly why quilters come back to it again and again.
The beauty of the Drunkard’s Path is its ability to transform. A simple quarter-circle block can become anything from a gentle wave to a bold, graphic statement. It’s a true quilter’s playground.
This guide is here to demystify every step, turning what might look like an intimidating project into a manageable and genuinely fun one. From picking the right tools to pressing your final seams, you'll get the confidence you need to create a beautiful quilt that tells its own unique story.
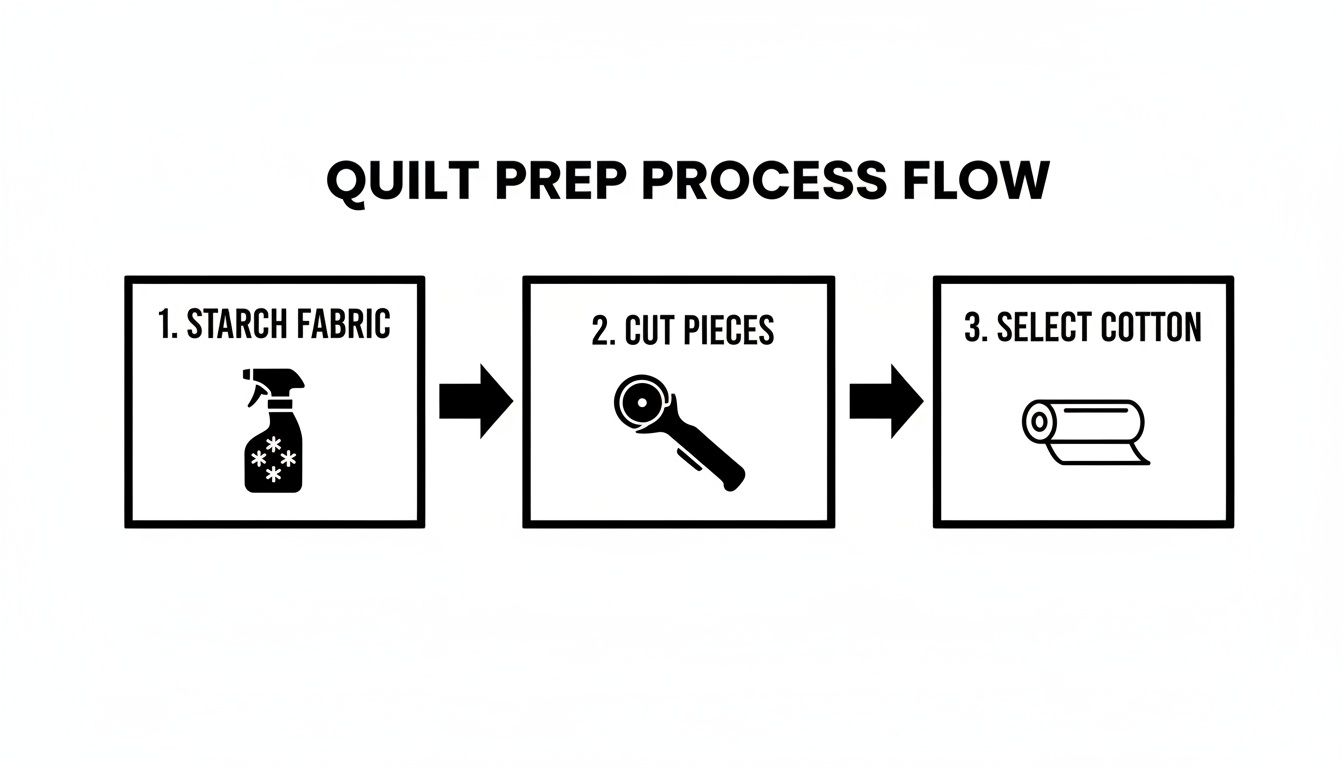
Before you even think about cutting into that beautiful fabric stack for your Drunkard's Path quilt, let's talk about getting your toolkit in order. I've learned from experience that gathering the right gear isn't just a preliminary step—it's the single best thing you can do to make sewing those curves a genuinely fun and frustration-free process.
Think of it as setting the stage for a great performance. The right tools help your pieces fit together perfectly from the very first stitch, building a strong foundation for the entire quilt.
To make things easy, I've put together a quick checklist of the tools I always have on hand for a Drunkard's Path project. The "essentials" are non-negotiable for getting clean, accurate results, while the "helpful extras" are things I've found make the process smoother and even more enjoyable.
| Tool Category | Essential Items | Helpful Extras |
|---|---|---|
| Cutting & Marking | Sharp rotary cutter (45mm or 60mm), Self-healing cutting mat, Acrylic Drunkard's Path templates, Fabric marking pen or pencil | Small rotating cutting mat, Starch or fabric stabilizer |
| Sewing & Piecing | Sewing machine, High-quality thread (e.g., Aurifil), Pins (fine glass-head pins are great), Seam ripper (just in case!) | Quarter-inch piecing foot, Stiletto or awl, Fabric glue stick (for basting curves) |
| Pressing & Finishing | Steam iron, Wool pressing mat or ironing board, Small ruler for trimming | Tailor's clapper, Best Press or other starch alternative |
Having these items ready to go means you can focus all your attention on the fun part: sewing those beautiful, swooping curves.
When you're piecing curves, precision is everything, and it all starts with an accurate cut. A dull blade or a wobbly ruler can throw your measurements off just enough to cause headaches down the line.
Beyond the cutting tools, the way you prepare your fabric can make or break your blocks. Because the edges of the Drunkard's Path pieces are cut on the bias, they have a natural tendency to stretch and warp.
Here’s my number one tip, the thing that saved me from countless puckered seams: starch your fabric before you cut. A couple of good coats of spray starch, pressed until the fabric feels crisp like paper, works wonders. It temporarily stabilizes the bias edge, preventing it from stretching while you cut and sew.
Trust me on this one. Starching isn't just a fussy extra step; it's the secret weapon for taming tricky curves. A well-starched piece of fabric behaves itself beautifully, allowing you to ease the curves together without a fight.
Finally, think about your fabric choices. A good quality quilting cotton has a tight, stable weave that holds its shape well. Also, choosing fabrics with strong contrast—a good mix of lights, mediums, and darks—will really make your curved designs pop and create those gorgeous secondary patterns this block is famous for. A little prep work here will pay off big time in your finished quilt.
Alright, let's get to the part that makes the Drunkard's Path block so special: sewing the convex (outward) and concave (inward) pieces together. This is where many quilters get a little nervous, but I promise it's more about finesse than fear. Once you get the hang of it, you'll be sewing smooth, pucker-free curves that lay beautifully flat.
The trick is to find a method that just clicks with how you like to sew. Some people love the precision of pins, while others prefer a faster, more freewheeling approach. We'll go over a few of my favorite ways to tackle this so you can turn a tricky-looking step into a simple, repeatable process.
A little prep work before you even touch your sewing machine makes all the difference in the world.
Starting with well-starched fabric, for example, gives your pieces stability and keeps them from stretching out of shape—a total game-changer for curves.
Before you sit down at your machine, take a moment to prepare your fabric. Fold both your concave and convex pieces in half and give them a quick finger-press to create a small crease at the center of each curve. Think of these creases as your north star for alignment.
Now, place the convex piece on top of the concave piece with the right sides together. Match up those center creases you just made. This is your main anchor point and it's key to making sure the curve is distributed evenly.
Next, gently line up the raw edges at one end of the curve, and then do the same for the other end. You'll probably notice the concave piece looks like it has a little extra fabric bubbling up in the middle. Don't worry, that’s totally normal! We'll ease that in as we sew.
If you're someone who values precision, the two-pin method is your new best friend. It’s my go-to technique for a perfect fit, especially when I’m working with smaller blocks where every little bit of accuracy counts.
Feeling adventurous? Or maybe you just want to get things done quickly. The no-pins method might be for you. This technique relies more on muscle memory and careful fabric guiding, but once you master it, it is incredibly fast.
You’ll still align the center points and ends by hand, but instead of pinning, you’ll place the pieces under your presser foot and sew a few stitches to anchor them. From there, use your left hand to guide the bottom layer and your right hand to gently steer the top layer, keeping the edges aligned right as they feed into the machine. The key is to go slow and stop with the needle down whenever you need to readjust.
My best piece of advice for either method? Let the machine do the work. You shouldn't be pulling or stretching the fabric at all. Your only job is to be the guide, making sure those two raw edges meet right in front of the needle.
Your sewing machine setup can make a huge difference here. I like to shorten my stitch length to around 1.8 to 2.0. This gives you more control around the curve and makes for a stronger seam. A standard quarter-inch foot is also a must for keeping that seam allowance consistent.
I also highly recommend swapping to a clear or open-toe presser foot if you have one. It's a small change that gives you a much better view of what's happening. You can see the fabric edges meeting and make those tiny adjustments in real-time. Combine these simple tips with a piecing method that feels right, and you'll be sewing perfect curves for your Drunkard's Path quilt every single time.
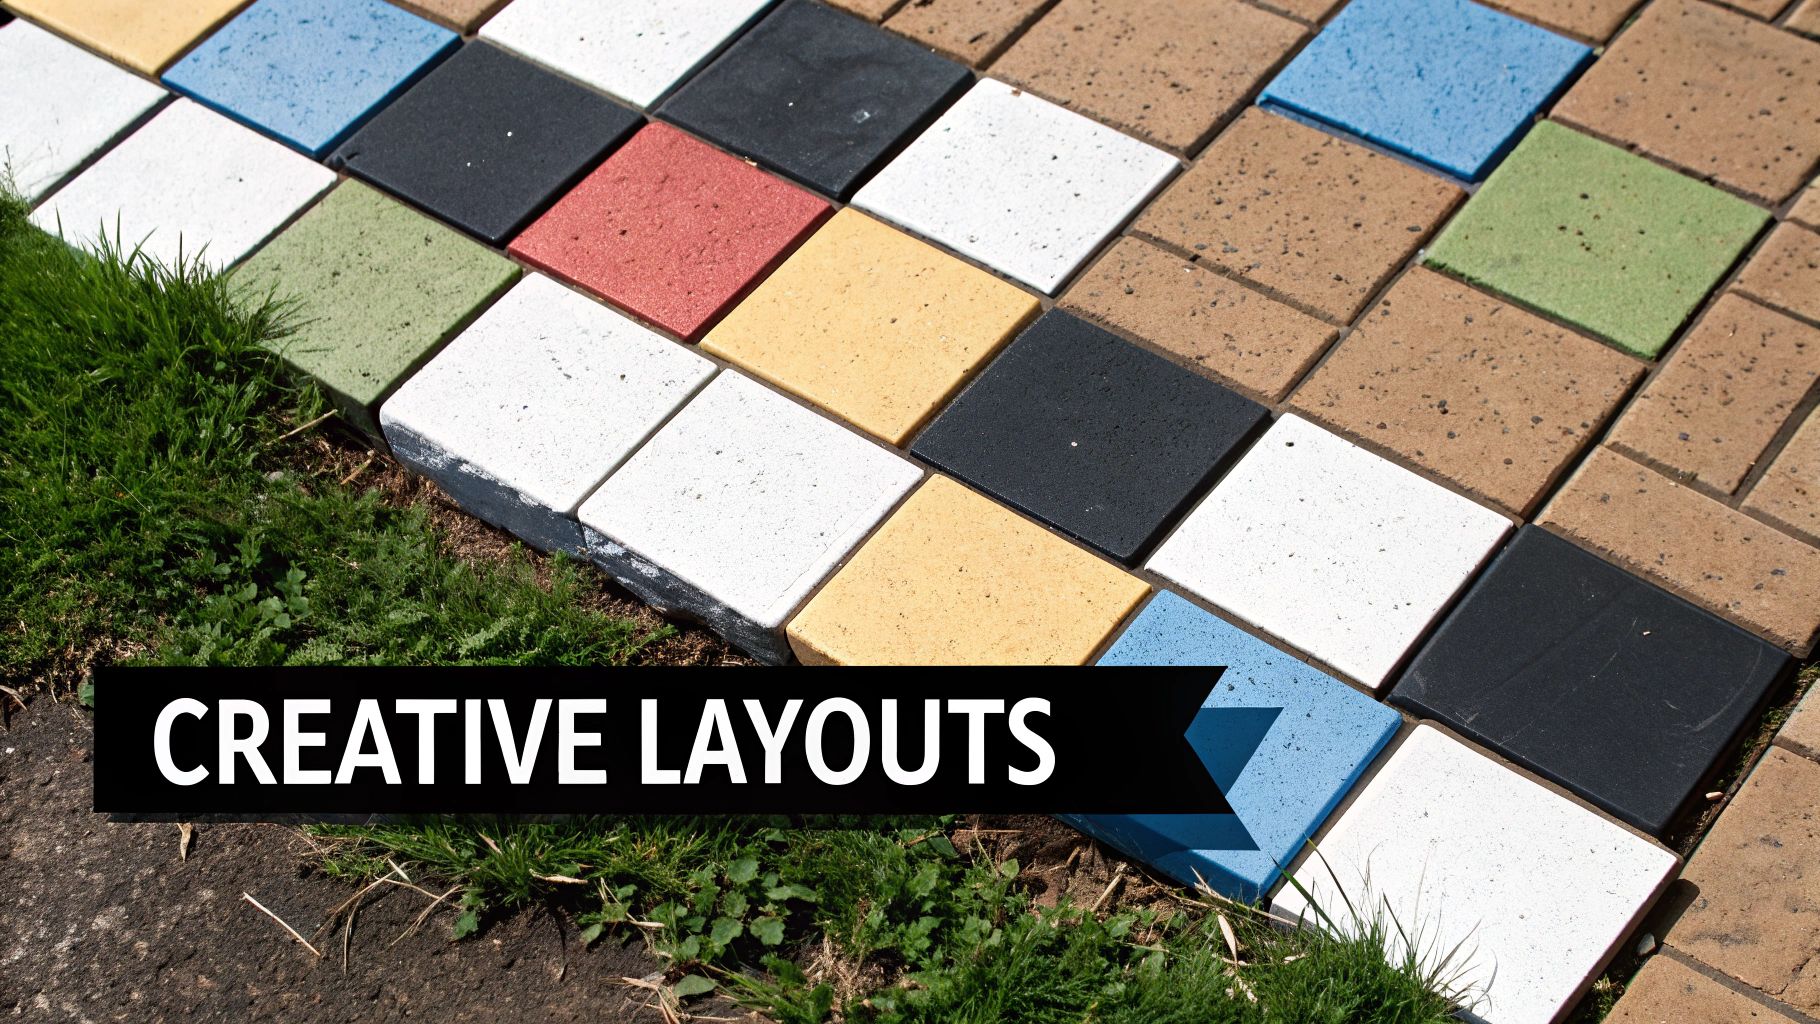
Once you've gotten the hang of piecing a few Drunkard's Path blocks, the real fun begins. You’ve just unlocked a block that is a true design chameleon. A simple twist or turn can completely change the entire look of your quilt, shifting it from classic to modern, from soft waves to a bold, graphic statement.
This is where you get to play. The magic of this block is all about how the individual units interact with each other. As you build your quilt top, you'll start to see stunning secondary patterns and optical illusions emerge. You’re not just sewing squares together; you're truly designing a unique piece of fabric art.
The versatility of the drunkard path quilt pattern is honestly what makes it so addictive. Just by arranging the exact same block in different ways, you can create a whole catalog of distinct designs. Let’s look at a few popular layouts to get your creative gears turning.
This adaptability has a fascinating backstory. One of the most compelling legends ties the Drunkard's Path quilt pattern to the Underground Railroad. The story goes that its zig-zag curves were used as coded signals to warn escapees of dangerous areas. With over 30 documented layout variations, it's easy to see how endless configurations could encode messages or simply create dazzling visual effects. You can read more about this pattern's historical significance at The Quilt Sanctuary.
How you arrange your blocks is only half the story; your fabric choices are just as crucial. The interplay of color and value—the lightness or darkness of a fabric—is what will make your secondary patterns leap off the quilt.
For instance, using high-contrast fabrics, like a dark print for the convex piece against a light solid for the concave piece, will make your curved lines sharp and defined. This is the perfect strategy for creating bold, graphic designs where the shapes themselves are the main attraction.
On the other hand, choosing fabrics with lower contrast creates a softer, more blended effect. This can be absolutely beautiful for achieving a watercolor or impressionistic look, where the lines blur and the overall texture becomes the focus.
My favorite trick? Lay your blocks out on a design wall or even just the floor. Take a few steps back and squint your eyes. This little trick blurs the details and helps you see the overall value pattern, making it instantly clear if your intended design is working.
In modern quilting, what you don't piece is often just as important as what you do. Using negative space—those large, unpieced areas of background fabric—can give your Drunkard's Path quilt a fresh, contemporary feel.
Imagine sewing just a few clusters of "scattered circles" and letting them float in a sea of solid fabric. This approach turns your pieced blocks into a deliberate focal point and gives the viewer's eye a place to rest. It elevates the quilt from a simple bed covering to a piece of wall art, and it's a great way to make a huge impact without having to piece hundreds of blocks.
You've done the hard work of piecing your top, and now it’s time for those final touches that will make your drunkard path quilt pattern truly sing. This is where a good quilt transforms into a great one, and it all starts with how you handle the seams.
The age-old quilting debate often circles back to this: press seams open or to one side? Most of the time, I'm a firm believer in pressing to the side for a stronger seam. But with the Drunkard's Path, pressing those seams open is a game-changer. It seriously cuts down on the bulk where the curves intersect, which helps the quilt top lie beautifully flat.
Once everything is pressed, it’s time to square up your blocks. Trust me, this step is non-negotiable if you want your quilt to come together without wavy borders or points that just don't meet. Grab a square ruler that matches your block size and carefully trim away any excess fabric. The goal is to make every single block a perfect, uniform square.
This bit of precision is what makes all the difference. When your blocks are identical, sewing them into rows and columns is a breeze, and you're left with a polished quilt top that’s ready for quilting.
The Drunkard's Path is having a major moment in modern quilting, often called the "new hexie" because of its curvy charm. Thankfully, we have tools like AccuQuilt dies and Quiltsmart interfacing that take the frustration out of the process, making it so much more approachable for beginners. Today's trends often feature large areas of negative space, and with over 30 variations of this one block, the design possibilities are endless. At a shop like High Country Quilts, an authorized BERNINA dealer, you can find the kind of expert training and tools that help turn this historic block into a modern favorite. You can see more about how the Drunkard's Path is trending on QuiltingDaily.com.
Now for the fun part—the actual quilting! The quilting design you pick can completely change the feel of your quilt and enhance all that beautiful movement you created with the piecing.
Think of the binding as the final frame for your artwork. A well-chosen binding gives your quilt a clean, polished edge. You could pick a color that complements your main fabrics or get creative with a scrappy binding from leftover project scraps for a really fun finish.
Don't forget the batting! A good quality cotton batting will give you that traditional, flat look, whereas a wool or polyester blend can add more loft and really make your quilting stitches pop. Every choice you make from here on out contributes to the final look and feel, turning your pieced top into a finished quilt you can be proud of for years to come.
Even seasoned quilters hit a snag now and then, and the drunkard path quilt pattern definitely has its own little quirks. But don't worry—most of the common frustrations have surprisingly simple fixes.
I've taught this block to countless quilters, and the same questions always pop up. Let's walk through the issues I see most often and talk about how to solve them so you can get back to sewing with confidence.
Puckering is the absolute number one challenge with this block, and it almost always boils down to one thing: fabric stability. Since the curved edges are cut on the bias, they’re naturally stretchy and prone to misbehaving.
Your best defense is to be proactive. Starch your fabric before you even think about cutting. Starching gives the fabric a crisp, paper-like quality that makes it so much easier to handle. It resists stretching, allowing you to gently ease the two curves together without those dreaded puckers. And when you sit down to sew, take your time. Let the machine do the work and resist any urge to pull the fabric through.
Does your finished block look more like a little bowl than a flat square? That's a classic sign of either tension issues or a seam allowance that’s gone a little rogue. It's incredibly easy to accidentally stretch the fabric, especially on the concave piece, as you're easing it to fit its partner.
The secret here is a truly consistent quarter-inch seam. If your seam allowance wavers even a tiny bit, the two pieces will fight each other, and your block will never lay perfectly flat. A quarter-inch piecing foot is your best friend for this task.
Pressing is a huge part of getting a great result with the Drunkard's Path. Normally, pressing seams to one side is standard practice for strength, but with this block, it creates a ton of bulk right where four corners meet.
For this particular block, I’m a firm believer in pressing the seams open.
Trust me, this one small tweak makes a world of difference in the final look of your quilt top. It’s what gives it that polished, professional finish.
Here at High Country Quilts, we're passionate about helping every quilter master new skills, curves included! Whether you need the right templates, a hands-on class, or just some advice on your BERNINA machine, our team is here to help. Stop by our Colorado Springs shop or visit us online to get everything you need for your next quilting project.
Find your inspiration at https://hcquilts.com.
At High Country Quilts we care deeply about community. With our experiences in retail, we know that a store is not only a place to shop but also a place for the community to gather and share. During this busy...

Hi! We’re Adam and Renee Wheaton, the new owners of High Country Quilts! For more than 40 years, we’ve owned and operated vacuum and sewing businesses. Following in Renee’s father’s footsteps after he retired from All Discount Vacuum and Sewing in Colorado...


Leave a comment