

We Love Our Quilting Community
At High Country Quilts we care deeply about community. With our experiences in retail, we know that a store is not only a place to shop but also a place for the community to gather and share. During this busy...


The secret to a beautifully organized fabric stash doesn't start with the bins and shelves; it begins the moment you bring a new piece of fabric home. Getting your fabric prepped for storage is the single most important thing you can do to protect your investment and make future projects a breeze.
Think of it as setting your future self up for success. A little effort now saves you from so much frustration later.
Before you can even think about where to put everything, we need to talk about prep. Properly preparing each piece of fabric is what keeps it in pristine, ready-to-sew condition. You'll avoid nasty surprises like shrinkage, color bleeding, and those impossible-to-iron-out creases that seem to set in overnight.
This is the age-old question for quilters, and my answer is pretty straightforward. If it’s a natural fiber that’s likely to shrink or bleed, I always, always wash it. Cottons, flannels, and linens absolutely get a trip through the washer and dryer on the same settings I'll use for the finished quilt.
This step gets all the shrinking and bleeding out of the way before you've spent hours piecing your project together. There’s nothing worse than finishing a quilt only to have it warp or run in its first wash.
On the other hand, some fabrics just shouldn't see the inside of a washing machine. I store delicate silks, wools, and any specialty fabrics with a unique finish just as they are. You can deal with cleaning them gently right before you cut.
Once your fabric is washed and dried, it's time to get out the iron. Please don't skip this part! Pressing your fabric until it's perfectly smooth makes it so much easier to fold neatly and store compactly. More importantly, it prevents deep, permanent creases from setting in while it's put away.
My Go-To Trick: A little spray starch or a good starch alternative works wonders on cottons. It gives them a crisp body that makes them a dream to fold and handle, and I find it also adds a subtle protective layer against dust.
This last little step is a complete game-changer, I promise. Before you fold anything, take a quick minute to measure the cut. Jot down the dimensions on a small tag—I just use little slips of acid-free paper—and attach it with a safety pin.
Doing this saves you so much time and guesswork. You'll never again have to:
Now, with your fabric properly washed, pressed, and labeled, it’s officially ready to be stored.
Let's be honest, there’s no magic, one-size-fits-all solution for storing fabric. The perfect system for you is going to depend entirely on the space you have, the size of your stash (we all know how that grows!), and the way you like to work on your projects.
The goal is to get your fabric out of those opaque bins where it gets forgotten and into a system that’s both organized and inspiring. Let's dig into a few popular methods that really work.
One of my absolute favorite methods for cuts of one yard or more is creating "mini-bolts." I use acid-free comic book boards to do this. You just neatly wrap your fabric around the boards, and suddenly, that messy pile is transformed into a gorgeous library of textiles.
They stand up perfectly on a bookshelf or slide right into a cube organizer. This makes it so easy to see your entire collection at a glance, keeping the fabric smooth and free of deep creases. It’s a fantastic solution, especially for quilters who love collecting beautiful cotton prints.
Pro Tip: Wrapping fabric on uniform boards creates a stunning "fabric library" effect. This makes it incredibly simple to pull exactly what you need without having to dig through your entire stash.
What about those bigger cuts of fabric, like quilt backings or home dec material? Folding those is a recipe for stubborn creases that are a pain to iron out. This is where rolling is a total game-changer.
You can roll the fabric onto an empty gift wrap tube or even a pool noodle to keep it completely smooth and ready for your cutting table. These rolls can then be stored upright in a tall basket or laid flat on deep shelves. This approach does wonders for preserving fabrics that are several yards long.
Smaller pieces need their own strategy. For fat quarters and scraps, the name of the game is visibility and containment. If you can't see it, you won't use it. Clear bins and containers are your best friend here.
Here are a few ideas that work wonders for smaller cuts:
Before you store anything, though, there's always the big pre-washing debate. This little guide can help you decide.
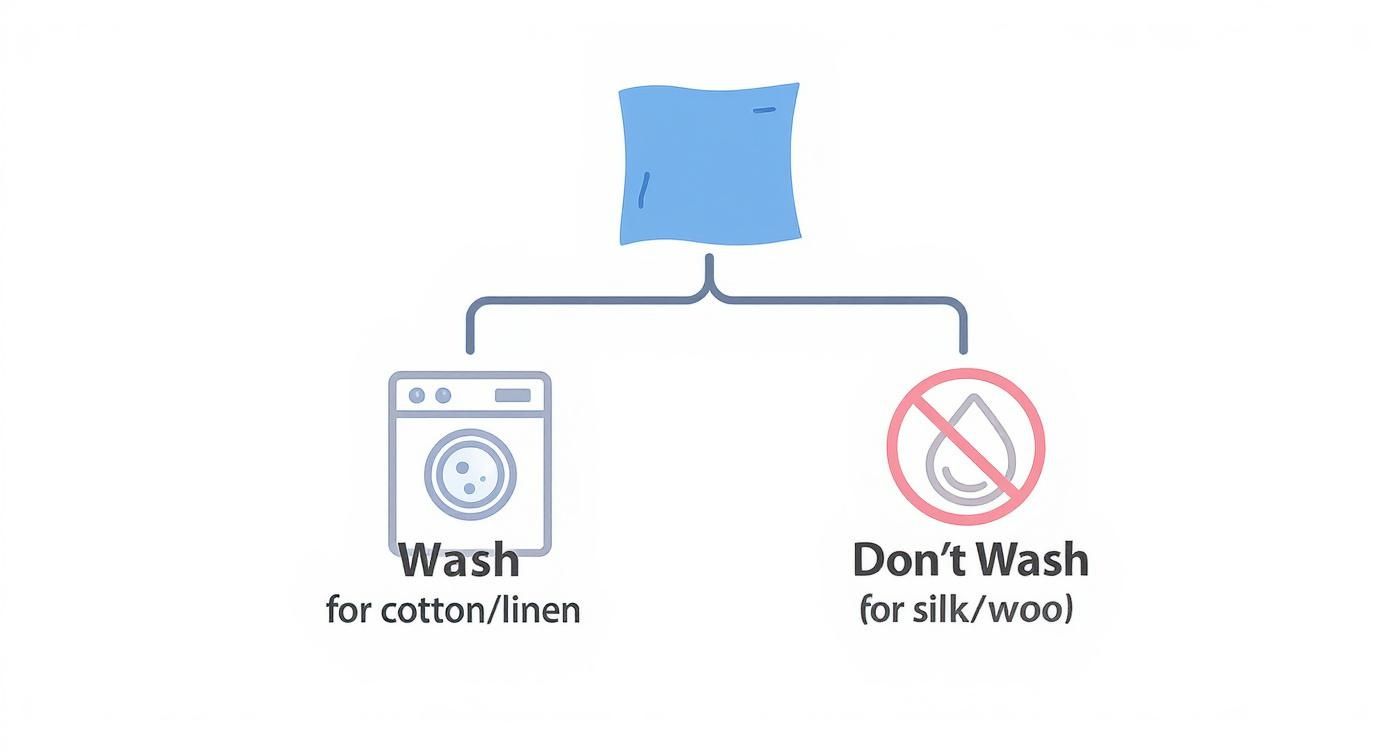
As you can see, pre-washing is a great idea for sturdy fabrics like cotton and linen. But for delicates like silk or wool, it's best to store them as they are and handle them carefully when it's time to sew.
To help you decide what might work best in your sewing space, I've put together a quick comparison of these common fabric storage techniques. Everyone's needs are different, so think about your own habits and fabric collection as you look through the options.
| Method | Best For | Pros | Cons |
|---|---|---|---|
| Mini-Bolts | Cotton prints, 1-3 yard cuts | Highly visible, tidy appearance, prevents deep creases | Can be time-consuming to set up initially |
| Rolling | Quilt backings, large cuts | Keeps fabric completely smooth, great for long pieces | Requires more space (tall or deep shelving) |
| Clear Bins/Boxes | Fat quarters, scraps | Easy to see contents, stackable, contains small pieces | Can get messy if not folded neatly inside |
| Filing Cabinet | Fat quarters, precuts | Excellent color sorting, hidden but accessible | Requires a dedicated piece of furniture |
Ultimately, many of us use a combination of these methods. You might have your precious quilting cottons on mini-bolts, your backings rolled up in a closet, and all your colorful scraps sorted into clear bins.
It's no surprise that fabric storage cubes have become a go-to for craft rooms. They’re lightweight, affordable, and incredibly versatile. In fact, the market for these organizers is huge—as of 2024, it reached about USD 2.31 billion, which just shows how many of us rely on them!
You can arrange cubes in almost any configuration to fit your space, whether it's a dedicated studio or a small corner of your apartment. They work beautifully on their own or can be used to hold your mini-bolts or bins of scraps. If you're looking for more general ideas on protecting your materials, you can find great info on various storage solutions that apply to more than just fabric.
Alright, you've got your bins and shelves ready. Now for the fun part! Organizing your fabric is so much more than just tidying up; it's about creating a system that actually sparks your creativity. A well-organized stash isn't just a pile of materials—it’s your personal library of future quilts, just waiting for you.
Honestly, the best way to store fabric is whatever method gets you excited to sit down and sew.
We've all been there: a messy, overwhelming pile of fabric that just kills your motivation. A smart system, on the other hand, makes finding that perfect piece of fabric a total joy. Let's look at a few tried-and-true strategies that will get you spending less time hunting and more time quilting.
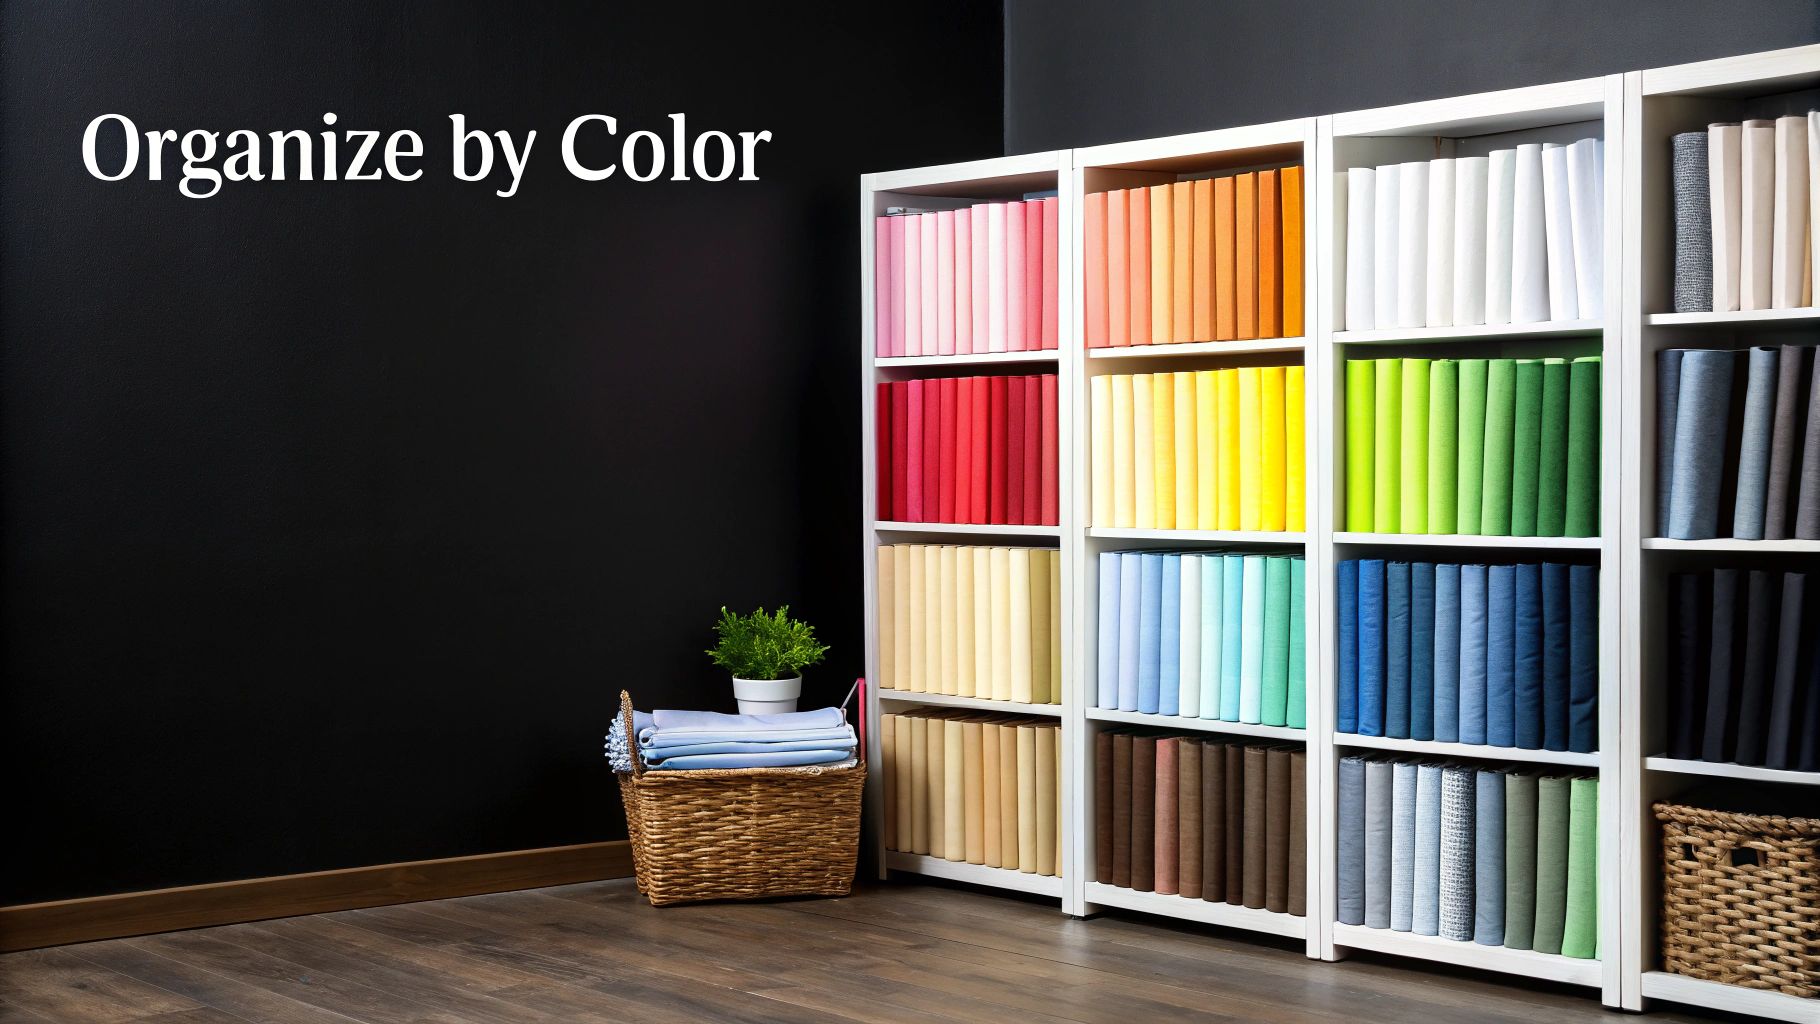
For a lot of quilters, sorting by color is the most natural and visually satisfying way to go. Just picture walking into your sewing room and being greeted by a gorgeous rainbow of fabrics. It's instant inspiration!
This method makes pulling together a color palette for a new quilt a breeze. Need a specific shade of blue? You just go to the blue section instead of digging through a bin of jumbled-up prints. It’s like having a paint box, but with fabric.
This approach looks especially sharp if you wrap your fabrics onto mini-bolts or comic book boards. The uniform size and shape create a really clean, cohesive look that turns your fabric stash into part of your room's decor.
I’ve found that my color-coded system naturally gets me to experiment more. Seeing all my greens together might spark an idea for a landscape quilt I hadn't even thought of. It turns organizing from a chore into a creative exercise.
While a fabric rainbow is a beautiful thing, it isn’t always the most practical setup for everyone. If you dabble in garment sewing alongside quilting, organizing by fabric type is a much more effective strategy. Keeping different fabric substrates separate is key because they all behave so differently.
It just makes sense—a stretchy cotton jersey needs to be handled completely differently than a delicate silk chiffon. Storing them in their own zones prevents mix-ups and makes planning your next project so much smoother.
A simple system might look like this:
This way, you can quickly grab the right kind of material for the pattern you have in mind. You’ll never again accidentally plan a structured jacket with a drapey knit you mistook for a sturdy woven!
Here’s another incredibly practical method: organize by project. This is an absolute game-changer for those of us who tend to buy all the materials for a specific quilt or garment at once. It’s the ultimate "grab-and-go" system for your sewing room.
All you have to do is gather the fabrics, notions, and thread for one project and pop them into a dedicated project box or bag. Make sure to label the outside clearly—something like "Summer Sundress Project" or "Baby Quilt for Sarah."
This technique is a lifesaver for staying focused. When you finally get a spare hour to sew, you won't waste a single minute of it hunting down that missing zipper or the right color of thread. Everything you need is already assembled and waiting for you, making it so much easier to finally tackle that growing pile of planned projects.
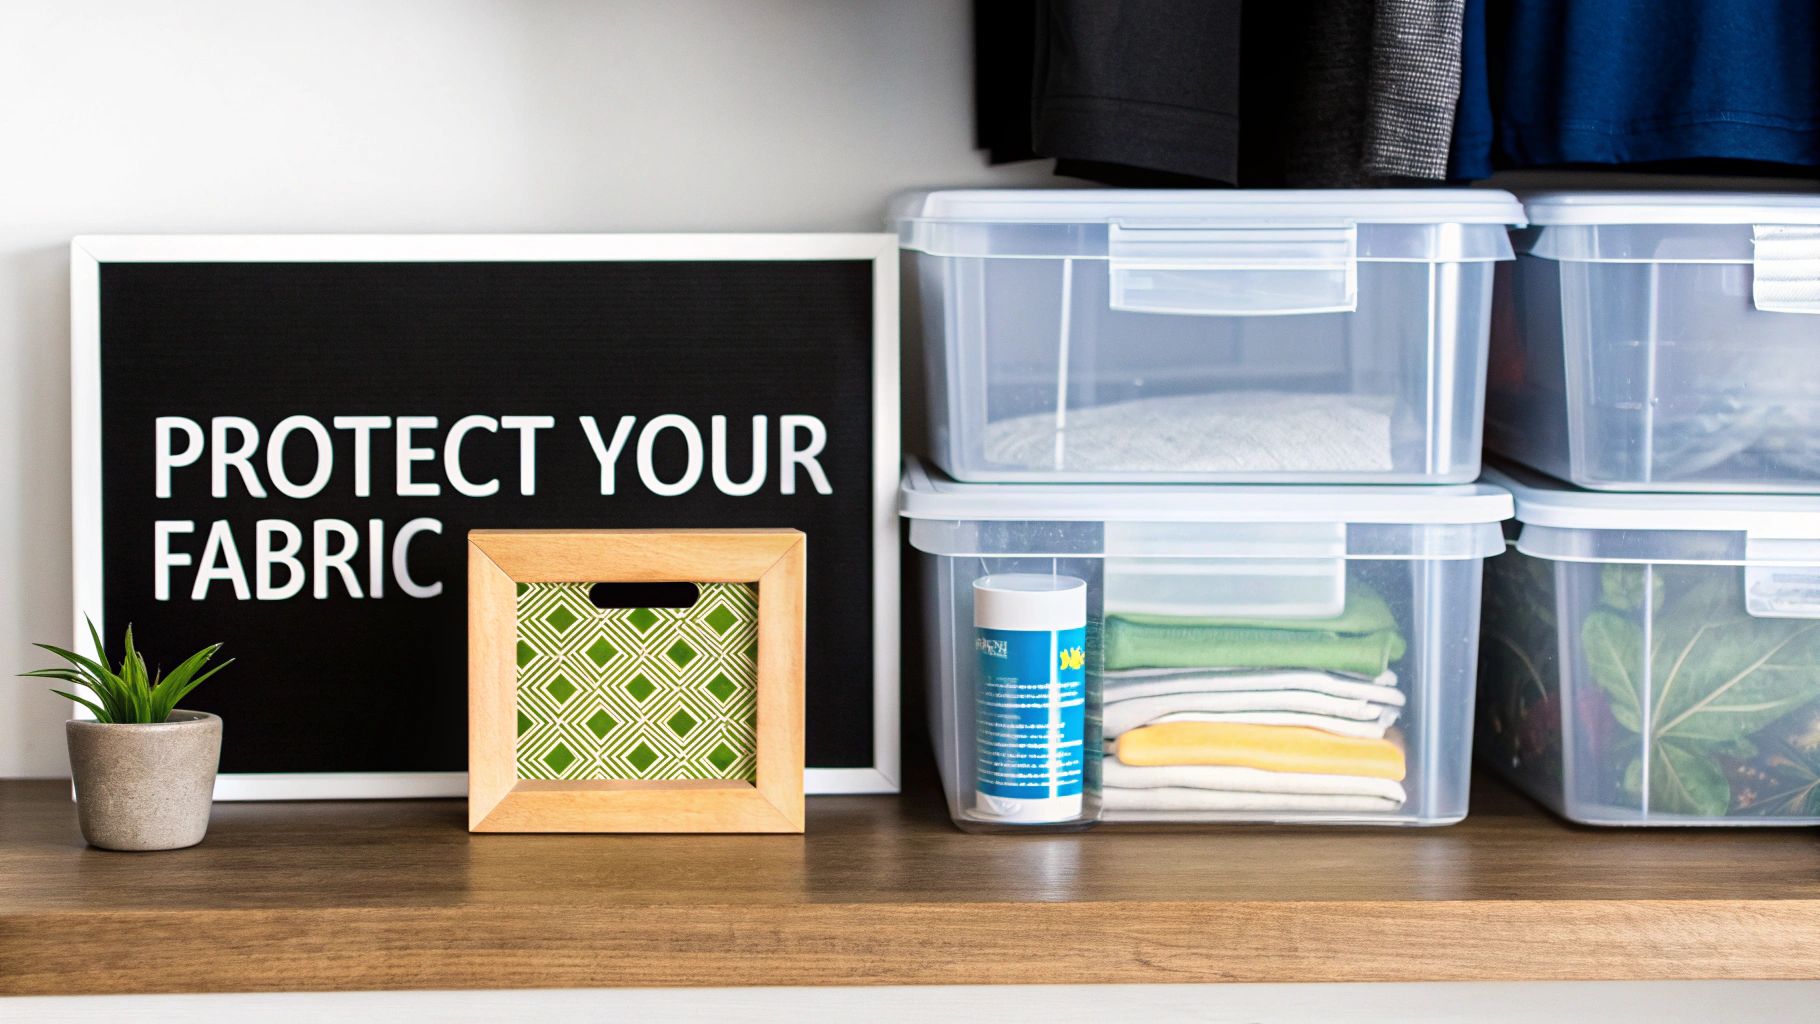
Keeping your fabric stash neat is one thing, but truly protecting that investment is another. It’s easy to forget about the hidden dangers lurking in our sewing spaces—sunlight, humidity, and even the boxes we store things in can ruin a beautiful piece of fabric before you ever get a chance to cut into it.
Think of your fabric collection like a wine cellar. You wouldn't leave a vintage bottle out in the sun, and the same care should apply to that prized fat quarter bundle you've been saving.
Sunlight is, without a doubt, fabric's worst enemy. Those UV rays are relentless, breaking down dyes and causing colors to fade right before your eyes. Even indirect light from a nearby window can leave permanent, faded streaks along the fold lines of your yardage.
The golden rule is simple: keep your fabric in the dark. This is the cornerstone of finding the best way to store fabric.
This isn't just a home-sewer tip; it's a massive industrial concern. The global market for fabric bulk storage buildings was valued at around USD 5.1 billion in 2024, largely because these structures are engineered with UV-resistant materials to protect raw textiles. You can see how seriously the pros take it when you read more about these industrial-scale storage innovations.
Next up is moisture. Attics, basements, and garages might seem like great places to stash extra fabric, but they are often the worst spots because of their wild temperature and humidity swings. These fluctuations create the perfect environment for mildew to thrive.
Once mildew sets in, you’re left with that awful musty smell and stubborn stains that often won't wash out. The best defense is to store your fabric in a stable, climate-controlled part of your house where it stays consistently cool and dry.
If you live somewhere with high humidity, a small dehumidifier or even a few of those little silica gel packets tucked into your storage bins can work wonders. It’s a small step that makes a huge difference in keeping your fabric fresh and mildew-free.
Finally, we have to talk about critters and chemicals. Pests like moths and silverfish are drawn to natural fibers, and the glue in standard cardboard boxes is like a homing beacon for them. Storing fabric in old shipping boxes is practically inviting them in for a feast.
At the same time, the materials you store your fabric in can cause their own damage.
By thinking about these hidden threats, you're doing more than just organizing. You're actively preserving the color, quality, and integrity of your fabric for every beautiful quilt you have yet to make.
Ah, you’ve done it. You’ve sorted, folded, and organized your entire fabric collection. It’s a beautiful sight, isn't it? But getting it organized is only half the battle. The real secret to a usable stash is keeping it that way.
Think of it like a garden. A little bit of consistent attention keeps the weeds at bay and everything thriving. The same goes for your fabric. A few simple habits are all it takes to keep your collection from turning back into a chaotic jungle of mystery scraps and forgotten treasures.
One of my favorite, and most effective, strategies is the ‘one-in, one-out’ rule. It’s as simple as it sounds: for every new piece of fabric that comes through the door, an equivalent amount has to go out—either into a finished project or to a new home.
This little habit single-handedly stops my stash from overflowing its designated space. It’s also a fantastic motivator to actually use the beautiful fabrics I already own!
The moment new fabric enters your sewing space is the most important one. I know it's tempting to toss it onto a "deal with it later" pile, but trust me, that's a direct path back to chaos.
Instead, process it right away. Wash it, press it, and measure it. Then, put it exactly where it belongs in your system. This discipline ensures every single piece has a home and is ready for you to grab the moment inspiration strikes. This principle of proper care applies to all textiles; you can find more great tips in this guide on the art of storing clothes properly.
A Quick Tip for Crease Prevention: Every few months, take a moment to refold some of the fabrics at the bottom of a stack or those wrapped around mini-bolts. A quick shakeout and a new fold prevents those deep, set-in creases that can be a real pain to iron out later.
Keeping a simple inventory of what you have is one of the best things you can do for your quilting practice. This doesn’t have to be some complex, time-consuming task. A simple notebook or a basic spreadsheet works perfectly.
For each fabric, I like to track a few key things:
This little bit of effort turns your physical collection into a searchable catalog. It's kind of like creating a "data fabric," a term used in the tech world for organizing scattered assets into a cohesive whole. Funnily enough, the global data fabric market was valued at around USD 2.29 billion in 2023, which just shows how valuable it is to have an integrated, easy-to-access system for your resources—whether they’re digital files or beautiful quilting cottons!
By applying that same logic to your stash, you can plan projects more efficiently and, best of all, avoid buying duplicates of a fabric you already have tucked away. A little organization goes a long way in unlocking your creative potential.
Even with the most organized sewing room, a few tricky questions always seem to pop up. It’s one thing to have neat shelves, but it's another to know how to handle specific fabrics or finally settle those classic debates. I’ve heard them all over the years, so let's tackle some of the most common fabric storage challenges quilters run into.
The short answer? Not necessarily. How you should store your fabric really comes down to what it’s made of.
For fabrics like cotton, flannel, and linen that are notorious for shrinking or bleeding color, pre-washing is non-negotiable. Taking the time to wash them ensures your finished quilt won’t pucker or run the first time it hits the laundry.
On the other hand, you’ll want to be more careful with delicate materials. I typically store things like silk or fine wool just as they came from the shop. Washing can mess with their beautiful texture and drape, so I save any cleaning for right before I'm ready to cut. Pre-cuts like jelly rolls are another big exception—most of us leave them unwashed to keep that crisp, starched finish that makes for super-accurate piecing.
My personal rule of thumb is pretty straightforward: If the final quilt is destined for the washing machine, I pre-wash the fabric. If it's for a special project that will only ever be dry-cleaned or gently hand-washed, I store it as is.
If there’s one thing you should avoid, it's storing your precious fabric in completely sealed plastic tubs somewhere with unpredictable light and temperature, like an attic or basement. Airtight containers are a recipe for disaster because they can trap moisture, which is a perfect invitation for mildew. And any sunlight, even if it's indirect, will fade your colors and weaken the fibers for good.
Raw cardboard boxes are another bad idea. You might not realize it, but standard cardboard contains acid that can slowly yellow your beautiful fabrics. The glues used to hold the boxes together can also be an unwelcome snack for pests. The best way to protect your investment is to choose storage that’s breathable, dark, and made from stable, acid-free materials.
Ah, the scrap pile. Those little leftover bits can spiral into chaos so quickly, but they're far too valuable to just toss out. The trick is to find a system that corrals them while keeping them visible and ready to use.
Here are a few methods that actually work:
Here at High Country Quilts, we believe an organized stash is an inspiring one. Dive into our huge collection of beautiful quilting fabrics, must-have notions, and BERNINA machines to build a collection you'll be proud of. Stop by our shop or visit us online to find everything you need for your next masterpiece.
At High Country Quilts we care deeply about community. With our experiences in retail, we know that a store is not only a place to shop but also a place for the community to gather and share. During this busy...

Hi! We’re Adam and Renee Wheaton, the new owners of High Country Quilts! For more than 40 years, we’ve owned and operated vacuum and sewing businesses. Following in Renee’s father’s footsteps after he retired from All Discount Vacuum and Sewing in Colorado...


Leave a comment