

We Love Our Quilting Community
At High Country Quilts we care deeply about community. With our experiences in retail, we know that a store is not only a place to shop but also a place for the community to gather and share. During this busy...


Welcome to the vibrant world of quilting! That first stitch, the feel of beautiful fabric, and the pride of creating something with your own hands make for an incredibly rewarding journey. But where do you start? The sheer number of patterns and techniques can feel overwhelming for anyone new to the craft.
That's why we've created this guide to the best beginning quilting projects. Forget confusion and analysis paralysis; this list is your curated path to success. We’ll break down eight approachable, fun, and beautiful projects that are perfect for building your skills one block at a time. Whether you dream of making a cozy baby quilt or a modern wall hanging, you'll find the perfect starting point right here.
As you embark on your creative journey, remember that mastering fundamental techniques, even in other crafting areas, can inspire precision and skill in your quilting, such as learning how to achieve flawless DIY crafts. This list is designed to give you that same sense of confidence. At High Country Quilts, we believe quilting is for everyone, and we're here to provide the tools, fabrics, and expert guidance you need. Let’s get started on your creative adventure
A simple patchwork baby quilt is the quintessential first project for a reason. It is one of the most popular beginning quilting projects because it teaches all the foundational skills: accurate cutting, consistent piecing, pressing seams, and basic quilting techniques. The project involves sewing together simple shapes, usually squares or rectangles, in a straightforward grid pattern to create a charming and functional item.
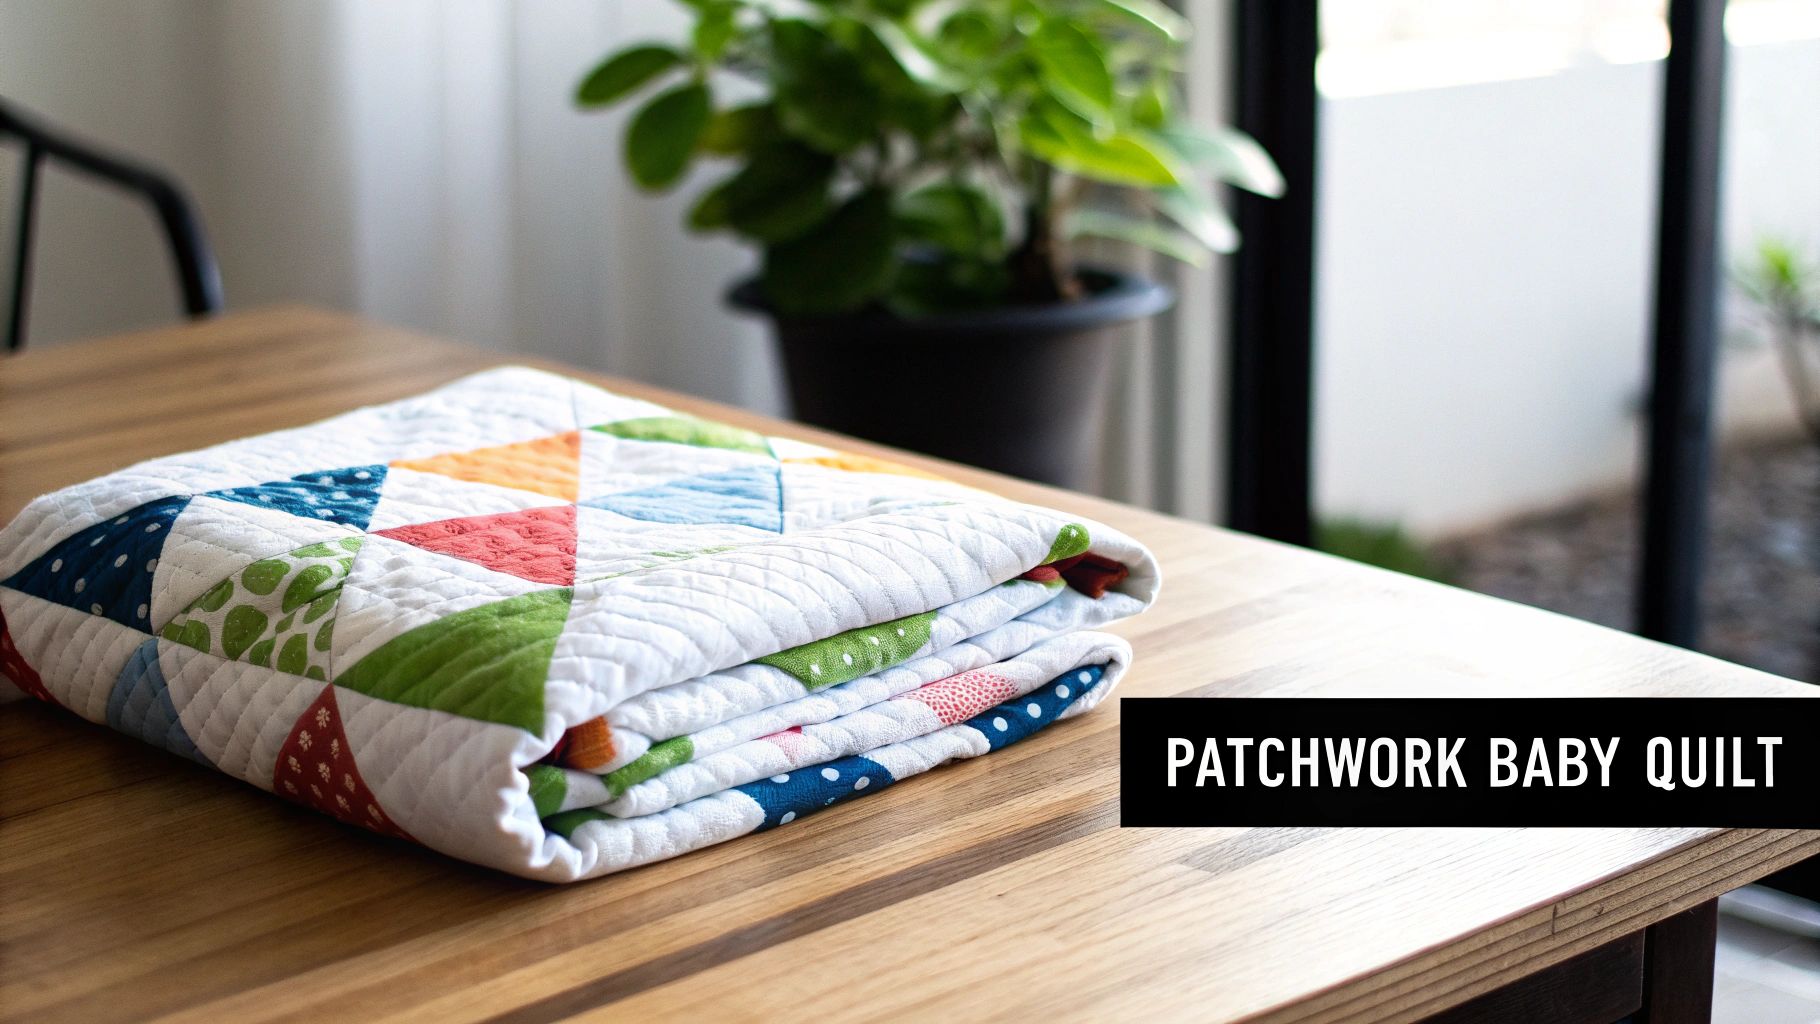
This project is perfect for new quilters because its manageable size (typically around 36" x 48") prevents overwhelm, while the repetitive nature of piecing squares helps build muscle memory and confidence. The end result is a heartfelt, handmade gift that's as rewarding to make as it is to give.
To ensure your first quilt is a success, focus on precision from the very start. Use a quality rotary cutter and a self-healing mat for accurate cuts. Before starting, practice sewing scraps together to dial in your 1/4-inch seam; you can even place a piece of masking tape on your sewing machine as a physical guide.
Pro-Tip: Press your seams after sewing each row. For a flat quilt top, press the seams of odd-numbered rows in one direction and even-numbered rows in the opposite direction. This helps the seams "nest" together snugly when you join the rows.
Finally, break the project into smaller, manageable steps: cutting, piecing rows, joining rows, quilting, and binding. This approach makes the process feel less intimidating and more enjoyable. Much like how creative professionals find success using UGC creator platforms to organize their workflow, a structured process is key in quilting.
A strip piecing wall hanging is an excellent next step for those who have mastered sewing straight lines. This technique is one of the most versatile beginning quilting projects, involving sewing long fabric strips together to create visually dynamic panels. These strips, often pre-cut as Jelly Rolls or cut from yardage, are arranged to form bold patterns like color gradients or abstract designs.
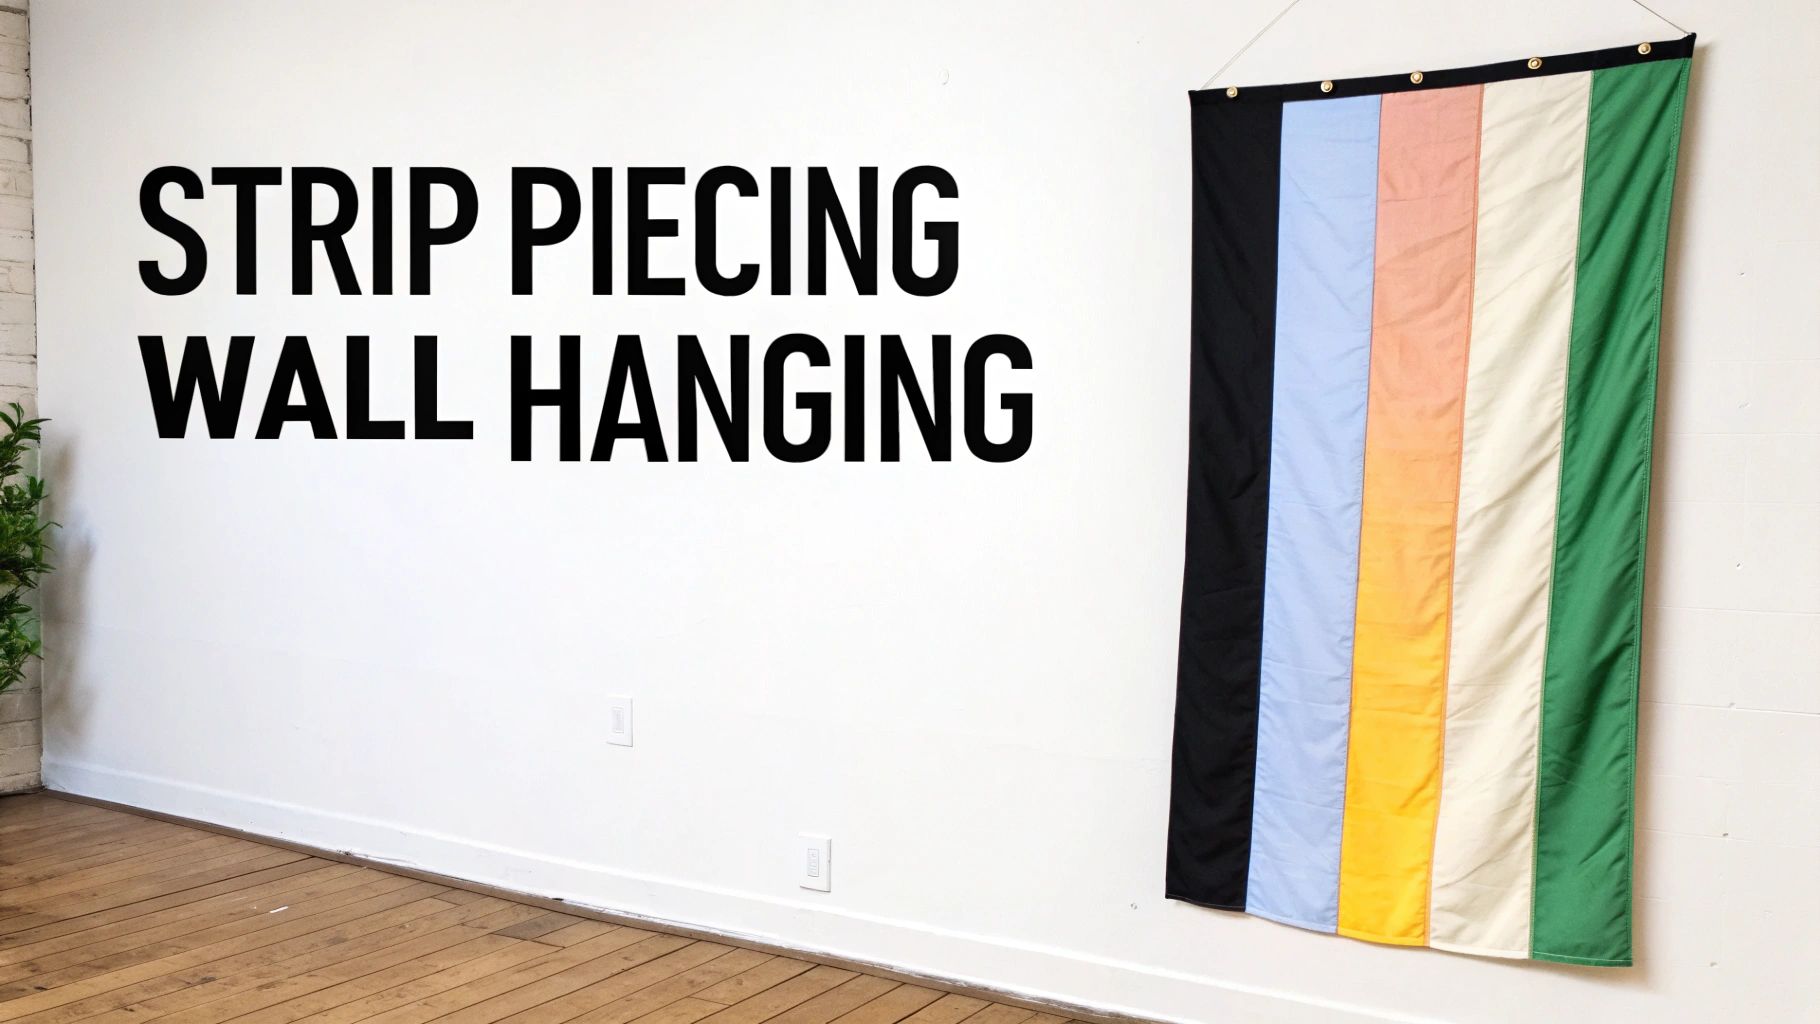
This project is ideal for beginners because it focuses on straight-seam accuracy over a longer distance, building stamina and precision. With a finished size typically between 18" x 24" and 24" x 36", it’s a manageable project that produces a stunning piece of home decor without the commitment of a full-sized quilt.
To achieve a flat, professional-looking wall hanging, press your fabric strips before sewing to remove all wrinkles. When sewing the strips together, use a walking foot attachment on your sewing machine to prevent the layers from shifting and puckering. This is especially helpful when working with long pieces of fabric.
Pro-Tip: Arrange your strips on a design wall or a large, flat surface before sewing. This allows you to play with color placement and patterns until you are happy with the composition, preventing you from having to rip seams later.
Finally, after sewing your strips into a panel, let it rest for a bit before cutting or quilting. Fabric can stretch during sewing and pressing, so allowing it to relax helps ensure your final cuts are accurate and your wall hanging hangs straight.
A traditional block quilt is a fantastic next step for those looking to expand beyond basic squares. It is one of the most foundational beginning quilting projects because it introduces the concept of creating larger designs from small, repeatable units, known as "blocks." The Four Patch (four squares) and Nine Patch (nine squares) are the building blocks of countless classic quilt patterns.
This project teaches precision on a smaller, more intricate scale than a simple patchwork quilt. You will learn to piece smaller units together to create a block, and then join those blocks to form the quilt top. Mastering these simple blocks opens the door to a vast world of traditional quilt designs and is a rite of passage for every new quilter.
Consistency is the key to a beautiful block quilt. Ensure every initial square is cut to the exact same size, as even small variations will become noticeable when you assemble the blocks. Use a design wall or lay your blocks out on the floor to visualize the final arrangement before you start sewing them together.
Pro-Tip: Make four or five practice blocks before cutting all your fabric. This allows you to perfect your piecing technique and seam pressing method, ensuring all your final blocks are uniform in size. For a Nine Patch, press the seams of the top and bottom rows outward and the middle row inward to create perfectly nested seams.
Finally, don't be afraid to experiment with fabric placement. A classic red and white Four Patch creates a timeless look, while a Friendship Nine Patch made with novelty prints can tell a personal story. This structured yet creative process makes it an incredibly rewarding project for any beginner.
Using pre-cut fabric bundles like charm packs (5" squares) or jelly rolls (2.5" strips) is one of the smartest ways to start quilting. These curated collections are among the best beginning quilting projects because they remove the two biggest hurdles for newcomers: fabric selection and initial cutting. The fabrics are already coordinated by designers, and the pieces are machine-cut with precision, allowing you to jump straight into sewing.
This approach is perfect for beginners who want a beautiful, cohesive quilt without the stress of coordinating prints and colors. Patterns designed specifically for these pre-cuts, like the famous "jelly roll race," are simple, fast, and incredibly satisfying, often resulting in a finished quilt top in a single afternoon.
To get the most out of your pre-cuts, choose a pattern specifically designed for the type you have (e.g., a "jelly roll friendly" pattern). Before sewing, lay out your squares or strips on a design wall or the floor to plan your color placement. This step prevents you from having to rip out seams later.
Pro-Tip: Some quilters prefer to starch and press their pre-cuts before sewing. This adds stability to the fabric, making it easier to handle and ensuring a more accurate seam allowance, especially with strips.
Finally, think of your project like a well-organized campaign. Just as businesses rely on influencer gifting platforms to streamline their outreach, quilters can use a structured plan for their fabric layout to ensure a smooth and successful project from start to finish.
Appliqué opens up a new world of design possibilities by allowing you to add shapes and motifs on top of a background fabric. As one of the most artistic beginning quilting projects, it teaches you how to handle smaller fabric pieces and apply decorative stitching. The technique involves cutting out shapes, fixing them to your main fabric (often with a fusible web), and stitching around the edges to secure them.
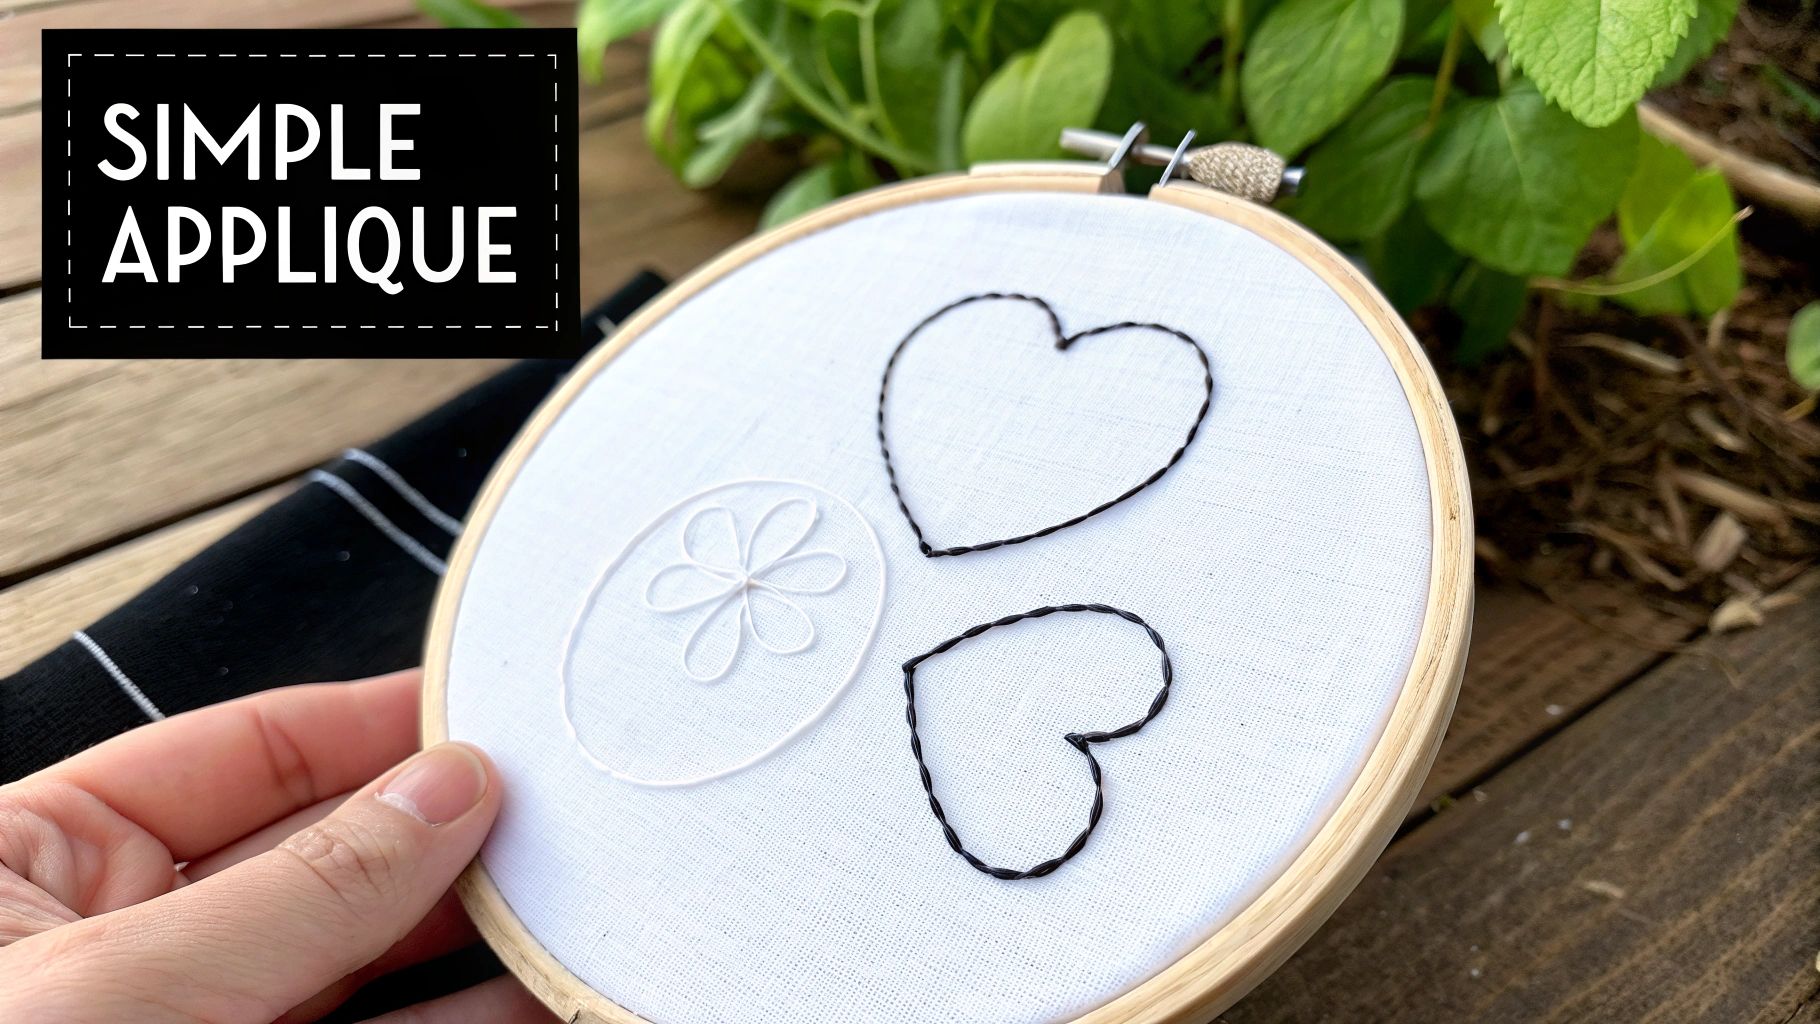
This method is perfect for beginners who want to move beyond simple squares and explore more creative designs. Projects like small wall hangings, personalized pillows, or a baby quilt with simple animal shapes are excellent starting points. The fusible web technique, in particular, is very forgiving as it holds your shapes perfectly in place while you sew.
To get started, choose simple shapes with gentle curves or straight lines, like circles, leaves, or letters. Use a lightweight fusible web for easier handling and a softer finish on your quilt. Before you start on your final project, test your machine’s decorative stitches on a scrap piece of fabric to see how they look and feel.
Pro-Tip: Always use a stabilizer, like a tear-away or leave-in variety, on the back of your background fabric. This prevents the fabric from puckering or distorting when you are doing dense decorative stitching around your appliqué shapes, ensuring a smooth, professional result.
Finally, when pressing your finished appliqué, do it gently from the back of the project. This sets the stitches without flattening their texture, preserving the beautiful dimension you created. This simple step makes a significant difference in the final appearance of your work.
Ready to move beyond a baby-sized project? A simple throw or lap quilt is the perfect next step. This is one of the most rewarding beginning quilting projects because it teaches the full quilting process on a larger, more functional scale without being overwhelming. Typically ranging from 50" x 60" to 60" x 70", a throw quilt uses simple piecing methods to create a beautiful and cozy quilt you can use every day.
This project allows you to solidify the skills learned on smaller items, like accurate cutting and piecing, while introducing you to the challenge of handling a larger quilt sandwich. The end result is a substantial and impressive quilt that makes a wonderful gift or a treasured addition to your own home decor.
Choose a batting weight appropriate for the quilt's final use; a lighter cotton or 80/20 blend is often easier to quilt on a home machine. Before you start quilting, plan your design. Simple straight lines are very beginner-friendly and can be easily accomplished with a walking foot, a standard accessory on most BERNINA machines. For a truly professional finish, you can also consider using a longarm quilting service.
Pro-Tip: Managing a larger quilt during binding can be tiring. Work in sections and take frequent breaks to stretch your hands. This prevents fatigue and helps you maintain neat, consistent stitches all the way to the final corner.
Breaking down the quilting and binding stages is crucial for success. This structured approach, similar to how content creators use a UGC creator agency signup form to streamline their workflow, makes the final steps manageable and ensures a beautiful finish.
A scrap quilt, or "stash buster," is an incredibly rewarding and budget-friendly project that uses leftover fabric pieces from other sewing endeavors. This is one of the most sustainable beginning quilting projects because it gives new life to otherwise discarded materials. The project involves sewing together various scraps, strips, and odd-sized cuts into a cohesive and charming quilt top, celebrating a beautiful mix of colors and patterns.
This project is perfect for beginners because it frees you from the pressure of perfection. The "scrappy" aesthetic is very forgiving, allowing you to focus on practicing piecing skills without worrying about perfect fabric coordination. It’s an authentic way to create a quilt with a rich story, where every piece of fabric has a history.
To keep your scrappy project from feeling chaotic, start by organizing your scraps. Sorting them by color family (warm tones, cool tones) or by size can make the design process much more manageable. Keep a dedicated scrap basket near your sewing machine to easily collect trimmings as you work on other projects.
Pro-Tip: Don't overthink your fabric combinations. The beauty of a scrap quilt is in its eclectic nature. To create visual interest, consciously mix small-scale prints with large-scale prints and solids. This variation adds depth and prevents the final design from looking too busy.
Finally, think of your scrap quilt as a creative journal. Each piece tells a story of a past project. This mindset shifts the focus from perfection to personal expression, making the process more enjoyable. Much like a brand using an influencer outreach service to tell its story, your quilt will narrate your creative journey through fabric.
Diving into quilting with specialty rulers or templates is a modern approach that unlocks complex-looking designs with surprising ease. This is one of the most exciting beginning quilting projects because it removes the guesswork from cutting tricky shapes like triangles, hexagons, and curves. These tools are designed for precision, ensuring every piece fits together perfectly.
This type of project is ideal for beginners who are drawn to geometric or modern aesthetics but are intimidated by the math. Instead of complex calculations, you simply follow the lines on the ruler. The result is a stunning quilt, wall hanging, or table runner that appears far more advanced than it actually is.
To get started, choose a simple project that uses a single type of ruler, such as one based on half-square triangles. Always follow the manufacturer's instructions precisely, as each ruler has its own markings and methods. Use a quality rotary cutter with a comfortable grip to maintain control while cutting along the template's edges.
Pro-Tip: Before you commit, visit a local quilt shop like High Country Quilts to handle different rulers. Seeing how they work in person can help you choose the one that feels most intuitive for you. Regularly check your ruler's alignment with the fabric to prevent slippage and ensure every cut is spot-on.
Breaking down your workflow into distinct stages is key to managing any creative endeavor. For those interested in mastering structured creative processes, exploring resources on how to become a creator can offer valuable insights into organizing complex projects.
| Project | Implementation Complexity 🔄 | Resources & Cost ⚡ | Expected Outcomes ⭐ | Ideal Use Cases 📊 | Key Advantages & Tips 💡 |
|---|---|---|---|---|---|
| Simple Patchwork Baby Quilt | Low — straight seams, repetitive practice | Low — small yardage (2–4 colors), basic tools, modest workspace | ⭐⭐⭐ — usable gift; builds foundational piecing skills | Beginner practice; baby gifts; confidence-building projects | Low cost; teaches seam consistency. 💡 Use 1/4" guide, rotary cutter, press seams |
| Strip Piecing Wall Hanging | Low–Medium — straight strips; curved variants add skill | Low — few strips or scraps, minimal backing | ⭐⭐⭐ — high visual impact; quick finish | Wall art; color studies; scrap use | Fast results; great for color play. 💡 Press strips, arrange on design wall first |
| Traditional Block Quilt (Four Patch & Nine Patch) | Medium — many seam intersections, precision required | Moderate — yardage for many blocks, consistent cutting tools | ⭐⭐⭐⭐ — heirloom-quality; highly versatile designs | Bed or large quilts; skill-building; traditional patterns | Teaches assembly & pressing; abundant patterns. 💡 Make sample blocks and use a design wall |
| Charm Pack or Jelly Roll Quilt | Low — precuts remove cutting step | Low–Moderate — precut cost higher per yard but saves time | ⭐⭐⭐⭐ — fast, attractive results; high success rate | Quick gifts; guild/group projects; beginners wanting speed | Eliminates cutting; coordinated fabrics. 💡 Choose patterns for precuts and prewash if needed |
| Appliqué Beginner Project (Raw Edge or Fusible Web) | Low–Medium — simple application but stitch control needed | Low — background fabric, fusible web or stabilizer, specialty feet optional | ⭐⭐⭐ — highly customizable and decorative | Themed wall hangings; personalized baby items; novelty quilts | Introduces new technique; forgiving background. 💡 Start with simple shapes and use stabilizer |
| Simple Throw Quilt or Lap Quilt | Medium — full process (sandwiching, quilting, binding) | Moderate–High — more fabric, batting, larger workspace; possible longarm cost | ⭐⭐⭐⭐ — practical, giftable; teaches full quilting workflow | Functional throws; display on furniture; consolidate skills | Teaches entire process end-to-end. 💡 Plan quilting design and consider longarm for best finish |
| Scrap Quilt or Stash Buster Project | Low–Medium — flexible planning, improvisational or organized | Very low — uses leftover fabric; needs scrap organization | ⭐⭐⭐ — unique, sustainable, personal results | Using stash/scraps; eco-friendly projects; low-cost practice | Virtually free materials; embraces imperfection. 💡 Sort scraps by color/size for easier planning |
| Beginner Ruler or Template-Based Project | Medium — requires learning ruler techniques and precise cutting | Moderate — investment in specialty rulers and quality rotary tools | ⭐⭐⭐⭐ — professional-looking, geometric precision achievable | Modern designs; class demonstrations; projects that mimic advanced patterns | Produces complex-looking quilts for beginners. 💡 Start with triangle rulers and follow manufacturer instructions |
You've just explored a curated collection of fantastic beginning quilting projects, each designed to build your skills and ignite your creative passion. From the simple satisfaction of a patchwork baby quilt to the modern flair of a strip-pieced wall hanging, the path to becoming a confident quilter is paved with these achievable, rewarding creations. The journey isn't about perfection; it's about progress.
The most critical takeaway is that there is no single "right" place to start. Whether you're drawn to the efficiency of a Jelly Roll quilt or the artistic freedom of a scrap-busting project, the ideal first step is the one that excites you the most. Each stitch you sew, every seam you press, and every block you complete is a victory. These early projects are your foundation, teaching you the essential rhythm of cutting, piecing, and pressing that defines the craft.
Remember that every quilter, no matter how experienced, started with a first seam. Mistakes are not failures; they are valuable lessons disguised as misplaced stitches or wobbly lines. A seam ripper is a tool, not a symbol of defeat.
Key Insight: The true goal of your first project is not to create a flawless masterpiece, but to learn the process, understand your machine, and discover the joy of turning simple fabric into a functional work of art.
As you master the basics, your confidence will soar, and you'll begin to see possibilities everywhere. You might even find yourself quilting for specific purposes, like a durable and beautiful Outdoor Picnic Blanket for family outings, a project that wonderfully combines practicality with your newfound skills.
Feeling inspired? It's time to move from reading to doing. Here’s a simple plan to get started right now:
This adventure is yours to shape. The skills you build with these beginning quilting projects will unlock a lifetime of creativity, providing a fulfilling hobby that connects you to a rich tradition and a vibrant community. Welcome to the world of quilting; we're so glad you're here.
Ready to begin your quilting adventure with the best tools and support? Visit High Country Quilts in Colorado Springs or explore our website for premium fabrics, BERNINA sewing machines, and a full schedule of classes designed for every skill level. Let us be your partner in creativity.
At High Country Quilts we care deeply about community. With our experiences in retail, we know that a store is not only a place to shop but also a place for the community to gather and share. During this busy...

Hi! We’re Adam and Renee Wheaton, the new owners of High Country Quilts! For more than 40 years, we’ve owned and operated vacuum and sewing businesses. Following in Renee’s father’s footsteps after he retired from All Discount Vacuum and Sewing in Colorado...


Leave a comment