

We Love Our Quilting Community
At High Country Quilts we care deeply about community. With our experiences in retail, we know that a store is not only a place to shop but also a place for the community to gather and share. During this busy...


So, what exactly is quilt backing? It’s the fabric that makes up the bottom layer of your quilt "sandwich," giving your project stability and a beautiful, finished look. It's truly the unsung hero, playing a massive role in how your quilt drapes, feels, and holds up over the years.
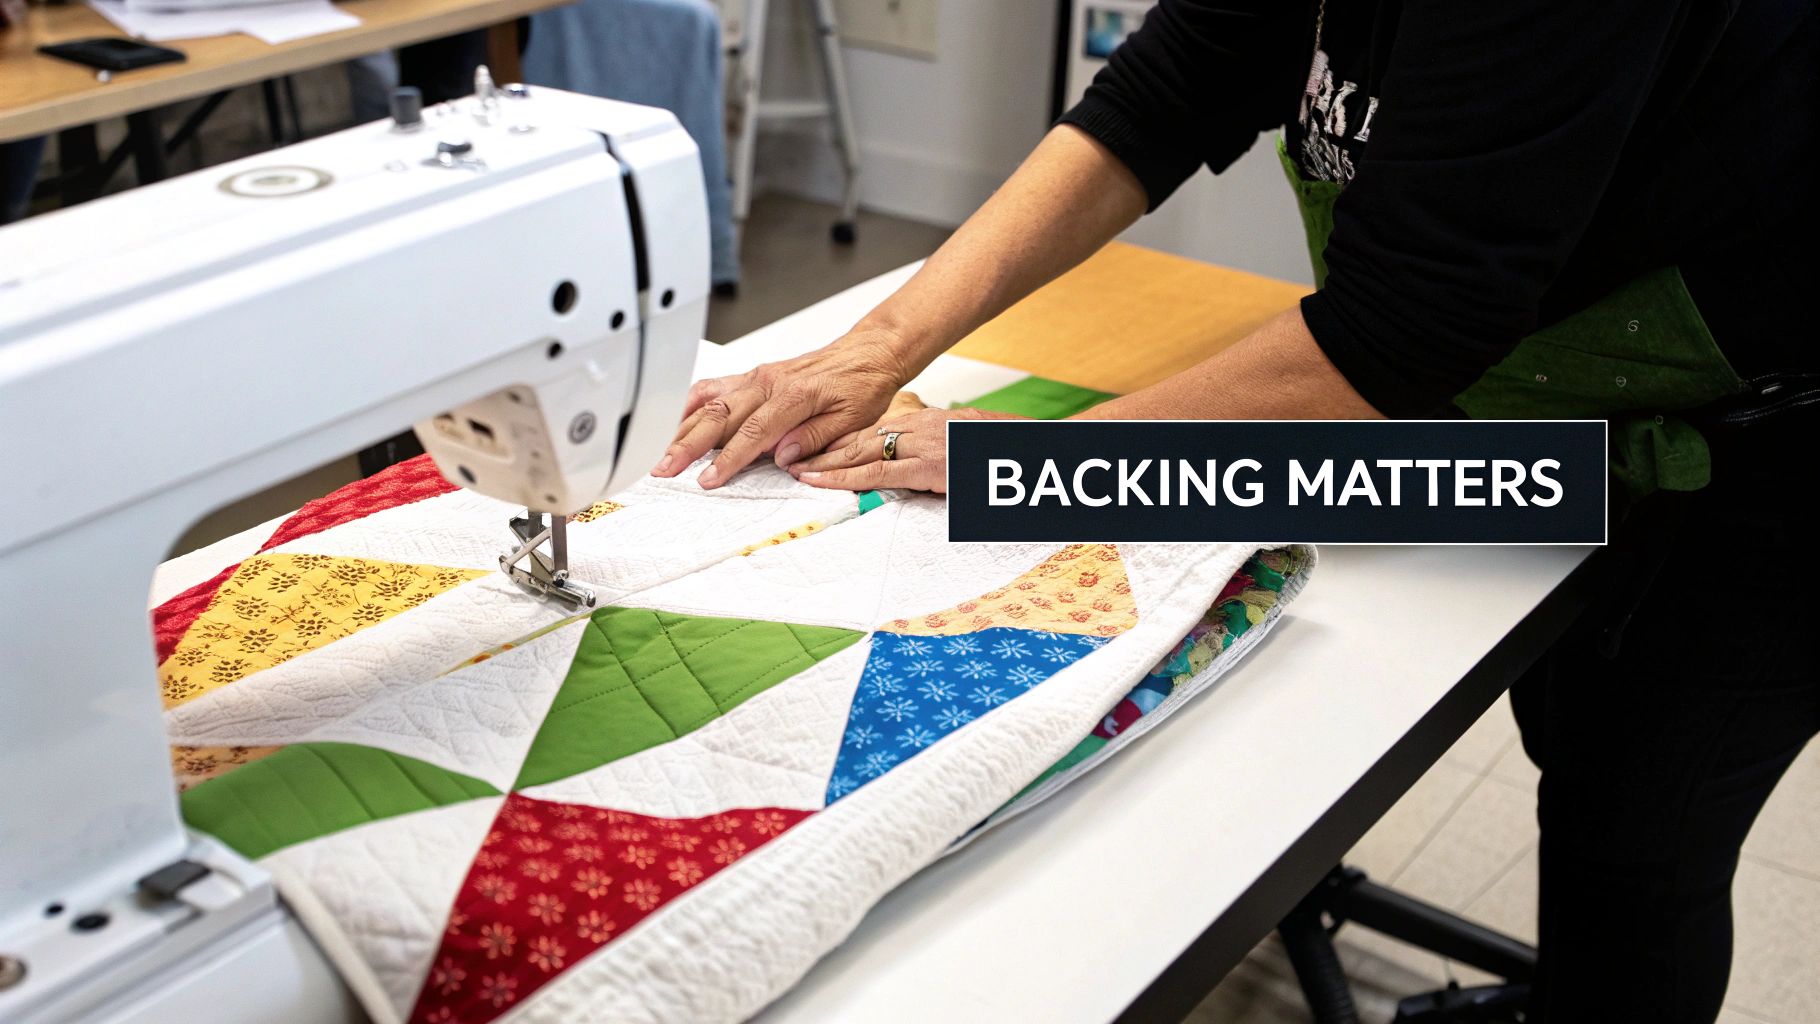
Think of your quilt backing as the foundation of a house. The beautifully pieced quilt top gets all the glory, but the backing is what provides the structural support holding the entire thing together. Choosing the right backing quilt fabric is a make-or-break decision that shapes the final look, feel, and durability of your work.
A great backing does more than just hide the batting; it has three crucial jobs that every quilter needs to appreciate.
First and foremost, the backing acts as a stable anchor for the quilt sandwich—your top, batting, and back layers. The right fabric keeps your quilt from stretching out of shape or sagging over time, especially while you're quilting it.
When a quilt is loaded onto a longarm frame, the backing takes on all that tension. If it's too flimsy or stretchy, you'll be fighting puckers and tucks the whole time. A solid, quality backing is your best friend for keeping the quilt square and flat, which really lets your quilting stitches stand out.
Let’s be honest, how a quilt feels is just as important as how it looks. The backing is the part that will actually be against your skin, so its texture is a huge part of the quilt's comfort factor. A soft, smooth cotton or a cozy, warm flannel can be the thing that turns a decorative piece into a go-to, snuggable blanket.
The right backing transforms a quilt from a purely visual piece into a tactile experience. It’s the difference between a quilt that’s admired from afar and one that’s used and loved every single day.
The fabric's weight and weave also dictate the quilt's drape—how it hangs and folds. A stiff, heavy backing will result in a more rigid quilt, whereas a lighter, softer fabric gives it a much more graceful flow.
Finally, don't miss the opportunity to get creative! The back of your quilt is a whole other canvas waiting for your personal touch. It can easily become a "second front" that either complements or provides a fun contrast to the top.
Here are a few ideas for your backing:
When you put thought into your backing fabric, you elevate the entire project. It's how you ensure that all the hard work you poured into the quilt top is supported by a foundation that is just as beautiful, functional, and built to last.
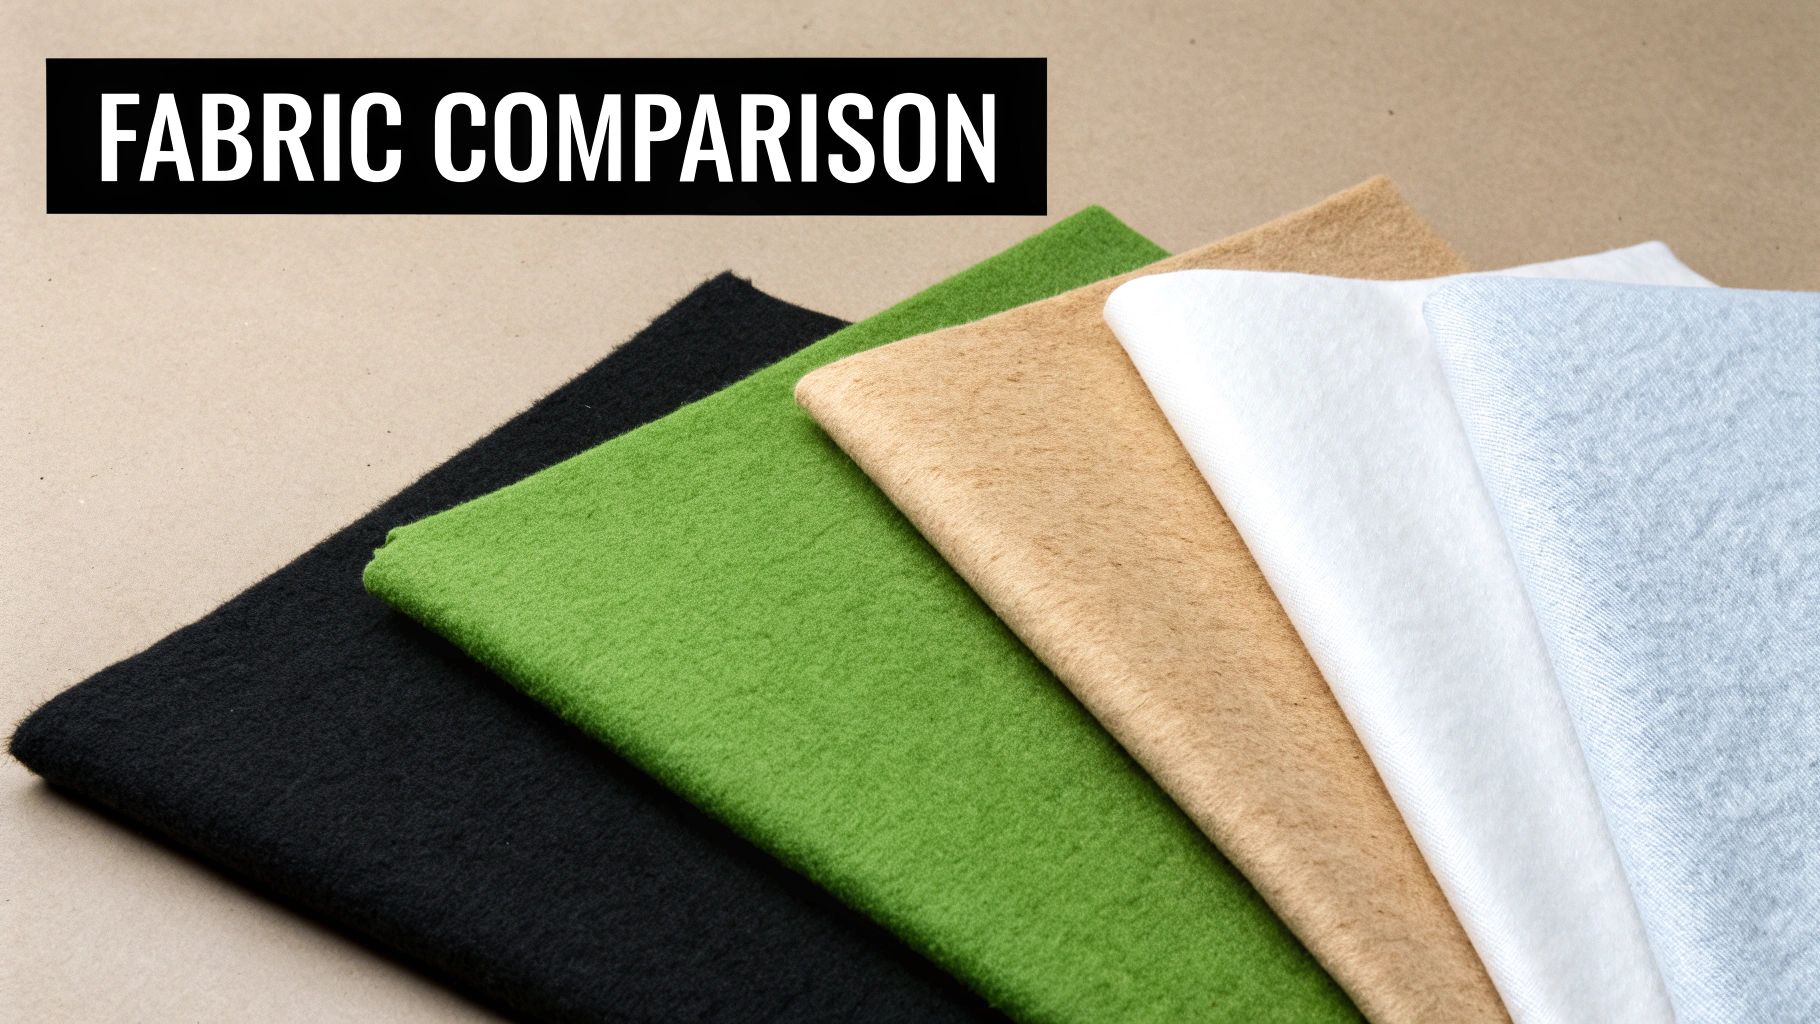
Choosing the right fabric for your quilt's back is a big deal. It's not just about looks; it's the part you'll feel against your skin, and it plays a huge role in the quilt's final weight, drape, and overall coziness. Let's walk through the most popular options to find the perfect match for your next project.
If you're ever unsure what to pick, you can't go wrong with 100% quilting cotton. Think of it as the trusty foundation of the quilting world. It’s stable, breathable, and available in a staggering variety of prints and solids, making it the go-to for most of us.
Because it's a tightly woven fabric, it doesn't really stretch or warp while you're working with it. That stability is a lifesaver when you’re basting, helping you avoid those dreaded puckers. And since most quilt tops are also cotton, the front and back will shrink and wear at a similar rate, helping your quilt age gracefully.
The price of cotton can bounce around a bit, reflecting what's happening in the broader market. It's good to keep in mind, as the overall quilting market has seen steady annual growth between 4.0% to 5.6% in recent forecasts.
When you're making a quilt that's destined for fireside snuggles and chilly nights, flannel is your best friend. It’s also 100% cotton, but it’s been brushed to create that fuzzy, soft surface we all love. That texture traps air, making it incredibly warm and cozy.
Working with flannel does require a couple of extra steps. It’s notorious for shrinking, so pre-washing is an absolute must. It can also stretch a bit and sheds a lot of lint, so give your machine a good cleaning after you're done.
For a quilt that feels like a hug, Minky is the answer. This 100% polyester fabric is unbelievably plush—think fleece, but with a much silkier, more luxurious feel. It has a beautiful drape and transforms any quilt into something truly special.
Minky doesn’t just add softness; it adds a noticeable weight and warmth that gives the finished quilt a comforting, premium feel. It's an excellent choice for baby quilts or a throw you want to feel truly indulgent.
Minky can be a little tricky to work with, though. It’s a knit fabric, which means it stretches—a lot. The secret is to use plenty of pins, a walking foot, and a slightly longer stitch length to keep it under control. Also, keep it away from a hot iron, as the fibers can melt! A low-temp press is all it needs. If you're exploring other plush options, it's worth understanding the difference between plush fleece versus regular fleece to see how they compare in texture and warmth.
For a durable, everyday quilt, a cotton-polyester blend is a great, budget-friendly option. Blends are tough, wrinkle-resistant, and less likely to shrink than 100% cotton, giving you a low-maintenance backing that can handle frequent trips through the laundry.
The trade-off is breathability. Blends don't breathe as well as pure cotton, which might be a factor if the quilt is for a bed in a warmer climate. Just make sure the blend you choose has a similar weight to your quilt top to ensure everything wears evenly over time.
Still weighing your options? This little cheat sheet breaks down the key features of each fabric to help you make the perfect choice for your project.
| Fabric Type | Best For | Sewing Difficulty | Feel & Drape | Key Consideration |
|---|---|---|---|---|
| Quilting Cotton | All-purpose projects, beginners | Low | Crisp, moderate drape | Enormous print variety |
| Flannel | Warm winter quilts, cozy throws | Low-Medium | Soft, warm, heavy drape | Must be pre-washed to manage shrinkage |
| Minky | Baby quilts, luxurious throws | High | Ultra-soft, silky, fluid drape | Stretchy; requires a walking foot |
| Cotton-Poly Blend | Durable, everyday quilts | Low | Smooth, slightly stiff drape | Less breathable than 100% cotton |
Ultimately, the best backing is the one that fits your quilt's purpose. Whether it’s a rugged bed quilt or a silky-soft baby blanket, the right backing makes all the difference.
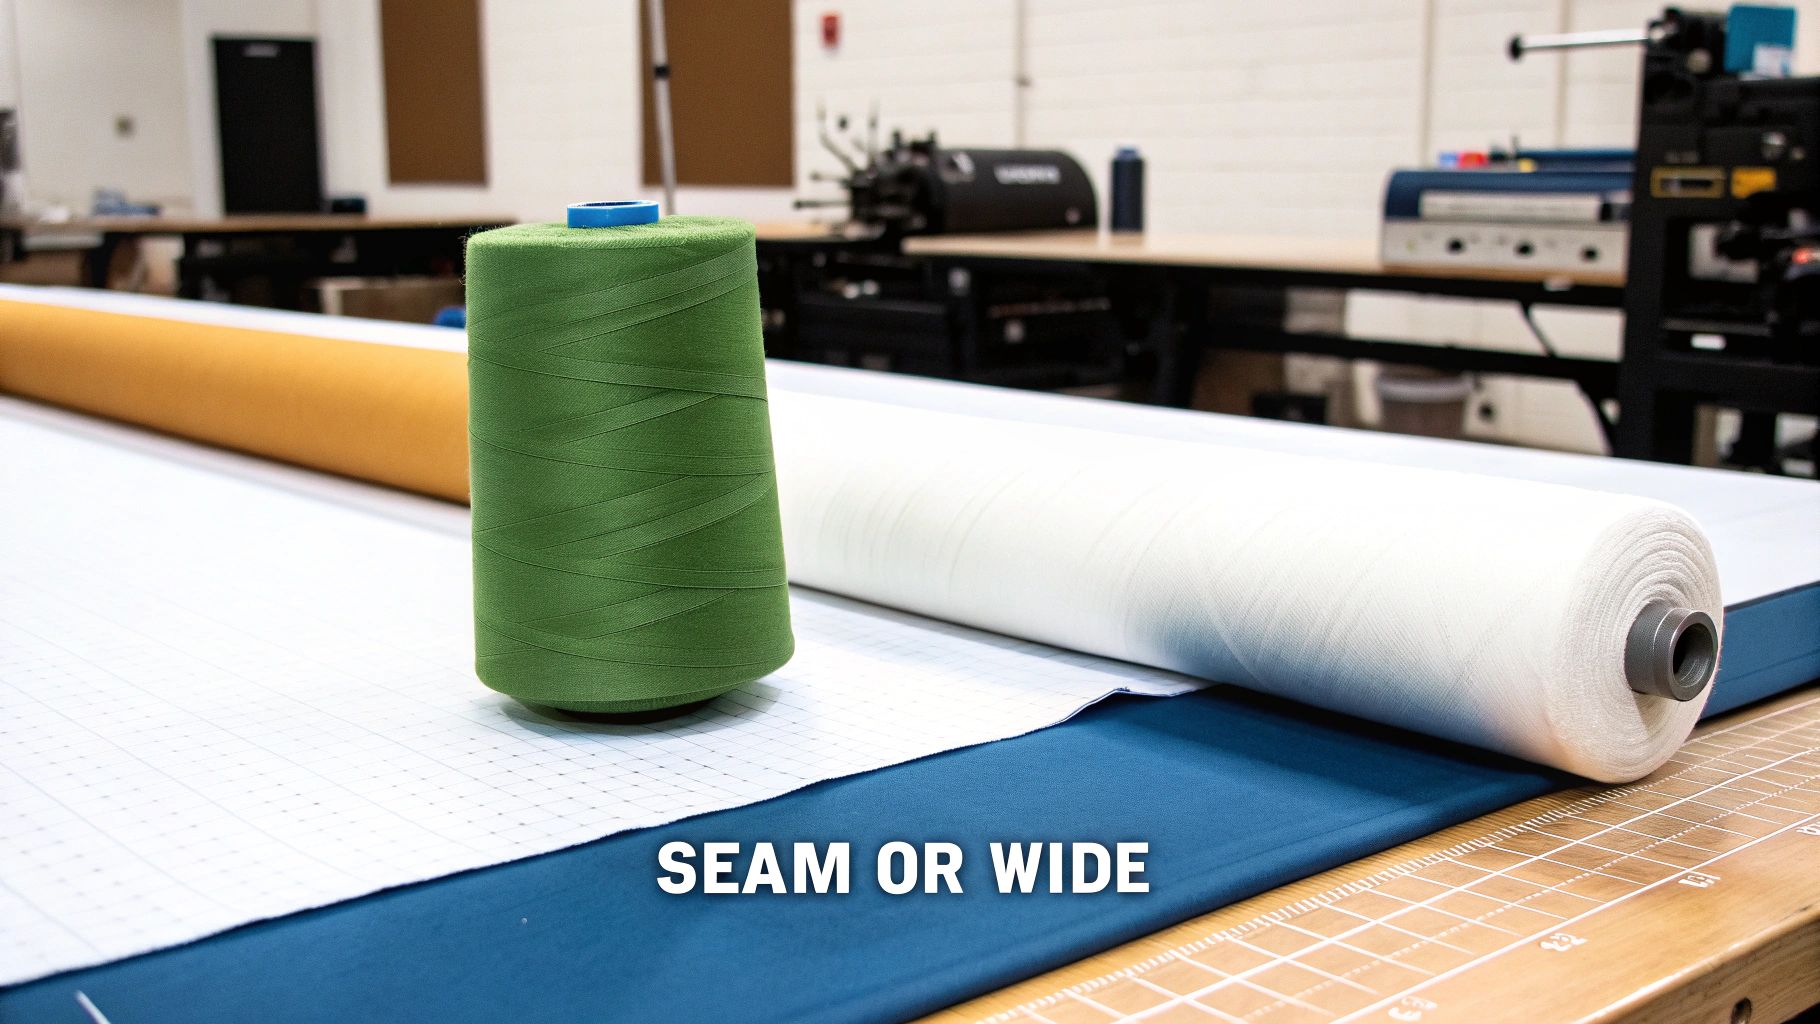
One of the last big decisions you'll make for your quilt is how to finish the back. It feels like a simple choice, but it really sets the stage for the quilting process. Do you piece together a few cuts of standard-width fabric, or do you grab a single, seamless piece of wide back fabric? Both get the job done, but the path you choose affects your time, your budget, and the final look of your quilt.
Let's break down the pros and cons of each. By the end, you'll know exactly which approach is the perfect fit for your project and your quilting style.
We all know and love standard quilting cotton. It’s the workhorse of our stash, typically sold in bolts that are 42 to 44 inches wide. Its biggest superpower? The absolutely staggering variety. If you can imagine a print or a color, chances are you can find it on a standard-width bolt. This endless selection gives you incredible creative freedom to find that perfect fabric to complement your quilt top.
Of course, the trade-off is that for any quilt larger than a crib or small lap size, you’re going to have to piece the back. This means adding an extra step: seaming two or more large pieces of fabric together. The trick is to create a seam that's strong, perfectly flat, and as invisible as possible. It takes a bit of care with your cutting and sewing, and you’ll want to press that seam open to keep the bulk down. While it takes more time, some quilters see this as an opportunity to get creative by adding a decorative strip of leftover blocks from the quilt top.
If you're looking for a smooth, professional finish with a lot less hassle, wide back fabric is a total game-changer. These fabrics come in generous widths, most commonly 108 inches, but sometimes even wider. That’s more than enough to cover the back of a queen or even a king-sized quilt in one beautiful, seamless piece.
The benefits are pretty clear right from the start:
The rise in popularity of wide back fabrics isn't an accident. It's a direct response to quilters wanting more efficient ways to get a professional-looking finish. This trend is part of a bigger shift in the market toward materials that save us time and labor.
The demand for convenient options like this is only growing. In fact, the quilting fabric market is on track to hit nearly $9.7 billion by 2035, with formats like wide backs taking up more and more of the shelf space. You can read more about these fascinating market trends in quilting fabric to see where the industry is headed.
At first glance, wide back fabric often looks more expensive per yard on the price tag. But hold on—it can actually be the more economical choice, especially for bigger quilts. Think about it: when you piece standard fabric, you often have to buy extra yardage to account for squaring up the pieces and seam allowances, which can lead to a lot of awkward, unusable scraps.
Let’s say you’re backing a queen-sized quilt. You’d need to buy two long cuts of standard fabric. But with a wide back, a single, much shorter cut will do the job perfectly, with far less waste. Always do the math for your specific quilt dimensions before heading to the checkout. You might just be surprised to find that the seamless option is the budget-friendly one, too.
That feeling when you finish a quilt top is pure magic. But for many of us, that excitement is quickly followed by a dreaded thought: quilt math. Figuring out exactly how much backing quilt fabric you need can feel like a pop quiz you didn't study for, but it doesn't have to be so intimidating.
Getting this number right is a game-changer. It saves you money, cuts down on waste, and ensures your longarm quilter has everything they need to give your quilt that flawless, professional finish you're dreaming of.
The first—and most important—rule of thumb in the quilting world is the "overage" rule. Your backing fabric and batting should always extend beyond the edges of your quilt top on all four sides. Think of it as a handling area, like the margins on a piece of paper. It's not waste; it's a necessity.
The gold standard is to have your backing 4-8 inches larger than your quilt top on all sides. For a 60" x 80" quilt top, this means you're aiming for a backing that’s at least 68" x 88".
This extra space is crucial for longarm quilters. It gives them enough fabric to securely attach the backing to the quilting frame, test thread tension, and make sure the quilting design extends beautifully right to the very edge of your piecing.
Using a 108” wide back fabric is, by far, the most straightforward path to a finished quilt. Since this fabric is almost always wider than your quilt top, you only have to think about one dimension: the length. This simplifies the math tremendously.
Here’s the basic formula:
Let's walk through a quick example for a generous lap-sized quilt.
Example Calculation:
Fabric stores don’t typically cut yardage in such tiny fractions, so you’ll always want to round up to the next common measurement. In this situation, you’d ask for 2.5 yards of 108" wide back fabric to be safe.
When you're working with standard 42” wide fabric, you'll need to piece it together to get the right size. For quilts that are longer than they are wide (like a typical throw or a twin), a vertical seam running down the center is usually your best bet. This involves sewing two long pieces of fabric together along their selvage edges.
To figure this out, you'll need two identical lengths of fabric, each as long as your quilt top plus that all-important overage.
Example Calculation:
To give yourself a little breathing room, you'd purchase 4.75 yards of your standard-width fabric. This will give you two long pieces to seam together, creating a backing that's roughly 82" x 82" after you account for the seam allowance and selvages.
But what if your quilt is wider than it is long, or even a perfect square? In that case, a horizontal seam might make more sense. This is especially true if you're using a directional print and want to keep everything oriented the right way.
This method feels a little different because you start by focusing on the width.
Example Calculation:
You'd head to the cutting counter and ask for 4.5 yards. You would then cut this single long piece in half to get two panels, each measuring roughly 78" x 42". When you seam them along the 78" side, you'll have a backing that's approximately 78" x 82"—the perfect size for your square quilt.
To make things even easier, here's a quick reference table with all the formulas in one place.
| Yardage Calculation Formulas at a Glance |
| :--- | :--- | :--- |
| Backing Type | Calculation Formula | When to Use |
| 108" Wide Back | (Quilt Top Length + 8") ÷ 36 | The simplest method, best for quilts narrower than ~100". |
| Vertical Seam (42" Fabric) | ((Quilt Top Length + 8") x 2) ÷ 36 | Ideal for rectangular quilts that are longer than they are wide. |
| Horizontal Seam (42" Fabric) | ((Quilt Top Width + 8") x 2) ÷ 36 | Great for square quilts or quilts that are wider than they are long. |
Having these simple formulas on hand makes walking into the shop for backing fabric a breeze instead of a headache. And remember, if you ever feel stuck, just ask for help! Here at High Country Quilts, we’re always happy to double-check your math and make sure you leave with the perfect amount for a flawless finish.
Once you’ve found the perfect backing fabric, there are a few simple but crucial steps to take before you even think about quilting. Taking the time to prep your fabric now saves a world of frustration later. Think of it like preparing a canvas before you paint—it's the foundation for a beautiful result.
This whole process starts with one of the most debated topics in quilting: pre-washing.
Here’s the deal: pre-washing your backing fabric is like buying insurance for your quilt. Cotton is notorious for shrinking, often by 3-5% in its first wash. If your backing shrinks but your quilt top doesn't, you’ll be left with ugly, frustrating puckers. Washing also gets rid of excess dye, which is a lifesaver if you're using a dark backing behind a light-colored top.
After a trip through the washer and dryer, give your fabric a good, thorough press with a hot iron. You want that backing to be completely smooth and wrinkle-free. This isn’t just about looking neat; it’s essential for getting an accurate seam and a flat quilt sandwich.
If you're working with standard-width fabric, you’ll need to piece it together. The goal here is to create a seam that’s strong, flat, and virtually invisible. This isn't the place for a quick, "good enough" seam—a bulky or weak one can cause all sorts of problems when you start quilting.
To get a seam that practically disappears, just follow these three little rules:
Spending a few extra minutes on your seam makes a huge difference. With the global quilting fabric market projected to hit around USD 5.7 billion by 2032, it's clear we quilters invest a lot in our materials. Prepping your backing correctly protects that investment of both time and money. You can learn more about the growth of the quilting fabric market and see just how big our community is.
This little decision tree shows how your quilt's size helps you choose between standard and wide-back fabrics.
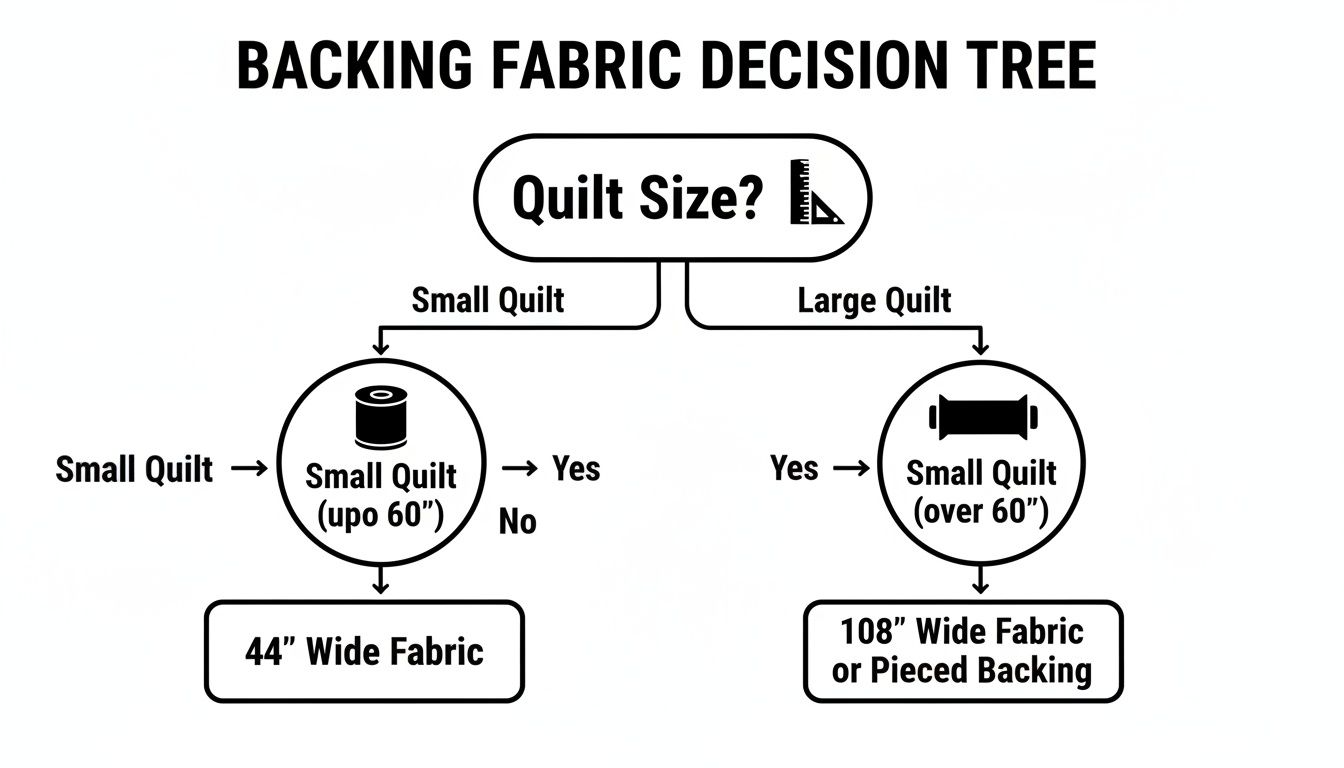
As you can see, for those bigger quilts, going with a 108-inch wide back is a great shortcut that lets you skip the seaming step altogether.
Basting is the final step before the real quilting magic begins. This is where you temporarily stick your quilt sandwich—the top, batting, and backing—together so that nothing shifts or bunches up while you stitch. There are a few tried-and-true ways to do this.
Basting isn't just about holding layers together; it's about creating a single, cohesive unit. A well-basted quilt is a joy to work on, while a poorly basted one will fight you every step of the way.
Here are the most popular basting techniques among quilters:
Whichever method you pick, the secret to success is working on a large, flat surface. A clean floor or a big table is perfect. This gives you the space to smooth out every last wrinkle and ensure your quilt sandwich is perfectly flat before the first quilting stitch goes in.
Even the most seasoned quilters run into questions when it's time to choose and prepare the backing fabric. This is where the small details can make or break your final project. Let's dig into some of the most common hurdles quilters face and give you some clear, straightforward answers.
Getting these little things right helps you move forward with confidence, ensuring the back of your quilt looks just as beautiful as the front. From budget-friendly hacks to technical know-how, these tips have you covered.
It’s a tempting shortcut, isn't it? While using a bed sheet seems like a clever way to save a few dollars, it's a gamble I wouldn't take on a quilt you want to last. The problem comes down to thread count and weave. Bed sheets, especially the high-thread-count ones, are woven far more densely than quilting cotton.
This tight weave is tough on your needle. It can lead to skipped stitches, broken needles, or wonky tension because the needle has to force its way through the fabric. Imagine trying to sew through a fine canvas with a needle meant for light cotton—it’s just not the right tool for the job.
On top of that, most sheets are a cotton-polyester blend. That means they'll shrink and wear differently from your 100% cotton quilt top, which is a recipe for puckering and distortion down the road. For a practice quilt? Maybe. But for a keepsake you've poured your heart into, it's always best to stick with dedicated quilting fabric for a beautiful, durable finish.
Yes. A thousand times, yes! Think of pre-washing as an insurance policy for all the time and love you’ve stitched into your quilt top. It’s a simple step that sidesteps a few major—and heartbreaking—problems.
First, it takes care of shrinkage. Cotton can shrink by 3-5% the first time it hits the water. If your backing shrinks but your top and batting don't, you’ll get a bunched-up, wavy mess. Pre-washing gets all your layers on the same page.
Second, it gets rid of any excess dye. We’ve all heard horror stories about a beautiful red or navy fabric bleeding all over a pristine white background. A quick wash rinses out any loose dye particles and prevents a tragedy in the laundry. Lastly, it removes any starches or chemicals from the factory, leaving you with softer, more manageable fabric.
Pre-washing isn’t just about shrinkage; it's about color fastness and fabric purity. A few minutes in the washing machine can save you from major disappointment later.
This one step ensures your colors stay put and your quilt lies flat and smooth after its first wash. It's a small investment of time for a massive return in quality.
A directional print on your backing can look incredibly sharp, but it does demand a little extra foresight. Before you even think about cutting, you need a clear plan for which way you want the pattern to run on the finished quilt.
When you’re piecing two cuts of a directional fabric together, the orientation is everything. You have to make sure the pattern on both pieces is facing the same direction before you sew the seam. This is especially important if you’re trying to match the pattern across the seam for a nearly invisible join.
Here are a few tips to get it right:
A little planning here saves you from the gut-wrenching moment of discovering an upside-down pattern after your quilt is already finished.
For a pieced quilt back, the gold standard is to press the seams open. This is a little different from how we often press seams on a quilt top, where pressing to one side helps with nesting seams.
When you press the seam allowances open on the back, you distribute the fabric bulk evenly on both sides of the seam. This simple move creates a much flatter surface, which is crucial for smooth, even quilting. A bulky seam can act like a speed bump for your quilting needle, causing tension issues or puckers.
A flat back is especially important if you’re using a longarm, as it helps the machine glide effortlessly over the quilt. It's a small pressing detail that makes a huge difference in achieving a professional, polished finish.
At High Country Quilts, we know that the right fabric and advice can make all the difference. Stop by our Colorado Springs shop for personalized help with your yardage calculations, fabric selection, and any quilting questions you have. Explore our wide selection and find your perfect backing at https://hcquilts.com.
At High Country Quilts we care deeply about community. With our experiences in retail, we know that a store is not only a place to shop but also a place for the community to gather and share. During this busy...

Hi! We’re Adam and Renee Wheaton, the new owners of High Country Quilts! For more than 40 years, we’ve owned and operated vacuum and sewing businesses. Following in Renee’s father’s footsteps after he retired from All Discount Vacuum and Sewing in Colorado...


Leave a comment