

We Love Our Quilting Community
At High Country Quilts we care deeply about community. With our experiences in retail, we know that a store is not only a place to shop but also a place for the community to gather and share. During this busy...


The backing fabric for quilts is the final, crucial layer of your quilt sandwich. It’s what provides stability, determines how the quilt feels, and gives it a polished, professional finish. More than just a simple cover, the backing is the foundation that affects everything from the quilt's drape to its durability. A truly great quilt is beautiful from both sides.
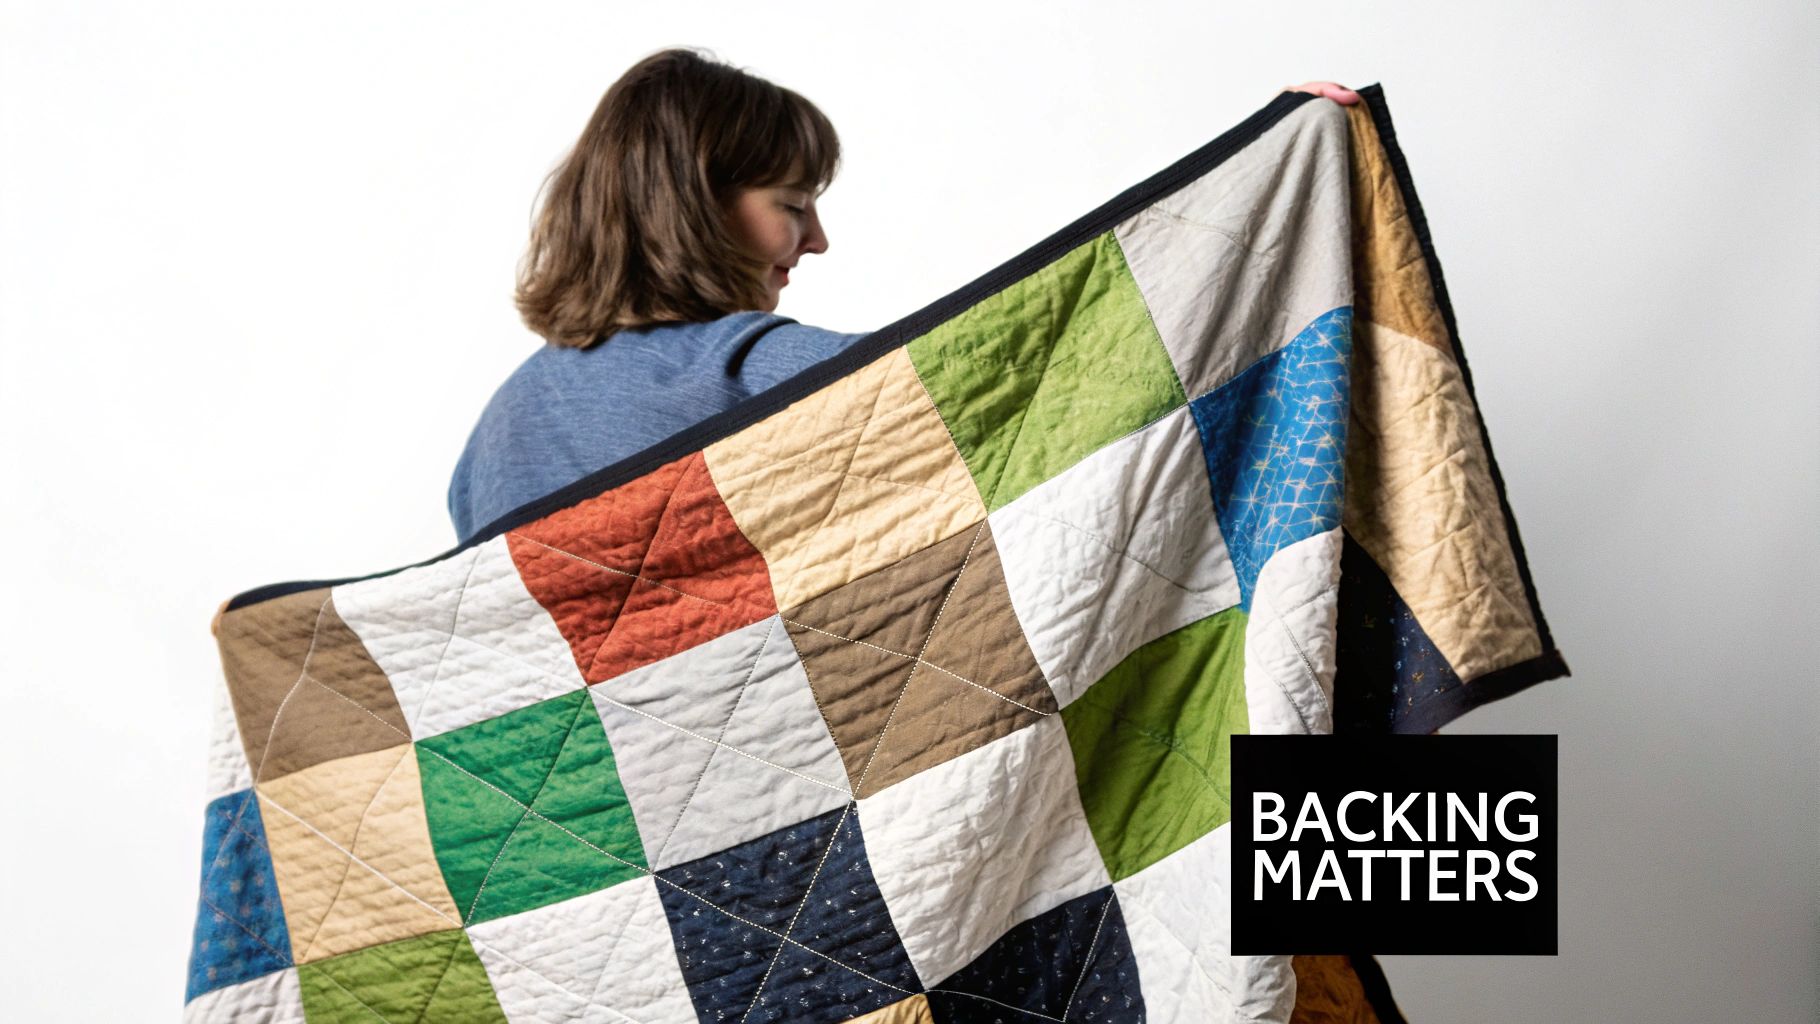
It’s easy to get swept up in designing a stunning quilt top. We spend hours, even months, piecing together the perfect design, only to treat the backing as a last-minute decision. But the backing is so much more than the "bottom" of the quilt; it's the structural anchor that holds the entire project together.
Think of it like the foundation of a house. Without a solid, well-chosen base, even the most beautiful structure can run into trouble down the road.
The material you select for your backing fabric for quilts directly shapes the final product. It dictates how the quilt feels against the skin, how it drapes over a bed or sofa, and how it holds up to years of cuddles and washes. A poor choice can lead to puckering, uneven wear, or a quilt that feels stiff and uninviting.
Your decision here influences the entire quilting process, from the first stitch on your longarm to its long-term enjoyment. When you choose thoughtfully, you honor the effort you poured into the quilt top with a durable and complementary foundation.
Here’s why it’s so important:
A great quilt back is like the perfect harmony in a song. While the melody (the quilt top) might get all the attention, the harmony provides depth, richness, and completes the entire piece.
This passion for quality is a big reason why quilting continues to thrive as both a beloved hobby and a major global industry. The worldwide quilt market was valued at roughly USD 695.84 million and is expected to hit USD 1.15 billion by 2030.
This incredible growth points to a global passion for creating beautiful, functional art—a tradition where every single detail matters. You can read the full research about the expanding quilt market to see just how popular this craft has become.
By understanding the vital role of backing fabric, you're setting yourself up for a successful finish. In the sections ahead, we’ll get into the nitty-gritty of this decision—from fabric types to yardage calculations—to make sure your next quilt is a true work of art from front to back.
Picking the right backing for your quilt is a bit like casting a key role in a play. Every fabric has its own personality—its hand, its weight, and how it behaves under the needle—and your choice really shapes the final feel and function of your finished quilt. The backing isn't just a cover; it’s the soul of your quilt’s comfort.
For most quilters, the journey into backing fabric starts and ends with one tried-and-true option: 100% quilting cotton. It's the reliable old friend we all turn to.
Quilting cotton is known for being breathable, tough, and just plain easy to work with. It sews like a dream and gets along beautifully with the standard cotton you used for your quilt top. It behaves just how you expect it to, holds a press crisply, and with a seemingly endless selection of prints and solids, it's the perfect match for almost any project you can dream up.
There’s a good reason why quilting cotton is the go-to for the vast majority of quilts, from heirloom bed coverings to modern wall art. Its stable, consistent weave is a joy for both machine and hand quilting, letting your stitches sink in perfectly without putting up a fight.
And it’s no accident that cotton is so prevalent. It remains a cornerstone of the textile world, backed by massive production. The U.S. alone harvests millions of bales each year, and our domestic mills turn a huge portion of that into billions of square yards of fabric. If you want to dive deeper, you can learn more about cotton's role in the quilting industry at SherriQuiltsAlot.com.
It’s this incredible scale that keeps high-quality quilting cotton on the shelves of every quilt shop, making it the foundational material for so many of us.
While cotton is king, sometimes a quilt just begs for something a little different. Don’t be afraid to explore other fibers—you can elevate your project and perfectly tailor it to a specific person, purpose, or season.
Think of your quilt top and backing as a long-term partnership. For the relationship to work beautifully over years of washing and use, both fabrics need to shrink, stretch, and age at a similar rate. Sticking with 100% cotton for both front and back is the safest way to ensure they grow old together gracefully.
To help make the decision a little easier, here’s a quick look at the most common choices and what you really need to know about each one. Think of this as a cheat sheet to help you match the right fabric to your project's needs.
| Fabric Type | Key Characteristics | Best For | Things to Consider |
|---|---|---|---|
| Quilting Cotton | Breathable, durable, easy to sew, minimal stretch | All-purpose quilts, bed quilts, wall hangings | The industry standard for a reason; very few downsides. |
| Flannel | Extremely soft, warm, cozy, heavier than cotton | Winter quilts, lap quilts, rustic-style projects | Prone to shrinking and fraying; prewashing is essential. |
| Minky | Ultra-plush, velvety, very soft, 100% polyester | Baby blankets, sensory quilts, extra-cuddly throws | Stretches significantly; requires careful pinning or spray basting. |
| Polyester Blends | Wrinkle-resistant, durable, often budget-friendly | Utility quilts or projects where budget is a key factor | Can cause uneven shrinkage if paired with a 100% cotton top. |
In the end, your choice of backing should honor the quilt’s purpose. A decorative wall hanging has very different needs than a baby quilt destined for years of snuggles and spills. When you understand the personality of each fabric, you can make a choice that not only looks fantastic but also performs perfectly for its intended job.
Figuring out how much fabric you need for a quilt back can feel like a stressful math pop quiz, but I promise it’s simpler than it looks. The secret isn't about complicated formulas; it's about understanding one core principle: you always need a little extra. This isn't for "just in case" mistakes—it's a crucial part of the quilting process itself.
Think of it as a built-in safety net. When a quilt is being stitched on a longarm machine, the layers naturally shift and pull a tiny bit. Having that extra fabric on the back ensures your beautiful quilt top stays perfectly centered, with no risk of the quilting running off the edge.
The tried-and-true rule is to make your backing fabric 4 to 5 inches bigger than your quilt top on all four sides. That means your final backing piece should be a total of 8 to 10 inches longer and 8 to 10 inches wider than your quilt top.
This extra space is essential for the person quilting it. It gives them the room they need to securely load the quilt onto the machine's frame, test the thread tension, and use clamps along the sides to keep everything perfectly taut and smooth. Without this buffer, you're setting yourself up for an uneven, puckered finish.
I like to think of this extra fabric as the longarmer's seam allowance. It's not "waste"—it's the workspace they need to do their best work on your quilt. It’s an absolutely non-negotiable part of getting a professional result.
Before you even get to the math, the first step is always choosing your fabric. Are you going for classic and reliable cotton, cozy flannel for a winter quilt, or maybe a super-soft minky?

Each of these fabrics behaves a little differently, but the math for figuring out yardage stays the same.
Alright, let's get down to the numbers with a real-world example. Imagine you just finished a lovely lap quilt.
Example Quilt Top: 60 inches wide by 70 inches long.
Required Backing Size (adding 4 inches on every side):
So, our target is to create a single piece of backing fabric that measures at least 68" x 78".
Using a 108-inch wide-back fabric is by far the easiest way to go. Its generous width easily covers both our needed width (68") and length (78"), so all we have to worry about is buying the right length.
In quilting, we always round up to the next common fabric cut. So, you’d head to your favorite shop, like High Country Quilts, and ask for 2.25 yards (2 1/4 yards) of that 108" wide fabric. You'll get a beautiful, seamless backing with almost no effort.
What if you fall in love with a print that only comes on standard-width fabric? No problem. Standard fabric is usually 42 to 44 inches wide, so you'll just need to sew a couple of pieces together to get the width you need.
To give yourself plenty of wiggle room for squaring up the edges and making a clean seam, you should purchase 4.5 yards (4 1/2 yards) of 44-inch fabric. You'll cut that long piece of yardage in half, creating two 78-inch lengths. A quick seam down the middle, and you've created a custom-pieced backing fabric for quilts that’s ready to go
https://www.youtube.com/embed/6V7UERihV9I
So, you’ve found the perfect backing fabric for quilts, but it's not a wide-back? Don't worry, that’s a situation every quilter runs into. The fix is simple: we just need to seam two or more standard-width pieces together. The real trick is making that seam so strong and flat that it practically vanishes once the quilting is done.
Getting that invisible seam isn't magic; it just takes a bit of care at each step. Let's walk through how to do it right, starting before you even sit down at your machine.
First things first: trim away the selvages. We’ve all seen them—those tightly woven edges on either side of the fabric, sometimes with little pinholes or the manufacturer's name printed on them.
That edge is your enemy here. It’s woven much more densely than the rest of the fabric, which means it behaves differently. It doesn’t have the same gentle give, and it often shrinks at a different rate in the wash. If you leave those selvages in your seam, you're pretty much guaranteed to get a puckered, tight line down the back of your quilt.
Do yourself a huge favor and just trim off about a half-inch from each edge. Get rid of the entire selvage before you even think about joining your pieces.
With the selvages gone, you're ready to sew. Now, for our quilt tops, a perfect 1/4-inch seam is sacred. But for a backing, which has to handle the tension of being stretched on a quilting frame, we need something a little beefier.
These small tweaks make a world of difference in the final look and durability of your quilt. That central seam is a core part of the quilt's structure, and getting it right is one of those details that shows true craftsmanship. It's this kind of care that has helped the quilting world grow into an industry that generates around USD 4.5 billion a year, with an estimated 9 to 11 million of us quilting away. You can find more fascinating stats on the modern quilting market over at Craft Industry Alliance.
The absolute key to making a seam disappear is to press it open. Forget what you do for quilt blocks—don't press to one side. By pressing the seam open, the two raw edges lay flat, which distributes the bulk perfectly. This gives your quilter a smooth, flat canvas to work on.
The last decision you have to make is whether your seam should run horizontally or vertically. Honestly, there's no single "correct" answer. The best choice really comes down to your quilt's shape and how it will be quilted.
Horizontal Seam:
Vertical Seam:
Just take a moment to visualize the quilt being stretched for quilting. By orienting the seam so it gets the least amount of pull, you're setting yourself up for a beautiful, pucker-free finish every single time.
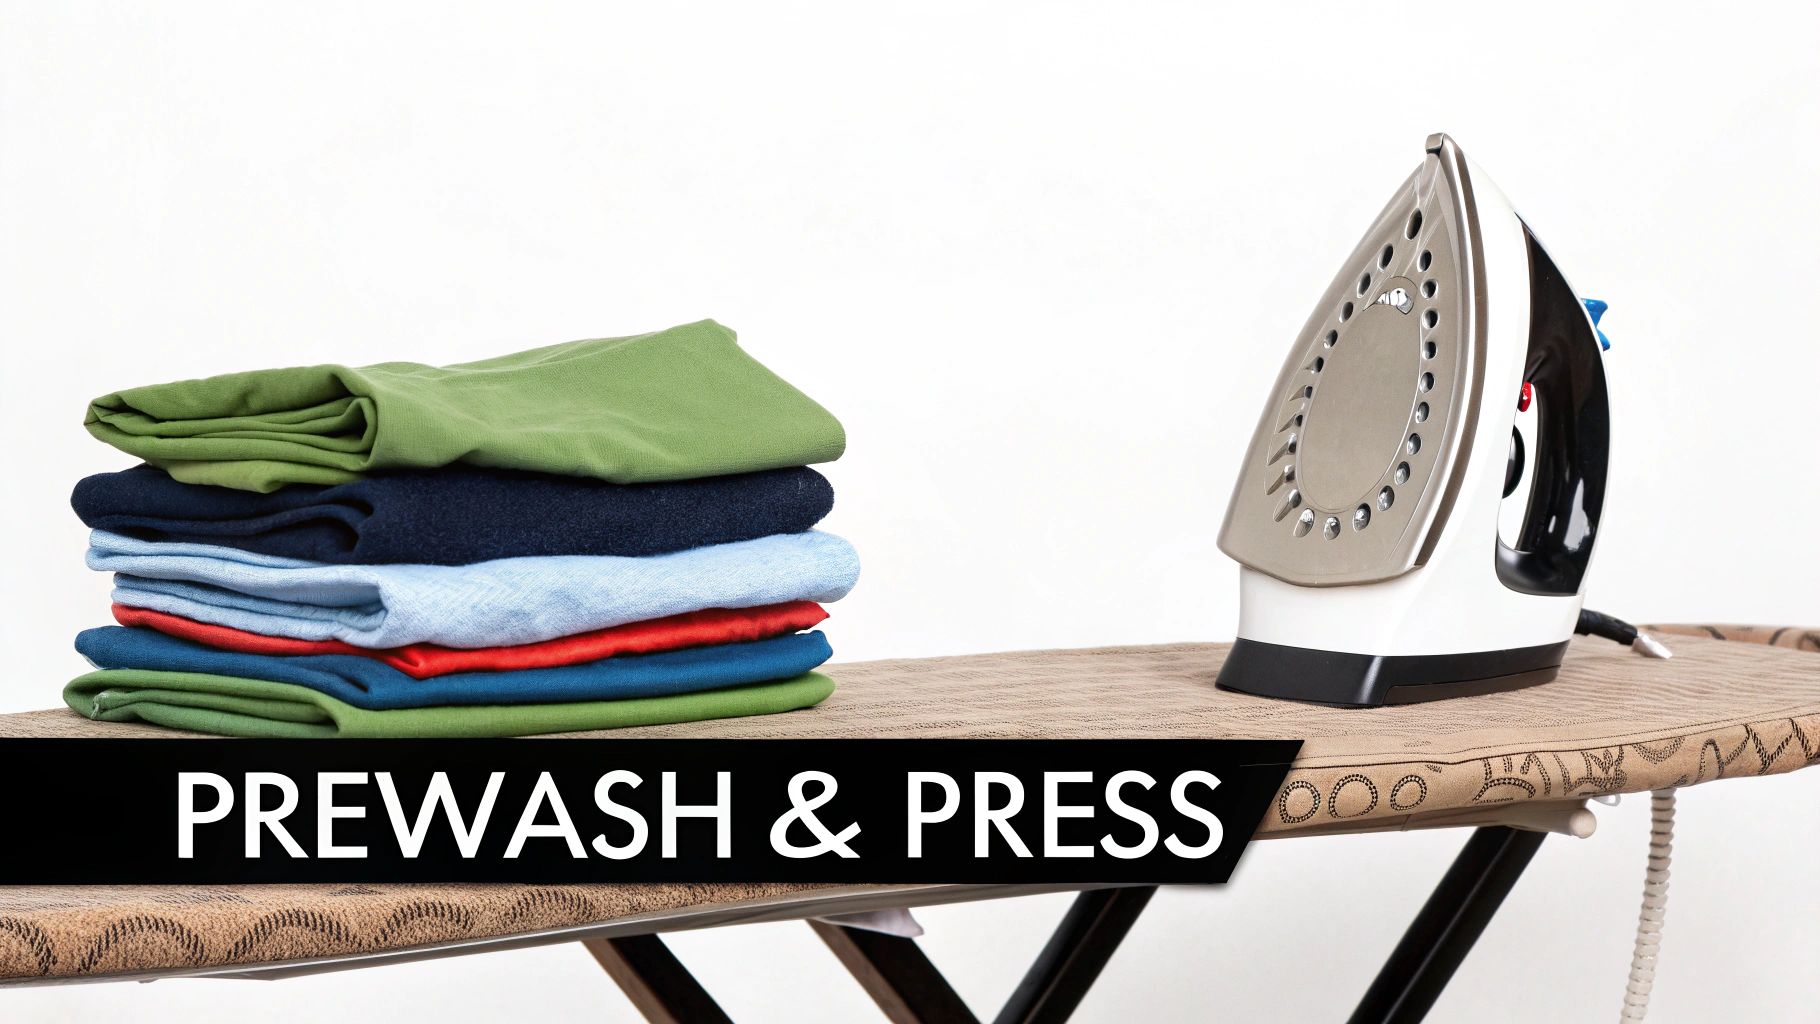
You’ve found the perfect backing fabric for your quilt and measured it out just right. It's so tempting to just dive in and start sewing, isn't it? But hold on for just a moment. Taking a little time for two simple prep steps—prewashing and pressing—can be the difference between a quilt that's just "okay" and one that’s absolutely stunning.
These aren't just fussy, old-fashioned rules. Think of them as your insurance policy against puckers, dye bleeding, and weird distortions down the road. When you prep your backing properly, you’re creating a clean, stable, and perfectly smooth canvas for your quilting. It makes basting a breeze, your stitches will glide through beautifully, and the finished quilt will look professional and last for years.
Ah, the great prewashing debate. It’s a topic quilters have discussed for ages, but when it comes to backing fabric, the benefits are pretty clear. Fabric straight off the bolt is treated with sizing chemicals and can shrink quite a bit in its first wash. If you attach that unwashed backing to a quilt top made of pre-shrunk fabrics, they’ll shrink at different rates. The result? That dreaded, crinkly puckering that can spoil all your hard work.
Here’s why I’m a firm believer in prewashing the backing:
Prewashing your backing fabric is like letting a new team member settle in before a big project. It gets rid of any initial jitters (shrinkage) and ensures everyone is working from the same stable, reliable starting point. This simple step helps guarantee a smooth, harmonious result.
Once your fabric is washed and mostly dry, it’s time for the final, crucial step: a really good press. And I do mean press, not iron. Don't just slide the iron back and forth. Instead, lift and place the iron firmly on each section of the fabric until every last wrinkle and crease is gone.
A perfectly flat backing is non-negotiable for smooth quilting. Even the tiniest wrinkle can get stitched into the layers, creating a permanent pucker that’s impossible to fix later. For that truly professional finish, you want your backing to be as smooth as a sheet of glass. Use plenty of steam and a hot iron (on the right setting for your fabric!) to work out every imperfection.
If you had to piece your backing together, give that seam extra attention. Pressing the seam open is usually the best bet, as it helps reduce bulk and creates a perfectly even surface for quilting over. Taking these prep steps seriously turns your backing from just a piece of cloth into a flawless foundation for your art.
Alright, we've covered the nuts and bolts of selecting and getting your backing fabric for quilts ready. Now for the fun part—letting your artistic side take over. Think of the back of your quilt as a second canvas, a secret reveal that adds a whole new layer of personality to your work. This is where you get to make a choice that really makes your quilt top sing.
Picking a color and pattern isn't just about finding something that "goes with" the front. It's a genuine design decision. Do you want to spotlight your beautiful quilting stitches, or are you aiming for a bold, reversible piece of art? The path you choose here can totally transform the final feel of your quilt.
If you’ve poured hours into a detailed free-motion design or picked out a gorgeous pantograph, you want those stitches to be the star. The best way to do that? A solid-colored backing. It provides the perfect, uncluttered stage.
A simple solid in cream, gray, or a soft pastel creates a clean background where every single stitch pops. The contrast turns the back of the quilt into its own showcase of texture and threadwork. It’s a classic, elegant move that really celebrates the craftsmanship of the quilting itself.
Then again, maybe you want a quilt with a split personality. This is where a bold, large-scale print comes in, creating what many of us lovingly call a "party in the back." It's a fantastic way to inject a surprising jolt of color and energy.
Here are a few ideas for a more dynamic backing:
This approach essentially gives you two quilts in one. You can fold it over on a bed to flash a peek of that vibrant back, or drape it on a couch with either side showing, depending on your mood.
Another wonderful option is to piece your backing. This is a brilliant way to use up leftover fabric blocks from the front, but it’s more than just practical. It creates a design that feels deeply connected and intentional.
When you carry elements from the front over to the back, you create a design conversation between the two sides. It tells a story of resourcefulness and thoughtful craftsmanship, making sure every part of the quilt feels like it belongs.
Even a simple stripe made from leftover charm squares or a single oversized "orphan" block placed off-center can elevate a backing from an afterthought to a deliberate design feature. It’s a true testament to a quilter's creativity and care. Whichever direction you go, just remember: your backing is an opportunity.
Even the most seasoned quilters hit a few snags now and then, especially when it comes to choosing the right backing. Let's tackle some of the most common questions I hear in the shop. Getting these details right can make all the difference between a good quilt and a great one.
This is a tempting shortcut, I get it! It seems like a thrifty way to use something you might already have. But honestly, it's a shortcut you'll likely regret.
Bed sheets are woven incredibly tightly. This high thread count makes it a nightmare for your quilting needle to punch through, leading to skipped stitches, broken needles, and a whole lot of frustration. Plus, most sheets are a cotton-poly blend. They won't shrink or wear the same way as the 100% quilting cotton on your quilt top, which can cause ugly puckering and distortion after its first trip through the wash. For a quilt you want to last, it's always best to stick with fabric made for the job.
The difference here is simple but significant: it's all about the width. Your standard quilting cotton comes on a bolt that’s about 42-44 inches wide. For anything bigger than a small lap quilt, this means you'll have to sew multiple pieces together to get a backing that's big enough.
Wide-back fabric, however, is a quilter’s dream. It’s made specifically for backing and is usually a glorious 108 inches wide.
Think about that for a second. With one single piece of fabric, you can back a quilt all the way up to a king size. No piecing, no seams, no trying to match up a tricky pattern. It’s a huge time-saver and gives you a perfectly smooth, seamless finish every time.
Yes! Please, please, please trim off the selvages. This is one of those non-negotiable steps for a quilt that looks professional and lasts.
The selvage is that tightly woven edge of the fabric. It’s much denser and doesn’t shrink at the same rate as the rest of the material. If you leave it on and sew it into your seam, you’ll end up with a tight, puckered ridge running down the back of your quilt after you wash it. Taking a minute to trim it off ensures your backing will lie perfectly flat and behave itself for years to come.
At High Country Quilts, we have a beautiful selection of 108" wide-back fabrics and standard quilting cottons perfect for your next project. Explore our collection online or visit us in-store for personalized advice.
At High Country Quilts we care deeply about community. With our experiences in retail, we know that a store is not only a place to shop but also a place for the community to gather and share. During this busy...

Hi! We’re Adam and Renee Wheaton, the new owners of High Country Quilts! For more than 40 years, we’ve owned and operated vacuum and sewing businesses. Following in Renee’s father’s footsteps after he retired from All Discount Vacuum and Sewing in Colorado...


Leave a comment