

We Love Our Quilting Community
At High Country Quilts we care deeply about community. With our experiences in retail, we know that a store is not only a place to shop but also a place for the community to gather and share. During this busy...


So, you’ve decided to build an adult dragon costume. Fantastic choice. This is one of those projects that's as challenging as it is rewarding, taking you from a simple idea to a wearable work of art that will stop people in their tracks at any convention or party. This guide is designed to be your trusted companion through the entire process, focusing on the practical skills that lead to a professional-level finish.
We're not talking about those flimsy, one-and-done costumes you find in a bag. We're going to build something impressive, something with presence and durability. This is more than just sewing; it’s about engineering a mythical creature you can actually wear. You’ll be turning bolts of fabric, sheets of foam, and spools of thread into something truly spectacular.
Taking on a project like this also means you're part of a huge, creative community. The global cosplay clothing market was valued at around USD 4.5 billion in 2023 and is only getting bigger. That tells you there's a massive and enthusiastic audience for incredible, custom-built outfits just like the one you're about to make. You can read more about the growth in the cosplay market on Cognitive Market Research.
My goal here is to give you practical, no-fluff advice. We'll go from the very first spark of an idea all the way to those final, stunning details. It doesn’t matter if you’ve been sewing for years or if this is your first huge cosplay build; these steps will give you a clear path forward.
Here’s a quick look at what we'll tackle:
A little secret from my own experience: the best costumes are born from good planning. Spending a bit of time sketching, making a materials list, and even mocking up a small part of the design can save you a world of headache and money later on.
As we move through the steps, I’ll point out specific tools that I rely on to make the work cleaner and more precise. Good tools aren't a splurge; they’re an investment in your final product. Sharp scissors, a reliable rotary cutter, and accurate measuring tools are non-negotiable for clean lines and strong seams. Having quality gear from the start is what separates a homemade costume from a professional-looking build.
Alright, let's grab those Famoré shears and bring this dragon to life.
Every great costume starts with an idea, a story. Before you even think about fabric or patterns, you need to ask yourself: who is my dragon? This isn't just about picking a color; it's about crafting a personality that will guide every single choice you make from here on out.
Are you picturing a wise, ancient beast whose iridescent scales shimmer with a thousand untold stories? Or maybe a fierce, fire-breathing tyrant armored in sharp, volcanic rock? Your inspiration can come from anywhere—mythology, fantasy art, or even the incredible textures you find in nature, like reptile skin or rock formations.
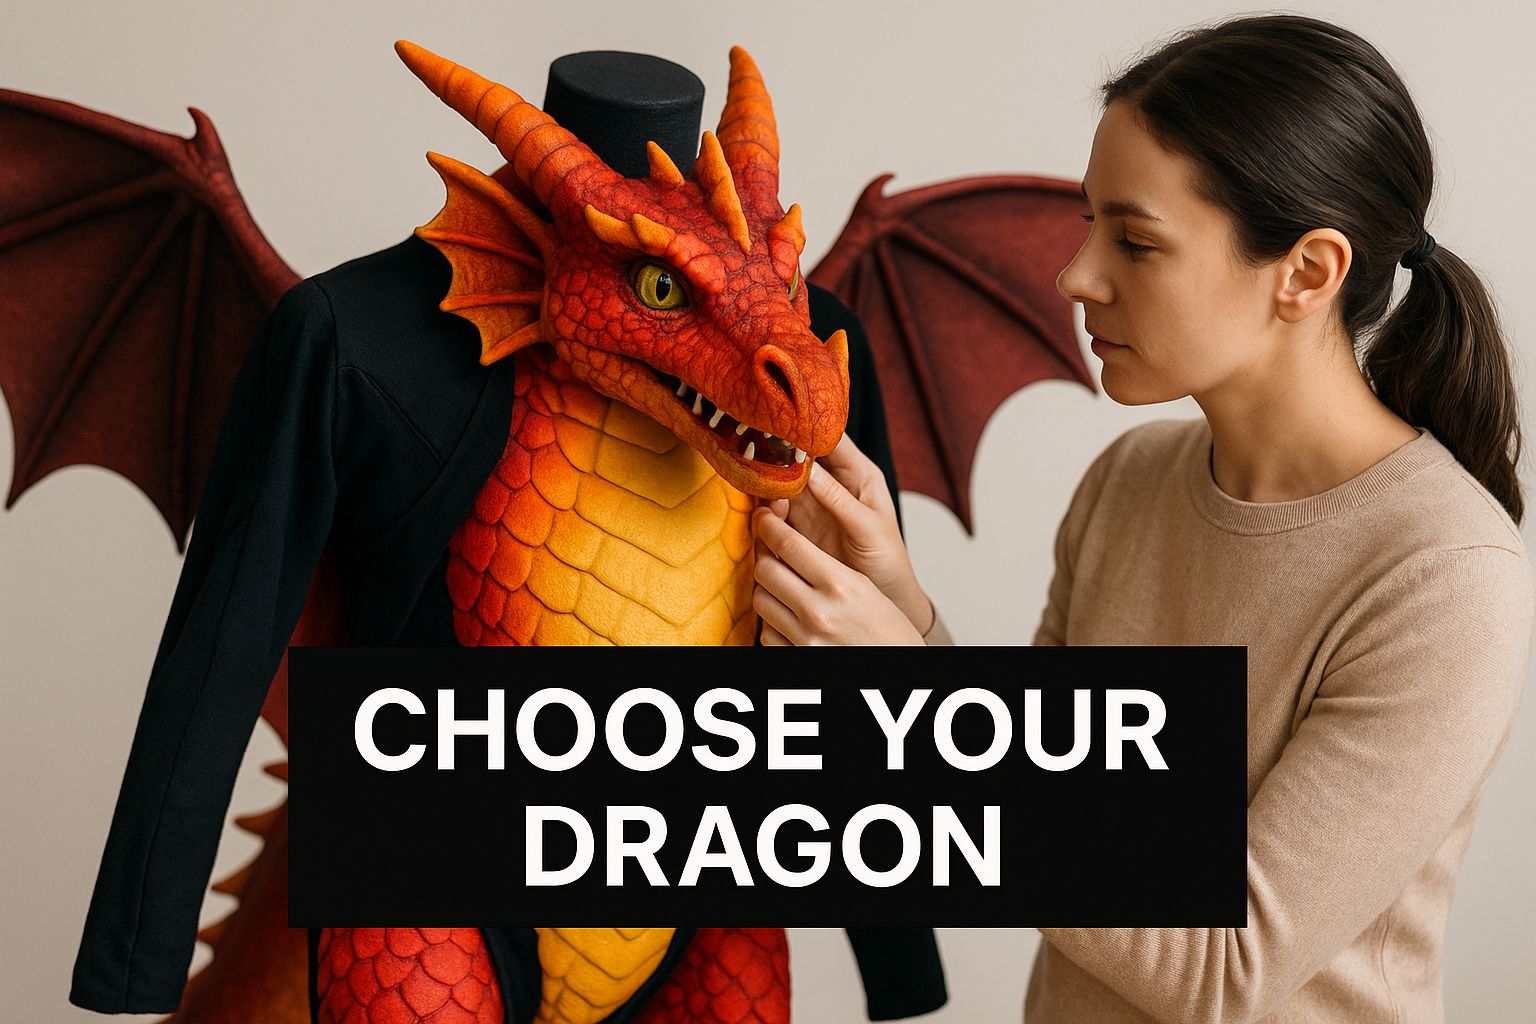
Nailing down this core identity first is your compass. It'll keep you on track and make all the later decisions—from horn shape to fabric texture—so much easier.
Once that vision is clear in your head, it's time to get it down on paper. Don't worry about being a professional artist. Simple sketches and even stick figures will do the trick. The whole point is to create a visual reference and start breaking down this huge project into smaller, more manageable pieces.
I always start with a quick sketch of the overall silhouette. From there, I draw out the key components separately:
Thinking about the costume in sections like this makes the whole process feel less overwhelming. If you want to get really high-tech with your planning, you could even look into mastering text to 3D model conversion to see a digital version of your dragon before you ever make a cut.
With your design sketched out, you can get down to the nitty-gritty: making a materials list and figuring out a budget. Let’s be real, the cost of a dragon costume can range from "weekend project" to "small car," all depending on the materials you choose.
If you look at store-bought options, you’ll see a huge price gap. You can find simple costumes for under $25, while a detailed piece like a licensed Spyro the Dragon outfit might run you around $108. High-end custom work can easily cost hundreds more. This just shows how much your material choices will impact your final budget.
Here's a breakdown to help you plan your shopping list and budget accordingly.
Choosing the right materials is a balance of aesthetics, comfort, and cost. This table breaks down some common options to help you decide where to save and where to splurge on your adult dragon costume.
| Material Component | Budget-Friendly Option (e.g., Felt, Craft Foam) | Mid-Range Option (e.g., Faux Leather, Vinyl) | Premium Option (e.g., Worbla, Silicone) | Estimated Cost Range ($) |
|---|---|---|---|---|
| Bodysuit Fabric | Fleece or Anti-Pill Felt | 4-Way Stretch Spandex or Minky Fabric | Stretch Velveteen or Custom Printed Spandex | $30 - $150+ |
| Scales & Armor | Craft Foam (EVA) or Cut Felt | Faux Leather or Upholstery Vinyl | Worbla Thermoplastic or Cast Resin/Silicone | $20 - $200+ |
| Horns & Spikes | Carved Insulation Foam | Lightweight Air-Dry Clay or EVA Foam | 3D Printed PLA or Cast Polyurethane Foam | $15 - $100+ |
| Wing Structure | PVC Pipe or Aluminum Wire | Carbon Fiber Rods or Lightweight Wood | Welded Aluminum Frame or Flexible PVC | $25 - $250+ |
Remember, these are just estimates! Your final cost will depend on the size of your costume and where you source your materials.
My most important piece of advice: Always buy 10-15% more fabric than you calculate you'll need. Trust me, this little buffer is an absolute lifesaver when you make a cutting mistake or decide to add a last-minute detail. There's nothing worse than trying to find a perfect match for a dye lot that's no longer available.
Before you even think about cutting into that beautiful, expensive fabric you just bought, you need to make a mockup. Sometimes called a "toile," this is just a test version of your costume made from cheap material like old bedsheets or muslin.
This is arguably the most critical step in the entire process. A mockup lets you check the fit of your patterns and tweak them for your body. It also brings your 2D sketch into the 3D world, revealing any awkward proportions or design issues that weren't obvious on paper.
Fixing a seam on a cheap muslin mockup is easy and painless. Realizing your final costume doesn't fit after you've already cut into pricey fabric? That's a nightmare. Don't skip this step! It's the secret to a professional-looking adult dragon costume that fits you perfectly.
The core of your dragon costume is the bodysuit. This is the canvas where all the incredible, eye-catching details will eventually live. Think of it as the chassis of a car—if it's not comfortable, well-fitted, and sturdy, nothing else you add on top will matter. A great bodysuit is what gives your dragon its silhouette and structure.
This foundational piece dictates how you move and, just as importantly, how the costume feels after a few hours of wear. A poor fit can lead to bunching, restricted movement, or sagging, all of which can shatter the illusion you're working so hard to create. We'll start with the most important decision you'll make at this stage: your pattern.
You have two main paths here: modifying a commercial pattern or drafting one from scratch. Neither is inherently better; the right choice really comes down to your sewing confidence and the specific design you have in mind for your dragon.
Modifying a Commercial Pattern: This is the most accessible route for most people. Look for patterns for jumpsuits, kigurumis, or even form-fitting superhero costumes. These give you a professionally drafted starting point for the torso, arms, and legs. From there, you can make your own alterations, like adding a zipper down the front or back and tweaking seam lines to fit your dragon's unique shape.
Drafting Your Own Pattern: For a truly custom fit, especially if you're working with an unusual body shape or a non-humanoid design, drafting your own pattern is the way to go. This usually involves making a duct tape dummy of yourself to create a perfect mold of your body, which you then cut apart to create your pattern pieces. It’s more work, absolutely, but the result is a costume that fits like a second skin.
No matter which path you take, this is where you'll be glad you made a mockup. Testing your pattern with cheap fabric first is non-negotiable. It lets you spot and fix any fit issues—like tight shoulders or a too-short torso—before you ever touch your final, more expensive material.
Fabric choice is where your dragon's texture and personality really begin to take shape. You'll want to balance comfort, stretch, and appearance. If you need a deep dive, this complete fabric guide on cotton vs. polyester is a great resource to help inform your material choices.
For a sleek, reptilian look, a four-way stretch spandex is fantastic. It hugs the body, allows for a full range of motion, and comes in countless colors and finishes. If your dragon is on the fluffier or more whimsical side, fleece or minky fabric is soft, warm, and very forgiving for beginner sewers. Stretch velveteen can also give a rich, luxurious look, perfect for an ancient, regal dragon.
My personal tip: always check the fabric's stretch direction and percentage. A four-way stretch fabric will move with you in all directions, which is essential for a form-fitting costume. Two-way stretch only moves along one axis and can feel incredibly restrictive if you try to use it for a full bodysuit.
Now for one of the most iconic parts of any dragon costume: the tail. A great tail has a life of its own, swaying and moving with you to complete the creaturely illusion. The secret is a lightweight internal structure that gives it shape without weighing you down.
The inside of your tail needs a core to stop it from flopping around limply. Here are two popular methods I've seen work well:
Once your internal structure is ready, you'll stuff it. Poly-fil is the standard choice, but be strategic. Pack it tighter at the base and lighter toward the tip to create a natural taper and keep it from getting too heavy. A well-balanced tail makes a world of difference in comfort.
How you attach the tail is all about its size and weight. For smaller, lighter tails, you can often get away with sewing it directly onto the back of the bodysuit—just be sure to reinforce those seams heavily.
For a larger, more dramatic tail, a separate harness system is the only way to go. This usually means a sturdy belt worn under the costume, with straps that distribute the weight across your hips and shoulders instead of pulling on the suit's fabric. This not only saves your costume from tearing but is also so much more comfortable for long days at a convention. It's the key to achieving those epic, sweeping tails without killing your back.
The head is where your dragon's personality really comes to life. It’s the one piece that will draw every eye and communicate the character you've imagined, whether that's a wise, ancient being or a fierce, primal beast. A well-made head not only looks incredible but is also surprisingly comfortable and safe to wear for hours on end.
This part of the process is pure magic, transforming simple foam and fabric into the expressive face of your creature. We'll walk through how to build a solid yet lightweight base, carve out features that give it personality, and add those all-important horns that define the silhouette of your dragon costume.
Every great dragon head starts with a sturdy, comfortable foundation. The base you choose really depends on how ambitious your design is. A smaller, lightweight head might only need a simple base, but a massive, complex creation will need something more robust to handle the weight.
For simpler designs, you can’t go wrong with modifying a helmet. A cheap bicycle or construction helmet provides an instant, secure fit that you can build right on top of. This method is perfect for smaller heads that won't be weighed down by huge horns or a moving jaw.
If you’re ready for a more advanced approach, the foam bucket-head base is the way to go. This technique involves building a custom-fitted "bucket" from EVA foam that sits snugly over your own head. This gives you a much larger and more stable platform for sculpting and is pretty much the standard for bigger heads with features like articulated jaws or cooling fans.
Once your base is sorted, the real artistry begins. This is where you grab some upholstery foam and start sculpting the facial features that will define your dragon. I love working with upholstery foam—it’s light, super easy to carve, and holds its shape beautifully.
Start by blocking out the major forms first; don't get lost in the details yet.
A sharp pair of scissors or an electric carving knife is your best friend here. Personally, I swear by my long, sharp Famoré fabric shears. They give me clean, precise cuts through the foam that are almost impossible to get with a standard craft knife. My biggest tip? Carve away material slowly. You can always take more off, but you can’t easily put it back on.
The secret to a professional-looking foam sculpture is symmetry. I can't stress this enough. Constantly step back and look at your work from every angle. A great trick is to snap photos of the head from the front, sides, and top as you go. The camera has a funny way of revealing imbalances your eyes might have missed.
With your foam sculpture looking perfect, it's time to give it its fabric "skin." This part can feel a little intimidating, but there's a straightforward technique that makes it a breeze: the duct tape pattern method.
First, cover your entire foam head with a layer of plastic wrap to protect it. Then, carefully cover the plastic wrap with overlapping strips of duct tape. Once the whole head is taped up, grab a marker and draw your seam lines directly onto the tape, planning out where each piece of fabric will go.
Next, very carefully cut along these lines with a precision knife to peel the duct tape pattern off the foam head. You’ll be left with a set of perfectly shaped, custom pattern pieces. Just lay these tape pieces onto your fabric, trace them (remembering to add a small seam allowance!), and cut them out. Boom—you have a fabric kit that will fit your head sculpt like a glove.
Horns are what make a dragon a dragon. The material you choose will depend entirely on the size, shape, and weight you're aiming for.
| Horn Material | Best For | Pros | Cons |
|---|---|---|---|
| EVA Foam | Lightweight, detailed horns | Easy to cut, shape with heat, and sand. Very durable. | Can look "foamy" if not sealed and painted properly. |
| Insulation Foam | Large, very lightweight horns | Extremely light, easy to carve into organic shapes. | Brittle and can dent easily; requires a hard coating. |
| Lightweight Clay | Small, intricate details | Excellent for fine details and textures. Air-dries hard. | Can be heavy and fragile if used for large structures. |
No matter what they’re made of, secure mounting is critical. I always embed a long screw or a piece of heavy-gauge wire into the base of each horn as I'm making it. This creates an anchor that you can push right through the fabric skin and foam base, securing it on the inside with a washer and nut. This gives you a rock-solid attachment that won’t wobble or fall off, even during energetic moments.
Last, but definitely not least, you have to think about vision and ventilation. Your safety and comfort depend on it. Cut out your eye holes and cover them with a see-through material like black buckram or vinyl mesh. A pro tip is to place your vision panels in the dragon’s neck or tear ducts instead of the actual eyeballs—this often gives you a much wider and more natural field of view.
For ventilation, cut some hidden holes in the snout and under the jaw, covering them with the same mesh. If you're building a larger head, installing a small, battery-powered computer fan inside the snout is an absolute game-changer for staying cool. A well-ventilated head is the difference between an amazing cosplay experience and a miserable, sweaty one.
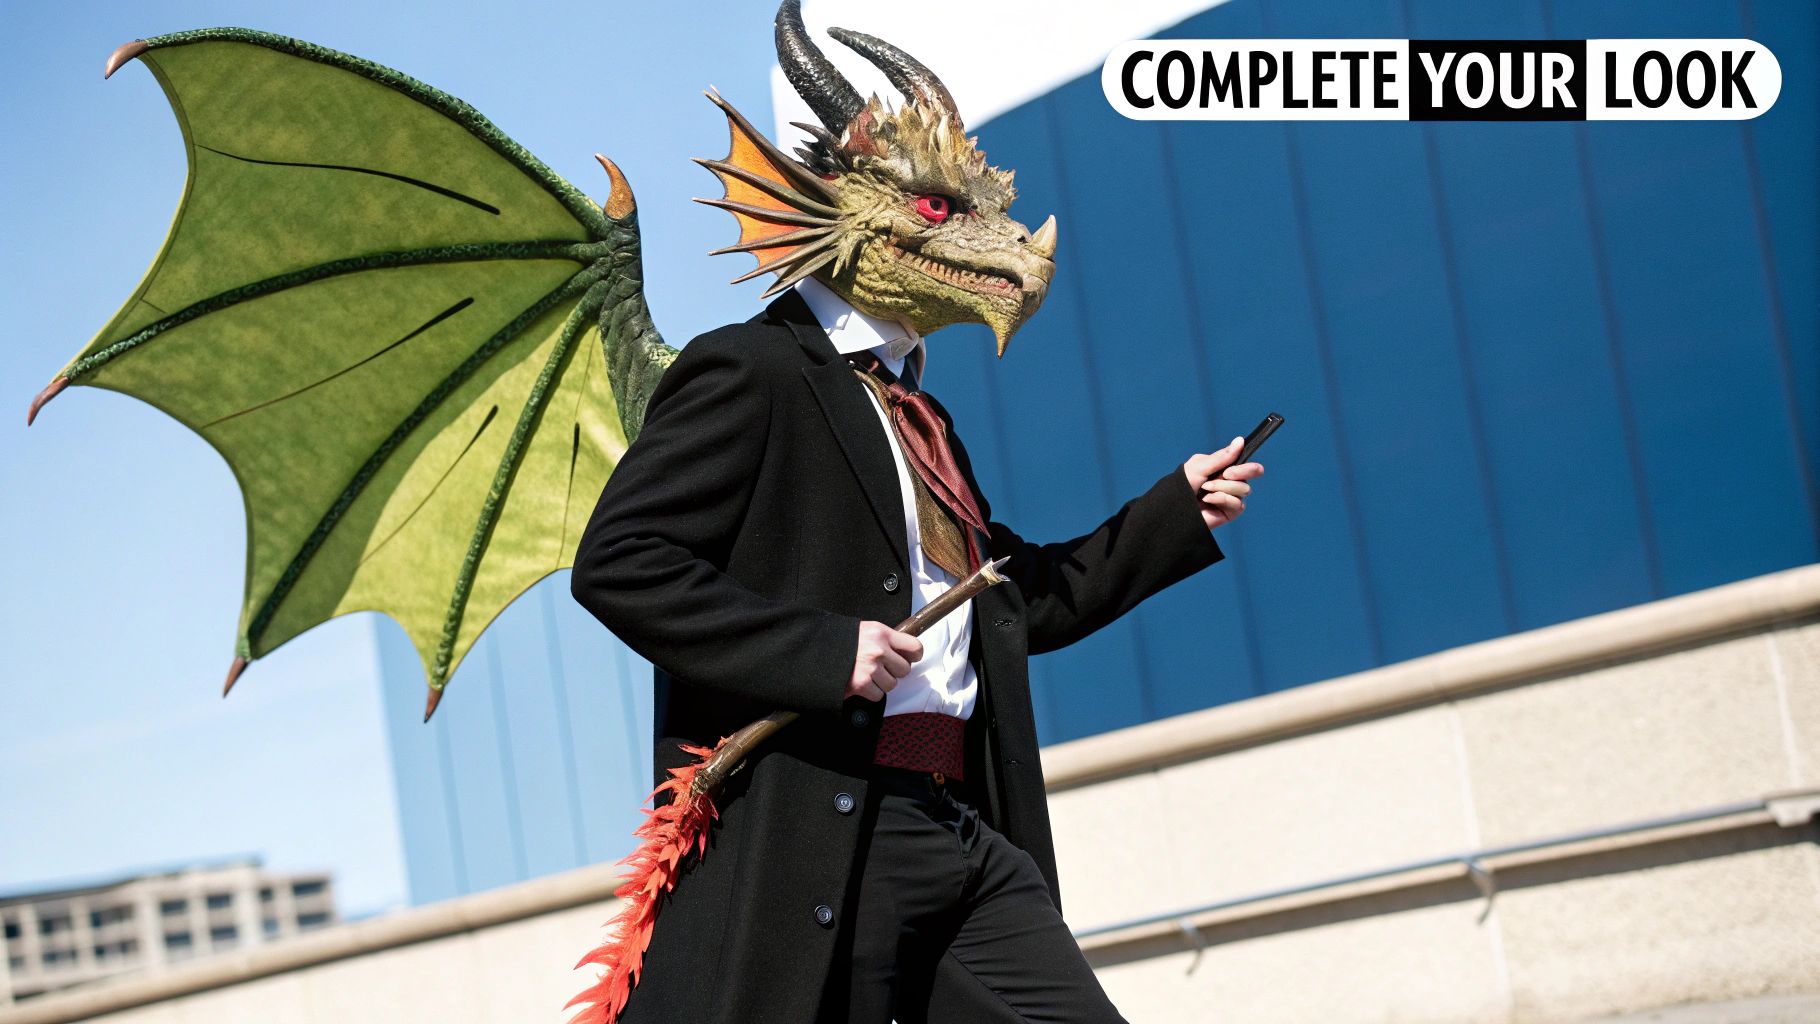
This is the part where your project really takes flight. We're moving beyond a simple costume and breathing life into a legendary beast. The final details—wings, scales, and finishing touches—are what will create that jaw-dropping texture and believability. It’s a bit of a grind, I won't lie, but the payoff is an adult dragon costume that absolutely commands a room.
Let's dig into the most iconic draconic features, starting with a magnificent pair of wings. These aren't just accessories; they define your dragon's silhouette and tell a story about its character.
Great wings need to strike a tricky balance. They have to be big enough to look impressive but light enough that you can actually wear them for more than five minutes. Here are two methods I’ve found work really well.
Fabric Wings with a Wire Frame: This is a classic for a reason. It's perfect for creating those flexible, almost leathery-looking wings. I use a strong but lightweight aluminum wire to build the "bones," which defines the wing's shape. Then, you can stretch a durable fabric like ripstop nylon or spandex over it to create the membrane.
Rigid Wings with a PVC Structure: If you're going for a more imposing, articulated look, a frame made from lightweight PVC pipes is a fantastic choice. This method gives you larger, more structurally sound wings that hold their shape perfectly. A bonus is that you can use PVC joints to make them foldable for transport and storage—a real lifesaver.
Don't forget the shape itself is a huge part of the design. Are they long and slender for a swift, agile flyer? Or broad and bat-like for a more powerful, menacing beast? I always recommend sketching out a few ideas to see what clicks with the personality you're building.
Trust me on this: even the most amazing wings are a total nightmare if they aren't attached correctly. A good harness is non-negotiable. It distributes the weight across your back and shoulders, preventing painful strain and keeping the wings from flopping around while you walk.
For a basic setup, you can build a harness from sturdy nylon webbing and adjustable buckles, just like a backpack. If you've built some seriously heavy wings, I highly recommend building the harness right into a supportive vest that you wear under the bodysuit. It gives you a much bigger surface area to handle the load, making those epic wings feel surprisingly manageable.
A Pro Tip for Harness Construction: Pad the shoulder straps generously with upholstery foam. After a few hours in your adult dragon costume, you will be so grateful for that extra cushion. It’s a small detail that makes a world of difference.
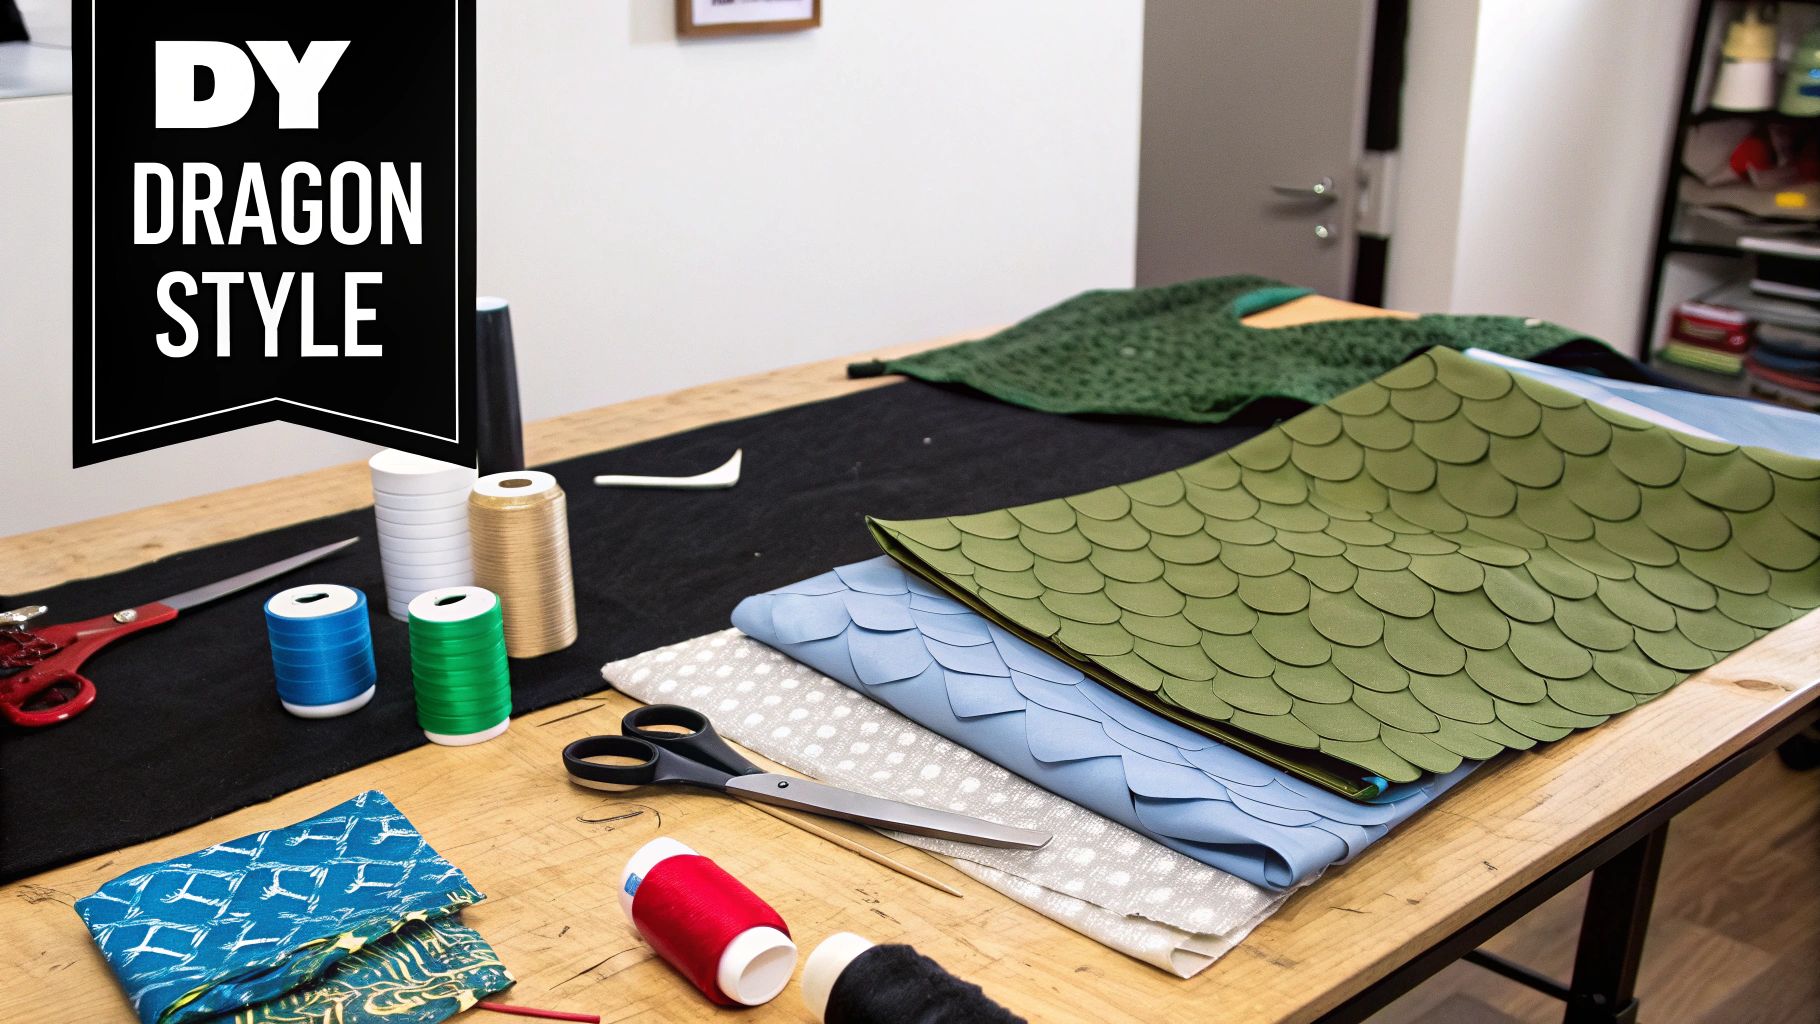
Alright, let's get into the meticulous but incredibly rewarding task of making scales. The texture of your dragon’s hide is what really sells the whole illusion. There are a few different ways to tackle this, from quick and easy to incredibly detailed and realistic.
One of the most popular methods involves cutting individual scales from sheets of EVA foam. This gives you total control over the size, shape, and pattern. A little trick I love is to use a heat gun to gently curve each scale, giving them a more organic, three-dimensional feel before you glue them onto the bodysuit.
Need a faster alternative? Look into textured fabrics. Materials like faux crocodile leather or embossed vinyl can create a scaly look with way less individual work. You can also get creative with painting techniques, using stencils or even a piece of mesh fabric to paint a scale pattern directly onto your base material.
It’s the small things, like claws, that tie the whole look together. You can whip these up pretty easily from lightweight materials like EVA foam or air-dry clay. Once they're shaped, paint them to look like worn bone or sharp obsidian and attach them securely to the fingertips of your gloves and the toes of your shoe covers.
Weathering is the final magic touch that gives your costume a history. A dragon that looks brand-new and spotless can feel a little off. I use dry brushing with acrylic paints—just a little bit of brown or black on a dry brush—to add grime in the crevices between scales. Then, a quick dry brush of silver or another metallic over the high points can create the look of battle-scarred armor. Suddenly, your costume isn't just something you made; it's a creature that has lived a long, adventurous life.
The final flourishes are what people will remember. A guaranteed showstopper is integrating small, battery-powered LED lights for glowing eyes in the headpiece. It adds this incredible, eerie quality and is surprisingly easy to wire to a hidden switch.
When you see what some professional creators can do, it’s mind-blowing. The most realistic dragon costumes for performers can reach lengths of 4 meters (about 13 feet) and weigh around 32 kilograms (70 pounds), often built on steel frames. You can see some impressive professional dragon costumes to get a sense of just how ambitious these builds can get. While your own creation might not be on that industrial scale, these final details are what will give it that same spark of life and awe-inspiring presence.
Building a full-on dragon costume is a huge undertaking, and it’s totally normal to have questions pop up along the way. I've been there! From figuring out fabrics to making sure you don't overheat at a convention, a few common roadblocks tend to trip people up.
Let's walk through some of the most frequent questions I hear from fellow makers. Getting these things sorted out early in your process will save you a ton of headaches later on. Trust me, thinking about ventilation before you've sealed up the head is a game-changer.
This is a classic question, and the honest answer is: it depends entirely on the kind of dragon you’re bringing to life. There's no single "best" fabric, but there are definitely top contenders for different styles. Your choice here really defines the costume's whole vibe, from how it moves to how it feels.
If you’re aiming for a sleek, agile dragon, you can’t beat a good four-way stretch spandex. It moves with you and gives you that awesome, form-fitting look. On the other hand, if you're picturing a fluffier, more cuddly beast, go for something like fleece or minky. These are also super forgiving fabrics to sew with, which is always a nice bonus.
What about an armored dragon? This is where layering comes in. You can use materials like faux leather or vinyl over a comfy base, but you have to be smart about patterning. Make sure you build in articulation at the joints, otherwise you'll feel like you're wearing a cardboard box.
Pro-tip from years of costuming: The fabric touching your skin is just as important as the fabric everyone sees. Always, always start with a breathable, comfortable base layer, especially if you plan on wearing your creation for more than an hour or two.
The magic behind big, impressive wings that won't kill your back is all in the frame. You're going for a dramatic silhouette without the dramatic weight. A poorly designed, heavy set of wings is one of the quickest ways to ruin a great day at a con.
For the internal structure, stick to lightweight materials:
For the wing membrane, think light. Ripstop nylon is a popular and effective choice. Just as crucial as the wings themselves is the harness. A well-designed harness will distribute the load across your shoulders and back, making the wings feel way lighter than they actually are.
Heat is the arch-nemesis of every full-body costume creator. Managing it isn't just about comfort; it's a safety issue.
For the head, you can get clever with hidden vents. Try placing some in less obvious spots, like under the jaw or along the neck, and cover them with black mesh to keep them discreet. A tiny, battery-powered fan installed in the snout is a lifesaver for pushing fresh air in.
For the bodysuit, start with a moisture-wicking athletic fabric as your base layer. If the design allows, you can strategically insert mesh panels in places like the underarms or inner thighs. This lets heat escape without breaking the illusion of your costume.
Here at Famore Cutlery, we know that having the right tools for the job can make all the difference. From our razor-sharp fabric shears perfect for patterning your bodysuit to our heavy-duty craft knives for shaping foam, our tools are built to help you achieve professional-level results.
Ready to gear up? Explore the entire collection you’ll need for your project over at https://famcut.com.
At High Country Quilts we care deeply about community. With our experiences in retail, we know that a store is not only a place to shop but also a place for the community to gather and share. During this busy...

Hi! We’re Adam and Renee Wheaton, the new owners of High Country Quilts! For more than 40 years, we’ve owned and operated vacuum and sewing businesses. Following in Renee’s father’s footsteps after he retired from All Discount Vacuum and Sewing in Colorado...


Leave a comment