


We Love Our Quilting Community
At High Country Quilts we care deeply about community. With our experiences in retail, we know that a store is not only a place to shop but also a place for the community to gather and share. During this busy...


When you start machine quilting, it’s easy to think of thread as just... well, thread. The stuff that holds the layers together. But if you’ve been at this for a while, you know the truth: thread is where the real magic happens. It’s the unsung hero, the structural backbone, and the artistic flourish all rolled into one.
Choosing the right thread isn't just a technical step; it's one of the most important creative decisions you'll make for your quilt's final look, feel, and durability.
Think about it like an artist choosing their paint. A fine, delicate thread can sink into the fabric, creating subtle texture that lets your piecing shine. On the other hand, a thick, bold thread pops right off the surface, demanding attention and becoming a design element in its own right. Your choice directly shapes the quilt's personality and guarantees it will stand the test of time.
This guide is here to pull back the curtain on all things thread—fiber, weight, finish, you name it. Getting a handle on these basics is the key to turning a potentially frustrating process into a joyful one, ensuring your project is a success from the very first stitch.
If it feels like quilting is more popular than ever, you’re not wrong. The craft has exploded, growing from a time-honored tradition into a vibrant, modern industry. It’s a beautiful reflection of our collective desire for handmade, meaningful things—and the simple satisfaction of making something with our own two hands.
The numbers are pretty staggering, too.
The quilting industry is projected to hit around $4.5 billion in revenue in 2025. For perspective, that’s up from just $1.8 billion back in 2000. It’s clear that more and more people are discovering the joy of this craft. You can read more about the quilting market's growth on the Craft Industry Alliance website.
For all of us, this boom is fantastic news. It means better tools, a dizzying array of beautiful materials, and a huge, supportive community to share ideas and inspiration with. It’s truly an amazing time to be a quilter.
We've designed this guide to walk you through everything, step by step, so you can navigate the world of quilting thread with confidence. We’ll cover the essentials and get into the nitty-gritty troubleshooting tips that experienced quilters rely on. The goal is simple: to give you the know-how to make smart choices that bring your unique vision to life.
Here's a little peek at what we'll cover:
By the time you're done here, thread will no longer be an afterthought. It'll be your most powerful tool.
The world of machine quilting thread can feel overwhelming at first, but it really boils down to one simple starting point: the fiber. Think of it like choosing the right kind of paint for an art project. The type you pick—oil, acrylic, watercolor—completely changes the final look and feel. Understanding the unique personality of each thread fiber is the key to creating a quilt that not only looks stunning but also lasts for generations.
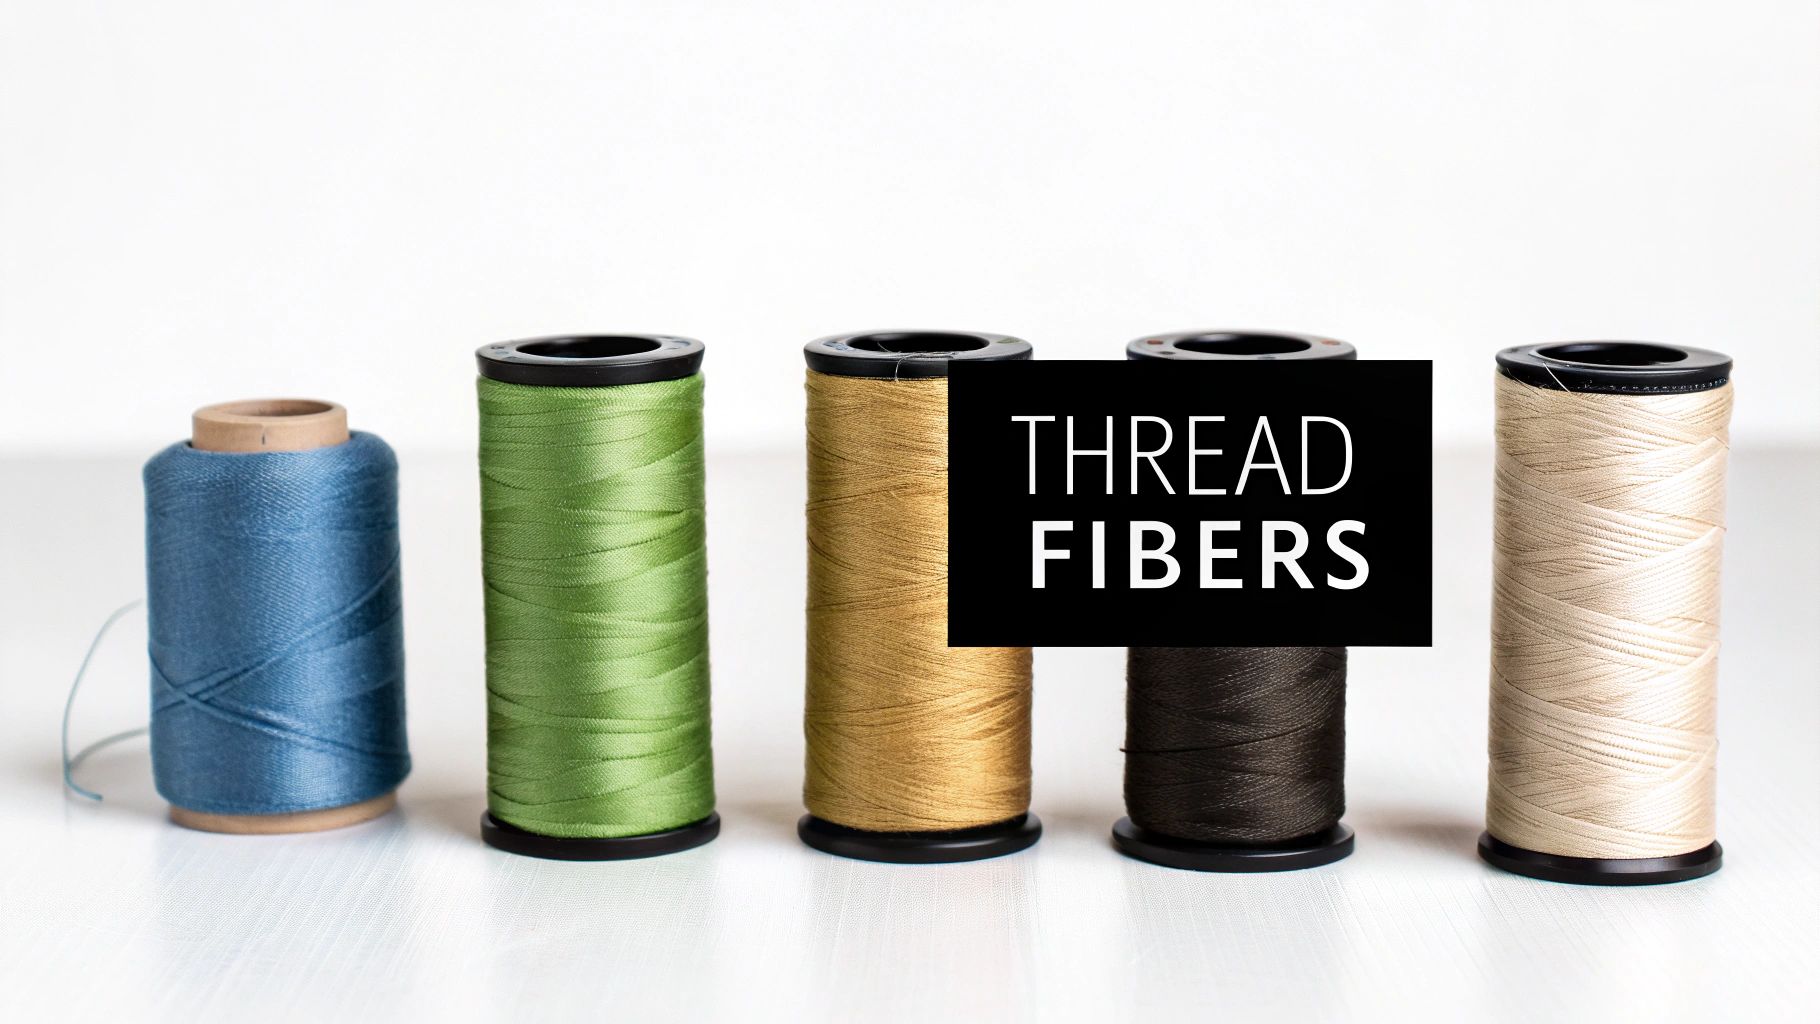
Deciding between natural and synthetic fibers isn't just a technical choice; it’s a creative one. Each material behaves differently with your fabric, batting, and machine, offering distinct benefits in strength, shine, and texture. This one decision can shape your quilt's entire character and how well it holds up over time.
Cotton is the tried-and-true workhorse of the quilting world, and for good reason. Using a 100% cotton thread with cotton fabrics is a match made in heaven because they have the same DNA. They shrink, wear, and age together, creating a perfectly cohesive piece that settles into itself beautifully over the years.
This natural harmony is exactly why cotton is the go-to for heirloom quilts. It has a soft, matte finish that lets it melt into the fabric, making your piecing and quilting patterns the real stars of the show. While it might produce a little more lint than synthetics, nothing beats its classic feel for traditional projects.
It’s easy to forget how vital thread is to the entire textile industry. The global sewing thread market, which includes everything from our quilting spools to garment manufacturing, was valued at USD 2,094 million in 2024 and is still growing. You can dig deeper into the global sewing thread market forecast to see just how big its impact is.
If cotton is the classic, polyester is the modern powerhouse. Polyester thread is famous for its incredible strength and durability, making it the perfect choice for quilts destined for a busy life. We’re talking about quilts for kids, cozy couch throws, and bedspreads that will see the inside of a washing machine on a regular basis.
Unlike cotton, polyester thread has very little give and a subtle sheen that can add a beautiful, faint glimmer to your stitches. It stands up to UV rays and mildew, and it produces next to no lint, which is a big plus for keeping your machine happy and running smoothly.
Pro Tip: Because polyester is stronger than cotton fabric, some long-time quilters worry it could cut or tear the fabric along the stitch line over many, many decades. For most quilts, this isn't a real concern. But if you’re creating a true heirloom meant to last a century, sticking with cotton is often the safest bet.
Once you’ve mastered the basics of cotton and polyester, a whole world of specialty threads opens up—and this is where the real fun begins. These threads are all about adding decorative touches and unique textures that can take your quilting from functional to phenomenal.
To help you decide which material is best for your project, here’s a quick-reference table comparing the most popular options.
| Fiber Type | Key Characteristics | Best For | Things to Consider |
|---|---|---|---|
| Cotton | Soft, matte finish, low stretch, natural fiber. | Heirloom quilts, traditional piecing, quilting on cotton fabrics. | Can produce more lint than synthetics. |
| Polyester | Very strong, durable, low lint, slight sheen. | Everyday quilts, children's quilts, bags, any high-wear items. | Stronger than cotton fabric, which can be a concern for heirlooms. |
| Rayon | Brilliant high-sheen, vibrant colors. | Decorative stitching, machine embroidery, adding a pop of color. | Not as strong as polyester; best for low-stress areas. |
| Silk | Fine but strong, beautiful natural luster. | Delicate quilting, appliqué, art quilts, wall hangings. | More expensive and requires gentle handling. |
| Metallic | Adds sparkle and drama. | Holiday projects, modern quilts, decorative accents. | Can be finicky; often requires a special needle and slower speed. |
| Monofilament | Translucent, "invisible" single-strand thread. | Stitch-in-the-ditch, quilting on busy prints, appliqué. | Can feel stiff; quality varies, so choose a soft, thin version. |
This table is a great starting point, but the best way to learn is by experimenting! Don't be afraid to try something new on a scrap piece of fabric to see how it looks and feels.
Here’s a closer look at what makes each of these specialty threads unique:
Walking down the thread aisle can feel a little overwhelming, especially when you start looking at the numbers. The thread weight system seems completely backward at first, but once it clicks, you'll unlock a whole new level of control over your thread machine quilting. It's the secret to making your stitches either pop off the fabric or melt right into it.
Here’s the main thing to remember, and it’s a bit counterintuitive: the lower the number, the thicker the thread. It's true! A higher number actually means the thread is finer and thinner. So, a chunky 30 wt thread will create a bold, obvious line, while a delicate 100 wt thread will practically disappear.
Think of it like choosing your pens or pencils for a drawing. Each weight gives you a different effect, letting you add just the right amount of texture and personality to your quilt.
Let's stick with that art supply analogy. Imagine you're about to start sketching.
That thick, bold Sharpie that makes a statement? That’s your heavy 30 wt or even a super-chunky 12 wt thread. You use this when you want the thread to be a star of the show—perfect for decorative topstitching or faking a hand-quilted look on your machine.
Then you have your trusty, all-purpose #2 pencil. It’s reliable for just about everything. That’s your 50 wt thread. It’s hands-down the most common weight quilters use for both piecing the top and the actual quilting. It’s strong enough to hold everything together securely but not so thick that it adds a ton of bulk to your seams.
And for those super-fine, intricate details? You'd grab a 0.5mm mechanical pencil. In the thread world, that’s your 100 wt thread. It’s a dream for micro-stippling, invisible stitch-in-the-ditch work, and delicate appliqué where you want the texture of the quilting to be the focus, not the thread itself.
Understanding thread weight isn't just a technical detail—it's about artistic intent. Grabbing a 30 wt thread is a conscious design choice to make your quilting a prominent feature. Picking up a 100 wt is a decision to let the texture do all the talking.
So, how does this play out on an actual quilt? Choosing the right weight can completely change the final look and feel of your project.
For Bold, Decorative Quilting: When you want your quilting lines to be a major design element, reach for a 30 wt or 40 wt thread. These weights are fantastic on solid fabrics where the stitch pattern can really sing. They create a beautiful, defined line that adds a ton of dimension.
For Everyday Piecing and Quilting: Your workhorse is the 50 wt thread. It’s the industry standard for piecing for a reason—it makes strong seams that press nice and flat. It's also an excellent choice for most all-over quilting designs, giving a classic, balanced finish.
For Subtle, 'Invisible' Quilting: Quilting on a really busy print or doing intricate free-motion? A 60 wt or 80 wt thread is your best friend. These finer threads blend right into the fabric. And for that ultimate disappearing act in stitch-in-the-ditch or heirloom quilting, the whisper-thin 100 wt is the champion.
You’ll also see the word "ply" on thread spools. Don't let it confuse you! It simply refers to how many individual strands are twisted together to make the final thread. A "3-ply" thread, for instance, is just three smaller strands twisted into one.
Generally, more plies make for a rounder, smoother, and stronger thread that produces less lint. Most high-quality quilting threads are either 2-ply or 3-ply. This construction is what helps the thread stand up to the speed and friction of machine quilting without shredding or breaking on you.
Think of a perfect quilting stitch like a beautifully tuned instrument. It's a delicate harmony between your thread, your needle, and your machine's settings. When all those elements work together in concert, you get a strong, smooth, and beautiful stitch that makes your quilting sing. Honestly, getting that balance just right is one of the most satisfying parts of thread machine quilting.
The journey to that perfect stitch always begins with the needle. It’s the crucial link between your machine and your quilt, and using the wrong one is a fast track to frustration. A needle that’s too small will constrict and shred your thread, while one that’s too large can leave noticeable holes in your fabric.
The golden rule here is simple: the thread should pass through the needle's eye with just a little room to spare. It shouldn't feel squeezed, but it also shouldn't be swimming in space.
Just like you wouldn't use a sledgehammer to hang a picture frame, you need the right needle for the thread you've chosen. Different threads have different needs.
This flowchart shows how thread weight relates to its actual thickness, which is the key to picking your needle.
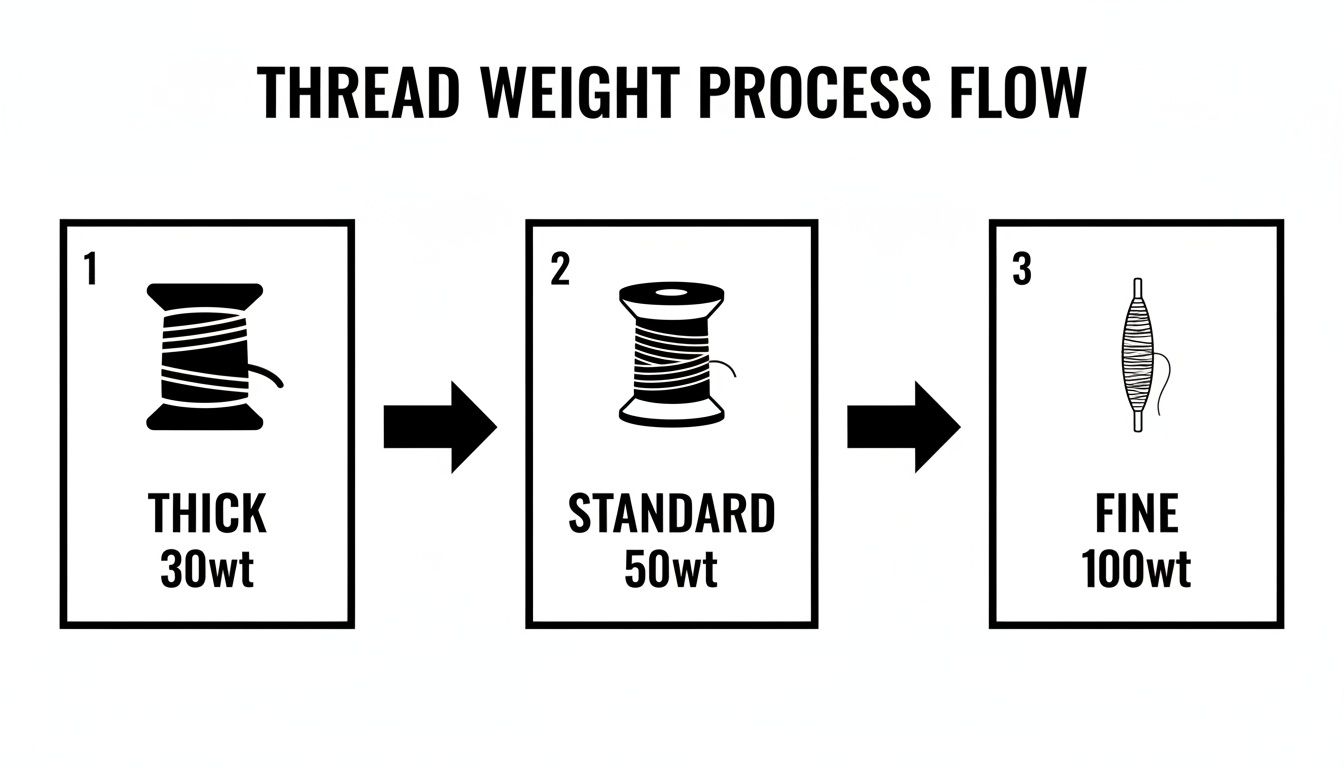
As you can see, the lower the weight number, the thicker the thread. A thick 30 wt or 40 wt thread will need a larger needle, like a 90/14 or 100/16, to make room for it.
Now, let's talk about the tension dial. I know, it can be intimidating! So many quilters are afraid to touch it, but learning to make small, confident adjustments is what separates good quilting from great quilting. The goal is simple: get the top and bobbin threads to meet and lock perfectly in the middle of your quilt sandwich, hidden away inside the batting.
Imagine a perfectly balanced tug-of-war. If the top thread pulls too hard (too tight), it will yank the bobbin thread up to the surface, creating tiny, visible dots on your quilt top. If the top thread is too loose, you'll see loops of it on the back of your quilt.
The Tension Test: Please, never try to adjust your tension on your actual quilt! Always create a small practice "quilt sandwich" using scraps of the exact same fabric and batting from your project. This is your safe space to experiment and get the settings just right.
The technology in our quilting machines has come a long way. The global multi-needle computer quilting machine market was already worth $444.069 million in 2021, which shows how much the craft has evolved. You can dive deeper into the growth of the computer quilting machine market if you're curious. These advanced machines need high-quality, consistent threads to perform their best, which makes understanding tension more important than ever.
Before you start quilting, invest a few minutes in this process. It will save you hours of picking out stitches later, I promise.
Even the most seasoned quilter hits a wall with thread problems every now and then. One minute you're gliding along, lost in the rhythm of the stitches, and the next you're staring down at a shredded thread, a sudden snap, or the dreaded "bird's nest" on the back of your quilt. Don't worry, we've all been there. Think of this as your go-to troubleshooting guide to get you unstuck and back to quilting with confidence.
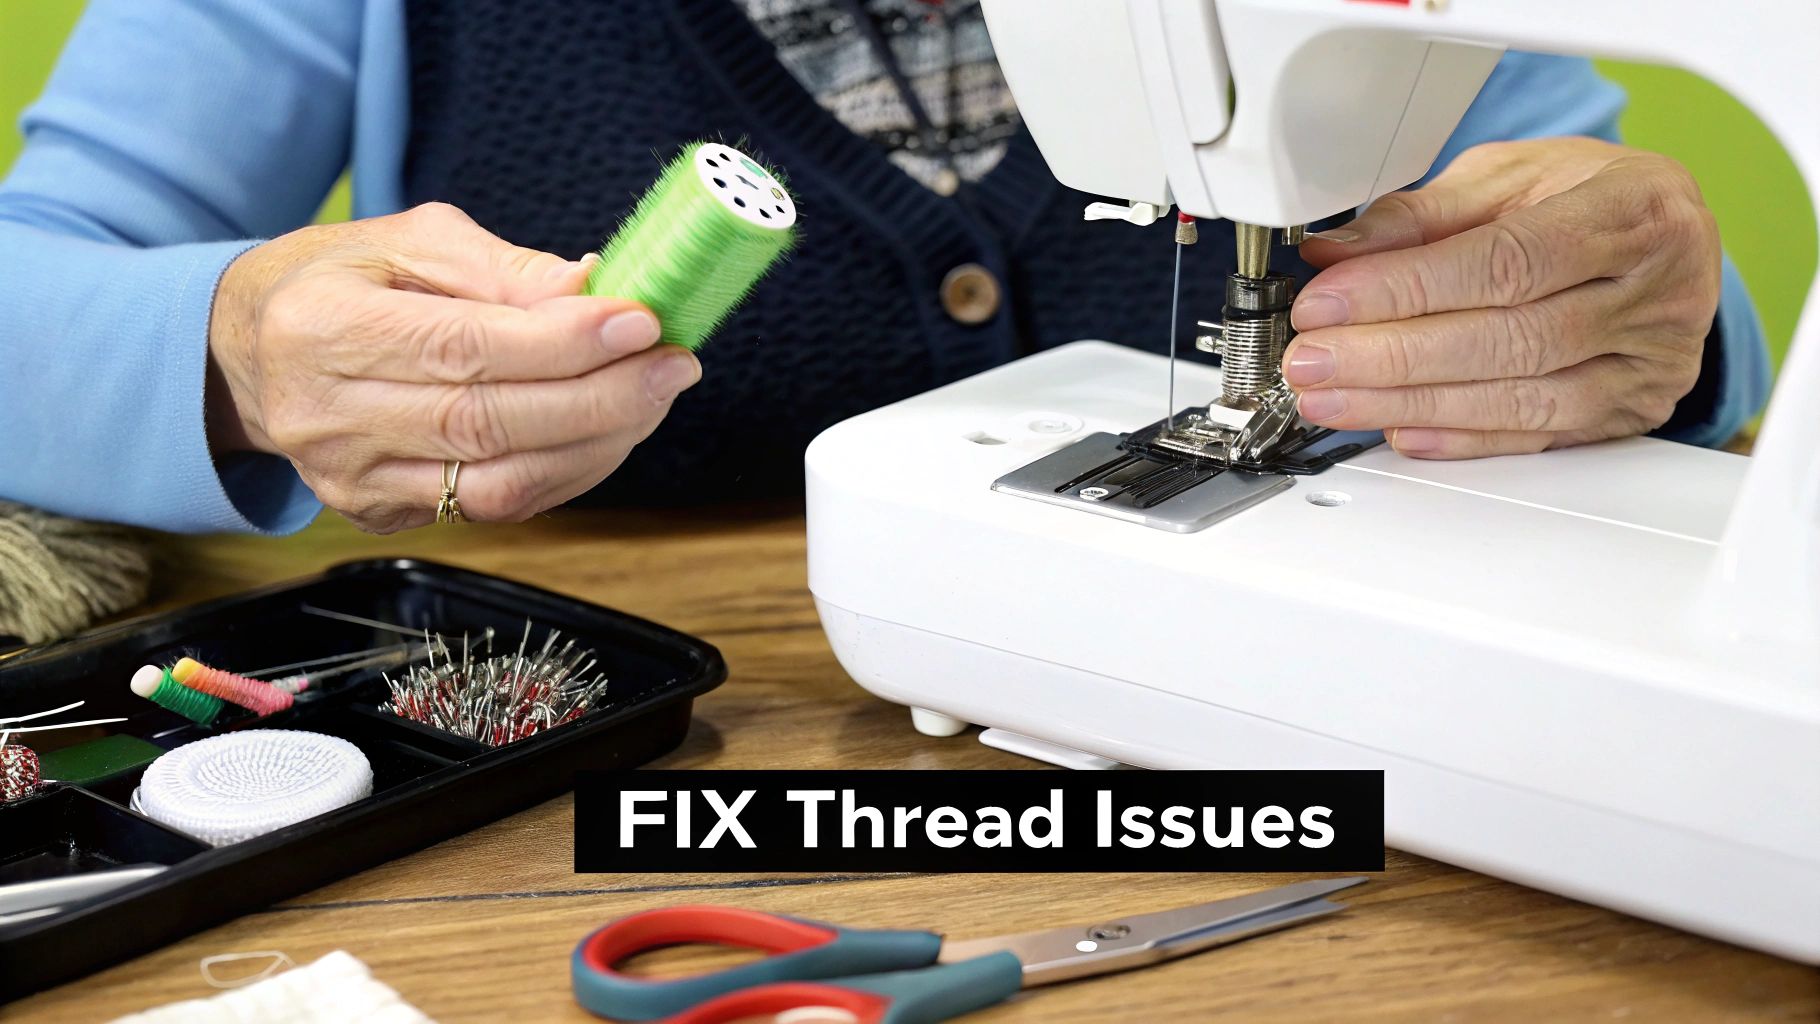
Most of the time, these issues aren't random acts of sewing machine rebellion. They're signals—your machine is trying to tell you that something is just a little bit off. The trick is learning to interpret those signals and knowing what to check first. By walking through a few common culprits, you can solve almost any thread-related headache that comes your way.
Is your top thread looking a little fuzzy, getting thin, or just snapping mid-seam? This is probably the most common complaint I hear, and it nearly always boils down to friction or a simple mismatch between your needle, thread, and fabric. Before you throw in the towel, take a deep breath and run through this quick checklist.
If you've tried all that and are still having trouble, check your speed. Flying through your quilting, especially with delicate metallics or a beefy 12 wt thread, can create enough heat and friction to cause a break. Sometimes, slow and steady really does win the race.
Skipped stitches and that tangled mess on the back of your quilt are often related. They usually point to an issue with the delicate dance between your top thread and your bobbin.
It's counterintuitive, but a massive thread nest on the bottom of your quilt is almost always a top thread problem. It happens when the top thread isn't seated correctly in the tension discs. This allows loose loops of thread to be fed down to the bobbin area, where they tangle into a knot. The fix? You guessed it: rethread your machine carefully with the presser foot up.
Preventative Maintenance is Key: The best way to deal with thread problems is to stop them before they start. A clean machine is a happy machine! Lint and dust love to build up in the bobbin case and around the tension discs, which can seriously mess with your stitch quality. Giving those areas a quick sweep with a soft brush before a big project can save you hours of headaches later.
For skipped stitches, your first step should always be to change the needle. A dull point can't cleanly pierce the fabric to pick up the bobbin thread. If a new needle doesn't help, double-check that it's inserted correctly—on most machines, the flat side of the shank faces the back. Lastly, let the machine do the work. Pushing or pulling the fabric can throw off the timing and lead to skipped stitches. Just guide it gently and let the feed dogs set the pace.
When you're in the middle of a project, the last thing you want to do is spend hours diagnosing a problem. Here's a quick-reference table to help you get back to stitching faster.
| Problem | Potential Cause | Solution to Try |
|---|---|---|
| Top Thread Breaking | Dull or wrong-sized needle. | Change to a new needle appropriate for your thread (e.g., Topstitch 90/14). |
| Incorrect threading. | Rethread the entire top path with the presser foot up. | |
| Sewing too fast. | Slow down your machine speed, especially on curves or with specialty threads. | |
| Thread Nesting (Bird's Nest) | Top thread has no tension. | Rethread the machine, ensuring the thread is seated in the tension discs. |
| Bobbin inserted incorrectly. | Remove and re-insert the bobbin, checking it's in the right direction. | |
| Skipped Stitches | Worn or damaged needle. | Immediately replace the needle with a new one. |
| Needle inserted incorrectly. | Make sure the flat side of the needle shank is facing the correct way. | |
| Pushing or pulling the fabric. | Let the machine's feed dogs control the fabric movement. | |
| Thread Shredding/Fraying | Thread is rubbing on something. | Check for rough spots on the spool pin, thread guides, or needle eye. |
| Poor quality thread. | Switch to a high-quality, smooth quilting thread. | |
| Tension is too tight. | Slightly loosen the top tension and test on a scrap. |
Remember, these are the most common culprits, but every machine has its quirks. The key is to be methodical: change one thing at a time, test it, and see if it solves the problem. Before you know it, troubleshooting will become second nature.
Diving into the world of thread for machine quilting can feel a bit overwhelming, and it's natural for questions to pop up along the way. I've gathered some of the most common dilemmas I hear from quilters to help you clear up any confusion and quilt with a lot more confidence.
This is a classic question! While all-purpose thread is perfectly fine for piecing your quilt top, it’s really not the best choice for the actual quilting part. Think of it this way: you wouldn't use all-season tires for a high-performance race. They’ll get you around the track, but they aren't built for the job.
Quilting thread is engineered to be stronger and smoother, and it produces much less lint. This durability means your stitches will hold up beautifully through years of snuggling and washing. A lower-lint thread is also much kinder to your sewing machine, preventing the buildup that can throw your tension out of whack.
Nope! Your bobbin thread doesn't have to match your top thread in color or weight. In fact, many experienced quilters deliberately use a finer thread in the bobbin, often a 60 wt or even an 80 wt polyester.
Here's a little pro tip: using a finer thread in the bobbin is a fantastic way to reduce bulk on the back of your quilt. It helps the stitches sink into the fabric, making them less noticeable and making it much easier to achieve that perfect, balanced tension you're looking for.
When it comes to color, you've got options. You can match the bobbin thread to your top thread if you want a consistent look on both sides. Or, you can do what most quilters do and match the bobbin thread to your backing fabric so it blends in seamlessly.
A fresh needle is your best friend in quilting—it's the cheapest insurance policy against a whole list of frustrations. The golden rule is to put in a new needle for every new project, or after about 8 to 10 hours of quilting time.
You can't see it with the naked eye, but after punching through fabric thousands of times, that needle point gets dull. A worn-out needle is the number one culprit behind skipped stitches, shredded thread, and tiny pulls in your beautiful fabric. Don't risk it!
Variegated thread is pure fun in a spool. It's a single strand of thread that has been dyed with multiple colors, which change as you sew. It's an incredible tool for adding instant texture and visual punch to your quilting without ever stopping to change spools.
It’s an especially great choice for:
Think of variegated thread as an artist's brush that helps you paint with stitches, creating beautiful, effortless patterns across your quilt.
Here at High Country Quilts, we have a rainbow of threads waiting for you and all the friendly advice you need to pick the perfect one. Come explore our collection and get inspired for your next project at https://hcquilts.com.
At High Country Quilts we care deeply about community. With our experiences in retail, we know that a store is not only a place to shop but also a place for the community to gather and share. During this busy...

Hi! We’re Adam and Renee Wheaton, the new owners of High Country Quilts! For more than 40 years, we’ve owned and operated vacuum and sewing businesses. Following in Renee’s father’s footsteps after he retired from All Discount Vacuum and Sewing in Colorado...


Leave a comment