


We Love Our Quilting Community
At High Country Quilts we care deeply about community. With our experiences in retail, we know that a store is not only a place to shop but also a place for the community to gather and share. During this busy...


Templates are precision tools that save time and improve accuracy, and using one correctly is simpler than it looks. The design templates market was estimated at $6.2 billion in 2025, with a projection of $15.8 billion by 2034 at a 14.3% CAGR, reflecting how reusable structures help people create consistent results faster (MarketIntelo).
You may have felt the opposite while piecing your first quilt. One block looks neat, another is slightly wider, and a third has corners that refuse to meet. You trim, unpick, and try again, wondering how experienced quilters make the process look so calm.
A template gives you a dependable boundary for cutting, marking, or stitching. Instead of estimating each shape, you follow the same guide repeatedly. That small change makes quilting more predictable, especially when you're learning.
Uneven blocks usually start before the sewing machine is switched on. A line is marked a little too far from the edge, a rotary cutter leans during a cut, or fabric shifts while you work. Those small differences accumulate, and the finished pieces no longer behave like matching parts.
A quilting template solves that problem by giving every piece the same physical reference. You place it on the fabric, mark or cut around it, and repeat the action for the remaining pieces. The template doesn't replace your judgment, but it removes much of the guesswork.
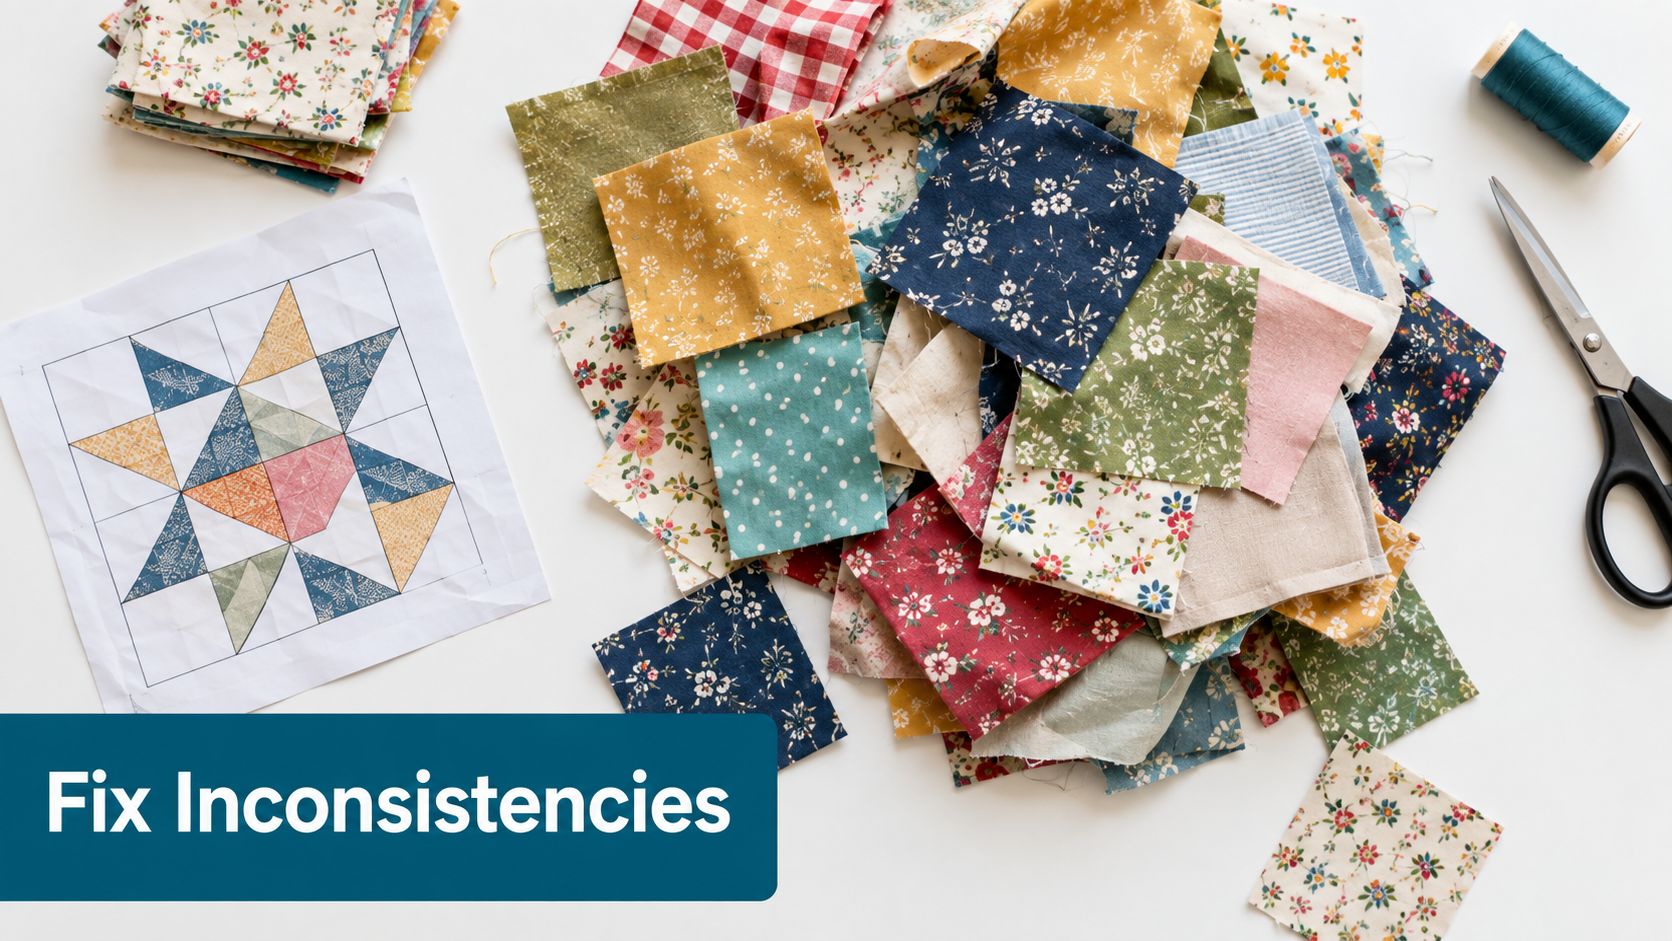
A ruler can measure distance, but a shaped template also shows the exact outline of a finished piece. That matters for triangles, curves, diamonds, and other forms where a small angle change can affect the entire block.
Templates also make repetition easier. Once you've confirmed that the guide matches your pattern, you can create a group of pieces with the same shape rather than recreating the measurements each time.
Practical rule: Treat the template as a reference for every repeated piece, not as a decoration beside your cutting mat.
Template systems have also developed beyond simple reuse. Digital workflows often preserve earlier versions, allowing users to compare drafts and restore previous layouts. That same idea is useful in quilting: keep the original pattern, label modified templates clearly, and don't discard a version until the new one has been tested.
The best place to begin is a simple shape. A square or rectangle lets you practise positioning, marking, and cutting without adding the extra challenge of curves. Once your hands understand the movement, more detailed designs feel manageable.
The right template depends on the shape you're making, how often you'll use it, and whether you prefer physical or digital instructions. Beginners often find a clear acrylic ruler easiest because it stays visible over the fabric and can be used repeatedly.
Acrylic rulers suit standard geometric work. They're durable, reusable, and straightforward to align with grain lines or printed markings. They can cost more than paper, but they remain useful across many projects when stored carefully.
Foundation paper piecing, often called FPP, takes a different approach. The printed sheet provides a foundation for sewing fabric in a specific order, which is helpful for intricate designs and sharp points. It offers detailed guidance, though you'll need to understand how to position fabric and remove or manage the paper afterward.
Digital PDF patterns offer instant access and can be printed when needed. They work well for custom cutting plans and home projects, but printer settings matter. If the file isn't printed at its intended scale, the resulting pieces may not match the pattern.
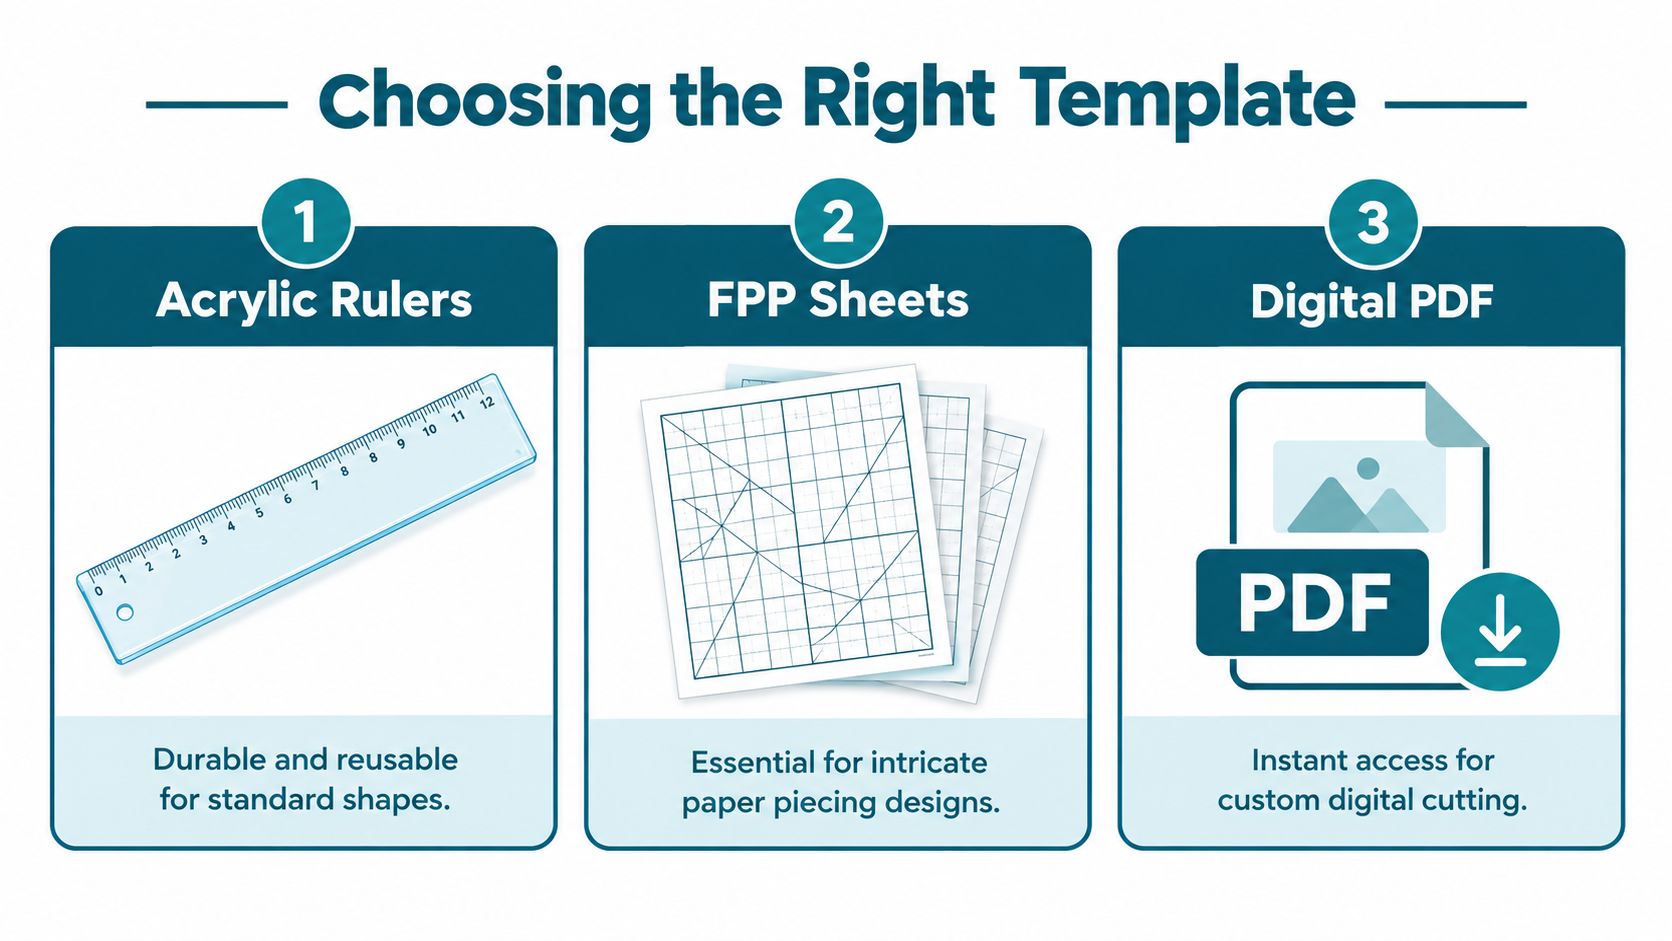
| Template type | Useful for | Main consideration |
|---|---|---|
| Acrylic ruler | Repeated geometric shapes | Store it flat and protect its edges |
| FPP sheet | Intricate pieced designs | Follow the sewing order carefully |
| Digital PDF | Flexible, printable patterns | Check print scale before cutting |
Choose acrylic first if you want to learn basic patchwork. Choose FPP if the design depends on precise small sections. Choose a PDF when convenience and access matter most, but test the printed template on scrap paper before using fabric.
The same thinking applies to other planning systems. If you enjoy organizing projects by season, a seasonal fashion planning workflow can show how a reusable structure helps coordinate changing choices without starting from an empty page.
For machine quilting, a specialized ruler may be more suitable than a piecing template. High Country Quilts carries Westalee templates and rulers, including the Crosshair Square 8 Point Template, which helps mark reference lines and locate the center of a quilt block.
Set up the work area before the template touches the fabric. Gather a rotary cutter, self-healing mat, suitable pins or weights, a marking tool, fabric, and matching thread. A clear, level surface gives the template a steady base, much like a firm table helps a ruler draw a straight line.
Smooth the fabric without pulling it out of shape. Check that the template rests completely on the material and lies flat. A rocking template, a fold underneath, or an edge extending beyond the fabric can shift the planned shape, so correct the setup before marking.
Fine pins can hold a small template, while weights may suit a larger shape. Choose the option that keeps both fabric and guide still without placing your hands near the cutting path. This setup principle also applies to sewn products. Zero Sports uniform resources show how a fixed guide can support repeatable garment work.
Check the fabric grain and the template orientation before cutting. Grain direction affects how a piece rests and stretches, while an upside-down template can reverse its intended shape. Confirm the seam allowance instructions as well, since some guides show the finished size and others show the cutting boundary.
Keep the rotary cutter closed whenever it is not in use. Open it only when ready to cut, keep fingers away from the blade path, cut away from your body, and use controlled pressure. Never reach across an exposed blade to steady fabric.
Hold the cutter vertically so its blade follows the intended edge. Tilting can shave material inward or outward and alter the piece. Let the tool pass through the layers rather than forcing it.
Before cutting: Check the grain direction, confirm the template orientation, and make sure no hand is in front of the blade.
A first cut can determine whether the rest of a project fits smoothly. Treat the template as a physical reference for turning a digital pattern or printed shape into repeatable fabric pieces. Work through the job in three stages, trace, cut, and stitch, checking the result before repeating it.
Place the template according to the pattern instructions and use the reference marks already identified during setup. Trace with a Hera marker or air-erasable pen, following the marking method noted earlier and keeping the outline continuous. Lift and reposition the template as needed rather than dragging it while the marking tool touches the fabric.
Before using the rotary cutter, confirm whether the template shows the finished size or the cutting boundary. A finished-size outline needs the instructed seam allowance added by the method specified in the pattern. Cutting on the wrong line can remove the material needed for joining pieces accurately. If the instructions remain unclear, cut one test piece from scrap fabric first. The guidance from Handmadelytics also stresses checking how a template defines the finished shape and allowance.
Use this focused sequence for the cutting stage:
The first piece acts like a sample key. Arrange cut pieces in sewing order, with their printed or drawn marks facing the correct direction. This makes rotated shapes easier to spot before they are joined.
Some templates guide the sewing line instead of defining the cut edge. In the method described by Threads' precision sewing guide, the template is positioned on the fabric while the presser foot helps hold it in place as stitching follows the edge. Choose a moderate stitch length suited to the fabric, keep the needle close to the intended line, and avoid pulling the material through the machine.
This approach is useful for repeated lines in home projects, including work with premium cushion fabrics from Lewis and Sheron. Slow down at curves. Stop with the needle down when you need to adjust the fabric, then continue without stretching it.
Here is a visual demonstration to review before trying the technique:
Inspect the first sewn unit before repeating the operation. The corners should meet, and the shape should lie flat. If they do not, identify whether the issue came from the template position, seam allowance, fabric handling, or stitch line before making more pieces.
A template earns its place in your sewing kit by staying accurate. After each use, wipe acrylic rulers with a soft, slightly damp cloth. Follow the manufacturer's guidance for removing adhesive or marker residue, since the wrong cleaner can cloud or damage the surface. Keep heavy tools off thin sheets so their edges and corners remain true.
Store acrylic templates flat in a spot where they will not bend or snag on other tools. Place paper templates in a folder or envelope to protect their corners from curling. A nicked, warped, or hard-to-read template should be replaced. Careful cutting cannot reliably correct a shape that has changed.
Keep a small record with the pattern name, fabric orientation, and any adjustments you made. This gives the next project a clear starting point. Digital template systems may preserve publication history and earlier versions, including up to 5 previously published versions in Mailjet's template management documentation. For quilting, a labeled paper sleeve provides the same useful record without needing a screen.
Clear instructions matter as much as a clean template. A 2025 usability study found difficulties with interpreting instructions, resizing icons, and fitting content into preset boxes (JMIR Formative Research). Apply that lesson to project cards by enlarging unclear markings, simplifying crowded notes, and using strong contrast.
Keep project cards readable with high contrast and at least 1.5 line height for body text, following the U.S. Web Design System guidance. Give headings enough space and size that you can find the cutting order at a glance, especially when fabric, ruler, and scissors are spread across the table.
Start with a small square, a simple star, or a mini quilt. As your setup becomes familiar, you will spend less time correcting preventable errors and more time choosing fabric, pressing seams, and enjoying the design.
Visit High Country Quilts to browse quilting fabrics, rulers, templates, sewing notions, and beginner-friendly supplies for your next project. You can also ask about classes, BERNINA machine support, and local events for hands-on practice with template-based quilting.
At High Country Quilts we care deeply about community. With our experiences in retail, we know that a store is not only a place to shop but also a place for the community to gather and share. During this busy...

Hi! We’re Adam and Renee Wheaton, the new owners of High Country Quilts! For more than 40 years, we’ve owned and operated vacuum and sewing businesses. Following in Renee’s father’s footsteps after he retired from All Discount Vacuum and Sewing in Colorado...


Leave a comment