

We Love Our Quilting Community
At High Country Quilts we care deeply about community. With our experiences in retail, we know that a store is not only a place to shop but also a place for the community to gather and share. During this busy...


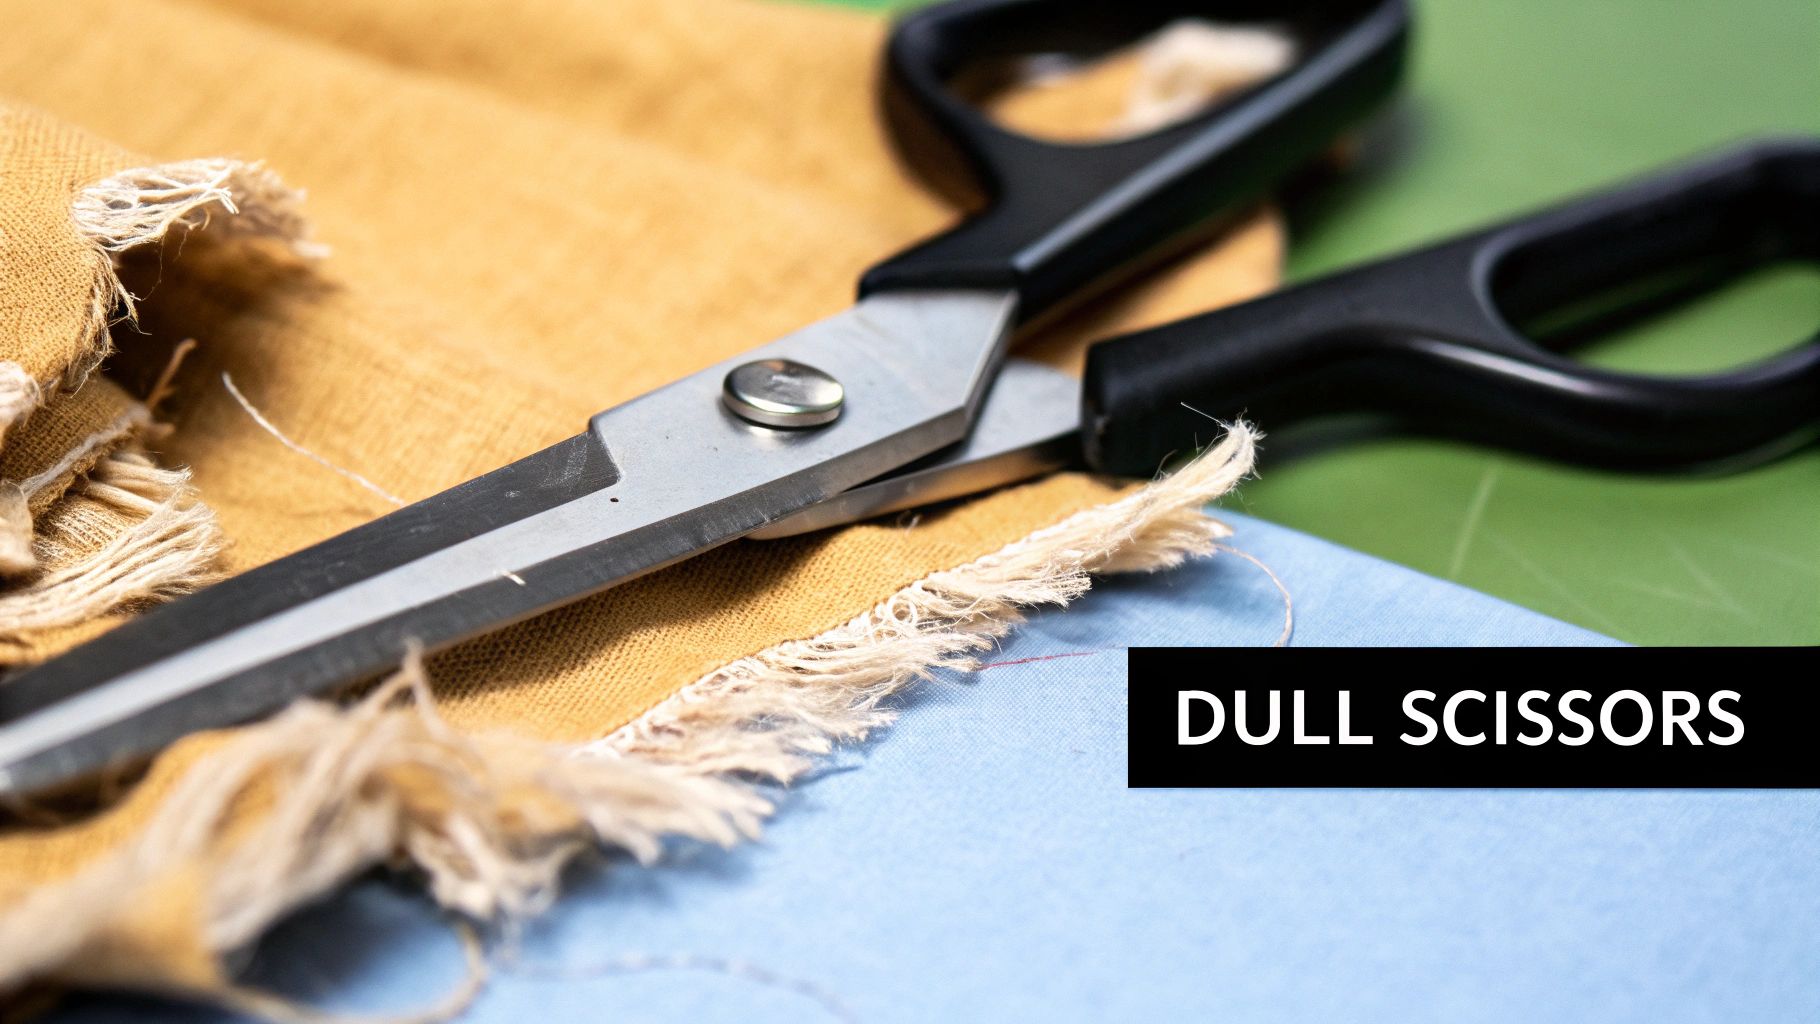
To get those clean, professional-looking results every sewer dreams of, you absolutely have to know how to sharpen your fabric scissors. It's one of those fundamental skills that makes a world of difference. The core of it is simple: dull blades don't slice, they crush. This is what leads to those dreaded frayed edges and wonky cuts.
Luckily, you can restore that perfect edge with some simple at-home methods or by sending them off for a professional tune-up.
Before we get into the "how," let's talk about the "why." It's so important to understand why a razor-sharp edge is non-negotiable in the sewing room. Don't just think of your fabric scissors as another tool; they're the bedrock of every single project you create.
A sharp pair of scissors is what separates a frustrating, messy experience from a smooth, flawless finish. It turns the simple act of cutting into something genuinely satisfying and precise.
Dull blades do a lot more than just make your job harder—they actively damage your beautiful fabrics. Instead of a clean, effortless slice, they chew and mash the delicate fibers. This creates a cascade of problems that can derail your entire project:
The difference a sharp edge makes is not subtle. It shows up in every snip, affecting everything from delicate silks to sturdy denim. Here’s a quick look at what you can expect when cutting common fabrics.
| Cutting Task | Impact with Dull Scissors | Result with Sharp Scissors |
|---|---|---|
| Cutting Silk or Chiffon | Snags, pulls, and creates runs. The fabric bunches up instead of cutting. | Glides through effortlessly, leaving a perfectly clean, straight edge. |
| Patterning on Cotton | Requires extra force, leading to hand strain and slightly jagged lines. | A clean, crisp cut that follows pattern lines precisely with minimal effort. |
| Trimming Denim Seams | Chews at the thick fibers, creating a frayed, messy finish. Very difficult to cut. | A sharp, decisive cut through multiple layers, leaving a neat and tidy seam. |
| Notching Corners | Crushes the fabric at the pivot point, making it impossible to get a sharp corner. | Creates a perfect, clean "V" notch, allowing for sharp, professional corners when turned. |
As you can see, sharp scissors aren't just a "nice-to-have"—they're essential for achieving professional-quality results and making the entire sewing process more enjoyable.
The tricky thing is that scissors rarely go from sharp to dull overnight. It’s a slow, gradual process, which makes it easy to miss until you’re really struggling.
You might suddenly find yourself fighting to get through a layer of denim or notice that the tips of your blades are snagging on delicate silk. Those are the obvious signs. But even just feeling like you have to apply a bit more pressure to cut simple cotton is a clear signal that your scissors need attention. The best artisans I know don't see scissor care as a chore they do once in a while; for them, it's a foundational part of their craft.
The global market for tailor's scissors tells a big story. It was valued at approximately USD 1.2 billion and is projected to keep growing. This huge demand just goes to show how vital precision tools are in the fashion and textile industries, where a sharp edge is absolutely essential for performance.
Ultimately, a sharp pair of scissors makes every single step that follows easier. Whether you're right-handed or left-handed, good blade maintenance ensures every cut is as clean and accurate as the very first one. To see just how much scissor design matters, you can read our guide on the benefits of left-handed scissors.
When your scissors start to chew fabric instead of slicing it, you’ve got a few paths you can take. The best way to get that razor-sharp edge back really boils down to your scissors, your budget, and how hands-on you want to be.
Let's walk through the most common choices for home sewists so you can figure out what works for you.
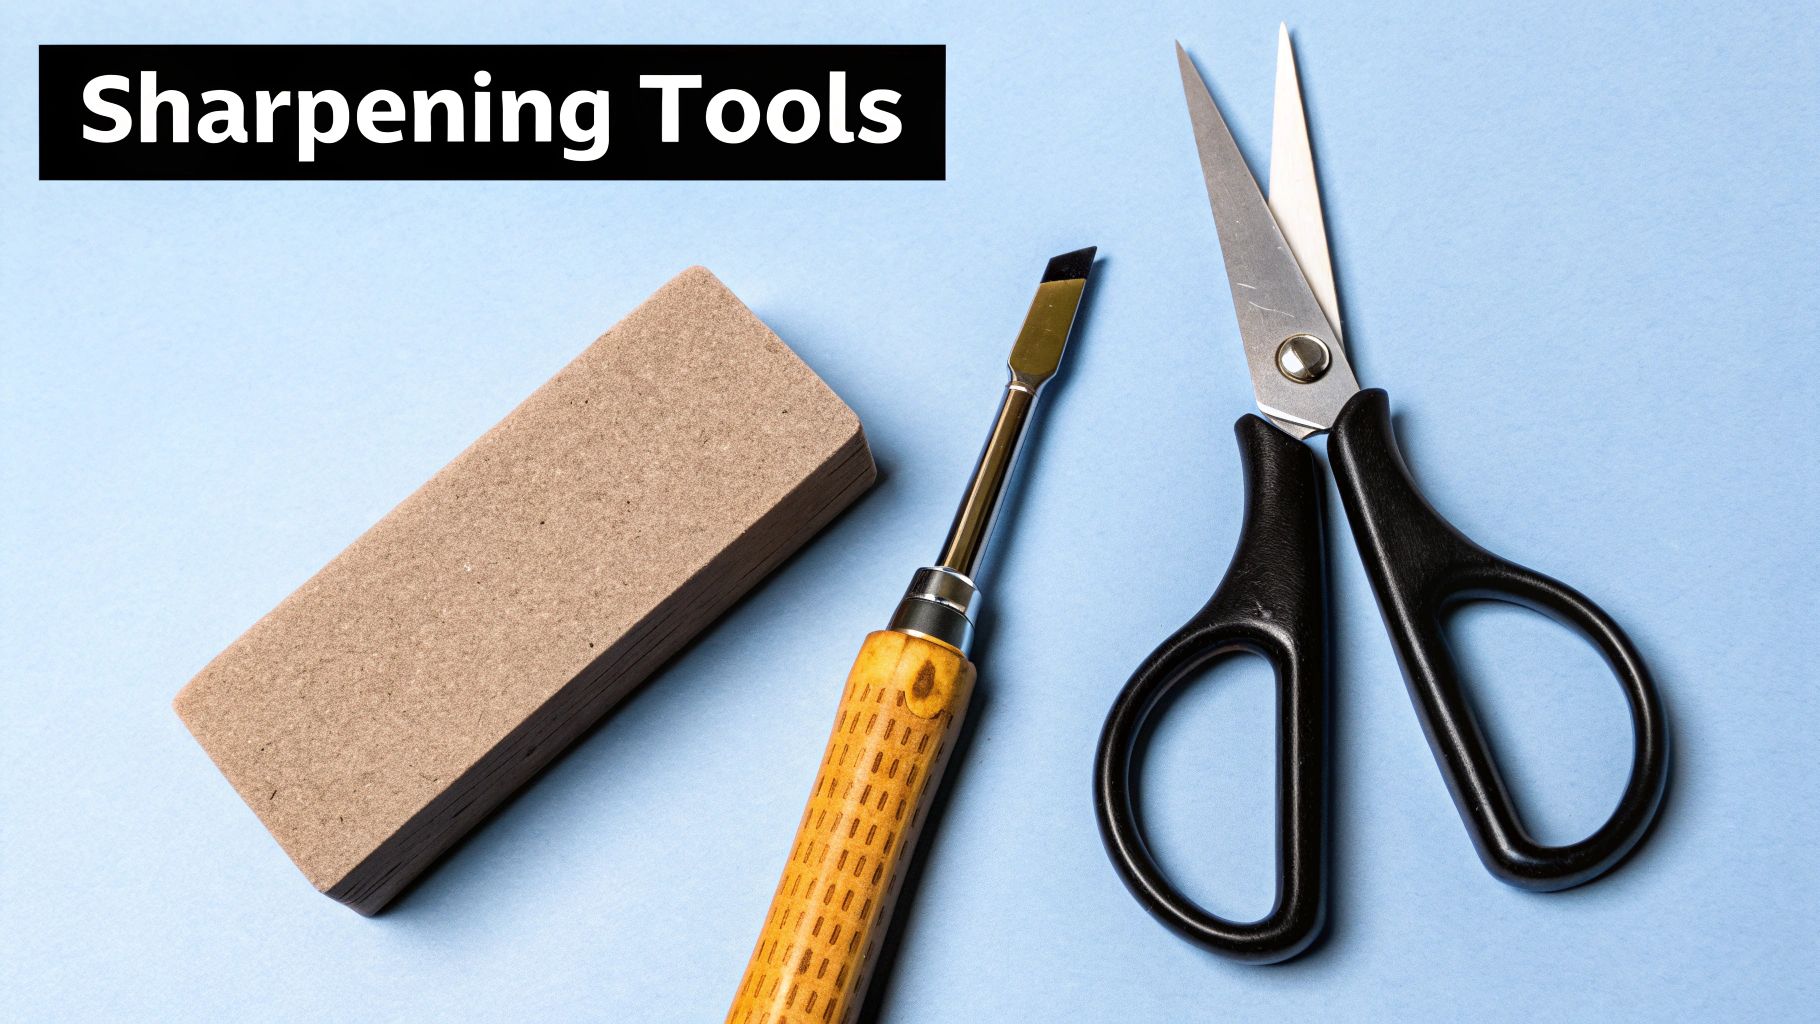
If you like the satisfaction of doing things yourself, a dedicated sharpening tool can be a fantastic investment. These gadgets are designed specifically for the beveled edge of a scissor blade, which is a very different beast from a kitchen knife.
Handheld Scissor Sharpeners: These are your go-to for a quick, no-fuss touch-up. You just run the blade through the sharpening slot a few times, and you're good to go. They’re affordable and perfect for keeping everyday scissors in fighting shape.
Sharpening Stones (Whetstones): For the true tool enthusiast, a whetstone offers unparalleled control. It allows you to work the beveled edge with precision, making it the top choice for maintaining high-end shears. Be warned, though: there's a significant learning curve. If you don't maintain the correct angle, you can easily damage your blades.
Historically, sharpening was all done by hand on stones. Today’s tools, from simple handheld gadgets to precision electric sharpeners, have made the process much more accessible and accurate for everyone.
Sometimes, the smartest move is to trust a professional. This is the absolute best way to get a factory-perfect edge, especially for those expensive shears you’ve invested in.
A pro uses industrial-grade equipment to grind the perfect angle without removing too much metal, which is key to extending the life of your scissors. In fact, we believe in it so much that at Famoré, we offer a free sharpening service to keep your tools performing beautifully.
The only real downside is the turnaround time. You’ll have to part with your favorite scissors for a bit, so it’s always a good idea to have a reliable backup pair on hand to avoid project delays.
It really comes down to your personal workflow and the tools in your sewing kit.
A simple handheld sharpener is great for quick maintenance on your workhorse scissors. A whetstone is a rewarding skill to master if you're serious about your craft and want ultimate control. And for your premium shears or a pair that's seen better days, a professional service is the safest bet.
The right method ensures your scissors are always ready, whether you're cutting delicate silk or tackling something more demanding. For example, building cosplay costumes often means cutting unconventional materials that require an impeccably sharp blade. Our guide on how to make cosplay armor shows just how critical that precision is.
Think about what you own. For that all-purpose pair you use for everything, a simple sharpener is probably all you need. But for that heirloom-quality pair of shears? A professional service isn't just a repair—it's an investment in their longevity.
Let's walk through bringing that razor-sharp edge back to your favorite fabric scissors. Forget stuffy technical manuals; this is about getting a feel for the process. We're going to focus on the key actions that make a real difference, turning a dull tool back into your most reliable sewing companion.
We'll cover setting up your workspace, finding that all-important blade angle, mastering a smooth sharpening motion, and of course, testing your handiwork. This is a skill every sewist can and should have, and it’s easier than you think.
Before you even think about sharpening, a little preparation makes all the difference. You’ll want to find a stable, well-lit surface—a solid workbench or even a kitchen counter works perfectly. The key is to have a solid base so you can apply even, consistent pressure without any wobbling.
Next up, give your scissors a good cleaning. A soft cloth and a dab of isopropyl alcohol are perfect for wiping down the blades. This gets rid of any lint, oils, or sticky residue from interfacing. A clean blade is crucial because any grime can get in the way of the sharpener and might even cause tiny nicks. Just be sure they are bone dry before you start.
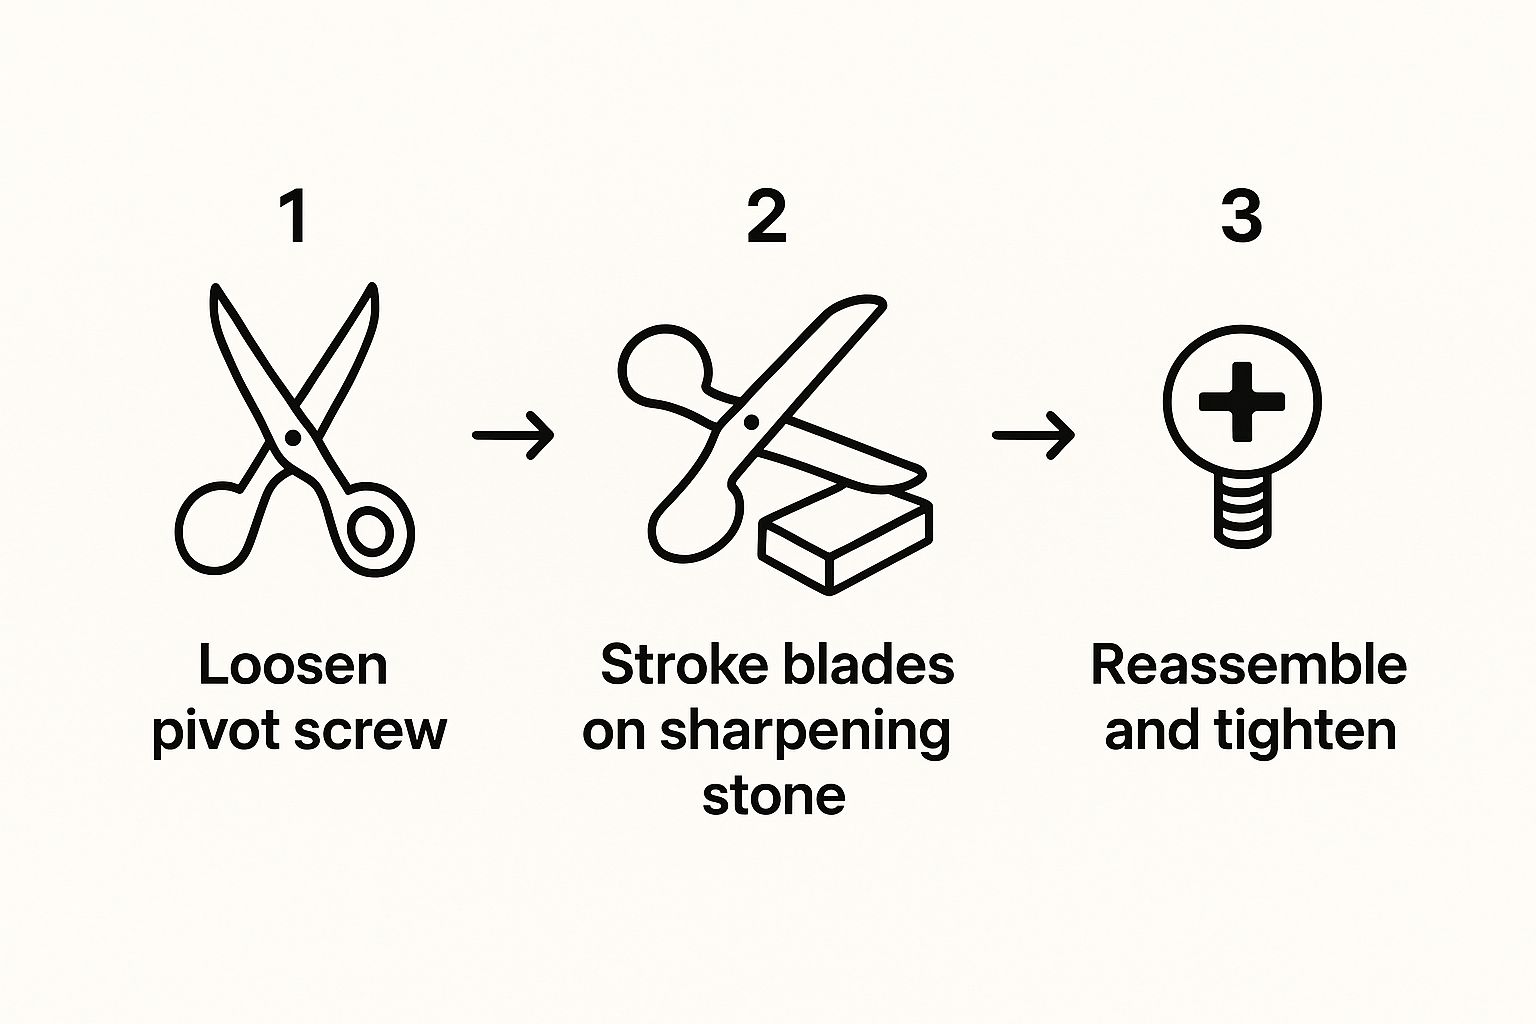
As you can see, a proper sharpening job is more than just running a blade over a stone. For high-quality shears, sometimes taking them apart is the best way to get a truly perfect edge.
Safety should always be front and center when working with sharp tools. This simple checklist will help you build good habits from the start.
| Pre-Sharpening Checks | During Sharpening Actions | Post-Sharpening Care |
|---|---|---|
| Work in a well-lit, uncluttered area. | Wear protective gloves, especially if you're new to sharpening. | Wipe blades clean of all metal filings before reassembly. |
| Ensure your work surface is stable and won't slip. | Always push the blade away from your body. | Check the pivot screw; it should be snug but not overly tight. |
| Inspect scissors for any damage before starting. | Use slow, deliberate, and controlled strokes. | Store sharpened scissors in a safe, dry place, away from other tools. |
| Keep pets and children away from the work area. | Maintain focus and avoid distractions. | Handle with care—they are now much sharper than before! |
Following these simple guidelines helps ensure the process is not only effective but also safe from start to finish.
This is it. The single most important part of the entire process. Getting the angle right is everything. A kitchen knife might have a sharp, narrow angle of 15-20 degrees, but fabric scissors are different. They have a much wider bevel, usually around 25-30 degrees. If you use the wrong angle, you could permanently damage the blade’s cutting geometry.
Here's how to find it: lay one blade flat against your sharpening stone or sharpener. Now, slowly tilt it upward until you feel the entire beveled edge make full, flush contact with the surface. It’s a distinct feeling, almost like it "locks" into place. That’s your angle.
Take your time here. If the angle is too shallow, you won't actually be creating a new edge. If it's too steep, you'll create a fragile edge that will go dull almost immediately. Finding that sweet spot is the whole game.
Once you've locked in that angle, it's time to make your first pass. The secret here is consistency over force. Let the abrasive surface do the work for you—there's no need to press down hard.
Hold the blade firmly against the sharpener at the correct angle. In one fluid, controlled motion, draw the blade across the stone from the base (near the pivot) all the way to the very tip. Think of it as if you're trying to shave a paper-thin slice off the stone itself.
After sharpening both blades, wipe them down one last time to get rid of any tiny metal filings. If you took your scissors apart, now you can reassemble them. Tighten the pivot screw until the blades move smoothly against each other—they shouldn't be loose, but they also shouldn't be stiff.
And now, the moment of truth. Put that piece of paper away! The real test for fabric scissors is a tricky fabric. Grab a scrap of something lightweight and slippery, like silk, chiffon, or lining fabric. A truly sharp pair of scissors will glide through it effortlessly, making a clean cut from pivot to tip without snagging, chewing, or folding the material.
If the cut is crisp and clean, congratulations, you're done! If it still snags a bit, you might just need a few more passes on the sharpener. For more in-depth maintenance advice, be sure to check out the other articles on the Famoré tips and tricks blog.
So you've gone through the sharpening process, but something's still not quite right. Don't worry, it happens to everyone. Learning to sharpen your own tools involves a bit of trial and error, and most of the common hiccups are surprisingly easy to fix.
Let's walk through a few of the frustrating issues that can pop up and figure out how to get your scissors back to cutting perfectly.
You've finished sharpening, and when you open and close the scissors, you feel a distinct grinding or stiffness. It’s a common issue, and the culprit is almost always the same: tiny metal filings.
Sharpening grinds off microscopic bits of steel, and that dust can easily get trapped in the pivot area. A quick, thorough cleaning is all you need.
Once reassembled, work the blades a few times to spread the oil, then wipe off any excess. That gritty feeling should be completely gone, replaced by a smooth, gliding motion.
This one is maddening. The blades feel sharp, but when you go to snip the end of a thread or a delicate fabric, the tips just push the material between them instead of cutting. This isn't about sharpness; it's about tension.
The pivot screw does more than just hold the scissors together—it fine-tunes the pressure between the blades.
Key Takeaway: For a clean cut all the way to the point, the blades must stay in firm contact. If the screw is too loose, the tips will separate just enough to fold the fabric instead of shearing it.
Find a screwdriver that fits the screw perfectly and give it a very slight turn clockwise—start with just a quarter-turn. Test it on a scrap of fabric. You might need to make a few more tiny adjustments until you get that crisp, clean snip right at the very tip. The goal is a firm, controlled feel, not a stiff one.
For more deep dives into tool care, the Famoré news section is packed with great professional advice.
Finding a little chip or nick along the cutting edge can feel like a major setback, but it’s often salvageable. If the nick is minor, you can usually work it out yourself.
Focus your sharpening strokes on the damaged area with steady, even pressure. It might take an extra 20-30 passes to carefully grind the metal down below the bottom of the nick. Patience is key here.
However, if the nick is deep or you can easily catch your fingernail on it, at-home sharpening might remove too much metal and alter the blade's geometry. For significant damage like that, it's always best to trust a professional sharpening service to restore the edge correctly.
Bringing a dull pair of scissors back to life is a great skill to have, but the real secret to always getting that perfect, clean cut is good old-fashioned maintenance. If you're proactive about caring for your tools, you'll spend a lot less time sharpening and a lot more time actually sewing. Think of it as playing defense to protect your investment.
It's the small, consistent habits that make the biggest difference. After you wrap up a sewing project, tiny bits of lint and fabric fibers are left clinging to the blades. These can trap moisture and eventually cause rust. A quick wipe with a soft, dry cloth is a simple but powerful habit that will dramatically extend the life of the steel.
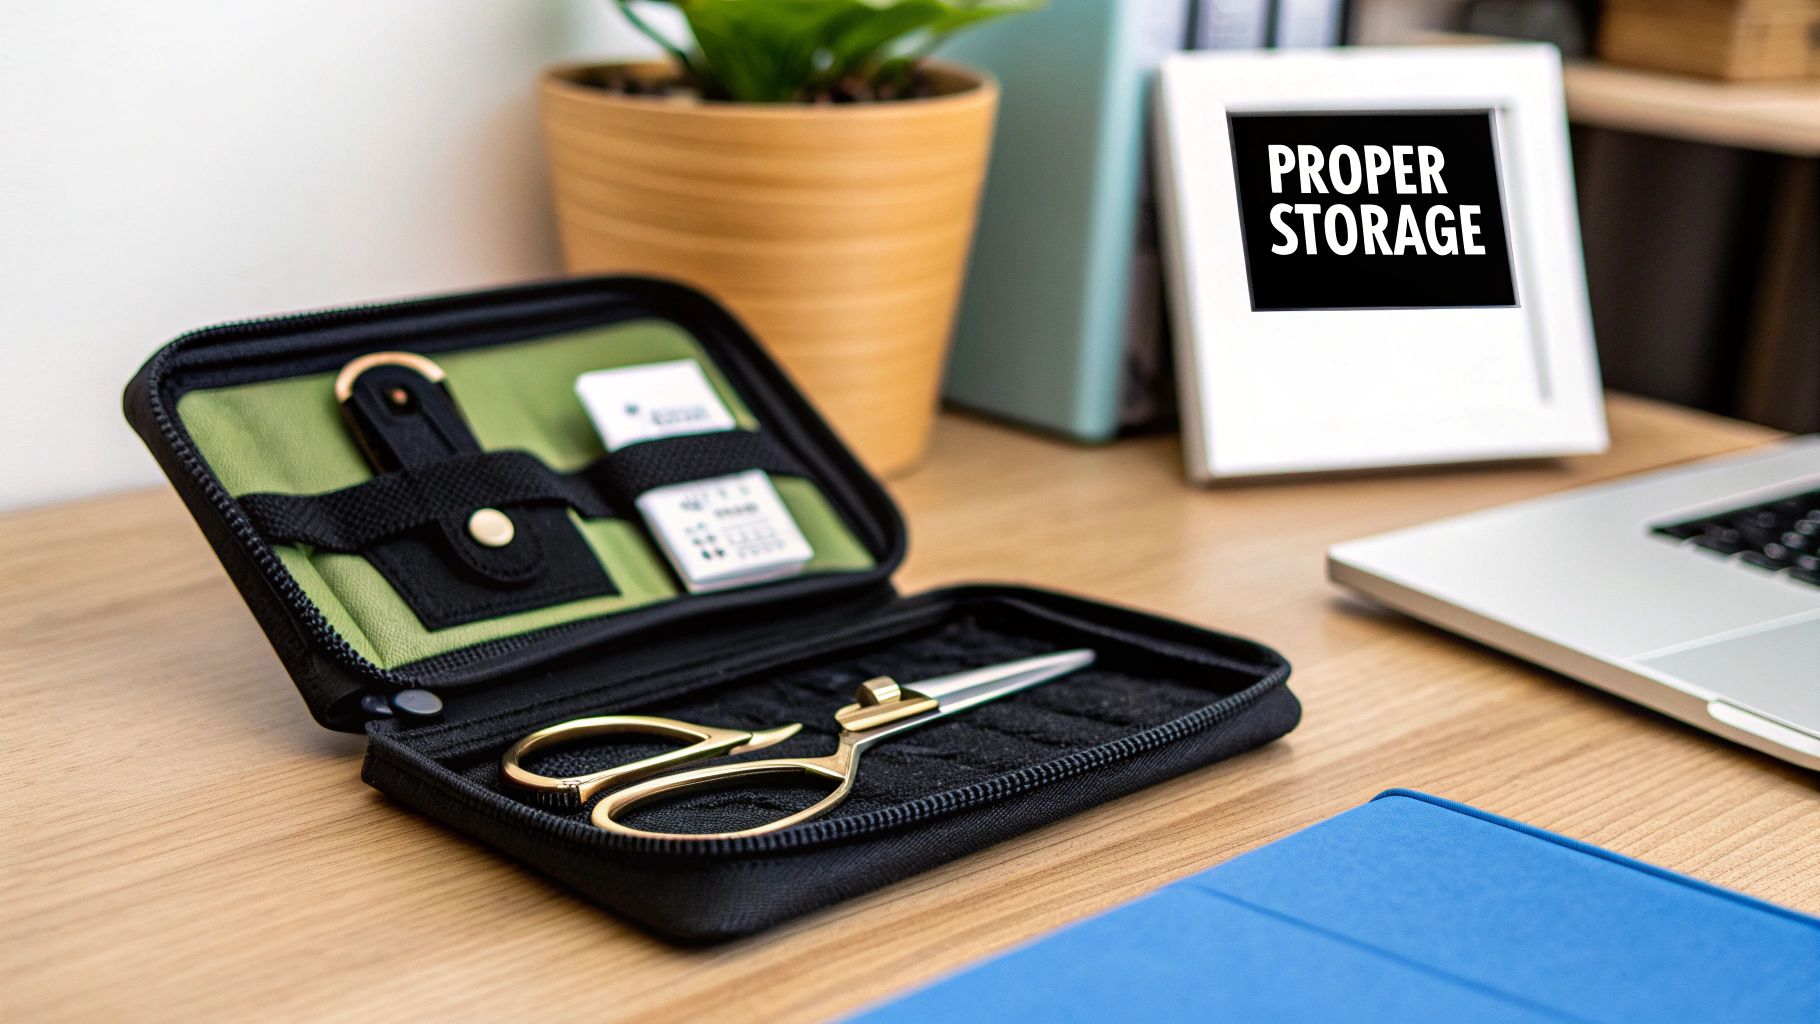
Proper storage is just as critical. Tossing your good scissors into a drawer full of other metal objects is asking for trouble—it’s the fastest way to get nicks and dings on that finely honed edge. A dedicated sheath, a magnetic wall strip, or even a special spot in a drawer will keep those blades safe and sound.
Every sewist learns this rule, usually after a painful mistake: never, ever use your fabric scissors on paper. It seems harmless, right? But paper is incredibly abrasive. Most paper contains mineral fillers like kaolin clay or calcium carbonate, which basically act like a fine-grit sandpaper on your blades.
Seriously, a single cut through a piece of cardstock can dull a perfectly sharp edge more than yards and yards of fabric. This is exactly why you should always have a separate pair of all-purpose craft scissors handy. Protect your good shears!
A sharp pair of scissors isn't just a luxury; it's a necessity for good work. Keeping your tools in top shape means your projects go smoother with fewer frustrations. That’s why the pros are so serious about maintenance.
So, how often do you actually need to sharpen them? Honestly, it all comes down to how much you use them. If you’re a hobbyist who pulls out the sewing machine a few times a month, you might only need to sharpen your scissors once a year.
A professional tailor or a dedicated quilter, on the other hand, is a different story. For those who use their scissors daily, sharpening might be needed as often as 3-4 times annually. The fabric you're cutting matters, too. Heavy materials like denim, canvas, or leather will wear down a blade much faster than delicate cotton or silk will. You can see more on professional usage in this tailor's scissors market analysis.
The best way to stay on top of it is to build it right into your existing routine. When you clean your sewing machine, take a moment to check your scissors, too. And if you're working on building good sewing habits from the ground up, checking out some free sewing lessons can be a fantastic resource for learning proper tool care alongside other essential skills.
Even after you get the hang of sharpening your scissors, some questions always seem to come up. Let’s tackle some of the most common ones I hear so you can feel totally confident taking care of your tools.
Please, don't do it. It's a tempting shortcut, I know, but it’s one of the fastest ways to ruin a good pair of shears.
Most kitchen knife sharpeners are designed for a very aggressive cutting angle, usually around 15-20 degrees, which is perfect for slicing through a tomato but terrible for fabric. Your fabric scissors need a much more robust edge, typically between 25-30 degrees, to slice cleanly through cloth.
Using a knife sharpener grinds away too much steel at the completely wrong angle. This messes up the blade's geometry, and once that's gone, you can't get it back.
My two cents: Stick with tools made specifically for scissors. The angles are just too different, and the risk of permanently damaging your favorite shears isn't worth it.
The signs can be subtle at first, but your hands will often tell you before your eyes do. You might find yourself squeezing harder to make a cut, or you'll see the fabric start to snag and fray instead of cutting cleanly.
Here’s the definitive test: grab a single layer of something tricky and slippery, like silk or chiffon. If your scissors can’t make one long, smooth cut all the way to the tips without chewing or folding the fabric, they’re definitely due for a sharpening.
This is a fantastic question and a point of confusion for a lot of people. Think of it this way:
Sharpening is about creating a brand-new edge. You're actually removing a very small, precise amount of steel from the blade to restore its cutting ability. This is what you do when your scissors are genuinely dull.
Honing, on the other hand, just realigns an existing edge. It straightens out any microscopic dings or rolls that happen with use, but it doesn't remove metal. While honing is common for kitchen knives, it's not really a thing for fabric scissors. They rely on a stable, precise bevel, which means true sharpening is the maintenance you'll almost always need.
Here at Famoré Cutlery, we believe your tools should always feel brand new. If you want a factory-perfect edge without the hassle, check out our professional sharpening services at Famcut.com.
At High Country Quilts we care deeply about community. With our experiences in retail, we know that a store is not only a place to shop but also a place for the community to gather and share. During this busy...

Hi! We’re Adam and Renee Wheaton, the new owners of High Country Quilts! For more than 40 years, we’ve owned and operated vacuum and sewing businesses. Following in Renee’s father’s footsteps after he retired from All Discount Vacuum and Sewing in Colorado...


Leave a comment