


We Love Our Quilting Community
At High Country Quilts we care deeply about community. With our experiences in retail, we know that a store is not only a place to shop but also a place for the community to gather and share. During this busy...


Before you can even think about making your first stitch, you need to gather your tools. Don't worry, you don't have to buy out the entire craft store. A few key, high-quality items will make all the difference, making your sewing experience smoother and way more enjoyable right from the start.
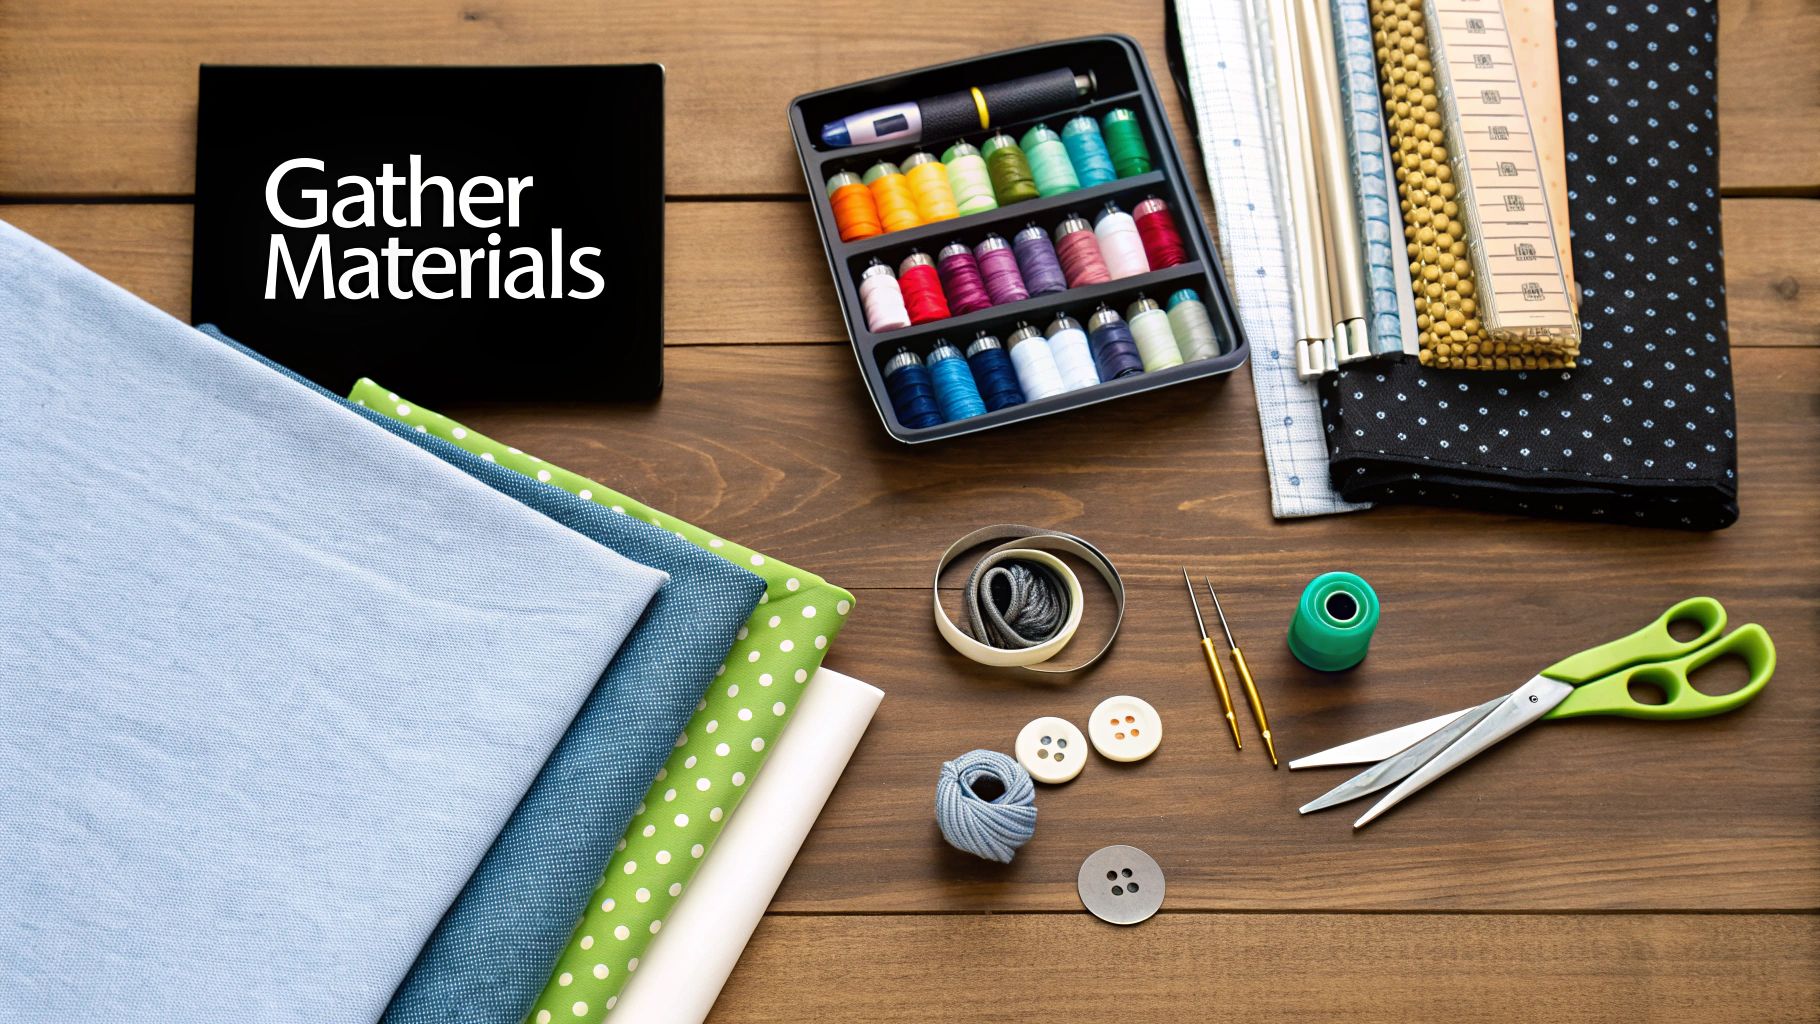
Putting together your sewing kit is the first real step. It's easy to get overwhelmed by all the gadgets out there, but your success really just depends on a handful of must-have tools. Think of these as your trusty sidekicks for any project you tackle.
Let's start with the basics. First up, you’ll need a good set of hand-sewing needles. They come in all sorts of sizes and types—some are sharp and thin for fine fabrics like silk, while others are thicker and tougher for denim. Grabbing a variety pack is the best way to go when you're starting out.
Next, thread. The right thread is the difference between a strong seam and one that pops after the first wear. For most projects, an all-purpose polyester thread is your best bet. If you get into decorative stitching or quilting, you might want something a bit thicker, like Perle cotton. It's amazing how big the market for quality thread has become; it's projected to hit $3.6 billion by 2025 as more people get into crafting. You can explore emerging trends in hand sewing thread to see just how important it is.
My personal pro-tip: Get a good pair of fabric scissors and guard them with your life. Use them only for fabric. Cutting paper or anything else will dull the blades in a heartbeat, leading to snagged fabric and raggedy cuts.
A few other tools are absolute game-changers for getting clean, precise results.
To make it even simpler, here’s a quick-reference table of the absolute must-haves for your kit.
| Tool | What to Look For | Why You Need It |
|---|---|---|
| Needles | A variety pack with different sizes (sharps, betweens). | Different fabrics and tasks require different needle sizes. A variety pack covers your bases. |
| Thread | All-purpose polyester thread in neutral colors (black, white, grey). | This versatile thread works for most fabrics and repairs, preventing weak seams. |
| Fabric Scissors | A dedicated pair with sharp, long blades (8-inch is a good start). | Ensures clean, precise cuts through fabric without fraying or snagging the material. |
| Pins/Clips | Glass-head pins or sewing clips. | Holds fabric layers securely in place, preventing shifting for accurate stitching. |
| Thimble | Metal, leather, or silicone that fits snugly on your middle finger. | Protects your finger from the needle's eye, making it easier to push through fabric. |
Having these core items on hand means you’ll be ready to tackle almost any basic sewing project that comes your way.
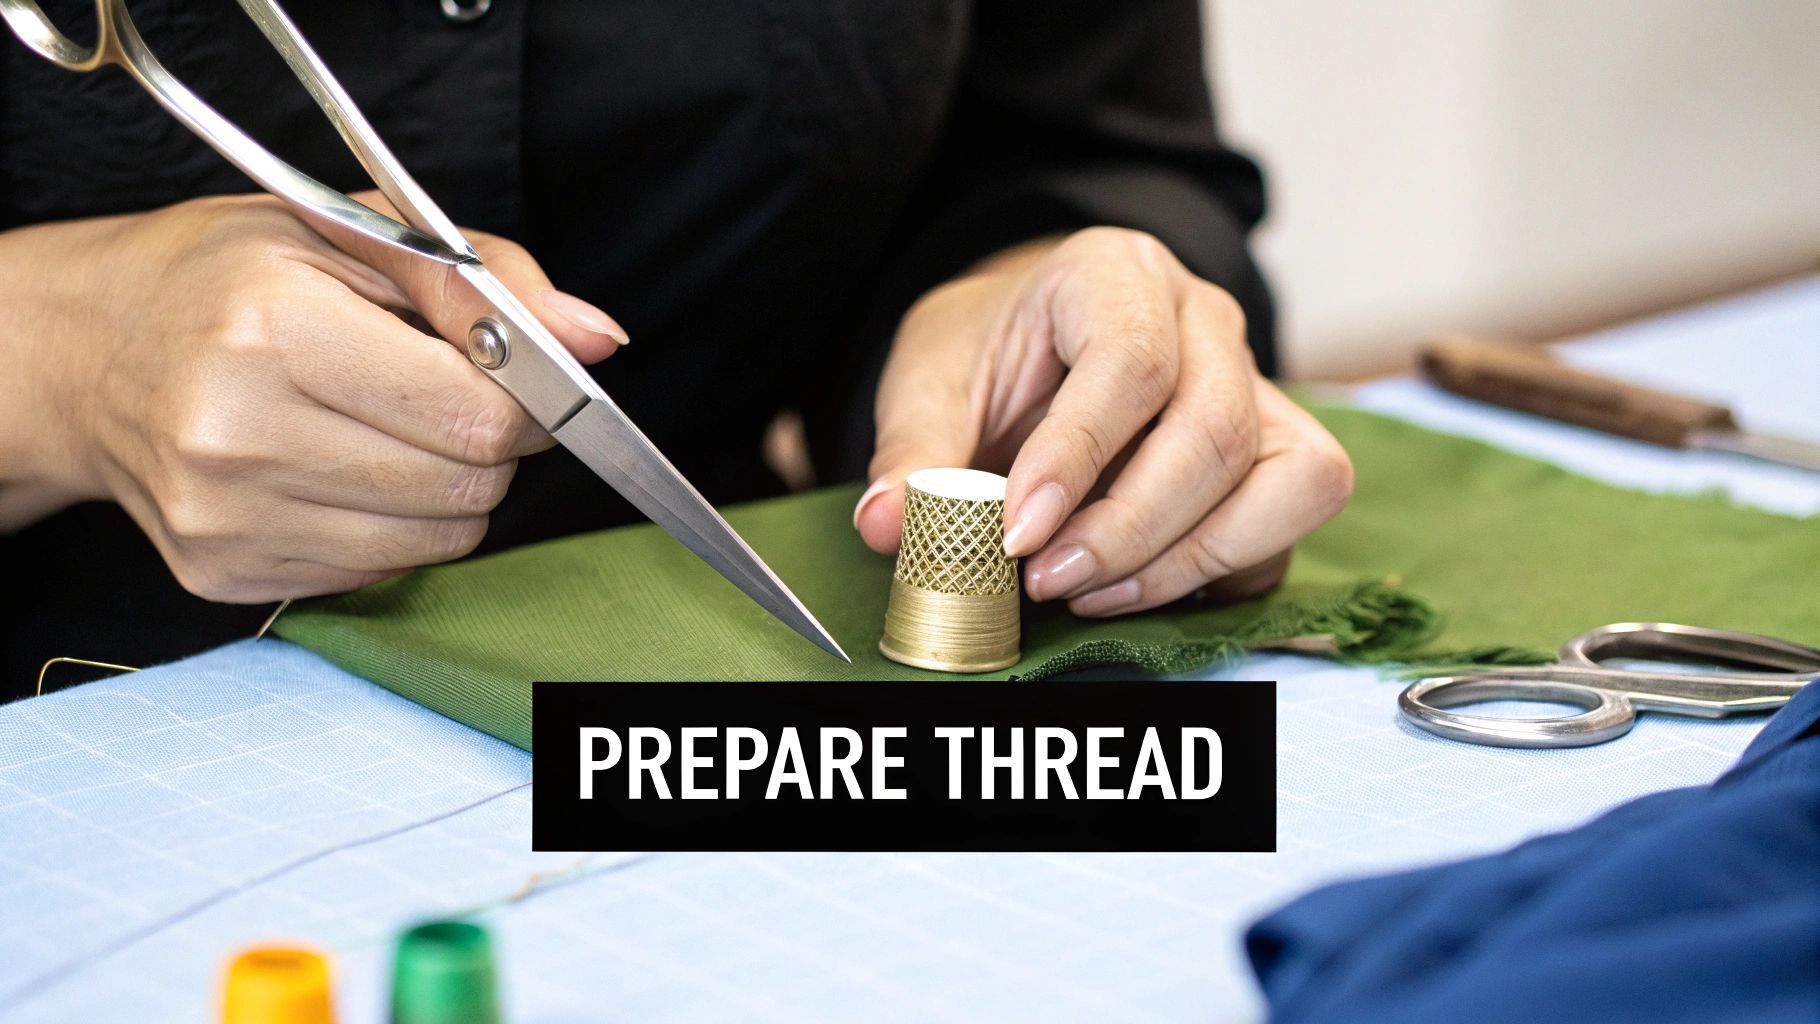
The secret to a smooth, frustration-free sewing experience almost always comes down to the simple prep work you do before making that first stitch. Trust me, taking a few moments to set up your materials correctly will save you from a world of tangled thread and puckered seams down the line.
First, let's talk about thread length. It’s so tempting to cut a super long piece to avoid re-threading your needle, but this is a classic beginner mistake that leads to instant tangles. A thread that's too long will almost certainly twist into a mess of knots as you work.
My rule of thumb? Measure a length from your fingertips to your elbow. This usually lands somewhere between 18 to 24 inches, which is the sweet spot for control and manageability.
With your needle threaded, you need a solid knot at the end—one that won't just slip right through the fabric. A simple double knot can work in a pinch, but a "quilter's knot" is a much better, more secure option.
To make one, just hold the needle in one hand and the thread tail in the other. Lay the tail across the needle, wrap it around the needle tip three times, pinch those little wraps with your fingers, and pull the needle all the way through. You’ll be left with a small, dense knot that really stays put.
A well-made starting knot is your best defense against loose stitches. Your goal is a knot that's just big enough to anchor itself in the fabric's weave without being bulky or visible from the right side.
Before you even think about knots and needles, your fabric needs some attention. Always, always pre-wash and iron your material, especially if you're working with natural fibers like cotton or linen. These fabrics can shrink a surprising amount after that first wash. If you sew your project first, you'll end up with puckered, distorted seams later. It's a real heartbreaker.
Skipping this step might feel like a time-saver, but it can completely ruin all your hard work. A clean, pressed piece of fabric is the only foundation you want when you’re learning how to sew by hand and aiming for those professional-looking results.
With your tools laid out and your fabric ready to go, it’s time to get into the heart of hand sewing: the stitches themselves. While there are countless fancy, decorative stitches out there, you really only need to get a handle on a few key ones to tackle over 90% of any mending or creative project that comes your way.
Think of these five stitches as your core toolkit. Just like you wouldn't use a tiny screwdriver on a massive bolt, you wouldn't use a delicate hem stitch on a heavy-duty backpack seam. Knowing which stitch to use—and why—is what separates a quick fix from a durable, professional-looking repair.
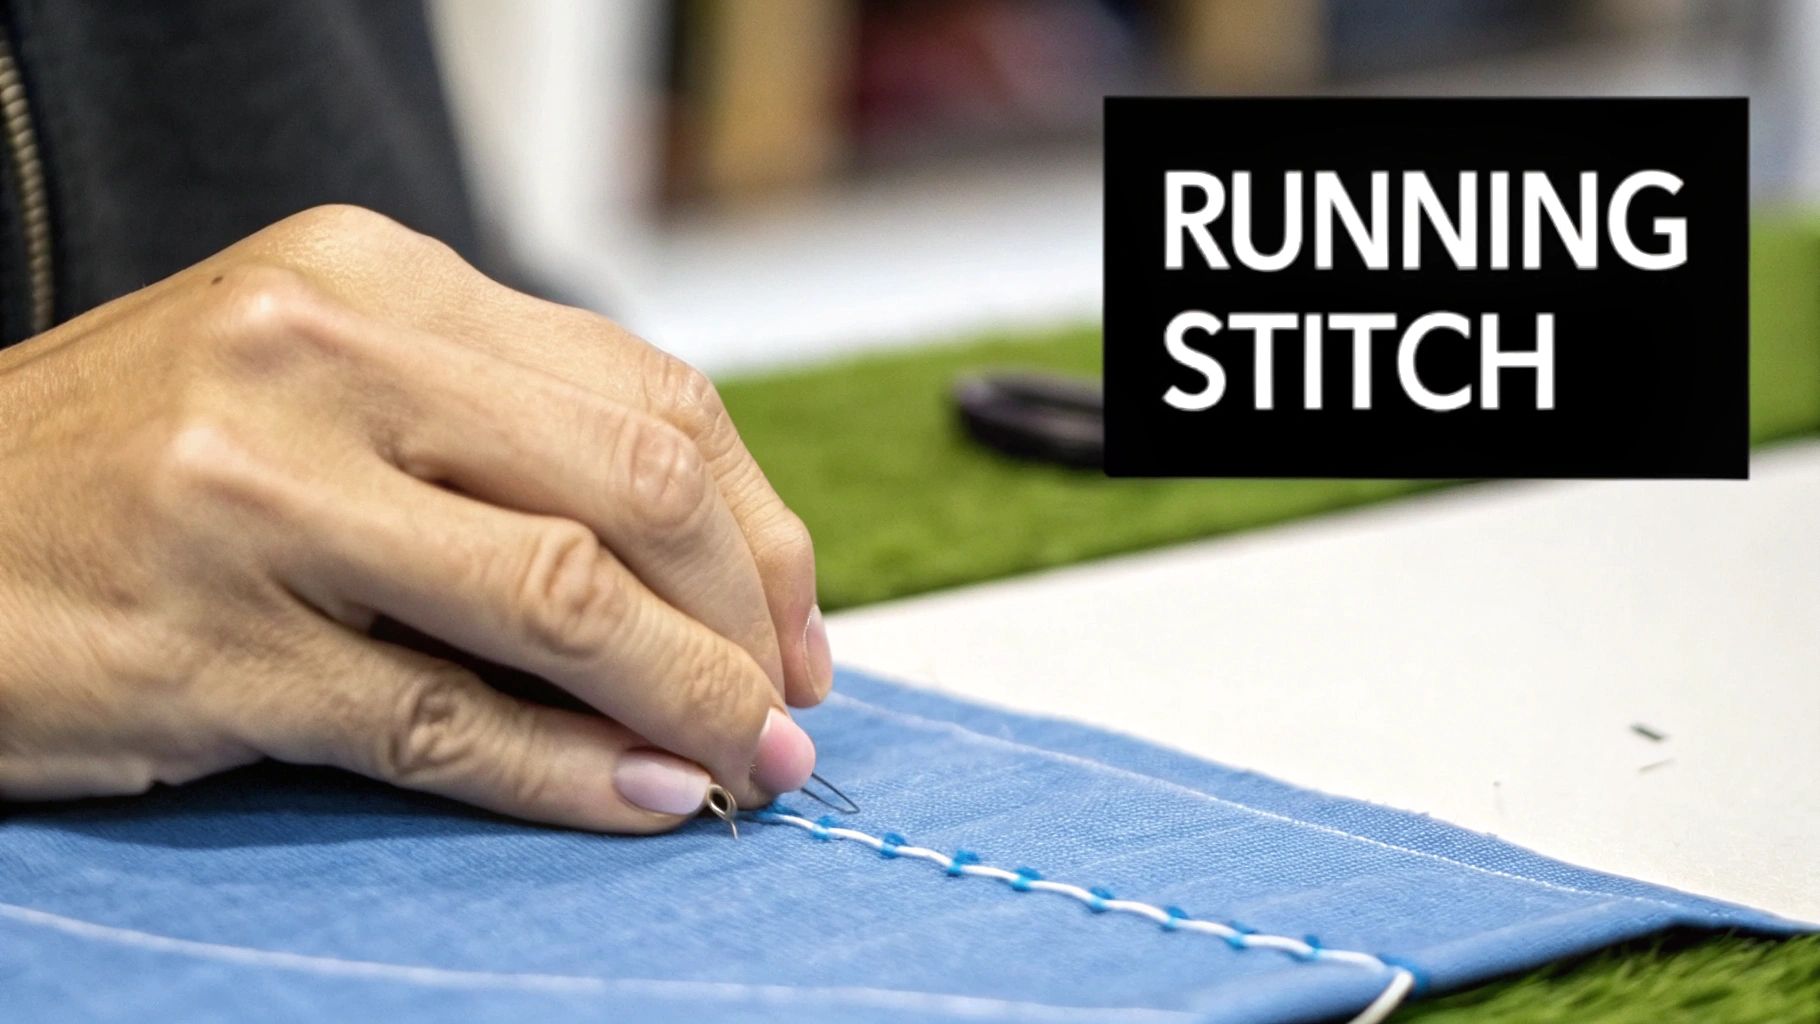
The first one most people learn is the running stitch. It’s the simplest and quickest stitch in the book. You just weave the needle in and out of the fabric in a straight line. It's fantastic for basting (creating temporary seams you'll remove later) or for gathering fabric to create ruffles.
For a seam that needs to last, you’ll want the backstitch. This is the powerhouse of hand sewing. It creates a strong, continuous line that looks almost identical to a machine stitch from the right side. Each stitch doubles back on itself slightly, locking it in place. This is your go-to for repairing a ripped seam on a pair of jeans or securely attaching a patch. It’s built to take a beating.
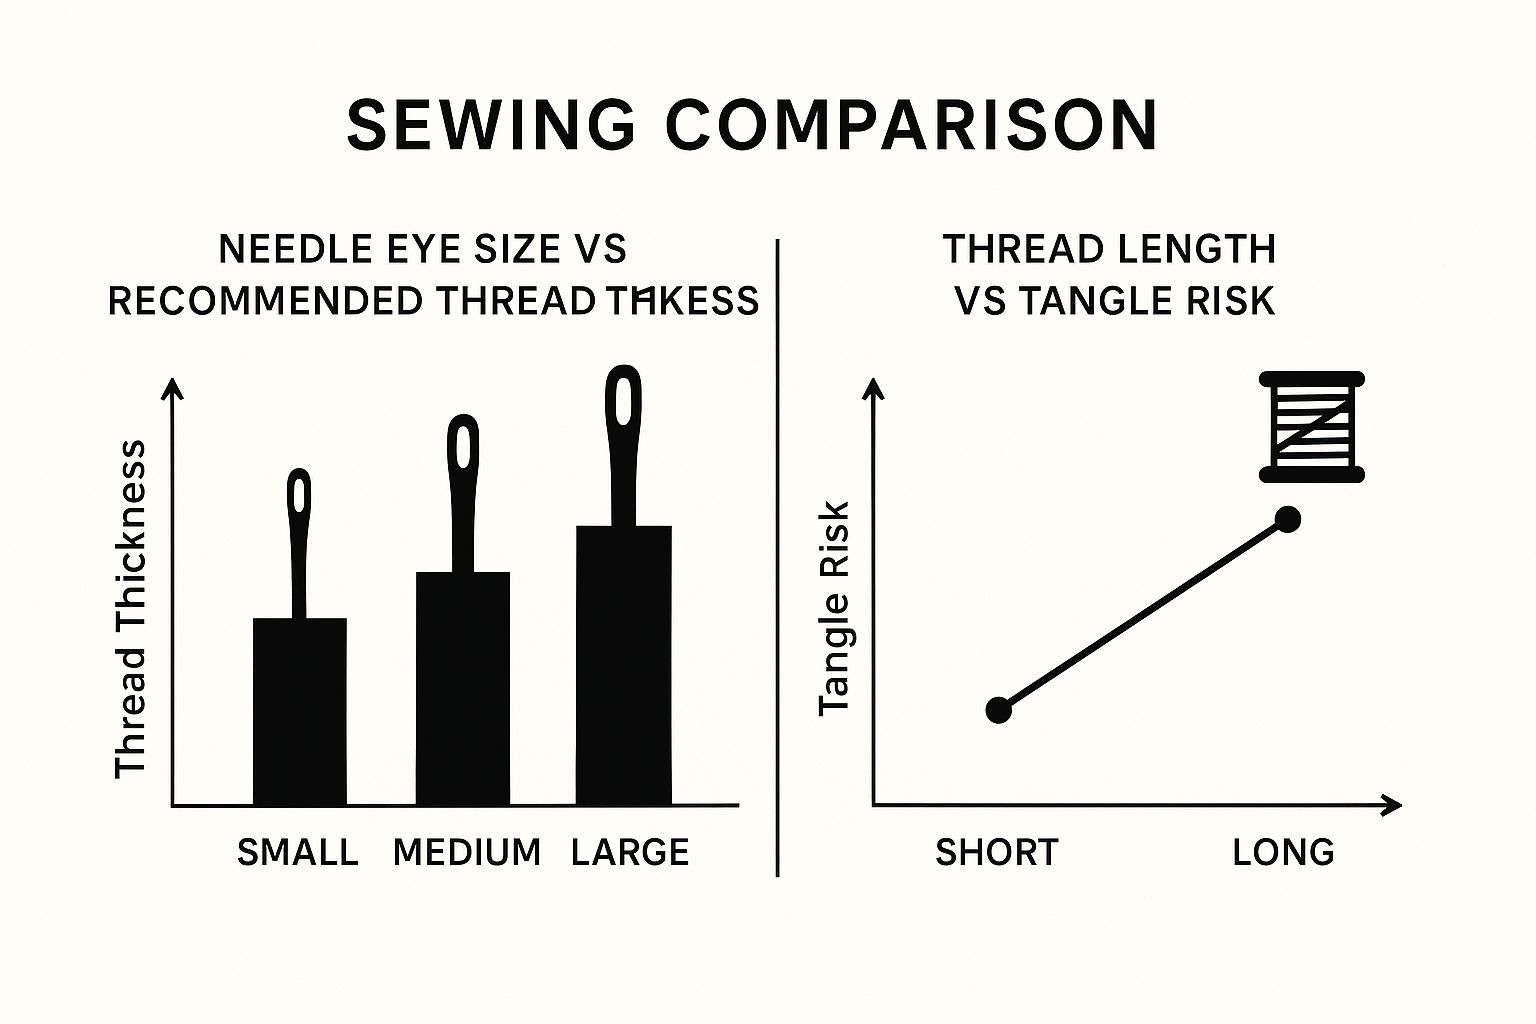
The image above really nails some fundamental points. Notice how it suggests cutting a thread length no longer than your forearm? That single tip will save you from a world of frustrating knots and tangles. A thread that's too long is guaranteed to twist on itself.
To make things even clearer, let's break down when to use each of these essential stitches. Think of this table as your quick-reference guide for any project.
| Stitch Name | Best For | Strength Level | Appearance |
|---|---|---|---|
| Running Stitch | Basting, gathering fabric, simple temporary seams. | Low | Dotted line on both sides. |
| Backstitch | Strong, durable seams for repairs and construction. | High | Solid line on the front, overlapping on the back. |
| Slip Stitch | Invisible hems, closing stuffed items, repairs. | Medium | Nearly invisible from the right side. |
| Whipstitch | Joining two finished edges together neatly. | Medium | Small, diagonal stitches over the edge. |
| Blanket Stitch | Finishing raw edges to prevent fraying, appliqué. | Medium | Decorative and functional "U" shapes along the edge. |
Having this in your back pocket helps you approach every sewing task with confidence, knowing you're making the strongest, cleanest choice.
Sometimes, the goal is for your work to disappear completely. For that, you need the slip stitch, which is also known as the ladder stitch. This clever technique allows you to create a seam that’s practically invisible from the outside. The thread travels hidden inside the folds of the fabric, making it perfect for hemming a nice pair of trousers or closing up the final opening on a plush toy.
A clean, invisible hem can make a garment look professionally tailored. The slip stitch is your secret weapon for achieving that high-end finish without a sewing machine.
Finally, let’s talk about finishing raw edges. Two stitches are brilliant for this.
Alright, enough with the theory. The best way to learn is by doing, so let's put those new skills to work on a simple and satisfying first project: a lavender sachet. This is the perfect starting point because it lets you practice the exact stitches you just learned in a real-world, practical way.
I love this project for beginners because it's designed to build confidence. It’s small, it’s quick, and when you’re done, you have something you can actually use. You’ll get to see firsthand how a running stitch creates a solid seam and how a whipstitch can close up an opening neatly.
Simple, handmade items are more popular than ever. The market for needlecraft patterns is actually projected to hit over $34 billion by 2025, which is pretty amazing. People just love unique, handcrafted goods. So by making this little sachet, you're tapping into a huge creative movement. Learn more about the growth of needlecrafts.
Let's walk through it together. A small project like this is the perfect way to practice how to sew by hand without getting overwhelmed.
Quick tip: Don't stress about making every stitch perfect on your first go. The real goal here is to get a feel for the rhythm of sewing and practice keeping your seam relatively straight. This is about learning, not creating a flawless museum piece.
Once you’ve sewn three sides, it’s time for the big reveal. Turn your little pouch right-side out. You can gently poke the corners with a pencil or a knitting needle to make them sharp and defined.
Next, fill it about three-quarters full with dried lavender. Finally, tuck the raw edges of the open side inward and use a neat whipstitch or slip stitch to close it up.
And just like that, you've created something lovely and useful entirely by hand. Well done
Even after years of sewing, I still run into the occasional snag. It's just part of the process! Instead of getting frustrated, try to think of these little hiccups as puzzles. Once you figure out what's causing the problem, you're not just fixing a mistake—you're learning to be a better sewist.
Let's talk about the number one offender: tangled thread. We've all been there. Nine times out of ten, it’s because the thread is just too long. It's tempting to cut a massive piece so you don't have to re-thread, but anything over 24 inches is just asking for knots.
If you find your thread is still twisting up, try running it through a bit of beeswax or thread conditioner. It makes a world of difference, helping the thread glide smoothly through the fabric instead of catching.
Another common headache is when the fabric starts to pucker and bunch up. This is a classic sign that you’re pulling your stitches too tight. Remember, the thread should lay flat against the fabric, holding it together securely but not strangling it.
A Quick Tip: The goal is relaxed, even tension. If you see the fabric wrinkling, you're pulling too hard. If you see little loops on the top or bottom, your stitches are too loose. You're looking for that sweet spot right in the middle.
And what about stitches that wander all over the place? Don't stress about making every single one perfect, especially when you're starting out. Building a consistent rhythm is more important than achieving machine-like precision.
Hand sewing isn't just a quaint hobby; it's a skill that has kept clothes wearable for thousands of years. As more people embrace sustainability, knowing how to do a simple repair can make a huge difference in how long our favorite garments last. You can read more about the enduring role of sewing on mordorintelligence.com to see how these traditional skills fit into the modern world.
https://www.youtube.com/embed/YYa86gQbN6c
Even after you get the hang of the basics, questions are bound to pop up. That’s perfectly normal! Getting good at hand sewing is all about practice and picking up little tricks along the way. Let's dig into some of the most common things that trip people up.
This is the big one, isn't it? Everyone wants those neat, uniform stitches that just look so professional. While perfect stitches aren't the goal, consistency is what really makes your work shine. The secret isn't some kind of superhuman steadiness—it's just a couple of smart habits.
A great trick is to use the thumb on your non-sewing hand as a guide. Just rest it on the fabric right next to where your last stitch ended to help you measure out the next one. For a really long, straight seam, don't be afraid to grab a removable fabric marker and draw a faint line to follow. With a little practice, your hands will build up muscle memory, and you'll be making even stitches without even thinking about it.
Choosing the right thread can make or break your project. It affects not just how it looks, but how well it holds up over time. For most everyday mending and sewing, you can't go wrong with an all-purpose polyester thread. It’s strong, reliable, and has just a little bit of give, which is perfect for seams that need to stretch a bit.
But when your stitches are meant to be seen, like in embroidery or hand quilting, you'll want something with a bit more personality.
The golden rule is to match your thread to your fabric. Using a heavy-duty thread on a delicate silk will just cause it to pucker and tear, while a fine thread will snap if you try to use it on denim.
In a word: yes! I know it feels clumsy and weird at first, but trust me, a thimble is your best friend. Pushing a needle through fabric over and over again—especially tough stuff like denim or multiple layers—is surprisingly hard on your finger.
A thimble does more than just save you from getting sore or pricked. It gives you the power to push the needle through with firm, consistent pressure. This actually helps you sew faster and get into a better rhythm. Find one that fits snugly on your middle finger (they come in metal, leather, and even silicone) and commit to using it. You’ll quickly wonder how you ever sewed without it.
Ready to dive deeper into your creative journey? Famcut.com offers a wide range of high-quality sewing supplies, patterns, and cosplay materials to bring your ideas to life. Explore our collection at https://famcut.com.
At High Country Quilts we care deeply about community. With our experiences in retail, we know that a store is not only a place to shop but also a place for the community to gather and share. During this busy...

Hi! We’re Adam and Renee Wheaton, the new owners of High Country Quilts! For more than 40 years, we’ve owned and operated vacuum and sewing businesses. Following in Renee’s father’s footsteps after he retired from All Discount Vacuum and Sewing in Colorado...


Leave a comment