


We Love Our Quilting Community
At High Country Quilts we care deeply about community. With our experiences in retail, we know that a store is not only a place to shop but also a place for the community to gather and share. During this busy...


You've finished piecing a block, pressed it carefully, and then noticed a faint blue line still sitting beside the seam. Or perhaps the line disappeared while you worked, only to return after the quilt spent time in a cold cupboard. These are common marking problems, and they're why choosing a fabric marking pencil requires more thought than picking the most visible color.
A good mark should guide your hands without becoming part of the finished project. It must suit the fabric, tolerate the handling your project will receive, and come out through a method that won't damage the fibers. The most useful question isn't, “Will this line disappear?” It's, “Will it stay gone after pressing, cleaning, and storage?”
A temporary mark gives you control. It can show a seam allowance, identify an appliqué position, continue a quilting line, or indicate where two points should meet. Without that guide, beginners often rely on memory or place pins so close together that the fabric shifts before the stitching reaches the machine.
The trouble usually begins when a mark is chosen for visibility alone. A dark line may be easy to follow on pale quilting cotton, but it can shadow through the fabric. A pale chalk line may be perfect on navy fabric yet vanish from a busy print before the block is complete. Worse, a line that seems gone may return after heat or cold exposure.
Practical rule: A mark isn't successful because you can see it while sewing. It's successful when it has disappeared safely after the project's full handling cycle.
Fabric marking has always served this temporary construction role. Before manufactured pencils and chalks, dressmakers used materials such as soft clay, soapstone, charcoal, and soap to indicate cuts, seams, folds, and darts. A historical account of tailor's chalk and Hancock's describes how specialized marking products developed as textile production expanded.
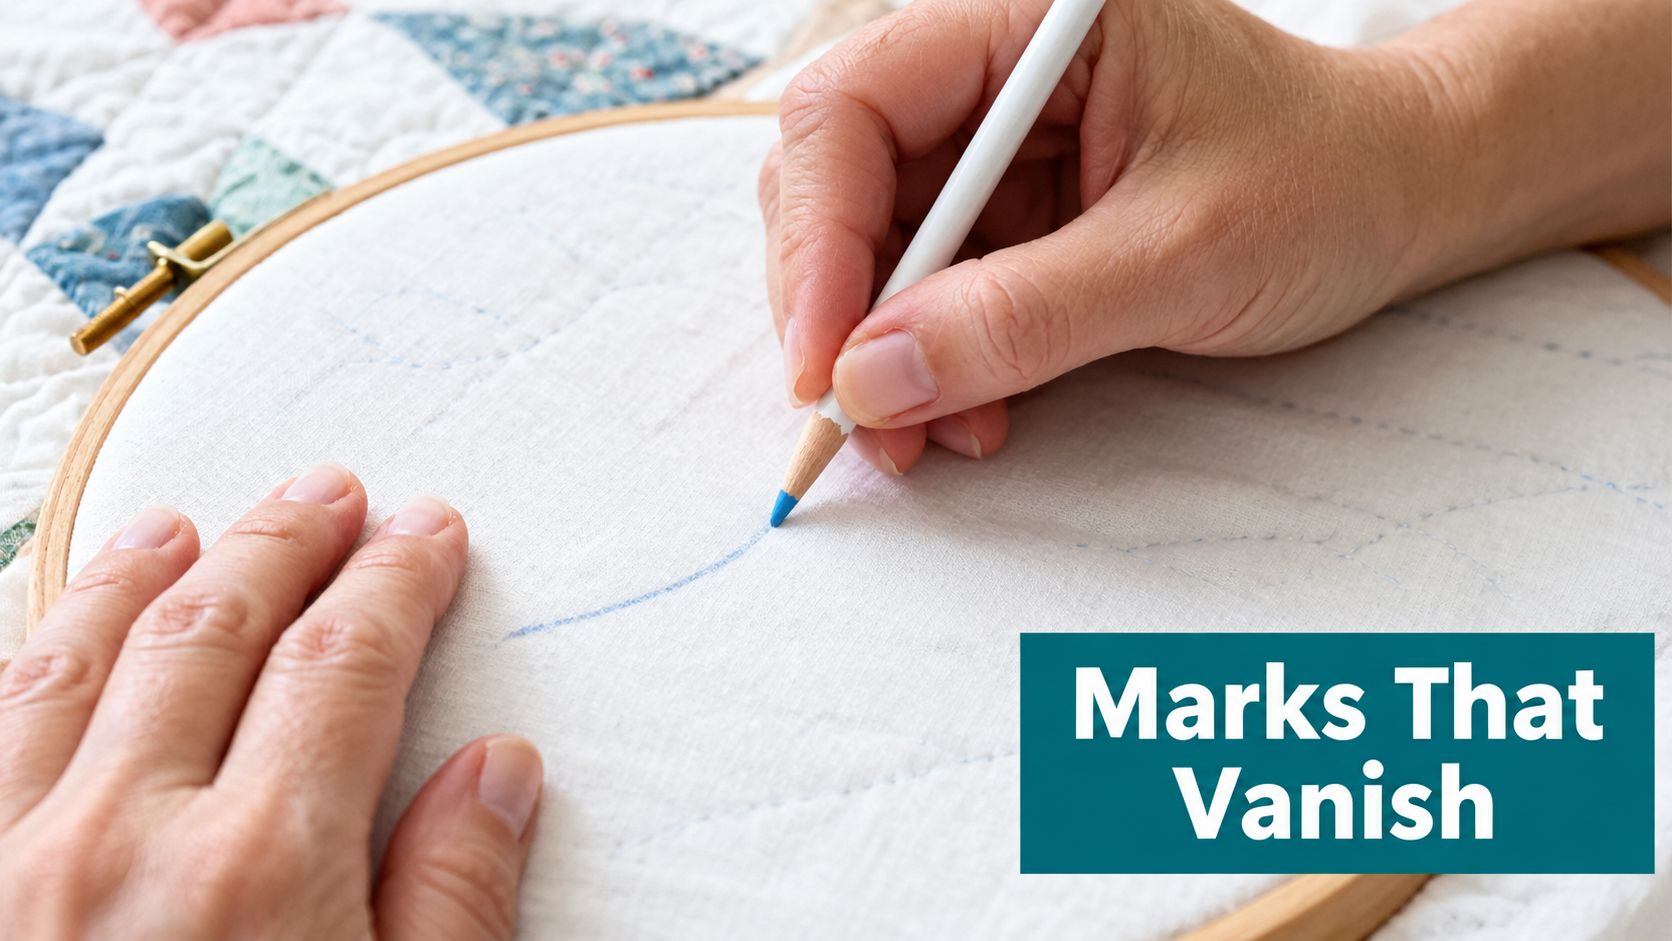
That history explains why the pencil remains so useful. It combines the temporary purpose of chalk with a controlled point for small construction details. In a beginner class, I'd place it alongside a rotary cutter, ruler, and seam ripper, not in the “nice extra” category.
The right choice depends on fabric color, surface, project purpose, and removal method. A pencil for a seam allowance on quilting cotton may not be the best tool for an heirloom quilt that will be stored for years. Once you treat marking as part of project planning, fewer lines become surprises.
The four broad choices beginners encounter are water-soluble, air-erasable, chalk, and mechanical pencils. They overlap in purpose, but their behavior differs under pressure, moisture, heat, and time.
Water-soluble pencils usually offer strong visibility and a deliberate removal process. They can suit clear placement lines when you're able to dampen and inspect the fabric, but the exact fabric still matters. Sewing guidance recommends testing every mark on a scrap because cotton, wool, linen, synthetics, dark fabrics, and napped surfaces can respond differently. This textile marking guide also warns that some water- and air-soluble inks may deteriorate fabric over time.
Air-erasable pencils are convenient for work that will be completed quickly. Their weakness is timing. A line that fades before you finish can leave you without the guide you carefully drew, while a fading mark isn't necessarily proof that the residue is harmless.
Chalk pencils traditionally sit lightly on the surface and may brush away. They're useful when you need a temporary, visible line, especially on darker fabric. The tradeoff is that chalk can be less visible on pale fabric and may be affected by handling or pressing.
Mechanical pencils offer a fine, consistent point. They're helpful for appliqué outlines, embroidery placement, and narrow seam references, but their precision can encourage excessive pressure. A fine line still needs a removal test.
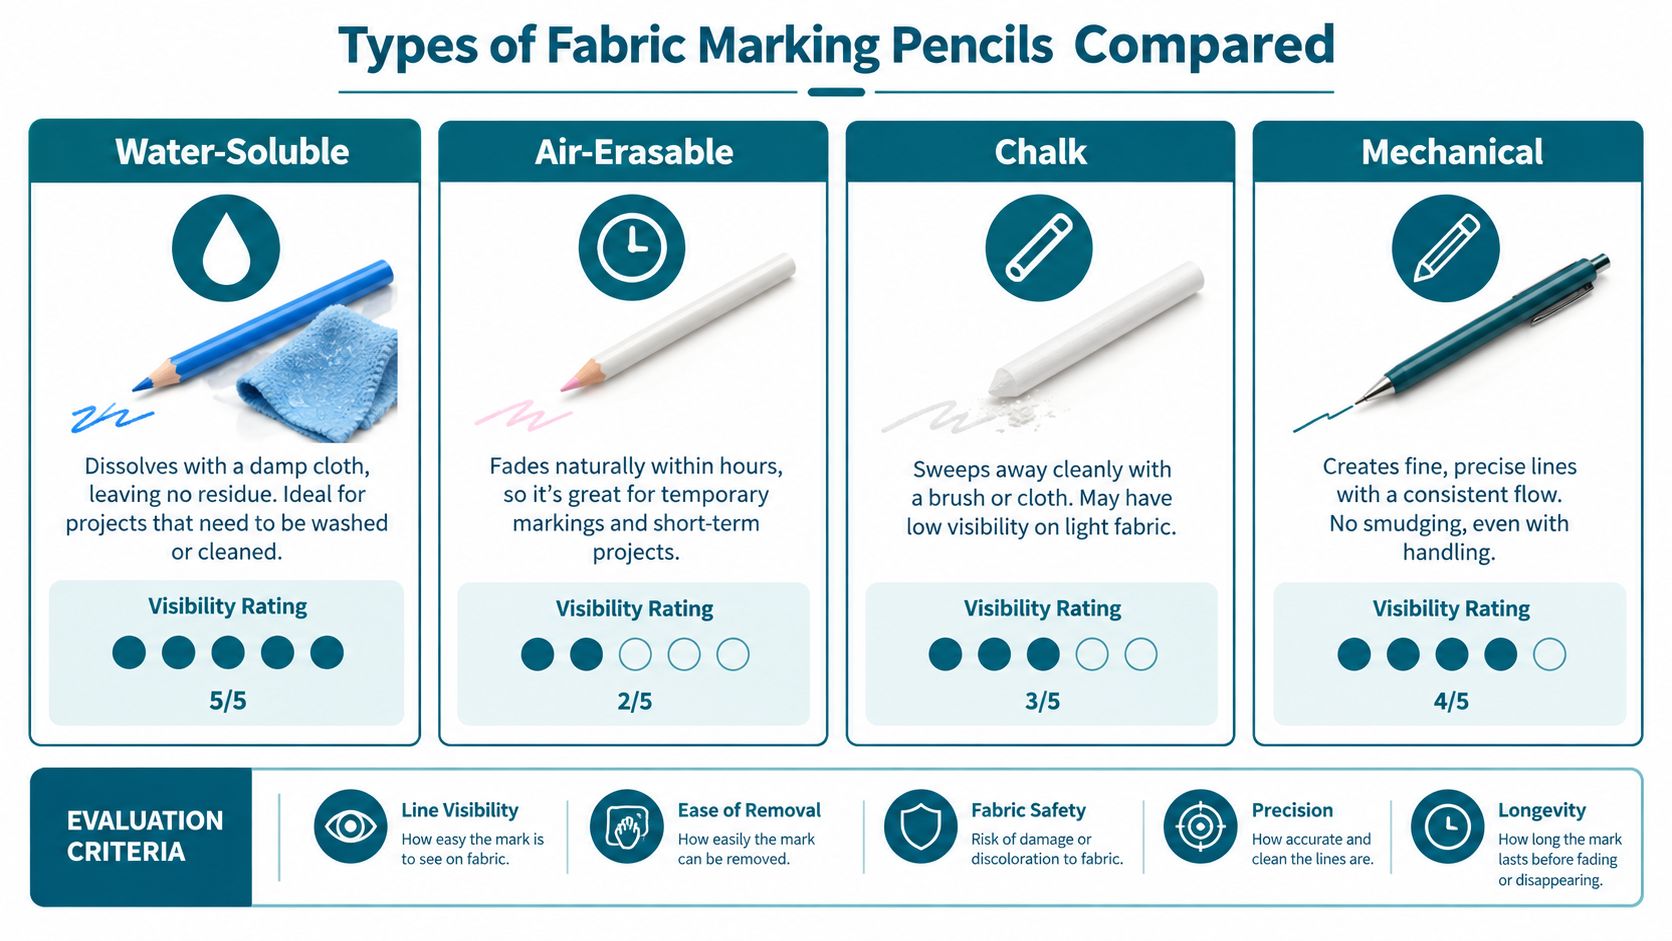
| Type | Removal Method | Best For | Precision | Reappearance Risk |
|---|---|---|---|---|
| Water-soluble | Damp cloth or laundering, only after testing | Deliberate construction marks | Fine to moderate | Depends on fabric and incomplete removal |
| Air-erasable | Air exposure or a compatible removal method | Short projects completed promptly | Fine | A fading line may not be fully removed |
| Chalk | Brushing, sometimes washing | Dark fabrics and temporary layout | Fine to moderate | Residue may remain if pressed or left too long |
| Mechanical | Depends on the lead formulation | Appliqué, embroidery, and detailed placement | Very fine | Depends on the lead and removal method |
Visibility should never be treated as a universal rating. A bright line on one fabric can be too strong on another. If you need broader color coverage for decorative textile work rather than temporary quilting marks, 24 pack fabric markers can be a useful comparison point, but permanent markers belong to a different category and shouldn't be substituted for a removable construction pencil.
Start with the scrap. Use the same fabric, same side, same pencil, and approximately the same pressure you'll use on the project. Draw the actual type of line you need, then try the recommended removal method and inspect the area before committing to the finished piece.
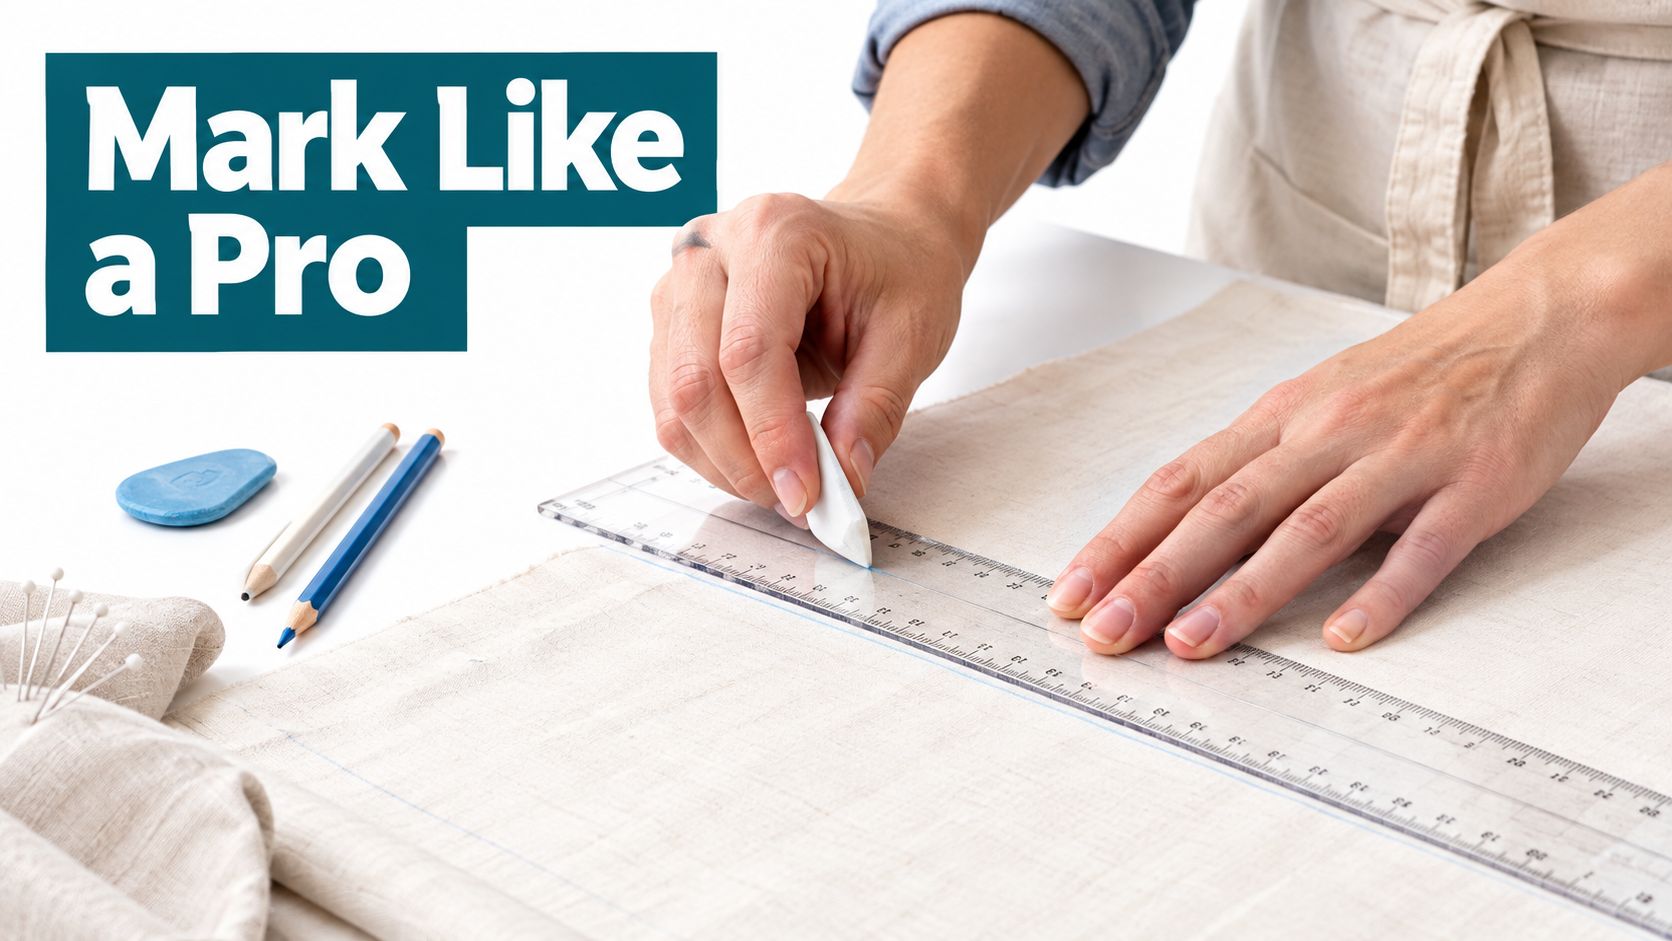
Hold the pencil so the point meets the fabric cleanly rather than digging into it. Use light pressure and short strokes. You want pigment on the surface, not a groove pressed into the weave.
For a seam allowance, place the ruler firmly and make one controlled line. For appliqué, mark only the placement information you need. Too many overlapping lines make it harder to distinguish the working guide from an old correction.
Mark the visible layer directly. Tailor's chalk, dressmaker's pencils, and soap slivers primarily mark widths because they mark one layer at a time, as explained in University of Kentucky Extension's textile guidance. If you need matching points through several layers, use tailor's tacks, a tracing wheel with carbon paper, or pinpoint basting instead of forcing a pencil through the stack.
A practical scrap test has five parts:
Sewing instructions commonly recommend rubbing a test mark between the thumbs to see whether a chalk line brushes away. That simple check matters because removability, rather than permanence, is the key functional measure for a temporary marker.
If the line leaves a shadow, dents the fabric, bleeds, or vanishes before you finish, change the tool or technique. Don't compensate by pressing harder. More pressure usually gives you a stronger problem, not a better guide.
Removal should be planned before the first line is drawn. The method depends on the marking medium, and using the wrong method can turn a temporary mark into a permanent one.
For traditional chalk, begin with gentle brushing. Rub or brush the fabric as recommended for the specific product, using a clean hand and avoiding aggressive scrubbing. If residue remains, follow the product's tested washing or damp-removal method rather than immediately reaching for heat.
For a water-soluble mark, use a clean damp cloth or the method approved for that pencil. Dab instead of spreading the pigment across a larger area. Let the fabric dry fully, then inspect it before pressing.
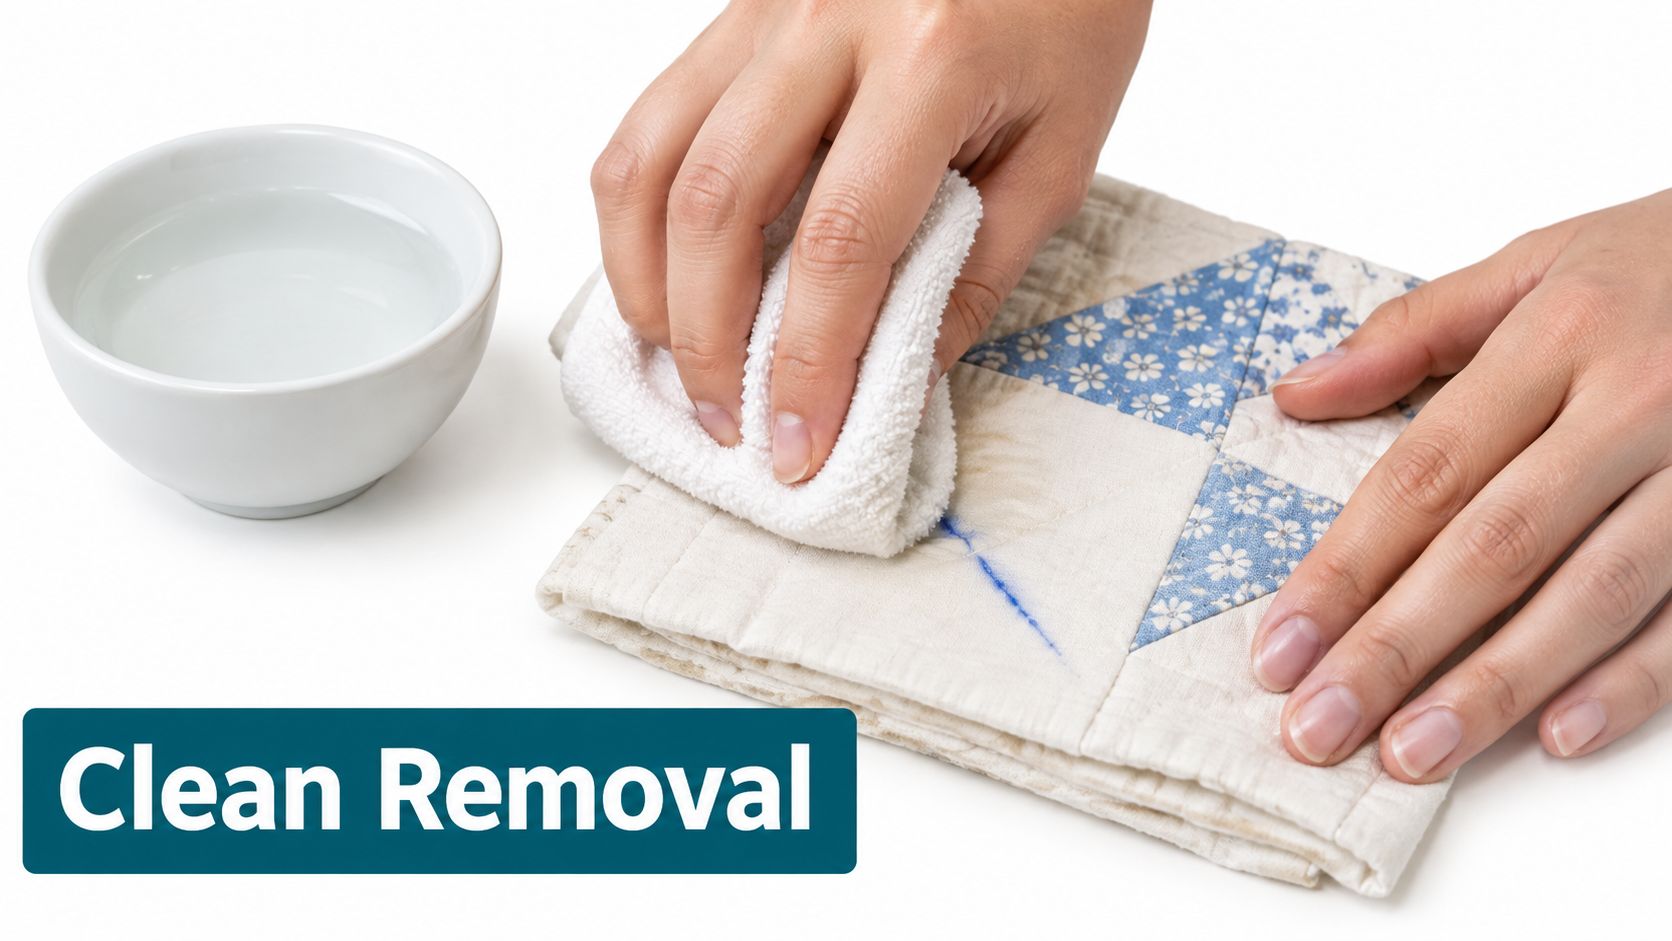
Heat-erasable marks require the most caution. Heat may remove a heat-sensitive line, but it can permanently set a mark that isn't designed for heat removal. A line that disappears under an iron also may not be chemically gone. Guidance on tailoring marker pencils highlights the lifecycle issue that many beginner guides miss, marks can return under freezing conditions, and removal methods can conflict.
Remove the mark before it gets hidden beneath quilting, binding, or layers that make later treatment difficult. After removal, view the fabric under strong light and tilt it gently. Look for pigment, a shiny track, or a pressed indentation.
For a quilt that will be washed, test the exact cleaning process on the scrap before assuming the finished piece is safe. For an heirloom project, be more conservative. Avoid relying on a mark that disappears only temporarily, particularly if the quilt may be stored in a cold environment.
Fabric care principles matter beyond quilting, too. If you're dealing with marked upholstery or household textiles, guidance on professional sofa care with Top Cleaners is a useful reminder to identify the material and cleaning method before applying moisture or heat.
A mark that vanishes during sewing has passed only the first test. It must remain gone after pressing, cleaning, and storage.
Different quilting tasks need different kinds of control. A large cutting layout benefits from clear, easy-to-follow lines, while an appliqué curve needs a narrow mark that won't overwhelm the shape.
With Jelly Rolls and other precut strips, consistency matters more than elaborate marking. Use a fine line to identify the seam allowance or a matching point, and keep the mark on the single layer you're sewing. Before marking a full group of strips, test the pencil on a leftover piece from the same collection.
For routine seam work, a mechanical pencil can provide a controlled point. Chalk may be more comfortable on darker fabric, particularly when the line needs to remain visible during handling.
Appliqué outlines often sit on the right side of the fabric, so visibility and clean removal are equally important. The University of New Hampshire Extension's sewing guidance recommends a dressmaker's chalk pencil for outlining designs, followed by brushing away visible residue around the edges.
Use short, light strokes around curves instead of trying to draw one uninterrupted line. If your project also includes embroidery, choose a fabric surface that supports the stitches and test the marker alongside it. A guide to fabrics that prevent embroidery puckering can help you think about fabric behavior before transferring a detailed design.
A fabric marking pencil is excellent for a visible point or line on the layer in front of you. It isn't the best answer for transferring a mark through a folded stack. When points must align across layers, use tailor's tacks, carbon paper with a tracing wheel, or another method designed for multi-layer transfer.
Whole-cloth projects expose every marking decision because large lines remain visible until the quilting is complete. Work in manageable areas, choose a contrast that won't become too heavy, and remove each section as soon as the stitching no longer needs it. Don't let a temporary line sit under repeated pressing just because the next section isn't finished.
The scrap-test protocol is the habit that protects every other decision. Nebraska textile guidance recommends testing a marking method on a small sample to confirm that it works and can be removed, while also recognizing alternatives such as tracing wheels, tailor's tacks, marking pens, and pins. The best method depends on both the fabric and the maker.
Use this quick checklist before marking:
Store pencils where the points won't rub against rulers or other notions. A dull or damaged point tempts you to press harder, and that changes both line quality and removal performance.
A reversible marking decision is cheaper than a damaged finished quilt. Spend the extra moment on the scrap.
If the sample fails, don't keep adjusting the project fabric to suit the pencil. Change the pencil, reduce the pressure, alter the removal process, or choose a different marking tool entirely.
A useful kit doesn't need every marking product. Start with tools that cover your most common work, then add specialized options when a project demands them.
For basic piecing, keep a fine fabric pencil for seam allowances and placement points, plus a contrasting chalk pencil for dark fabrics. A ruler gives the line authority, while a clean scrap from each project gives you a testing surface.
Add a tracing wheel and transfer paper when you regularly match points or move pattern information across layers. Keep tailor's tacks or pins available for locations where a pencil can't reach accurately. The principle is simple: use a pencil for a direct, single-layer guide, and use a transfer method for multiple layers.
University of Kentucky Extension identifies tailor's chalk, dressmaker's pencils, and soap slivers as tools that primarily mark widths on one layer. That limitation isn't a flaw. It tells you when to stop using a pencil and reach for a better transfer technique.
Replace or sharpen a pencil when the point no longer produces the line you need without pressure. A small, reliable kit is easier to understand than a crowded drawer of untested markers.
Choosing a fabric marking pencil is easier when you can compare the line on actual quilting cotton rather than guessing from packaging. A beginner may need a different answer for a dark precut, an appliqué block, and a whole-cloth project, even when all three are being sewn at the same machine.
At High Country Quilts in Colorado Springs, Colorado, BERNINA-certified instructors can help you match marking tools to your fabric, technique, and project lifecycle. Hands-on testing and community classes give you the chance to practice pressure control, seam marking, appliqué placement, and safe removal before you risk a finished block.
Bring a fabric scrap from your next project and explain how you expect to press, wash, and store it. That information makes the recommendation more useful than choosing solely by color or line visibility.
Whether you're searching for quilting supplies near you, beginner sewing classes, or practical guidance from an authorized BERNINA dealer, local instruction can help you build habits that protect your work. Visit the shop to test your options, ask questions, and choose a marking toolkit you'll actually use.
Visit High Country Quilts in Colorado Springs for fabric marking guidance, hands-on classes, quilting supplies, and support from BERNINA-certified instructors. Bring a scrap of your project fabric, and get help choosing a fabric marking pencil that will behave safely through sewing, pressing, cleaning, and storage.
At High Country Quilts we care deeply about community. With our experiences in retail, we know that a store is not only a place to shop but also a place for the community to gather and share. During this busy...

Hi! We’re Adam and Renee Wheaton, the new owners of High Country Quilts! For more than 40 years, we’ve owned and operated vacuum and sewing businesses. Following in Renee’s father’s footsteps after he retired from All Discount Vacuum and Sewing in Colorado...


Leave a comment