


We Love Our Quilting Community
At High Country Quilts we care deeply about community. With our experiences in retail, we know that a store is not only a place to shop but also a place for the community to gather and share. During this busy...


You're standing in the fabric aisle with a cart, a phone full of saved quilt ideas, and no clear answer to one basic question: which pattern can you finish? The most attractive designs often contain points, curves, or many small pieces that create unnecessary decisions for a first project.
A friendly rail-fence quilt gives you a better starting point. It uses repeated fabric strips, straight seams, and a simple layout that still creates movement and contrast. You'll practice the skills that matter in every future quilt, including accurate cutting, a consistent quarter-inch seam, pressing, block measurement, and orderly assembly.
The plan below is designed to help you choose fabric without getting stuck, prepare your machine, make a manageable quilt top, and finish it with realistic expectations about cost and time. You won't need a complicated block to make something useful and attractive.
You have fabric in your cart, a saved pattern on your phone, and one concern: will you finish the quilt? A rail-fence quilt gives you a clear route from fabric to finished top. You sew strips into sets, cut those sets into repeatable units, and rotate the units into a fence-like layout. Rectangular pieces reduce point matching, so your attention stays on cutting, sewing, and pressing.
That practical structure matters for both time and budget. You can begin with a baby quilt or small throw rather than buying fabric and batting for a large project before you know how much sewing time you have. An easy quilt pattern for beginners should reduce decisions at each stage, not just produce a smaller quilt.
The 2024 Quilting Trends Survey collected responses from more than 37,000 quilters, estimated 9–11 million active quilting participants in the United States and Canada, and reported that new quilters represented 11% of the quilting population. Participation had remained broadly consistent for roughly 10 years, so a strip-pieced starter quilt serves an established community, not a passing fad. (Quilting Trends Survey results)
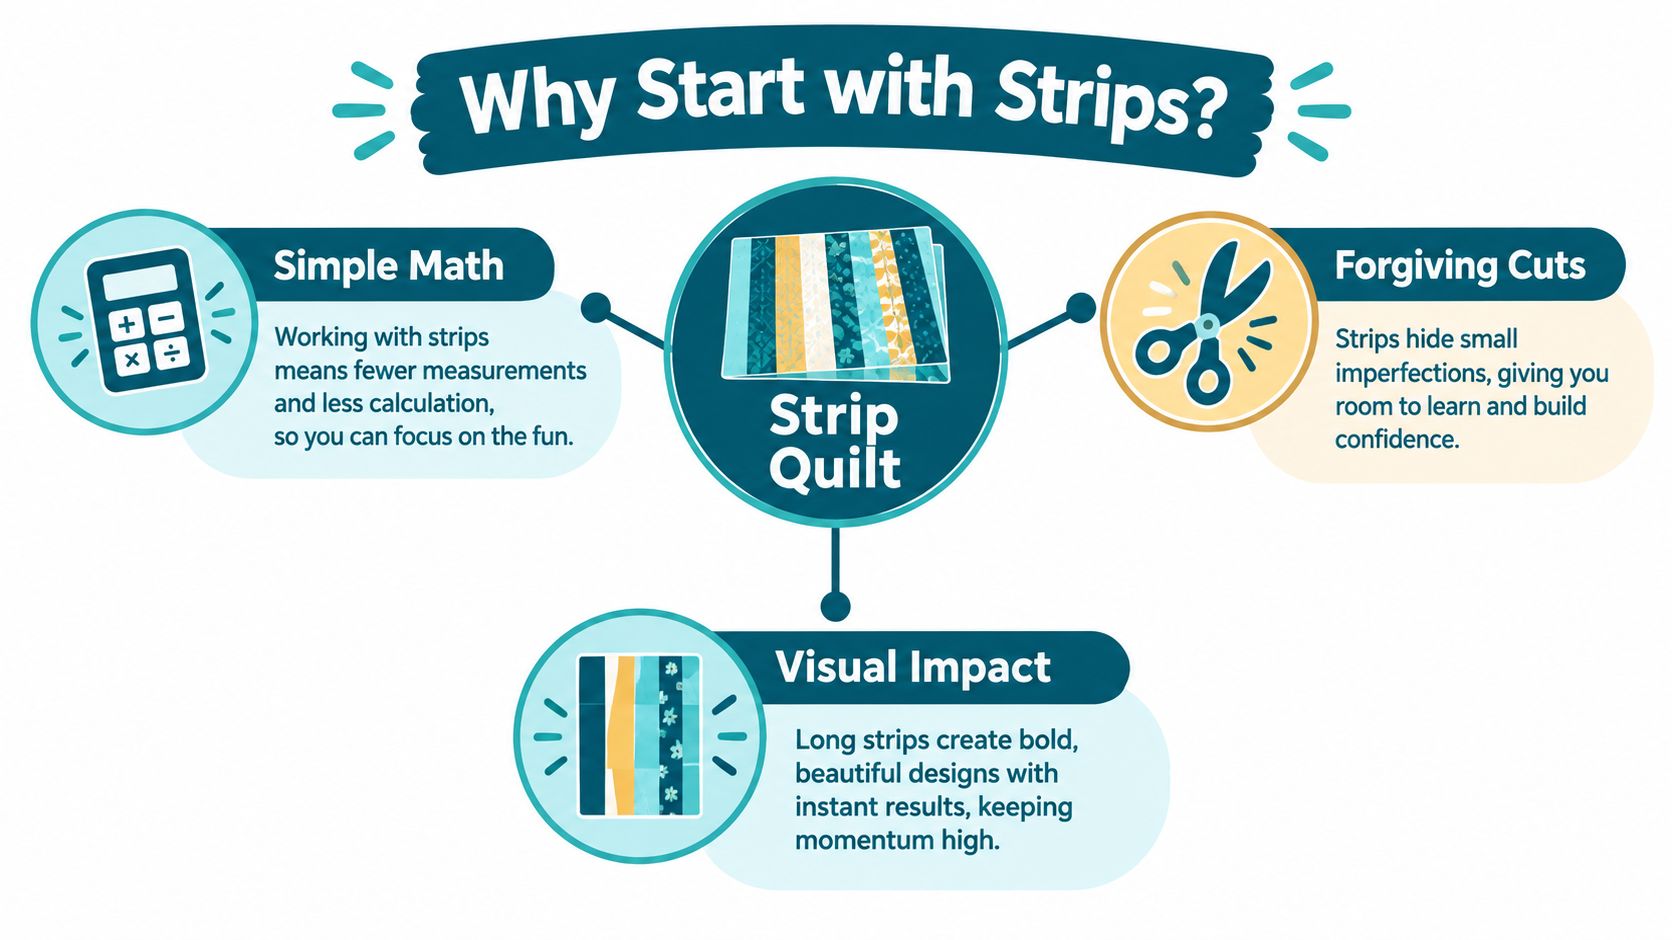
A strip quilt turns each beginner skill into a visible result:
The Smithsonian's National Quilt Collection contains more than 400 items spanning three centuries, including quilts, unfinished tops, and textile pieces from the 1700s through the 1900s. Its records document changes in materials, construction methods, needlework, styles, and patterns across approximately 250 years. Strip-based layouts belong to that practical history. Their repeated structure remains useful because one carefully made unit can guide the placement of the next. (Smithsonian National Quilt Collection)
Practical rule: Choose a pattern that makes the next sewing decision obvious. Confidence grows faster when you can see why each piece belongs where it does.
The finished quilt can look modern, traditional, bright, muted, or scrappy. The working sequence stays manageable: strips become strip sets, strip sets become segments, and segments form a rhythmic arrangement across the quilt. You build a usable quilt top while learning habits that carry into larger projects.
A first quilt becomes easier to finish when your supplies are ready before the first cut. The 2024 survey reported that the average quilter started 11 projects, completed 9 projects, and spent approximately 6 hours each week quilting. (Quilting Trends Survey results) You do not need to match that pace. Set up tools that prevent avoidable interruptions, then work in short sessions you can return to.
| Item | What It Does |
|---|---|
| Quilting cotton | Provides stable fabric for the quilt top. Quilting cotton fabric |
| Batting | Adds body and warmth between the top and backing |
| Backing fabric | Forms the underside of the quilt |
| Thread | Joins pieces and creates quilting stitches |
| Rotary cutter | Cuts clean, repeatable fabric strips |
| Self-healing mat | Protects your work surface while cutting |
| Acrylic ruler | Guides accurate strip widths and trimming |
| Pins or clips | Holds seams and layers in place |
| Quarter-inch foot | Helps maintain a consistent seam allowance |
| Walking foot | Feeds quilt layers evenly during straight-line quilting |
| Iron and pressing surface | Sets seams and flattens units |
| Marking tool | Adds temporary alignment or quilting marks |
A basic sewing machine can handle a rail-fence quilt top. It needs a dependable setup more than elaborate features. Install a fresh universal needle suited to quilting cotton, thread the machine carefully, and choose a moderate stitch length. The stitches should hold the seams securely while remaining removable if you need to correct an error.
Attach the quarter-inch foot if your machine has one. Sew on scraps cut from the same fabric as the quilt, because fabric thickness and weave can affect how the machine feeds. Use those scraps to check the needle position, thread tension, and stitch quality before you begin the project.
Sew three test seams, then measure the resulting units. A blind test reported that only 29% of quilters achieved a consistently true quarter-inch seam, even with a specialty quarter-inch foot. The source is not peer-reviewed, so use the result as a warning to test your own setup, not as a universal rule. (Quarter-inch seam accuracy discussion)
If a test unit is too wide or narrow, adjust the machine guide or needle position and sew again. Check tension with the thread and batting you expect to use later. A smooth, balanced stitch on your machine matters more than copying another quilter's settings.
Your first quilt can stall before the sewing machine starts if the fabric choices feel endless. Choose fabrics that remain easy to distinguish after stitching, because a rail-fence design depends on clear value changes between neighboring strips. Bright colors are optional. A cream and navy pairing can be just as readable as a collection of vivid prints.
Use this decision tree:
A quick phone photo in black-and-white mode reveals value contrast more reliably than color alone. If the fabrics become one gray mass, replace one with a lighter or darker option. Small swatches can also show whether a busy print will overpower a quieter strip.
Prewash and press the fabric when the fabrics in your quilt need compatible shrinkage. Keep the iron moving without stretching the cloth. Pulling on it can distort the grain, so a strip may measure correctly at one end and drift at the other.
This guide from More Sewing for beginners explains fabric behavior and why stable quilting cotton is easier to control than slippery or highly elastic cloth.
Lay the fabric on the cutting mat with its grain aligned. Fold it only when the fold sits squarely on the mat. Set the acrylic ruler firmly against the edge, keep your non-cutting hand away from the blade path, and cut away from your body. Close the rotary cutter whenever you pause.
Cut one test strip first. Measure it in more than one place. If the width changes, correct the fold, ruler position, or fabric alignment before cutting the rest. Consistent strips matter more than speed.
Keep the cut strips in planned order, or label the strip sets. This small habit prevents accidental combinations that weaken the light, middle, and dark contrast you selected. It also protects your budget by reducing fabric wasted through avoidable cutting errors.
Begin with the test seam you made earlier. Place two strips right sides together, align their long edges, and sew with the measured quarter-inch seam. Don't pull the fabric behind the presser foot. Let the feed dogs move it while you guide the edges gently.
Add the next strip to create a strip set. If the set contains alternating light and dark fabrics, the finished segments will have enough contrast to support the rail-fence arrangement. Chain-piece similar sets when your first seam looks correct, but stop if the strips begin shifting or the seam width changes.
Press after every seam. Pressing to one consistent side can help seams nest during assembly, while pressing open can reduce bulk in some layouts. Choose one method for the project and use it consistently. A hot iron should flatten the seam, not stretch the fabric.
After pressing, place the strip set on the cutting mat. Use the ruler to trim one end square, then subcut equal segments. Measure the first segment before cutting the rest. If its dimensions don't match the pattern, stop and find the cause rather than repeating the error across the entire quilt.
Arrange segments so the strip direction alternates. You can make a simple fence effect by rotating each unit, or create a more ordered design by keeping the same direction across a row. Take a phone photo of the arrangement before moving pieces to the sewing machine.
Pins help when long edges shift or when seams need to nest precisely. Clips are convenient when you're holding several layers and want to avoid pinning near the presser foot. Sew neighboring units together, press the joined seam, then attach the next unit. Keep rows labeled or stacked in order.
The top should lie flat and match the pattern's intended dimensions before you add batting and backing. Measure through the center and near the edges. If the measurements differ, look for a distorted unit or a seam that was sewn too generously. Don't stretch the top into compliance.
Watch this short visual demonstration before assembling your own units:
Your first quilt may use a simple pattern and still develop a wobble. A report covering more than 2,300 submitted quilt projects linked 78% of structural problems to five preventable habits: inconsistent seam allowances, unprepared fabric, skipped pressing, inaccurate rotary cutting, and thread-tension problems. The same quilt-making tips guide from Frame & Focal reports that a 1/16-inch seam variance across 48 blocks can create approximately 3 inches of final misalignment. Small measuring checks work like guardrails, keeping one early mistake from steering the whole quilt off course.
Diagnose the symptom before using the seam ripper. Measure several blocks, compare them with the pattern's unfinished size, and check the seam allowance on scraps. If a block differs from the pattern by more than 1/8 inch, stop and find the cause before repeating it across the quilt.
| Symptom | Most Likely Cause | Quick Fix |
|---|---|---|
| Wavy border | The border was stretched during sewing or the top is uneven | Measure the center and edges, ease only where needed, and avoid pulling the border |
| Block finishes too small | Seam allowance is wider than intended | Test the quarter-inch seam again and trim units consistently |
| Puckered seam | Fabric was stretched, tension is unbalanced, or stitches are too short | Press flat, test tension on scraps, and sew without pulling |
| Mismatched seams | Units differ in size or seams weren't nested | Square units before joining and pin or clip the intersections |
| Quilt top won't lie flat | Skipped pressing, distorted grain, or uneven rows | Press without stretching, measure rows, and correct the source before adding borders |
Errors repeat because every unit passes its size to the next one. Frequent measurement is more reliable than forcing a border into place, especially when several blocks already differ slightly.
Before unpicking: Check the strip width, seam allowance, pressing direction, and unit size in that order. The visible problem often appears several steps after the original mistake.
A short unit should never be corrected by stretching fabric. Stretching creates wavy edges and distorted blocks. Trim units to the pattern's unfinished size when possible, keep your pressing direction consistent, and accept small handmade variations when the quilt top still lies flat.
A quilt top becomes a finished quilt when you secure it to batting and backing. Clear a flat surface, smooth the backing with the wrong side facing up, place the batting on top, and position the quilt top right side up. Spray basting can be quick on a suitable surface, while pin basting gives you visible, adjustable control.
A walking foot helps feed the layers evenly for straight-line quilting. Begin in the center and work outward so fullness has somewhere to move. Simple channels, lines beside seams, or a restrained grid can complement a rail-fence top without competing with it.
| Method | Best For | Skill Level |
|---|---|---|
| Straight-line quilting with a walking foot | A home machine and a clean geometric finish | Beginner |
| Simple walking-foot channels | Repeated lines that follow the strip direction | Beginner |
| Longarm quilting service | A large quilt or a maker who wants professional machine quilting | Varies by service and project |
| Hand quilting | A slower, tactile finish with visible stitching | Beginner with patience |
A neutral 2025 cost analysis places fabric alone at approximately $18–$25 or more per meter, with batting adding $20–$40 or more per meter. The same analysis emphasizes that cutting, piecing, sandwiching, quilting, and binding can take weeks or months depending on the project. (Quilt-making cost analysis)
Plan your budget around more than the quilt top. Include backing, batting, thread, binding fabric, and reusable tools. A practice mini quilt or table runner can test your machine and finishing method before you commit to a larger purchase.
For double-fold binding, join binding strips, press the strip in half lengthwise, and sew it to the quilt's raw edge. Miter the corners, join the ends neatly, then fold the binding over and stitch it down. Work slowly at the corners. A smooth binding is easier to achieve when the quilt edge is trimmed square first.
Your first quilt gives you a working set of skills: reading a pattern, guiding a rotary cutter, keeping a seam allowance consistent, pressing with purpose, measuring units, and correcting mistakes. Those habits carry into patchwork squares, four-patch blocks, half-square triangles, and more traditional arrangements.
The next project often stalls for practical reasons. Fabric choices can feel like choosing paint for an entire room, and finishing takes more time than piecing the first few blocks. A 2024 community survey found that about 40% of respondents struggled with choosing fabrics and around 40% had difficulty finishing projects. It also recorded 84 respondents learning techniques online, compared with 25 attending in-person classes. (Quilters community survey)
A faster second project can reduce decision fatigue. Coordinated precut fabric collections give you a ready-made color relationship, while you still practice arranging units, checking contrast, and assembling the top. Before buying, set a simple plan: choose the finished size, list the fabric and batting you already own, then budget for backing, thread, binding fabric, and any tools you need.
If time is limited, divide the project into small appointments. Cut one day, piece another, and reserve a separate session for pressing and trimming. A table runner or mini quilt can test your machine, seam allowance, and quilting method before you commit to a larger purchase.
When your machine or technique causes trouble, ask for help early. A quilt shop class, an online demonstration, or another maker can often spot a cutting, tension, or pressing problem while the pieces are still easy to correct. High Country Quilts offers fabrics, precuts, sewing machines, accessories, classes, and community support for new makers.
Your first quilt needs a clear plan, stable fabric, repeatable measurements, and enough time for the final stages. The rail-fence pattern builds those habits without demanding complicated blocks. Keep your notes with the pattern, record what worked, and let the next quilt become a useful practice project rather than a test of perfection.
High Country Quilts can help you gather supplies and find practical guidance for the strip-pieced project you make next.
At High Country Quilts we care deeply about community. With our experiences in retail, we know that a store is not only a place to shop but also a place for the community to gather and share. During this busy...

Hi! We’re Adam and Renee Wheaton, the new owners of High Country Quilts! For more than 40 years, we’ve owned and operated vacuum and sewing businesses. Following in Renee’s father’s footsteps after he retired from All Discount Vacuum and Sewing in Colorado...


Leave a comment