

Free Fabric All Year: Our 2027 Fabric Punch Card
November 2–25 only: buy a $200 gift card in either store and get a free yard of fabric every month of 2027.

"One layer cake makes a throw quilt." That line appears on pattern covers, on the tag tucked into the bundle, and in most beginner guides. Then you get the pack home, lay out the squares, and the top you finish is either smaller than the sofa or bigger than the pattern promised, with no backing fabric anywhere in the house.
The gap isn't in your sewing. It's in the question. What a layer cake makes in general is far less useful than how many packs your particular project needs, what the back and binding will take, and whether your seam allowance is changing every finished measurement.
Work through those three things first and the rest of a holiday project behaves predictably. You'll know what to buy on one trip, how to test a seam before you commit 42 squares to it, and how to finish a gift before the week Christmas lands on.
The pack count comes from your pattern's cutting chart, not from the quilt size you're picturing. Before you buy, read the chart and total the squares it calls for, then check that number against this table.
| Project | Layer cakes needed | Extra fabric needed |
|---|---|---|
| Pillow cover (18-inch) | 1 pack, 4 squares used | 1/2 yard backing |
| Table runner | 1 pack, 8 squares used | 1 yard backing and binding |
| Mini quilt or wall hanging | 1 pack, 16 squares used | 2 yards backing and binding |
| Simple edge-to-edge lap throw | 1 pack, 42 squares used | 3 3/4 yards backing and 3/4 yard binding |
| Larger sashed or half-square-triangle top | 2 packs | Sashing, borders, 4 yards backing |
Pillow cover: four squares sewn into a 2 by 2 block trim down to an 18-inch top, so a single pack covers a host gift several times over. Half a yard handles an envelope back comfortably.
Table runner: eight squares in two rows of four give a runner close to 19 by 38 inches before any border. One yard covers the backing and the binding strips together.
Mini quilt or wall hanging: sixteen squares in a 4 by 4 grid, with an optional border, and two yards for the back and binding.
Lap throw: the row people misread. All 42 squares, no sashing and no border, and you still need separate yardage for the back and the binding.
Larger top: two packs once a pattern adds sashing, borders or enough half-square triangles to eat into the reserve.
A Christmas layer cake is a coordinated bundle of 10 by 10 inch squares, usually 40 to 42 per pack, and the count moves between manufacturers and collections, as Linda's layer cake guide explains. Verify the label before you choose a pattern, and don't be thrown by alternative names such as "ten squares," "tiles" or "stacks" for the same format. Because "layer cake" is a Moda term, other brands sell identical 10-inch squares under their own wording.
Size is why these bundles suit holiday sewing. A charm pack square measures 5 by 5 inches, half the width and a quarter of the area, which is why layer cakes carry lap quilts, table runners, tree motifs and star blocks while charm packs lean toward small patchwork. Each 10-inch square holds 100 square inches, so 42 of them give 4,200 square inches of raw fabric, per Missouri Quilt Co's layer cake guidance. Some of that disappears into seams, trimming and layout waste.
A typical layer cake holds forty-two 10-inch squares, about 2¾ yards of fabric, and the squares finish near 9½ inches after standard ¼-inch seams, according to Missouri Star's sizing notes. Laid out six by seven, that gives a top of roughly 57 by 66 inches. Diagonal cuts, sashing and directional prints all pull that number down, and borders push it back up.
Practical rule: count the squares your pattern needs, add backing and binding to the same shopping list, and if your count lands within a few squares of the pack, buy the pack plus a coordinating solid rather than a second bundle.
Ready to check counts on real bundles? Shop Christmas fabric layer cakes at High Country Quilts and read the square count on each collection before you commit.
A layer cake removes the cutting, not the thinking. Set yourself up before you open the pack:
Prewashing is a risk decision, not a rule. The lowest-risk path for a beginner is to keep the pack unwashed, sew a test block, confirm the finished dimensions the pattern promises, and then wash the completed quilt by its care label so any shrinkage happens evenly across the whole piece rather than in individual squares, as HobbyStack's beginner quilting guide lays out.
If you do wash first, treat the squares as small bias-prone pieces: gentle cycle, no aggressive agitation, conservative drying, and pressing without stretching before you measure. Test one spare square, measure it dry, wash and dry it the way you plan to treat the quilt, press it flat and measure again. Divide the difference by the original measurement and multiply by 100 to get your shrinkage percentage. Apply that figure to the entire cutting plan instead of assuming every print in the pack behaves the same.
Here's the sequence in motion, from sorting to the first sewn unit:
Small errors compound fast. A seam that runs a 1/16 inch wide on both sides of a square can pull a finished block in by roughly 1/8 inch, which is why the test unit comes before the full set, per Missouri Quilt Co's layer cake project notes. The most common failure in a first Christmas quilt isn't a bad seam, it's a mixed-value layout where snowflake points and star tips vanish into the background. And if a washed square comes out of the dryer without four reliable right-angle corners, retire it rather than fight it.
When you're ready to pick your palette, browse our holiday layer cake collection and pull one pack plus a solid that reads quiet next to it.
Start with the smallest thing you can finish in an evening, then work up. Each of these uses one pack and leaves squares to spare.
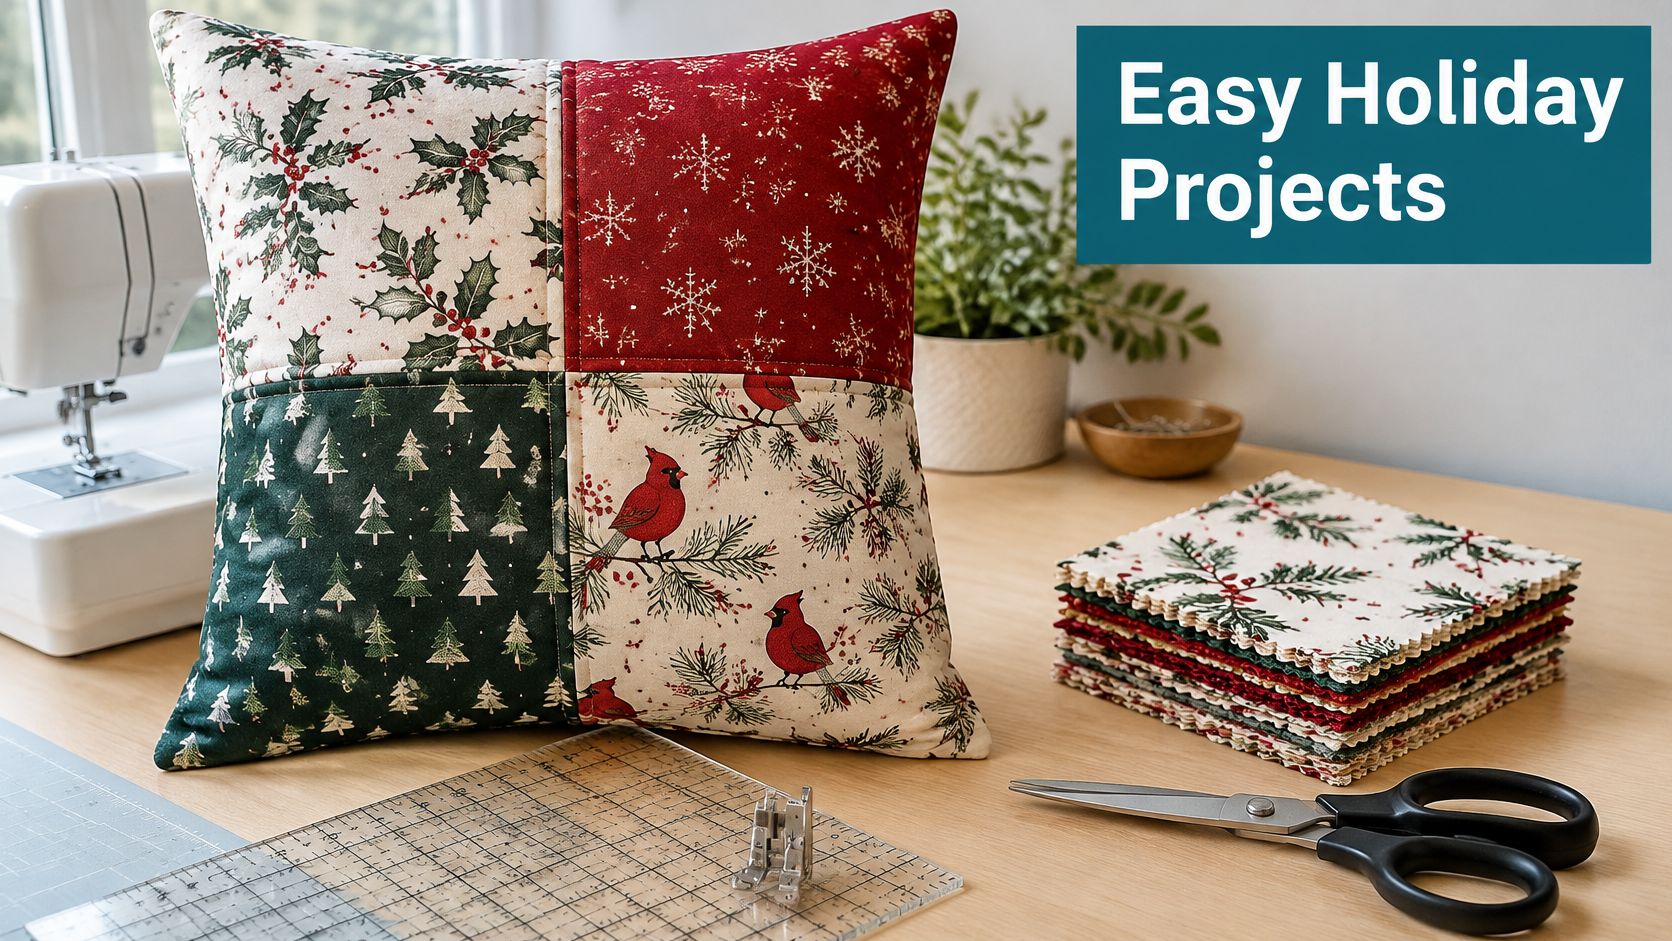
The slip here is trimming a motif off center. Decide where the design sits before you cut, not after. This is the right first holiday project.
Lay eight squares in two rows of four, turning every directional motif the same way. Sew each row, press, then join the rows and check your seams across the join. The finished runner measures about 19 by 38 inches with no border, so add one only if you want more length, and recalculate the size if you do. Baste, quilt, bind. Uneven seams where the rows meet are the usual trouble, and pinning the intersection solves most of it.
Sixteen squares in a 4 by 4 grid come together quickly. Sew rows first, join them, then add a 2.5 inch border if you want a frame, which brings the piece to roughly 43 inches square. Quilt, bind and label it. Wavy borders from stretched edges are the frustration to watch for: measure the quilt through the center before you cut the border strips, and ease to that measurement rather than pulling.
Whichever you choose first, pick a project-matched pack from our holiday precut collection and keep the leftovers in the same bin for gifts later.
Backing size decides how peaceful the quilting goes. Cut the backing at least 8 inches larger than the finished top in each direction, so there's room to load, clamp and baste without tension pulling the edges. A 57 by 66 inch top means a backing around 65 by 74 inches, which usually calls for piecing from two lengths of 44 inch wide fabric.
Press the backing seam open and flat. Tape or clamp the backing to the floor or table, wrong side up, and smooth it without stretching. Layer the batting, then the top, and baste with safety pins every hand's width or with a temporary spray adhesive. Smooth beats tight every time.
Fit a walking foot for straight-line work on a layered cotton quilt; it feeds the top, batting and backing at one rate and stops the creeping that produces puckers. Choose a needle sized for the cotton you're quilting through, and stitch a test sandwich from offcuts before you touch your quilt.
On a BERNINA, start quilting with a stitch length around 3 to 3.5 mm, then adjust on the test sandwich. Stitch in the ditch along the block seams or run straight lines on either side of a seam for a grid, and engage the even-feed setting so directional trees and stripes stay square to the quilt. A local authorized BERNINA dealer can walk you through foot choice, setup and training, which is worth the trip before your first layered project rather than during it.
Stitch in the ditch first, then decide whether the quilt needs anything else. Most holiday tops want more quilting than you think, and a grid every three inches holds the batting better than three lines across the middle.
For the layers underneath, shop batting and backing in the size your project needs and cut both before you baste.
A stack of leftover squares is a gift drawer waiting to be sorted. Each option below costs a known amount of time and skill, so pick the one that matches the week you have left.
Label every gift on the back with your name, the year and the care instructions, then fold it so the label shows when the wrapping comes off. A handmade runner with no name on it is the first thing to disappear in a house full of presents.
Worth doing: photograph each finished gift before it leaves the house. Next year's version starts from that photo instead of guesswork.
If you'd rather follow a prepared holiday sew than design your own, the "Make it Merry" Stocking pattern includes instructions for a Christmas stocking and is priced at $25.00. Shopping for the quilter on your list instead of sewing for one? The #1 Fabric Collector Award Stickers run $16.79.
Learning with help nearby shortens the curve faster than any video. High Country Quilts hosts classes and community events in Colorado Springs, so check the shop's class calendar for upcoming sessions and reserve a seat early, since beginner classes tend to fill before the gift rush. In December the shop also holds an in-shop "Husband's Shopping Nite," where staff help a shopper's partner find gifts, wrap them, and apply a discount to all of the partner's purchases.
If you're learning on your own machine rather than a shop model, book a setup session first. Knowing your foot, needle and tension before you layer a quilt saves a whole evening of unpicking.
Two decisions cover it: pick the project that matches your pack count from the sizing table, then buy one layer cake plus a coordinating solid and test a single block before you cut the rest.
Small first projects finish, and finished pieces teach more than ambitious ones that stall in a bag. If you want fabric beyond the precut, Christmas Time by Riley Blake Designs runs $12.99 per yard and includes Santa prints, sleighs, woodland deer, evergreen sprigs, red gingham and a "Santa Claus is Coming to Town" panel in a red, cream and forest green palette. We take special orders for fabric kits by email or phone.
Descriptive link text matters here as much as anywhere: Google's guidance on crawlable links recommends anchor text that's concise and tells the reader where the link goes, which is why clear product names beat a generic label every time. Start with the pack your pattern needs, and buy it in one trip: shop Christmas fabric layer cakes and view holiday precut fabric collections before the season fills your calendar.
High Country Quilts in Colorado Springs keeps Christmas layer cakes, holiday precut bundles, batting, backing and BERNINA feet and needles under one roof, so a holiday project doesn't turn into four separate errands. Bring your pattern in and we'll count the squares it needs against the pack in your hand, then help you match a solid and cut the backing before you leave. Visit High Country Quilts to plan your visit and start your first block this week.
November 2–25 only: buy a $200 gift card in either store and get a free yard of fabric every month of 2027.

Serger and BERNINA Mastery classes, longarm training, bag-of-the-month, Kids Sewing Club and a Highlands Ranch retreat. Here's what's on the calendar in November.

Free gifts, included packages and special pricing on the BERNINA 790 ULTRA, 990, Liberty Editions, L 890 serger and Q Series longarms, now through December 31.


Leave a comment