

November Classes & Events at Both Stores
Serger and BERNINA Mastery classes, longarm training, bag-of-the-month, Kids Sewing Club and a Highlands Ranch retreat. Here's what's on the calendar in November.

You've got a pretty stack of holiday squares on the cutting table, a pattern that says "one pack," and no clear answer to the questions that stop beginners. Will one pack finish the quilt, or just start it? Should you wash those saturated reds before they sit next to cream? And what do you do with the squares left over in January? This guide answers those questions in order, with real counts, real prices, and one complete first project you can sew, press, and finish without guessing.
Open the pack on the cutting table and count before you plan. A standard Christmas charm pack holds 42 squares, each 5 by 5 inches. I teach students to check that number on the label first, because some lines package 40 squares and a layout that needs every last piece will fail on a short count.
Each 5-inch square gives 25 square inches uncut. Multiply it out and 42 squares total 1,050 square inches before seams. Sewn with a conventional quarter-inch seam, each square finishes near 4.5 inches. Reserve a few squares for test seams, fussy-cut mistakes, and directional prints you cannot rotate, and your usable finished patchwork drops fast. That working count after trimming, reserved squares, and repeats is the figure your pattern has to live with. General precut dimensions are summarized in the precut fabric size guide from FibreCalcs.
Two packs from different holiday lines behave differently in the same pattern. One may give wide variety with few duplicates. Another may repeat a smaller set of prints to fill the pack. For a scrappy runner that difference hardly matters. For a symmetrical block that needs matching units or mirror-image placement, it decides whether the design holds together or falls apart.
Shelf price tells you little. Price per square lets you compare packs on equal terms.
Use this method: take the listed price and divide by the square count printed on the label.
Example calculation: listed price $12.60 divided by 42 squares equals $0.30 per square. Change either number and the result changes, so always use the label count, not the standard 42, when a pack holds 40.
Apply that math when you shop current assortments such as Pohlar Fabrics charm pack listings, Full of Scrap Quilts charm pack listings, Hawk Ridge Fabrics fabric collections, and Fat Quarter Shop Christmas fabrics. A higher per-square result does not automatically mean poor value. It may reflect metallic finishes, specialty prints, or a print mix with less repetition. Judge it against the project. A table runner that shows ten squares rewards a stronger print. A large background that buries prints does not.
Beginners get stuck on color, not construction. Holiday packs lean dark and saturated. Without enough lights and low-volume creams, seams disappear and stars collapse.
Read the count first. Confirm 40 or 42 on the label, not on the shelf sign. Study the pack photo for value balance. You need dark seasonal prints plus enough lights to create contrast in the finished block. Decide on metallics early. They lift a small project and raise the price per square, so buy them only when the pattern leaves them visible.
Because the squares arrive cut, your work shifts to sorting, arranging, sewing, pressing, and adding background or border yardage. That makes this cut a practical start for table runners, pillows, tree skirts, placemats, ornaments, and baby or lap quilts. Sort into lights, mediums, darks, and directional prints before you cut anything else, and set leftovers aside as a group instead of scattering them. January waste starts as December clutter.
You have a 54 x 64 inch lap quilt in mind and one pack on the table. That gap is where most Christmas projects stall. A charm pack holds 40 to 42 usable squares before trimming, repeats, and reserved pieces. Work out the actual count after those losses and you will see why large quilts need more packs than the shelf tag implies.
| Project | Finished Size | Grid Math and Squares | Packs to Buy | Why the Count Changes |
|---|---|---|---|---|
| Ornament set (4) | about 4 x 4 inches each | 1 square each, 4 total | 1 | Leftover squares become backing and hangers |
| Placemat set (4) | about 12 x 18 inches each | about 3 x 4 per mat, 48 total | 1 | Backing and binding come from background yardage |
| Table runner | 14 x 36 inches | about 3 x 8, 24 squares | 1 | Border and backing use yardage, not charms |
| Tree skirt | 48 inch diameter | wedge units need duplicates | 2 | Wedge sectors need repeated identical units |
| Baby quilt | 36 x 44 inches | about 8 x 10, 80 squares | 2 | Pattern repeats and trimmed edges use more squares |
| Lap quilt | 54 x 64 inches | about 12 x 14, 168 squares | 4 | Many prints are needed without repeats |
| Twin quilt | 68 x 90 inches | about 15 x 20, 300 squares | 7 to 8 | Color balance across that area takes extra packs |
Those lap and twin numbers surprise new sewists. The math is plain grid division, and it already assumes no waste. Check current assortments on Missouri Star Quilt Co. Christmas precuts and you will see the same 40 to 42 count per pack. Once you subtract trimming, seam allowances, directional motifs you cannot rotate, and squares reserved for damage and borders, the usable total drops further.
Divide the finished width by 4.5 inches, the finished size of one whole square. Do the same for the length, then multiply to get the number of squares in a plain grid. After that, add the squares your pattern consumes in less obvious ways. Half-square triangles, trimmed units, and symmetrical blocks that need two or four copies of the same print all pull the usable count below 42 per pack. A baby quilt at 36 x 44 inches lands near 80 squares, so two packs cover it with room for sorting losses. A lap at 168 squares needs four packs. A twin at 300 squares needs seven or eight.
Planning habit: Count the grid first, then subtract the squares you can't actually use. Directional prints in the wrong orientation and lone prints with no repeat are the two losses beginners miss most often.
I teach students to pull those problem squares out before they sew. It hurts to set aside six pretty prints.
A coordinated assortment can hold many different prints yet still lack the repeats for a mirrored block. That is collection imbalance, and it is the most common reason a project stalls halfway through the layout stage. Tree skirts and symmetrical runners suffer first because each wedge needs a match.
If your pattern needs repeats of the same print, buy a second pack from the same collection before it sells out. If it needs many light squares or a large background, add solid yardage instead. Yardage stretches one pack much further than a second pack does when the shortfall is background, not print variety. Decide which shortage you have, then commit to quantities that cover the full grid plus your reserve pile.
You spread 42 Christmas squares on the cutting table and half of them stick together by static. Two prints match the border you already bought, three reds look identical until you separate them in daylight, and one directional Santa is upside down in every arrangement you try. Sort and test now, because fixes get expensive once seams are sewn.
Prewashing controls finished size, color safety, and whether squares stay square. Shrinkage varies by fiber, prep, and washing method, so the two square test described below is the reliable way to measure it for your fabric, according to guidance on washing quilting fabric before sewing. Loose precuts fray fast in the machine and small pieces can distort, so washing the full pack on instinct wastes usable width.
Start by counting squares against the label. Packs vary between 40 and 42, and that one square difference breaks a planned grid. Then sort by value first, light, medium, and dark, and by color family second. Value sorting makes the layout readable from across the room. I have watched beginners sort only by color, reds with reds and greens with greens, and end up with a pretty pile that sews into a flat quilt with no contrast.
Give saturated reds, greens, and deep blues the closest look. Bleed stains cream squares permanently, and no seam ripper fixes that after assembly. Color catcher sheets during laundering help when the test shows transfer, and reduced agitation helps too.
Pick one prep strategy and use it for every component. Wash all the fabric first and accept some fraying at the edges, or assemble the unwashed top first to protect those pinked edges and wash the finished quilt. Mixing washed and unwashed pieces in the same top leaves you with units that finish at different sizes and seams that will not press flat.
Do not combine washed and unwashed squares in one quilt unless you accept the dimensional difference in the finished top.
Lay out the full design on a wall or the floor, keep directional prints oriented the same way, label each row with masking tape, and photograph the layout before you carry stacks to the machine. For gift quilts, write the care method on a card for the recipient. Their laundering routine will change the final size and texture if it differs from your test.
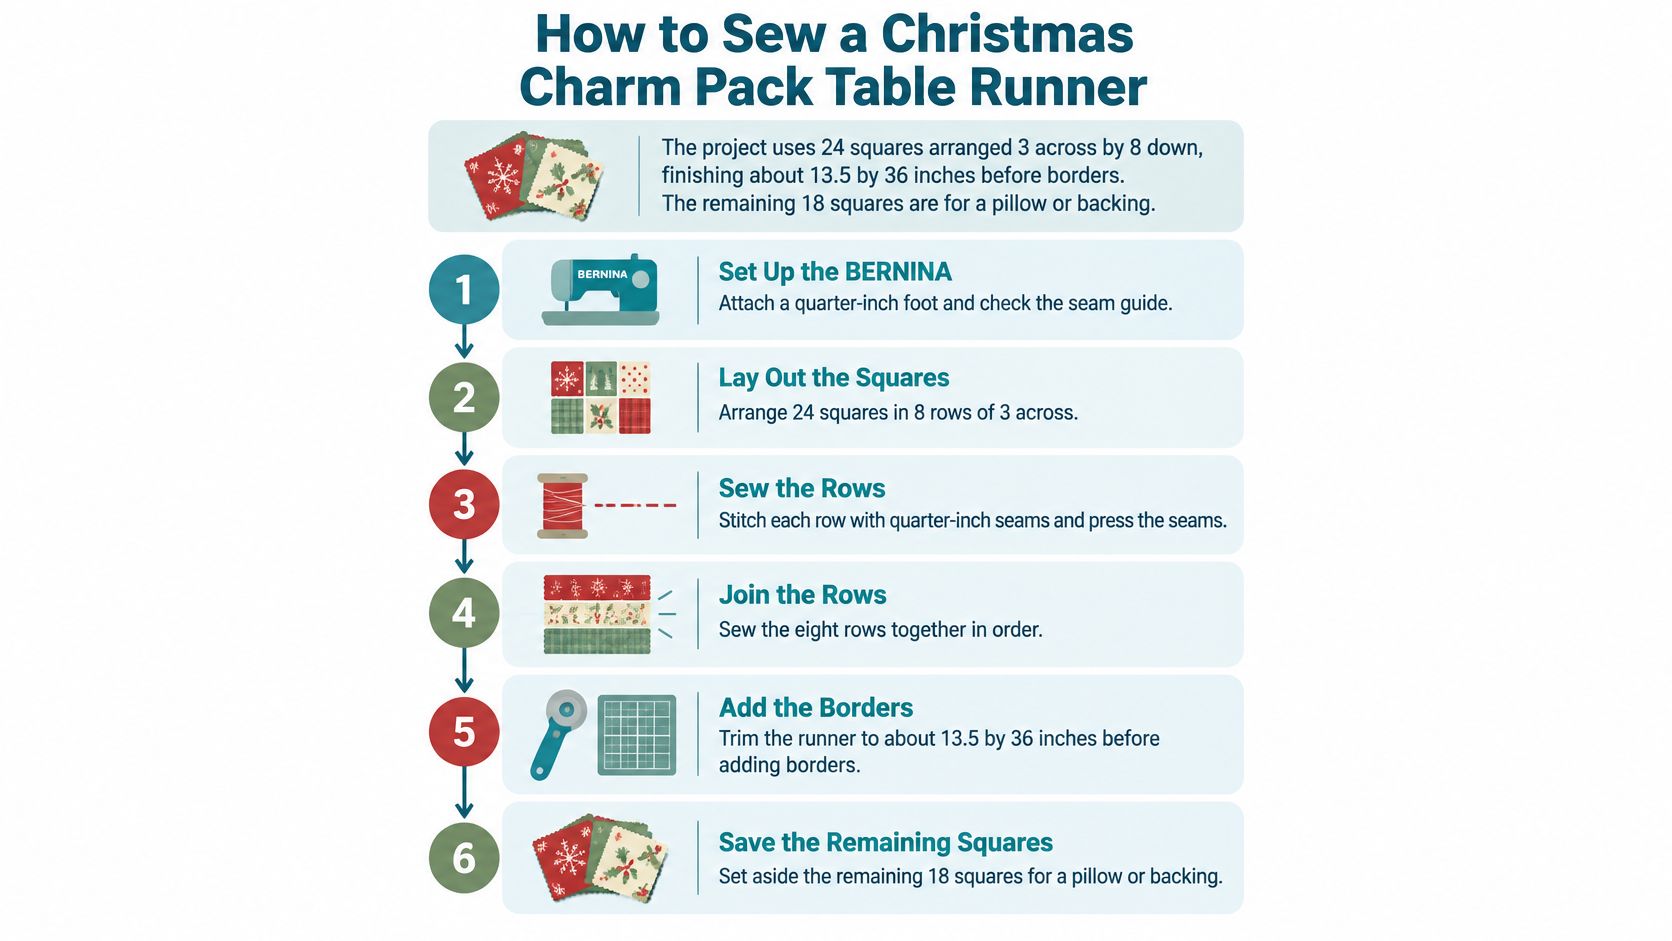
A 3 across by 8 down layout gives you a runner about 13.5 by 36 inches before borders from 24 squares. The other 18 squares from the pack stay in reserve for a pillow front or pieced backing, which solves the leftover problem up front. You sew one seam size the whole time, you press and square on a small top, and you learn where a quarter inch drifts before it can ruin a quilt.
New sewists get stuck in two places here. They skip the test block, then find every row finishes short. They also stretch bias edges with the iron, then wonder why the center bows. Both are cheap to prevent and slow to fix later.
At the machine: If your test block is off size, stop. Fixing the seam guide on one four-patch takes a minute. Resewing eight assembled rows takes an afternoon with a seam ripper.
Testing, labeling, pressing, and squaring carry straight into bed quilts. Get them steady on this runner and the next pack goes faster with less waste.
A runner that measures short at the border rarely started short. It got sewn short, one wide seam at a time. I see this at the cutting table every December. A beginner brings in neat rows that each lost a thread width per seam, and by the eighth square the deficit shows. Reset the quarter inch guide, resew the affected rows, and the math corrects itself.
| Symptom | Likely Cause | Fix | Scope |
|---|---|---|---|
| Rows finish narrower than planned | Seam allowance drifting past 1/4 inch | Reset the guide with a test block and resew affected rows | Local |
| Wavy or stretched edges | Bias edges pulled while sewing | Press, let the feed dogs move the fabric, and avoid tugging | Local |
| Motifs upside down in layout | Directional print rotated during sorting | Photograph layout before sewing and re-sort | Local |
| Cream background tinted pink | Red or green dye bled during washing | Prewash test, color-catcher sheets, rewash | Whole quilt |
| Squares shift under the presser foot | Small pieces slipping | Use a walking foot, pins at seams, slower speed | Local |
| Top will not lie flat | Uneven pressing or unsquared units | Press seams to one side and square each unit | Local |
| Size differs between parts | Washed and unwashed squares combined | Wash the full top or none of it | Whole quilt |
A rotated directional print calls for one seam opened and the square turned. Catch it before quilting and it is a five minute repair. Rows sewn with a drifting seam need those rows resewn, not the whole top pulled apart. Work row by row, keep the good rows intact, and save the unpicking for where the error lives.
Dye bleed and mixed washed and unwashed squares are different. Both touch the entire quilt. Both are far easier to prevent with the two-square test than to reverse afterward. As noted earlier, test deep reds and greens before they meet cream, and decide on washing for all the fabric or none of it.
Wavy edges come from pulling fabric through the machine or sliding the iron instead of pressing. Let the feed dogs do the moving. Your hands guide, they do not haul. Lift and set the iron, then check whether the edge relaxes back before you sew the next seam.
A top that will not lie flat usually traces back to seams pressed in random directions or units that were never squared before joining. Fix the unit before you blame the pattern. Press seams consistently to one side so intersections nest, square each small unit, then join. That tradeoff matters with holiday packs. You lose a sliver of finished size when you square correctly, but you keep a flat runner that borders fit without easing.
Check the test block first, every time. A seam guide that is off by a thread width costs more than any single fix in the table above.
Slipping under the foot is a feeding problem. A walking foot resolves most of it by moving the layers together instead of pushing the top one ahead. Pair it with pins at intersections and a slower speed on small pieces. That combination costs less time than resewing rows that crept out of alignment, and it keeps your reserved squares and repeats usable for the border or a second project.
A pack of 42 cut squares still leaves waste on the table. Pinked edges shed threads, squaring up rejects eat a few pieces, and two or three loud prints never fit the main quilt. Red and green also lock a project to December unless you break up the palette. Work on fabric reuse shows that small remnants can be combined into functional, layered textile products instead of being discarded, as described in research on quilting and fabric reuse.
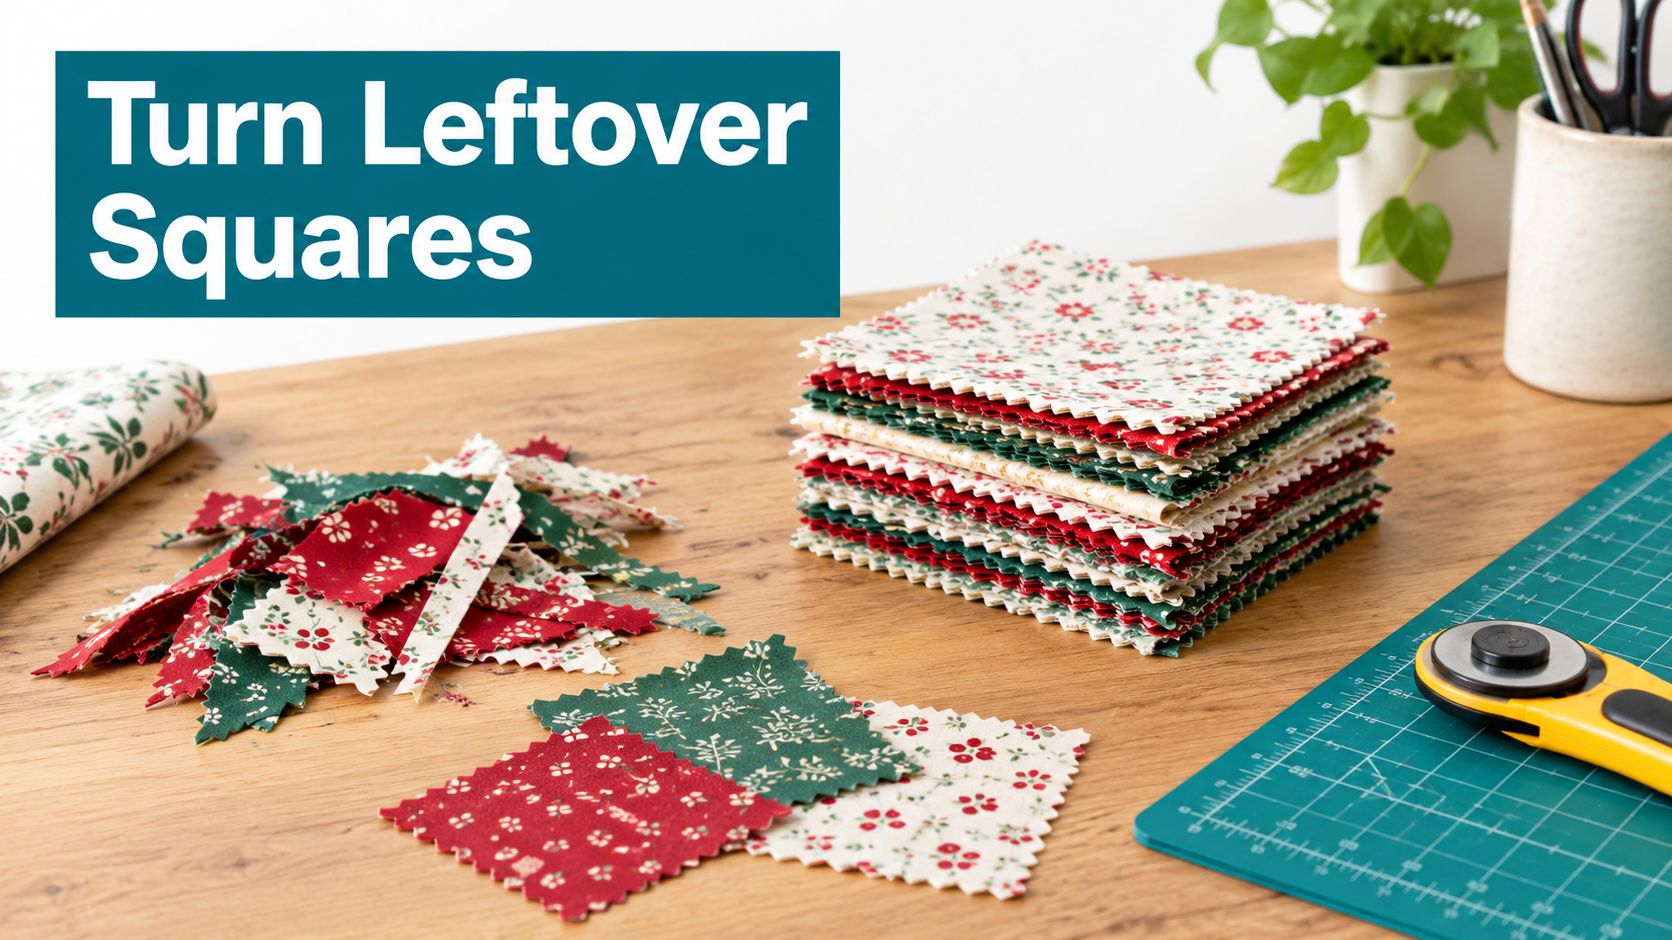
I inventory the full pack before I sew the main project. Count to 42, pull damaged or strongly directional squares aside, and keep every trimming in one small bin for applique or stuffing. Those cast offs become ornaments, not trash.
Pair what is left with neutrals. A red print reads as Christmas next to evergreen. That same red reads as a warm accent in March next to taupe, cream, or sage. Beginners get stuck here. They try to use only holiday fabric, run short, and shelve the leftovers. Buy the neutral yardage first and the leftovers have somewhere to go.
| Project | Squares Used | Remnant Risk | Best Reuse |
|---|---|---|---|
| Patchwork ornaments | small pieces | Low | Trimmings for stuffing and hangers |
| Mug rugs | small pieces | Low | Trimmings for applique |
| Table runner | 24 of 42 | Medium | Remaining 18 squares for mug rugs or a pillow |
| Tree skirt | repeated identical wedges | High | Scraps are hard to reuse, so plan extra fabric |
Here is the path I teach for one pack. Sew the table runner with 24 squares in December. In January, join the remaining 18 to neutral solids for mug rugs that do not look seasonal at all. Small work. Quick seams. Then stitch the bin of trimmings into a layered remnant pincushion. The pack is finished, nothing stored in a bag for next year, and the cost per square holds up because every square sewed into something useful.
A first project should teach the habits you will reuse, not just use up fabric. For most beginners I start with the table runner. One Christmas charm pack covers it with 24 squares, and the row joins give you about two dozen seams to practice. That sequence of sew, press, and square up shows up in every quilt after it.
Finish that runner before you buy more fabric. Finishing teaches tension control, pressing direction, and trimming in a way a half sewn quilt top never does. Once it is bound and on the table, sew patchwork ornaments. Small pieces forgive a wobbly quarter inch seam and let you practice points and hand finishing without much risk.
Move to a baby quilt when you can match intersections reliably and work around a pattern repeat. That step usually takes two packs and adds cutting for sashing or borders, plus longer seams that reveal pressing problems. Progress in that order. Each project adds one new demand instead of five at once, which keeps frustration low and accuracy high. This progression also solves the leftover problem from the start, since the runner leaves 18 squares ready for mug rugs and the trimmings become stuffing or applique.
This guide works as a reference you can return to. It connects pack contents, pack math, prep, sewing steps, and fixes for common errors. That connected structure follows Google guidance on internal links and descriptive anchor text, so you can move from counts to troubleshooting without starting a new search.
Do one specific thing this week. Read your pack label, count the squares against the 40 or 42 listed, and sew the four square test block from the runner before you cut border fabric. That block tells you whether your seam allowance is honest.
High Country Quilts in Colorado Springs stocks Christmas charm packs, background solids, and notions, and its team offers beginner classes and authorized BERNINA training and support. Pick your pack, sew that first four patch this week, and book the class that fits your schedule.
Serger and BERNINA Mastery classes, longarm training, bag-of-the-month, Kids Sewing Club and a Highlands Ranch retreat. Here's what's on the calendar in November.

Free gifts, included packages and special pricing on the BERNINA 790 ULTRA, 990, Liberty Editions, L 890 serger and Q Series longarms, now through December 31.

At High Country Quilts we care deeply about community. With our experiences in retail, we know that a store is not only a place to shop but also a place for the community to gather and share. During this busy...


Leave a comment