
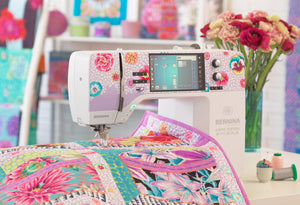

Free Fabric All Year: Our 2027 Fabric Punch Card
November 2–25 only: buy a $200 gift card in either store and get a free yard of fabric every month of 2027.

You line up the first seam of a new quilt, lower the presser foot, and press the pedal. The needle takes off faster than your hands can steer. The fabric shifts, the seam leaves the quarter-inch line, and you are already reaching for the seam ripper. That rush is the usual first meeting with a machine that has no ceiling on how fast it will sew.
Sewing machines with speed control give you that ceiling. The control limits how fast the needle can move. It is separate from how hard your foot presses the pedal. Think of the pedal as the gas pedal: it says go. The slider or reduced-maximum setting is the speed limiter: it says never faster than this. You still decide when to start and stop. The machine refuses to outrun you.
That ceiling matters because sewing got fast long before home quilting did. Britannica notes that the first hand-powered sewing machines of the 1800s ran at approximately 20 stitches per minute. Later powered machines climbed far beyond a hand crank. A controllable top speed is what keeps a modern motor usable for a first quilt, not only for a factory seam.
The people who gain the most are beginners building a rhythm, quilters on curves, appliqué, and free-motion work, and anyone whose foot, leg, or hand cannot hold a tiny pedal pressure for an hour. The pages ahead separate the pedal from the electronic limit, match speed to the task, walk through setup, sort the usual faults, and list what to compare before you buy, including local BERNINA help in Colorado Springs. You should leave knowing which control your machine has, and which speed to start from.
A wandering first seam is rarely a talent problem. The needle is allowed to run at the machine's full rate while your hands are still learning the path. Speed control is the setting that caps that rate. Lighten the pedal and the needle slows only if your ankle can hold that exact pressure. Set a maximum and the needle cannot pass it, even if your foot slips to the floor.
Early crank machines left the sewer in charge of every turn. Once motors took over, full pedal travel became a very fast default. Quilting asks for the opposite on most seams: time to stop, pivot, and keep a curve on the line. A limiter turns that fast default into a choice.
Practical rule: If the seam wanders the moment you press the pedal, lower the ceiling before you change the needle, the thread, or your grip.
Beginners use it to build a steady rhythm. Quilters use it when the hand must lead the fabric. Sewists with limited foot or hand control use it so a small slip does not become a sprint. Comfort is part of the same choice. A slower maximum does not fix a pedal parked too far forward or a chair that tips you onto your toes. Placement and posture decide whether the limit feels calm or cramped.
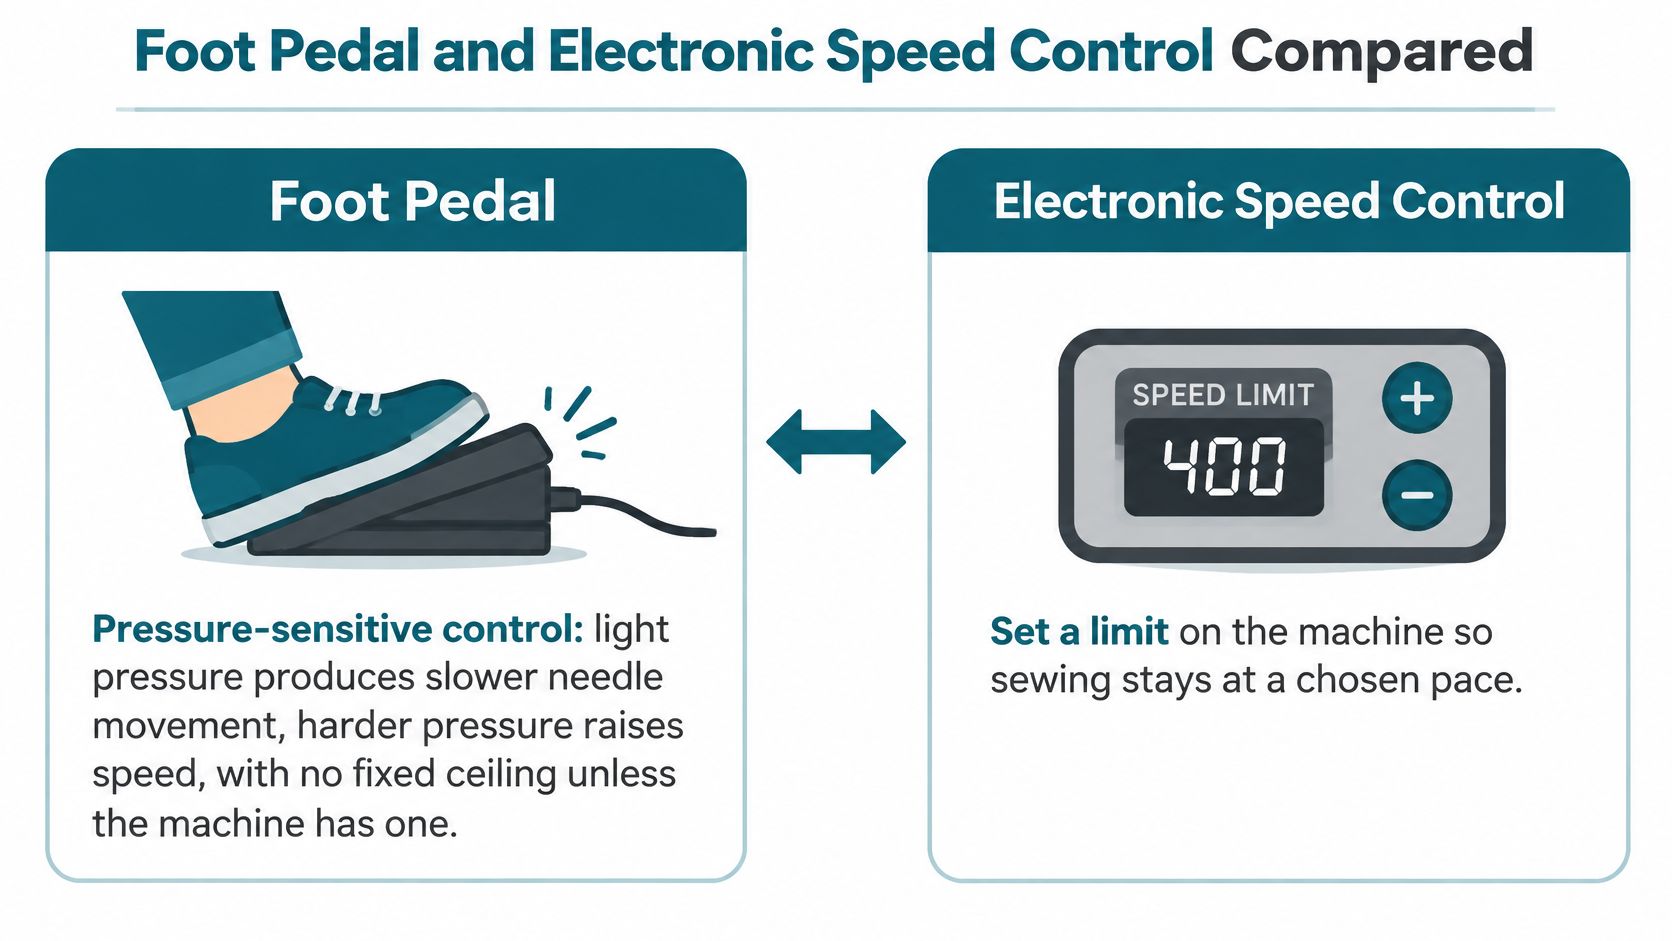
At the machine, the difference is straightforward: a foot pedal responds to pressure, while an electronic speed limit sets a ceiling. Press lightly and the needle moves slowly; press harder and it speeds up. Without a limiter, your ankle controls the full range, so maintaining one pace can take steady, comfortable pressure.
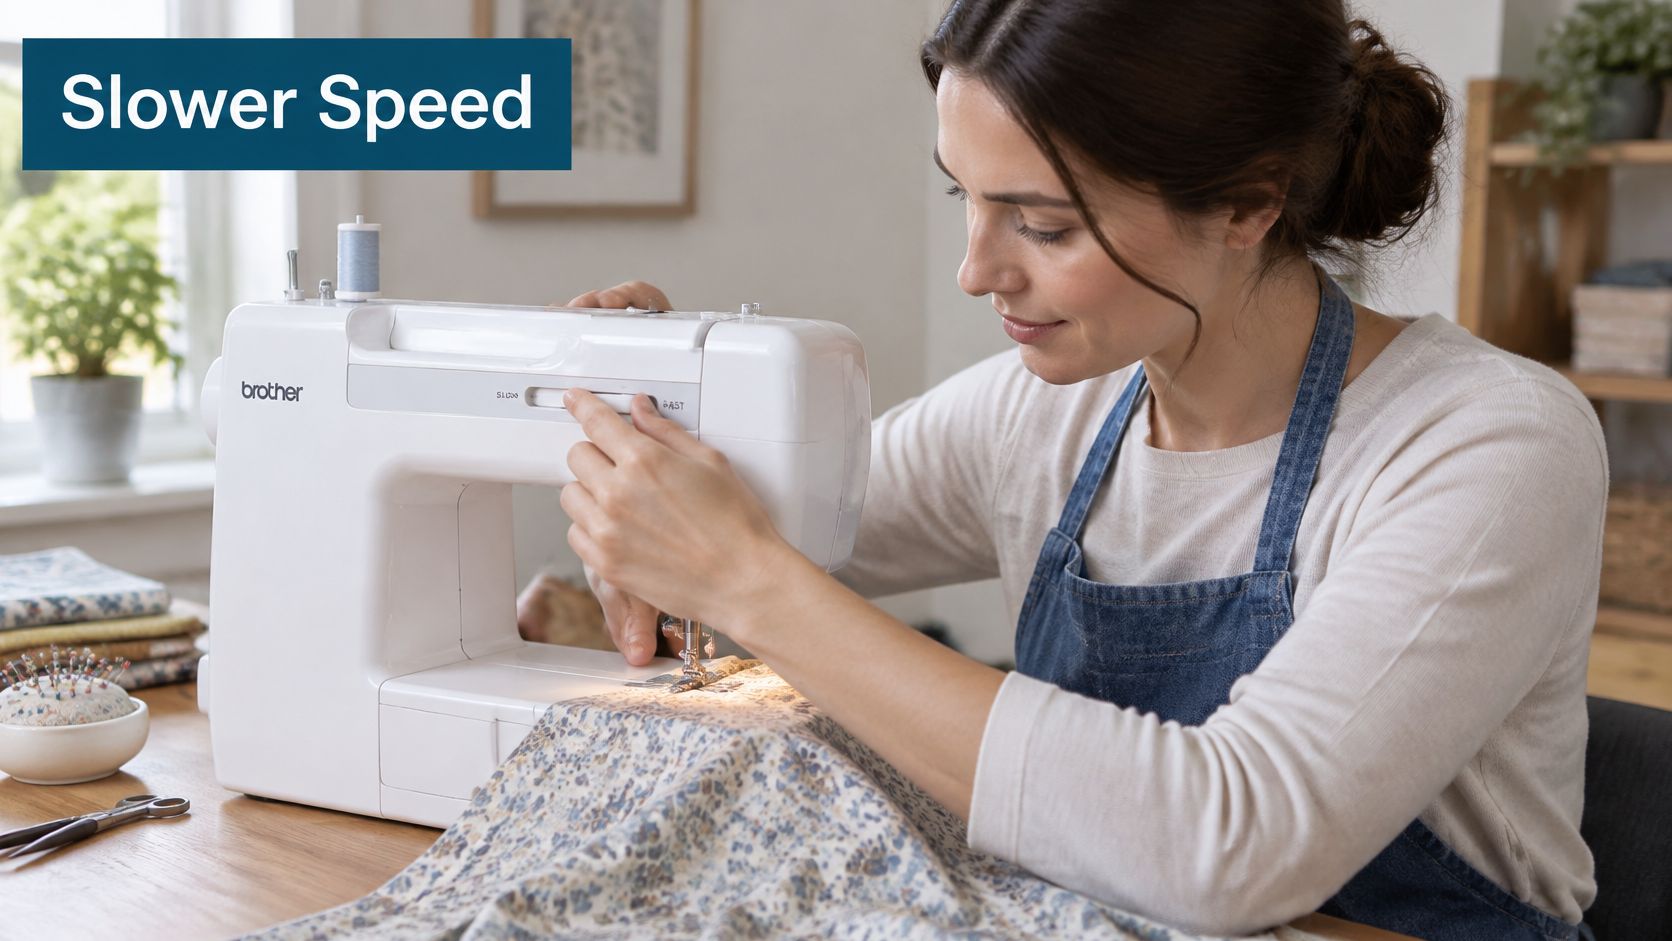
Electronic speed control adds a slider, dial, or reduced-maximum setting. The pedal still controls the speed, but only up to the cap you select. Even with the pedal fully pressed, the machine stays within that limit. Some machines also offer a Start/Stop button, letting you sew without a pedal while the speed limit remains in effect.
The controls and maximum speeds vary by machine. The BERNINA B335 quick-start guide lists a maximum of 900 stitches per minute and a reduced-maximum-speed setting. The bernette 37 has a maximum of 700 stitches per minute, and its slider can cap the speed below that. Sailrite describes the WorkerB Balance Wheel, used as an industrial reference on Ultrafeed machines, as running from 1 stitch per second to 550 stitches per minute.
| Machine | Control type | Maximum speed | Usable speed range |
|---|---|---|---|
| BERNINA B335 | Reduced maximum-speed setting | 900 stitches per minute | Top speed reducible below 900 stitches per minute |
| bernette 37 | Front slider caps pedal speed | 700 stitches per minute | Slider sets a ceiling below 700 stitches per minute |
| Sailrite WorkerB (industrial reference) | Balance wheel speed control | 550 stitches per minute | 1 stitch per second to 550 stitches per minute |
A pedal alone can suit a sewist who can keep a light, steady foot. A speed limit adds a repeatable ceiling, so pressing harder does not send the machine beyond the selected pace. When comparing machines, check the supported speed controls and maximum speed, then consider where you expect to set the limit. The advertised maximum is not necessarily the pace that feels comfortable for careful sewing.
How the control feels depends on more than the number. Pedal placement and posture affect how comfortably you can hold steady pressure. For a hands-on look at BERNINA options, browse the BERNINA machines at High Country Quilts and ask whether you can try a reduced speed on a seam before buying.
The useful speed is usually well below the number on the spec sheet. SATRA guidance puts a sensible working pace often below 1,000 rpm, and notes that changing how a machine's control behaves produced a 10% to 15% production-rate improvement in workshop use. A higher ceiling does not finish the quilt faster when unpicking eats the time you thought you saved.
Two machines set to a similar number can still feel different under a quilt sandwich. One technical account of motor control contrasts open-loop pulse-width modulation, which meters electrical power without measuring speed, with feedback that reads back EMF and widens or narrows the pulses when the motor runs too slow or too fast, as described in Joseph Eoff's motor-control notes. Feedback can hold pace when the layers thicken. Power-only control cannot. That is why "the same setting" is not the same stitch on every brand.
The slider or reduced-maximum setting is the ceiling. The pedal only moves you inside it. Start slower than you think you need, then earn a higher setting with even passes. Stay short of published maxima such as 700, 800, 900, or 1,500 stitches per minute. Those numbers are capability, not a target for points and curves.
| Sewing task | Starting point | Raise speed when |
|---|---|---|
| Piecing points and seam intersections | Slow, well under the reduced maximum | Seams stay straight and the needle can stop down |
| Curves and appliqué | Slow enough for the hands to lead | Edges stay on the marked line |
| Free-motion quilting | Steady low-to-moderate limit | Stitch length stays even |
| Thick seams and quilt sandwiches | Slowest speed that still penetrates without stalling | Needle moves smoothly and stitches do not skip |
| Straight-seam piecing | Moderate, often below 1,000 rpm | Fabric feeds flat without bunching |
| Topstitching | Moderate with balanced tension | The visible line stays straight |
Piecing points want a crawl. You need the needle to stop down, the foot to lift, and the allowance to stay put while you pivot. If you cannot stop exactly on the dot, the ceiling is still too high.
Curves and appliqué fail when the needle outruns the hand. The mark is still under the last stitch, and the new stitch has already left it. Keep the hands in the lead. Raise speed only after a full curve stays on the line.
Free-motion quilting is different again. Stitch length is how far your hands travel between needle strokes. A steady limit removes one variable so you can practice the other. Crowded stitches mean the needle is faster than your hands. Long stitches mean your hands are faster than the needle. Nudge the slider, not your grip, first.
A short demo of holding one pace while the hands do the steering makes that tradeoff easier to see.
Thick seams and quilt sandwiches use the slowest speed that still drives the needle through batting and layers. If the needle stalls, vibrates, or skips, low-speed torque is the suspect, not your nerve. Test a scrap of the same thickness. Reduce layers or raise the limit a notch before you force it. A suitable needle matters more than another press of the pedal.
Straight seams and topstitching can climb in small steps once several passes feed flat and the tension looks even. Stop short of the published maximum. The minute you save on a long seam disappears if the fabric bunches and you resew it.
When you are ready to compare machines that let you lock those task speeds in, browse the sewing machines with speed control and note which ones show a real range, not only a top number.
Setup is half machine and half body. A perfect slider still feels wild if you are perched on your toes.
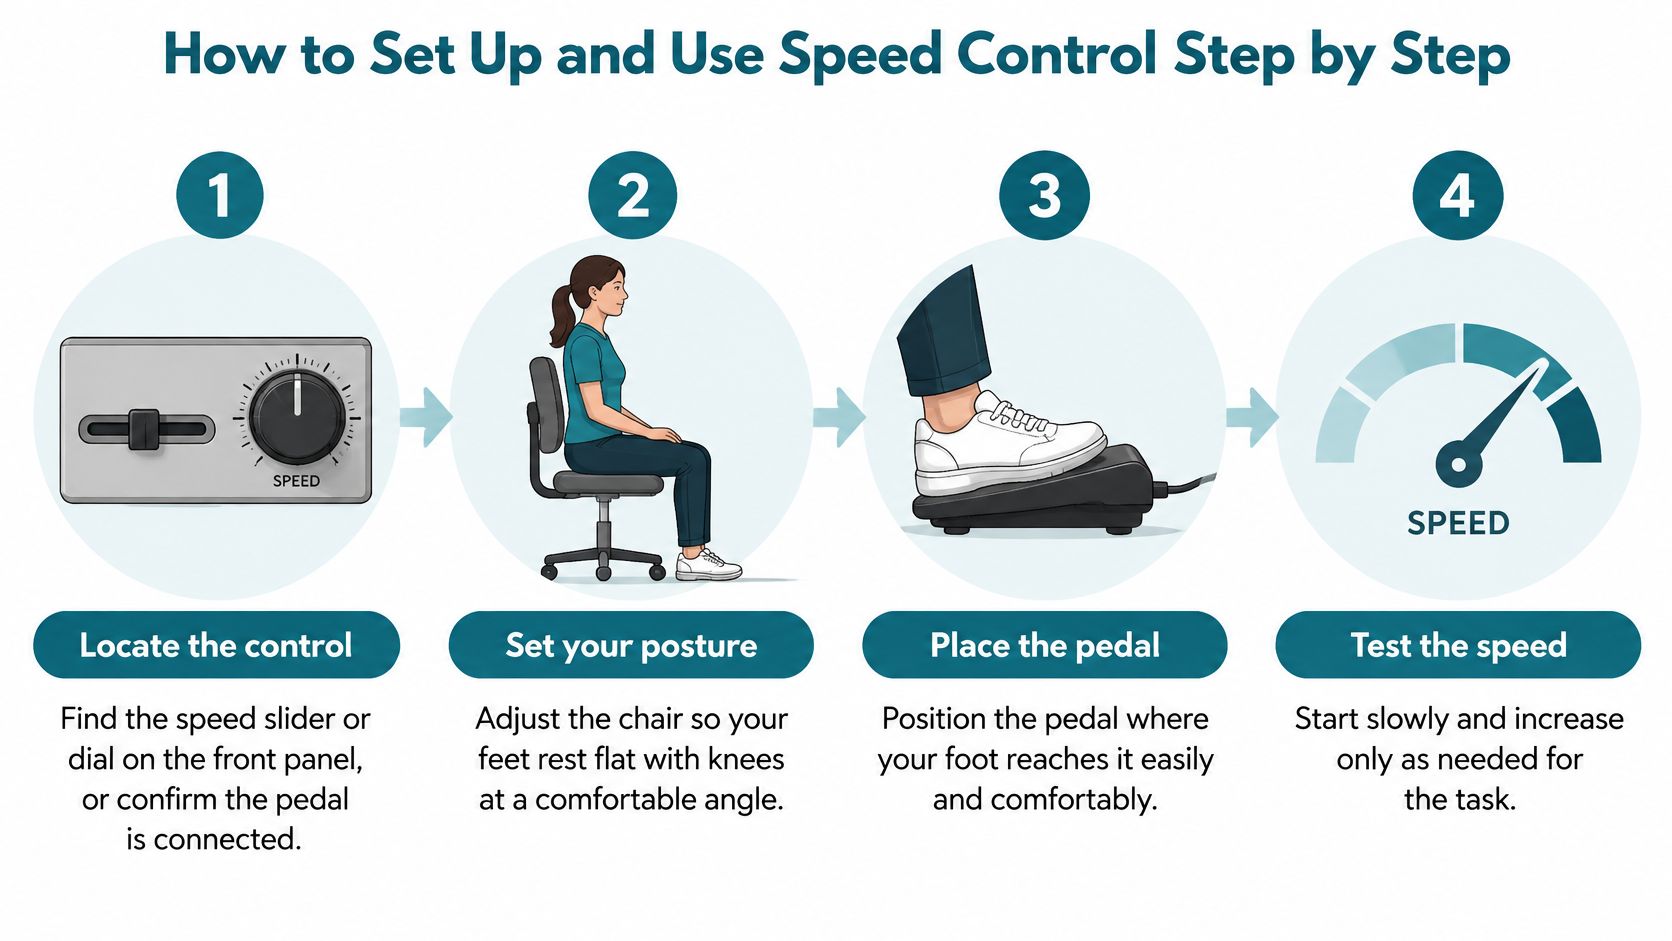
A slower maximum is not a comfort plan by itself. Chair height, pedal position, and how hard you must press belong in the same check.
You are done with setup when three things are true: a limit is set, a same-thickness scrap looks even, and your starting rhythm does not depend on gripping the pedal with your whole leg.
Bring that scrap to a shop floor and compare how different BERNINA speed controls feel under the same pressure.
The complaint that shows up first is a machine that races on a light pedal press. The limit is usually set near the top, or the pedal is worn and no longer returns to a true idle. Lower the slider and sew one scrap seam before you assume the motor is failing.
| Symptom | Likely cause | Fix |
|---|---|---|
| Machine races at light pedal pressure | Limit set too high or pedal sensitivity off | Lower the slider and test on scrap; service if pedal is sticking |
| Speed will not drop below a certain point | Limit set too high or pedal worn | Reduce the slider; service if the pedal does not return |
| Stalls or hunts at lowest speed | Low-speed torque too weak for the layers | Raise speed slightly or reduce layers; service if it persists |
| Skipped stitches at slow speed | Wrong needle size or thread tension | Change the needle and rebalance tension before changing speed |
| Needle breaks in thick seams | Speed too high for the bulk | Slow down before the thick section and use a suitable needle |
| Uneven stitches despite slow limit | Inconsistent pedal pressure or unsupported fabric | Keep steady pressure and support the fabric level |
| Pedal discomfort after long sessions | Poor chair height or pedal position | Adjust the chair and move the pedal so the heel rests on the floor |
Sort the one-minute fixes from the service fixes. Lowering the slider, fitting a fresh needle, rebalancing tension, and moving the chair are yours to try today. A pedal that sticks or will not spring back, a motor that surges, or a machine that cannot hold torque at low speed needs a technician.
A stall at the slowest setting is often torque against the layers, not a broken limiter. An engineering note on industrial servo sewing specifically ties slowing down to better accuracy on thick materials and to avoiding needle breakage, in this servo-control study. Raise the limit a little, or take a layer out, and test again. If it still hunts after that, stop sewing and book service.
If a change does not improve the next single test seam, stop blaming the speed control. Check the needle, the thread path, and whether the fabric is supported level with the bed. Then return to the pedal.
A published stitches-per-minute figure is only the start. Useful speed is the control you can repeat and the torque the motor still has when you ask it to sew slowly through a quilt.
| Feature | What to look for | Why it matters |
|---|---|---|
| Maximum speed | Published stitches-per-minute figure, with a usable low end | Sets the top ceiling for straight seams |
| Speed limiter type | Front slider, dial, or programmable maximum | Gives a repeatable ceiling independent of the pedal |
| Low-speed control | Smooth, steady sewing at the slowest setting | Essential for curves, appliqué, and free-motion work |
| Low-speed torque | Needle keeps moving through thick layers without stalling | Prevents skipped stitches and needle breakage in quilt sandwiches |
| Pedal design | Pressure-sensitive response and comfortable placement | Reduces fatigue and sudden acceleration |
| Start/Stop button | Starts sewing without the pedal while keeping the limit | Supports hands-free control and practice |
| Dealer support | Demonstrations, training, warranty, and service access | Keeps the machine performing well over years of use |
Low-speed torque decides the bulky moment, not the headline speed. Crossing a seam where batting, backing, and several seam allowances stack up, you want the needle to keep moving without a stall or a hunt. Ask to sew your own sandwich at the slowest steady setting. If the handwheel labors or the stitch skips only in that stack, the motor is telling you the truth.
Dealer support is the other quiet spec. A demonstration lets you feel pedal sensitivity. Training shows you where the reduced maximum lives. Warranty and service matter the first time a pedal sticks or a limit will not hold. Big-box shelves rarely give you that hour with the same model you will live with.
Use the table in the store. Write the maximum, the lowest steady speed you liked, and whether your heel could rest while you sewed. Machines that look similar on a tag feel very different after ten minutes of curves.
When you are comparing models side by side, start with the BERNINA dealer floor and ask for the reduced-maximum setting on a practice sandwich, not a single-layer cotton demo.

A speed limit is easier to judge while sewing than from a product photo. At High Country Quilts in Colorado Springs, you can compare BERNINA models and try the reduced-maximum setting on a practice quilt sandwich. Notice how the pedal responds within the limit, and whether your foot stays relaxed. A slower setting can help you guide curves and thick crossings with steadier control.
High Country Quilts is an authorized BERNINA dealer and offers training and support. The shop also hosts classes and community events; ask the shop for the current schedule. Bring a scrap quilt sandwich and a short task list, such as curves, appliqué, free-motion sewing, or crossing a thick seam. Those samples help you assess a machine at the speeds your work needs, rather than focusing only on its advertised maximum.
Explore the BERNINA machine pages and contact the shop to arrange a demonstration or ask what is available to try. Bring your fabric and task list, then compare how comfortable the machine feels at a controlled pace.
November 2–25 only: buy a $200 gift card in either store and get a free yard of fabric every month of 2027.

Serger and BERNINA Mastery classes, longarm training, bag-of-the-month, Kids Sewing Club and a Highlands Ranch retreat. Here's what's on the calendar in November.

Free gifts, included packages and special pricing on the BERNINA 790 ULTRA, 990, Liberty Editions, L 890 serger and Q Series longarms, now through December 31.


Leave a comment