

We Love Our Quilting Community
At High Country Quilts we care deeply about community. With our experiences in retail, we know that a store is not only a place to shop but also a place for the community to gather and share. During this busy...


You've cut a small flower perfectly, placed it exactly where you want it, and then watched it shift as you reach for a pin. Or you press it down, feel pleased for a moment, and find a corner lifting before you even get to the sewing machine. That's the moment fusible webbing helps, but only when you treat it as a controlled sequence you can check at each stage, not as instant glue.
A tiny leaf can tell you a lot. If it slides while you're handling the background, you'll chase alignment for the rest of the project. If its point lifts after pressing, your stitching has to rescue a weak bond instead of finishing a secure edge.
Fusible webbing is a heat-activated adhesive that bonds appliqué fabric to a background before stitching, and heat softens or melts its thermoplastic component so pressure and dwell time can join the fabric surfaces, as explained in Utah State University Extension machine appliqué guidance. It reduces pinning and makes small or intricate motifs easier to position. It doesn't remove the need for a finished edge.
Think of the layers as separate jobs. The appliqué fabric gives you color and shape. The web holds that shape in place. The paper backing gives you a surface for tracing and protects the adhesive until you're ready. The background fabric receives the motif, and the stitched edge reinforces the bond for handling and washing.
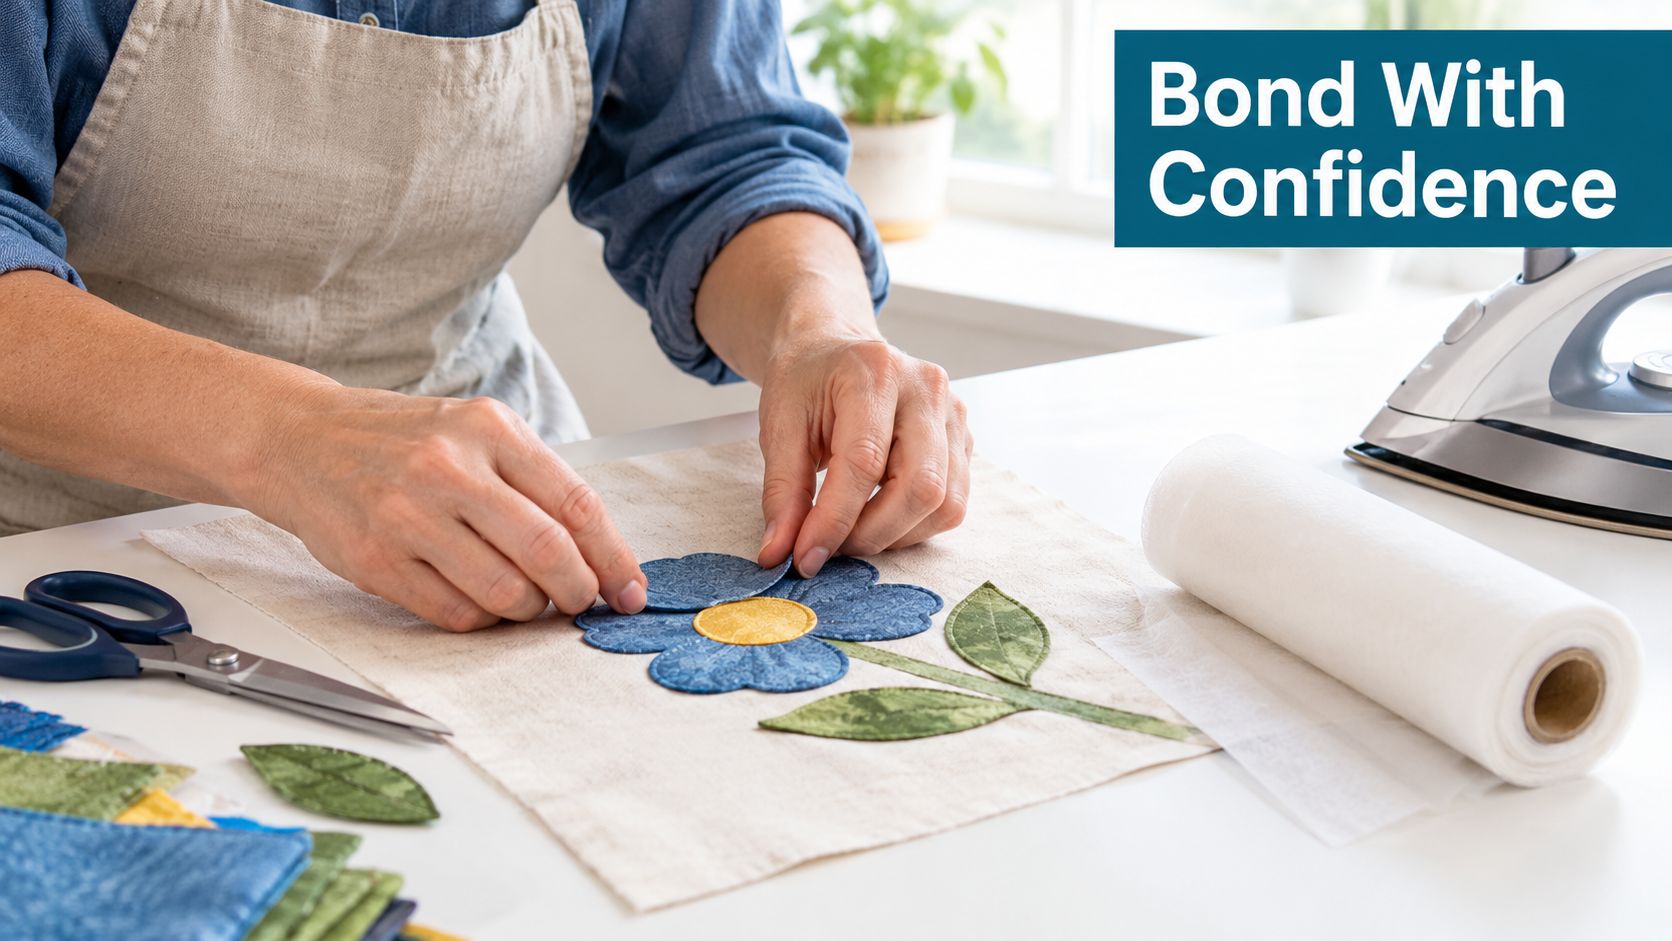
Learning how to use fusible webbing for appliqué gets easier when you pause after each step. Is the trace reversed if it needs to be? Is the web fully attached before you cut on the line? Has the piece cooled before you peel the paper?
Press, don't drag. Lifting and setting the iron down protects alignment and keeps adhesive where it belongs.
Temperature and timing aren't universal. Excessive ironing can cause some webs to lose adhesion, so your product instructions control the setting. Test on scrap first, protect your iron and board, and you'll know whether the bond works before your real motif is at risk.
When you're choosing web for a first project, bring your fabric and pattern notes to the shop counter and ask which weight suits a wall hanging, a child's quilt, or a clothing accent before you buy a full roll.
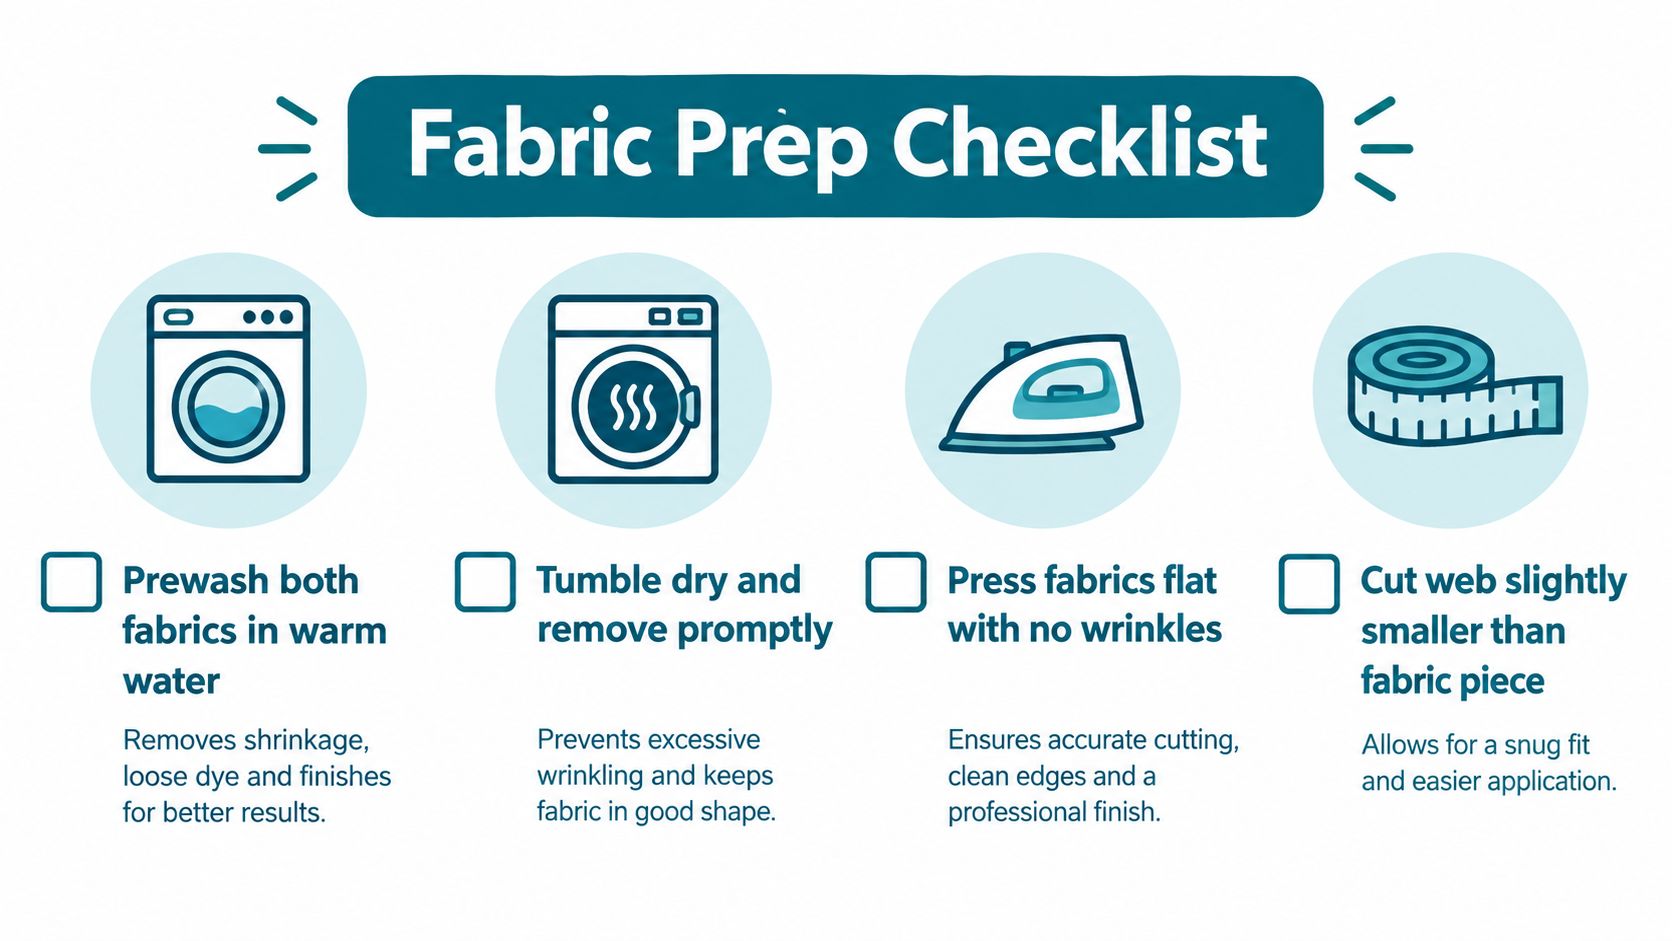
Good bonding starts before the iron gets hot. Prewash and dry both your appliqué and background fabrics to remove sizing and finishes, then press them flat without fabric softener, following fabric preparation guidance for fusible appliqué. Sizing, starch, and softener sit on the surface. Adhesive can't grip fabric properly through that layer.
Next, identify the two sides of your web. The smooth paper side is where you'll trace. The rougher, textured side is the adhesive side, and it belongs against the wrong side of your appliqué fabric. If you're unsure, check in good light and mark a scrap corner. Don't guess on your project piece.
Trace the mirror image onto the paper side. This matters most for lettering, numbers, animals facing one direction, and any asymmetrical motif. A symmetrical heart looks the same either way. The letter R doesn't. Flip your template before tracing, then hold the traced web up and check the direction before you fuse anything.
Cut around the traced shape with a small margin. You're not cutting the final shape yet. You're making a manageable patch of web that you can bond to fabric, with room so the adhesive reaches every point and curve of the design.
The checklist below keeps this stage visible and repeatable.
| Preparation Point | What to Check |
|---|---|
| Prewashed fabric | Both fabrics washed, dried, and pressed flat, with no fabric softener |
| Web sides | Paper side identified for tracing, adhesive side ready for fabric |
| Reversed motif | Lettering and directional shapes flipped before tracing |
| Rough cut | Web cut outside the traced line, leaving a small margin all around |
| Protected surface | Pressing sheet or parchment ready to catch stray adhesive |
Keep your traced pieces flat and labeled if you're preparing several motifs. Small pieces get mixed up quickly, and a reversed leaf is only helpful if you know which flower it belongs to.
Before you fuse, shop your scrap bin for a test piece in a similar weight, and pick up a pressing sheet if you don't already own one. It's a small supply that saves your iron and board from sticky cleanup.
Start with a scrap test, every time you change web or fabric. Products vary. Some need a hot iron and moisture from a pressing cloth. Low-melt products need moderate heat and a dry iron. Your scrap tells you which combination forms a bond without scorching or shine.
Place the rough-cut web adhesive side down on the wrong side of your appliqué fabric, paper side up. One product specification calls for leaving at least a 1/4-inch margin of web around the traced design before fusing, using a medium iron with no steam and firm pressure, as shown in Appli-Web Plus product instructions. Your own product may differ, so let its label lead.
The visual sequence below shows the order that protects your shape.
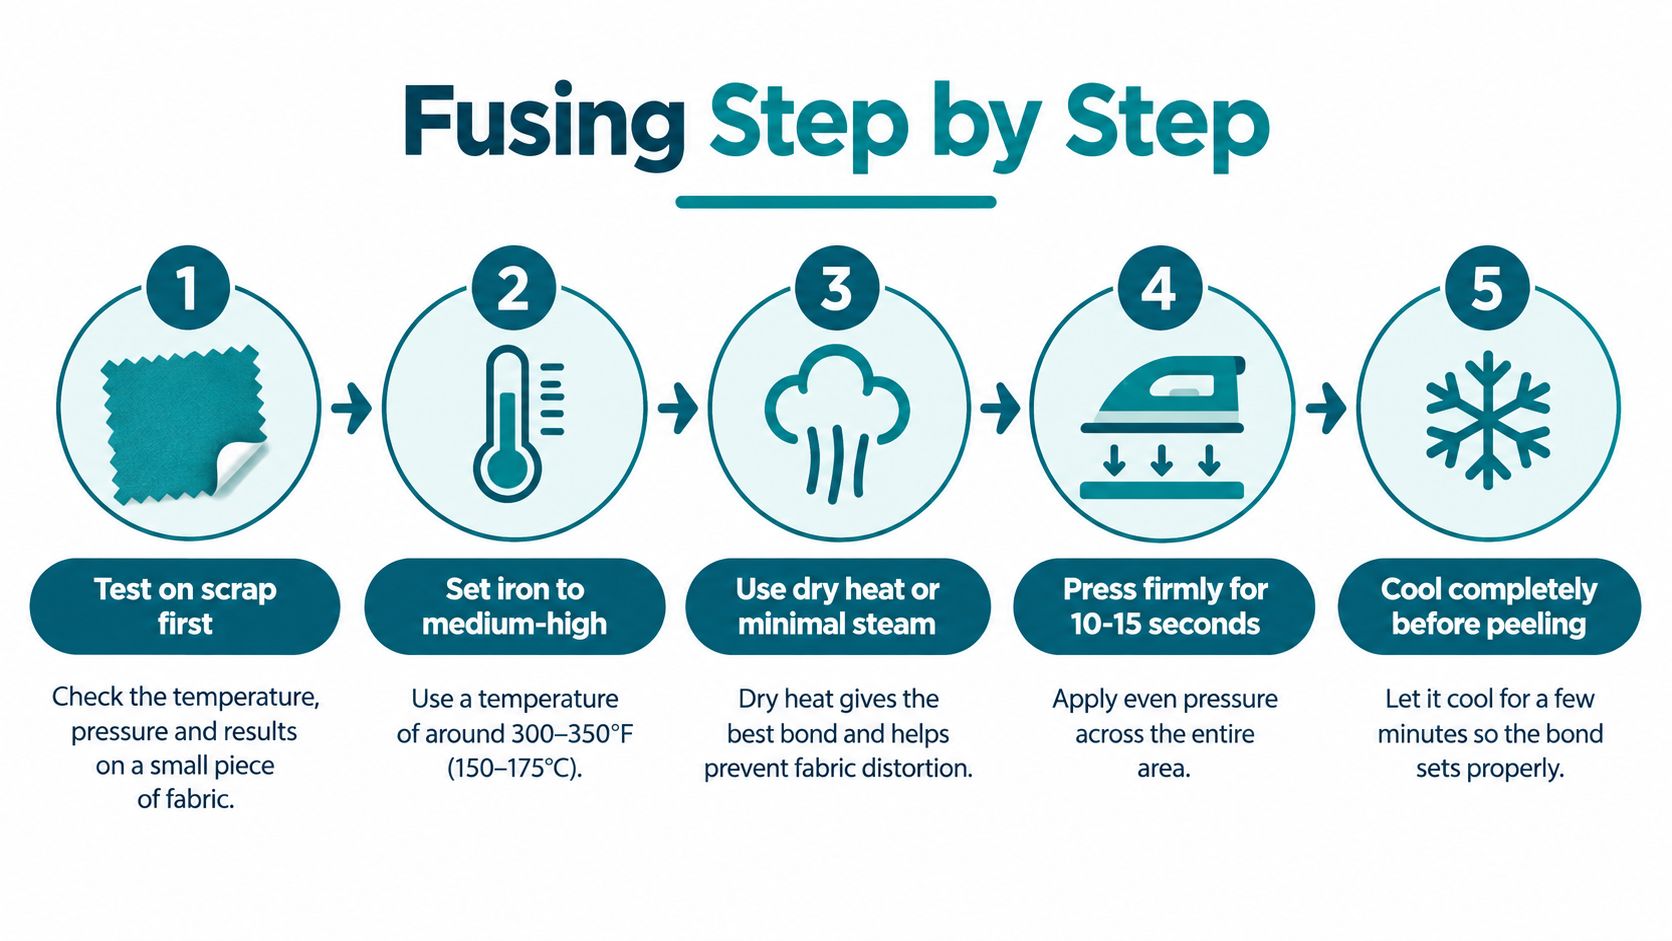
Press in one spot, lift, and move to the next. Don't slide the iron. Sliding can smear adhesive and distort a small piece before the bond sets. Work in short, controlled sections at the temperature, pressure, and dwell time your product specifies.
Then stop and let the piece cool completely. This is the step beginners rush. Cutting while the bond is still warm can stretch the shape, expose adhesive at the edge, or pull the web away from the fabric. Once it's cool, cut accurately on the traced design line. Now your scissors follow a stabilized edge, and points and curves stay crisp.
Peel the paper away gently. If it resists, score it lightly in the middle and peel from the center outward rather than tugging at a point. You should see a smooth, even adhesive film on the wrong side, with no bare patches at the corners.
Watch the pressing motion and paper removal in this demonstration before you try it on your motif.
If you're comparing paper-backed webs for detailed motifs or iron-on patches, the Dirt Cheap Headwear tiger iron guide is a useful side reference for how heat-activated backing behaves on a finished patch. For quilting, choose a web weight that matches your fabric, and ask in store for a sample recommendation if your motif has narrow bridges or sharp points.
A single circle is forgiving. A layered flower with a stem, two leaves, and a center is a planning problem. The difference isn't skill. It's order.
For simple shapes with straight sides or large curves, you can usually position the piece directly on the background and fuse it in one sequence. For complex shapes, including sharp points, narrow bridges, lettering, and layered designs, stage the work. Decide what sits underneath before any paper comes off.
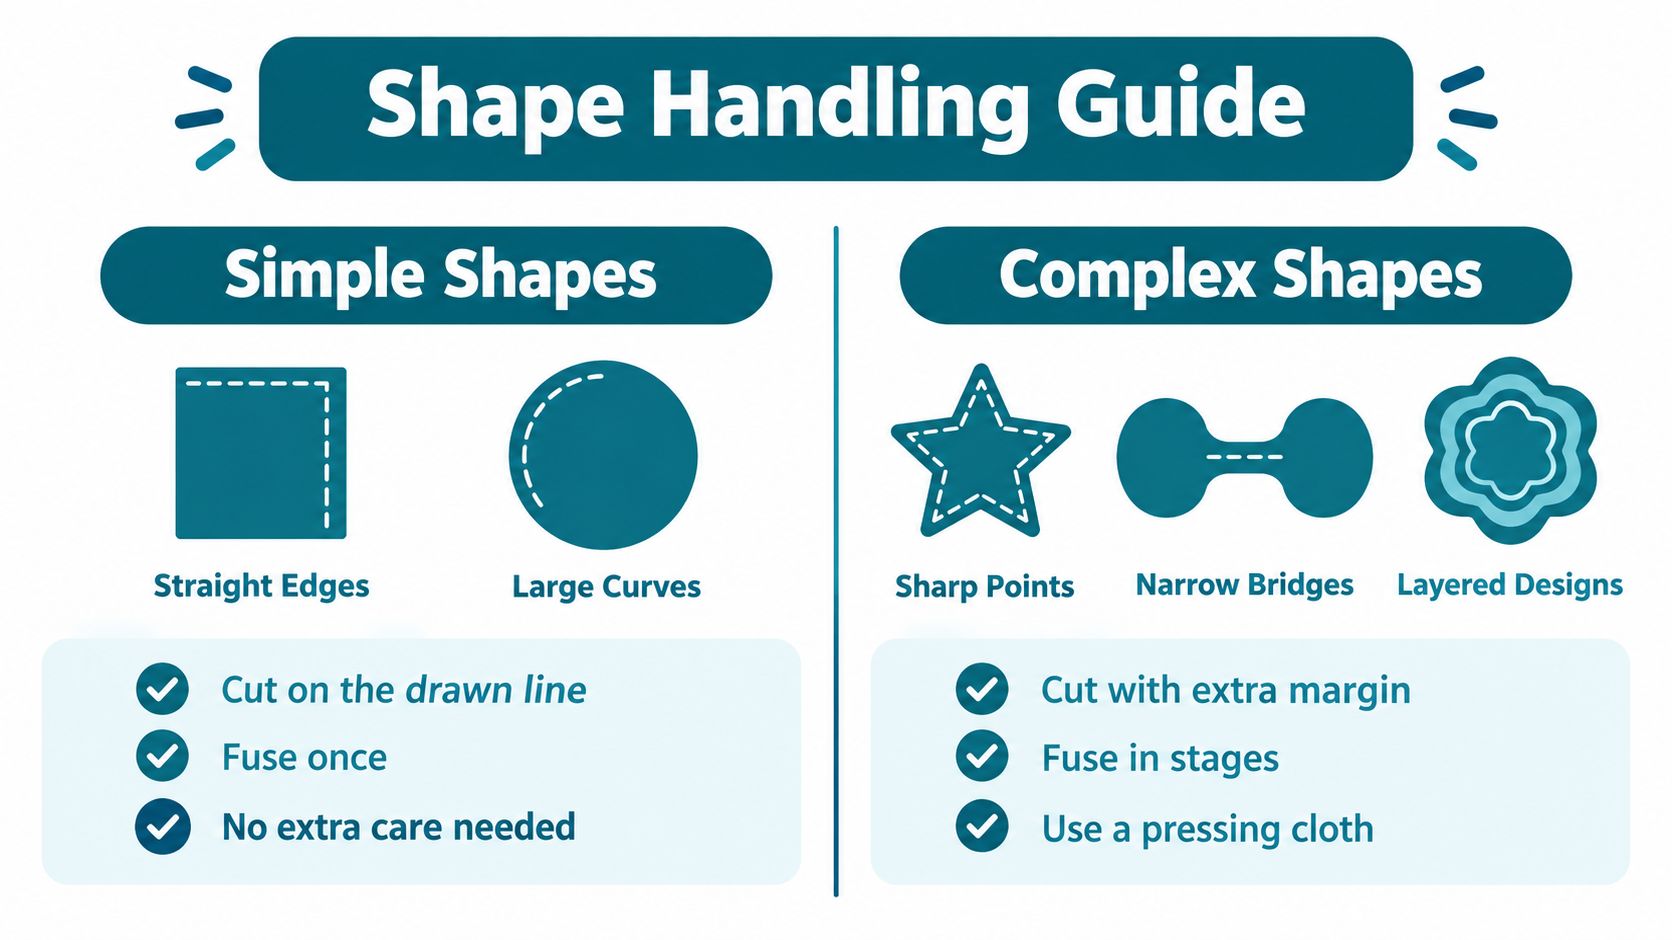
For multi-piece motifs, assemble small sections on an appliqué pressing sheet first. You can nudge a petal into place, build the whole flower, let it cool, and then transfer the finished unit to your background in one move. That's far more accurate than fusing each petal directly to the quilt and hoping the last one lands correctly.
New Mexico State University Extension describes lightly anchoring each piece by touching its center and edges with the iron tip for a few seconds, then covering the complete design with a press cloth for a final fuse in NMSU Extension machine appliqué instructions. The anchor keeps pieces from skating around. The covered final press distributes heat evenly.
Add stabilizer behind the background when you're stitching a detailed or densely stitched motif. It supports the fabric and helps you keep a crisp edge. If you're planning a layered design, bring your pattern in and ask which stabilizer and pressing sheet suit your fabric weight before you start cutting.
With the paper removed, place your prepared shape adhesive side down on the background. Check it from directly above, not at an angle. Small placement errors hide when you're leaning over the board. Once you're happy, fuse it using your product's settings, then let the assembly cool before you carry it to the machine.
Cooling matters again. A warm bond can shift under your hands or under the presser foot. A cool, flat motif feeds predictably and lets you focus on steering around curves and points.
There's no single correct stitch. Choose based on the look you want and the control you have.
Utah State guidance covered earlier recommends finishing with a decorative, satin, or blanket stitch because stitching reinforces the bonded edge and gives a finished appearance. Treat that stitch as structure, not decoration added if you have time. On quilts that will be washed or handled often, it's what keeps edges from fraying and lifting.
Check the first inch: Stitch a short test length on scrap with the same layers and stabilizer. Adjust width and tension there, not halfway around a petal.
Lower the needle into the fabric before you pivot at a point or corner. Turn the work, not the motif. On BERNINA machines and other models with adjustable width and length, make small changes and test again. You're looking for stitches that land just inside the appliqué edge and just into the background, consistently.
Slow down on inside curves and narrow bridges. If a section looks uneven, stop with the needle down, breathe, and restart. A calm pace produces a cleaner perimeter than speed. When you're ready to compare presser feet or test a stitch setting, bring a fused scrap to a machine demo and sew the actual layers you'll use at home.
When a bond fails, don't reach for more heat first. Excessive heat can scorch fabric or destroy adhesive. Insufficient heat or pressure leaves edges partly bonded, and they'll lift during stitching or laundering. Change one variable at a time on scrap, temperature, dwell time, or pressure, as outlined in a fusible web tutorial on pressing variables.
Read the symptom before you act.
Published guidance commonly specifies 5 to 10 seconds for a final fuse, while other products recommend 8 to 10 seconds or longer. One technical specification for a low-temperature hot-melt web lists 120 to 140°C (248 to 284°F), pressure of 0.3 to 0.5 kgf/cm², and 10 to 15 seconds, in a low-temperature hot-melt web specification. Those figures describe one product. They aren't a prescription for yours.
Keep the soleplate clean, because old adhesive transfers to fresh fabric. Discard used protective paper rather than reusing a sticky sheet. Then run a wash test on a finished sample before you commit a whole quilt. If the sample edge lifts, you've learned that on scrap, where the lesson is cheap.
If a problem keeps repeating, bring the failed sample, the web packaging, and your fabric scraps in for a second set of eyes. A visible sample makes diagnosis faster than a description.
Before you call a motif finished, inspect it like a quilt judge and a laundromat user at the same time. You're checking looks and durability together.
Run through this short quality check.
Longevity deserves one honest note. University of Nebraska–Lincoln research found selected webs showed no significant yellowing, stiffening, or strength loss after 40 accelerated light-exposure units or 6 hours of heat aging, but all tested webs yellowed and bled through after 36 hours of heat aging, as reported in University of Nebraska–Lincoln fusible web research. That's fine for beginner projects, clothing accents, wall hangings, and everyday quilts with stitched edges. For an heirloom meant to pass through generations, consider sewn appliqué methods instead.
Prepare, bond, cool, cut precisely, position, fuse, stitch, and verify.
That order is your repeatable routine. Write your successful settings, web name, and fabric on a scrap and keep it with the project. Next time, you won't reconstruct the test from memory.
High Country Quilts in Colorado Springs stocks fusible webbing, stabilizers, pressing tools, and appliqué notions, and offers BERNINA machines with classes and community events for makers who want hands-on practice. Stop in with your pattern and fabric, test a web on scrap, and leave with supplies matched to the project in your hands.
Ready to try your first motif with confidence? Visit High Country Quilts to shop fusible webbing, pressing sheets, stabilizers, fabrics, and BERNINA machines, and to find classes in Colorado Springs where you can practice each step with expert support. Bring a scrap and a design you love, and you'll leave knowing exactly which products to use at home.
At High Country Quilts we care deeply about community. With our experiences in retail, we know that a store is not only a place to shop but also a place for the community to gather and share. During this busy...

Hi! We’re Adam and Renee Wheaton, the new owners of High Country Quilts! For more than 40 years, we’ve owned and operated vacuum and sewing businesses. Following in Renee’s father’s footsteps after he retired from All Discount Vacuum and Sewing in Colorado...


Leave a comment