


We Love Our Quilting Community
At High Country Quilts we care deeply about community. With our experiences in retail, we know that a store is not only a place to shop but also a place for the community to gather and share. During this busy...


You've spread fabric across the dining table, lined up a ruler, and pressed a rotary cutter into the first cut. The fabric shifts, the ruler skids, and the edge comes out uneven. That frustrating start usually isn't a lack of skill. It's a missing foundation: the right cutting mat for a rotary cutter.
A mat gives the blade a controlled surface, protects your table, and places a visible grid beneath the fabric. Once the mat, ruler, and cutter work as a system, cutting becomes repeatable instead of stressful. This guide will help you choose the construction and size that fit your first quilt, then build safe habits that protect both your tools and your hands.
A rotary cutter is designed to roll along a firm, resilient surface. On a bare table, the blade can damage the finish, lose its smooth path, and catch as the fabric moves. The fabric may creep under the ruler, causing a strip to narrow or widen from one end to the other.
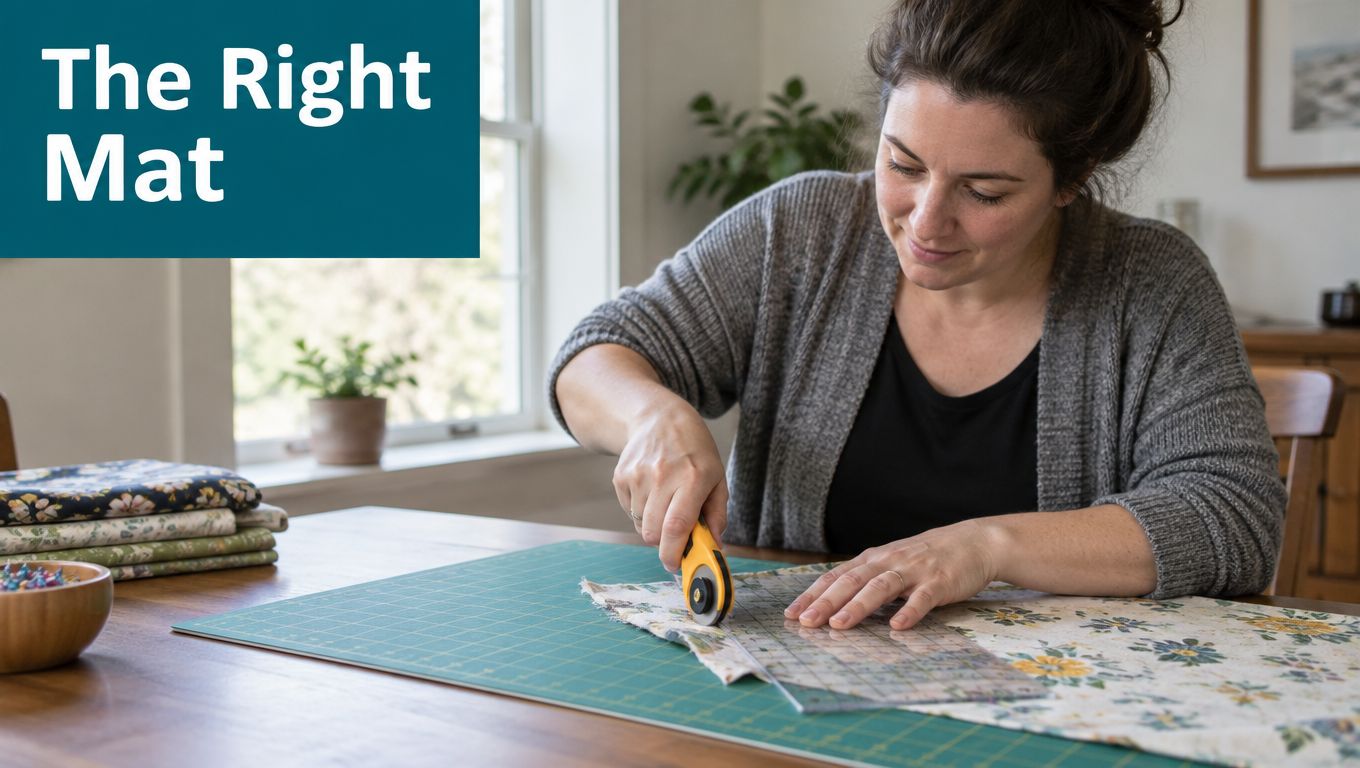
The mat solves several problems at once. Its surface gives the blade something dense enough to enter without passing through to your table. Its grid helps you square fabric and check measurements, while its texture gives the fabric a more stable place to rest.
Safety first: A ruler that slips can put your fingers in the blade's path. Keep your cutting surface stable before you worry about cutting faster.
Many beginners think first about buying a ruler or extra blades. Those tools matter, but both depend on a stable base. A clear acrylic ruler can't stay accurately aligned if the fabric shifts beneath it, and a fresh blade can still damage a table if you don't use a proper mat.
The history of quilting reflects how important this combination became. OLFA introduced the rotary cutter in 1979, originally for garment making, and quilters adopted it soon after. By the early 1980s, rotary cutters and Mylar plastic templates were already being used in quilting, replacing many traced-template and scissor-based cutting methods. The related development of the self-healing mat mattered because early users couldn't safely use a rotary cutter on an unprotected table. This history of the rotary cutter explains how the cutter, ruler, and mat became a standard modern quilting system.
A good mat supports the entire beginner workflow. You press and fold the fabric, align an edge with the grid, hold the ruler steady, and guide the cutter in one controlled motion. The result is a cleaner starting edge for strips, blocks, and later piecing.
Look for four basics: self-healing construction, useful thickness, readable grid markings, and a surface that stays stable. Size then determines whether you can cut yardage comfortably or need to refold and reposition the fabric.
A first quilt often involves dozens of cuts across strips, rectangles, and blocks. Each pass presses the rotary blade into the mat, so the surface must protect your table while giving the blade a consistent path. A self-healing mat handles small cuts by closing around them, much like a soft track settling after a wheel passes. It still wears out eventually.
Manufacturers commonly build these mats from compressed PVC fibers, layered vinyl, or composite plastic. A description of layered cutting-mat construction shows a 5-ply design with a middle layer that helps prevent the blade from cutting through. The layers spread pressure, protect the table, and provide a resilient surface for repeated cutting.
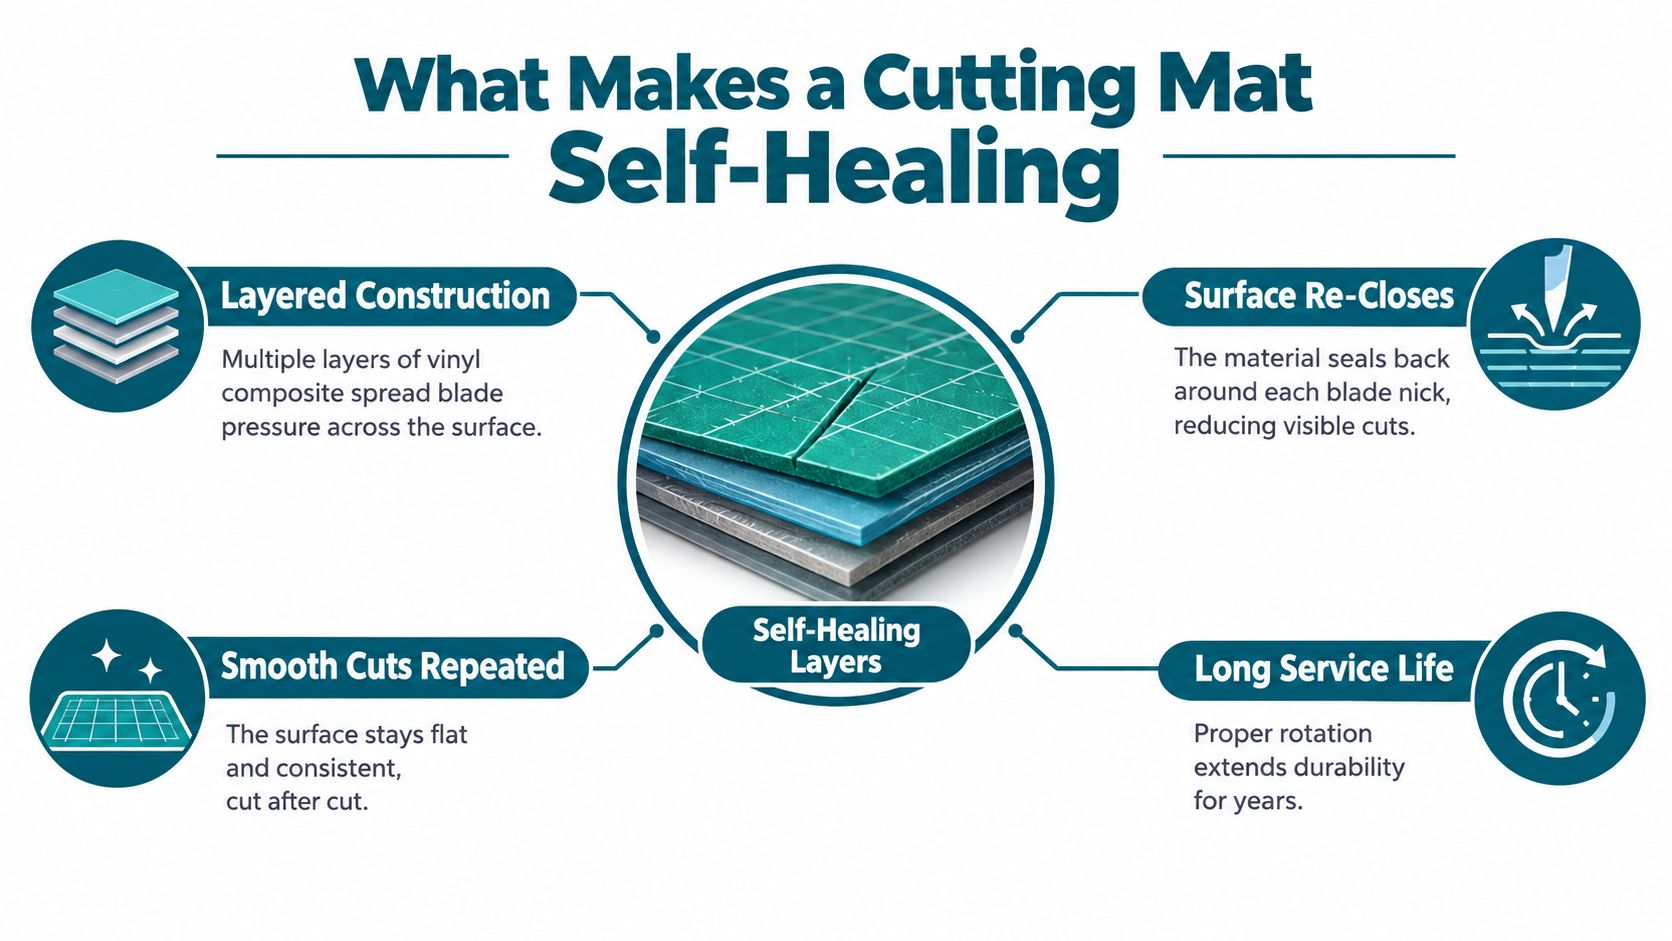
Material density affects how soon grooves develop. A denser PVC or composite surface handles repeated blade pressure better than a flimsy craft sheet. Since you cannot see every internal layer, check the practical clues: the mat should feel firm, lie flat, and be labeled for rotary cutting.
Thickness gives the blade a protective cushion. A rotary-cutting mat should be at least 1/8 inch thick, while thicker versions are commonly around 3 mm, according to Dahle's cutting-mat guidance. A thin mat may allow the blade to reach the table. Excess thickness or an uneven surface can make it harder to hold a ruler comfortably.
Grid markings provide a built-in measuring reference while you align fabric. Choose clear inch lines, half-inch divisions, and angle guides for 30, 45, and 60 degrees. Metric markings can help when a pattern uses centimeters. Common layouts use 1 cm spacing on the metric side and two grid squares per 1 inch on the imperial side.
Surface grip keeps fabric from creeping as you cut. A lightly textured or non-slip finish can steady the ruler, but it should remain smooth enough for delicate fabric to move without snagging.
The printed grid is only the visible part. Internal layers distribute blade pressure, while the resilient surface closes around small nicks. That construction helps a mat serve throughout the early quilt workflow, from preparing fabric to cutting long strips and trimming blocks.
Care still affects its working life. Rotate the mat so one area does not receive every cut, store it flat, and replace dull blades before they drag. Replace the mat when cuts stay open, grooves catch the fabric, or the surface warps and no longer lies flat. Those working signs matter more than a promise on the package.
Your first quilt may begin with a few folded fat quarters, then grow into long strips and larger blocks. The cutting mat should support that progression. A mat that is too small means more refolding, while one that is too large may not fit your table or storage space.
A 12 in x 18 in mat works for trimming blocks, cutting charm squares, and preparing small bag panels. It also suits a limited sewing area or a portable setup for class. For a seated workstation or occasional small projects, its compact footprint can be a practical advantage.
An 18 in x 24 in mat provides more room for strip piecing and baby quilt blocks. It is a useful middle option for an apartment table, though larger folded yardage will still need repositioning.
For a first general-purpose mat, 24 in x 36 in gives the most flexibility. You can handle folded yardage, cut longer strips, and keep more fabric supported while checking the ruler. Standard size families also include 36 in x 48 in for broad cutting areas. Size references commonly group these options as 12 in x 18 in, 18 in x 24 in, 24 in x 36 in, and 36 in x 48 in. Quilting mat size references
| Mat Size | Best For | Limitation |
|---|---|---|
| 12 in x 18 in | Trimming blocks, small panels, travel, lap-desk sewing | More refolding for strips and yardage |
| 18 in x 24 in | Strip piecing, baby quilt blocks, compact sewing rooms | Limited room for larger folded fabric |
| 24 in x 36 in | First quilts, yardage, long strips, general quilting | Needs a larger, stable workspace |
| 36 in x 48 in | Broad cutting areas and large fabric handling | Takes substantial storage and table space |
A smaller mat fits a small apartment, a class bag, or a compact workstation. It stores and carries easily, but every extra fold creates another chance for the grain, fold, or ruler to shift.
A larger mat lets you establish one straight reference edge and leave more fabric in place. That matters during the first quilt, when consistent strips and square blocks make later piecing easier.
Check the mat's outside dimensions before measuring your table. A 24 in x 36 in cutting area may have an outside footprint of 25-1/4 in x 37 in, so the physical mat can extend beyond its printed grid. Leave enough stable surface around it for the fabric and ruler. For one dependable starter surface, choose 24 in x 36 in. Add a smaller companion mat later if portability becomes important.
Start with the fabric, not the cutter. Press it so wrinkles don't alter the measurement, then fold it carefully with the selvedges together. Place the fold against a straight grid line and square the leading edge before cutting project strips.
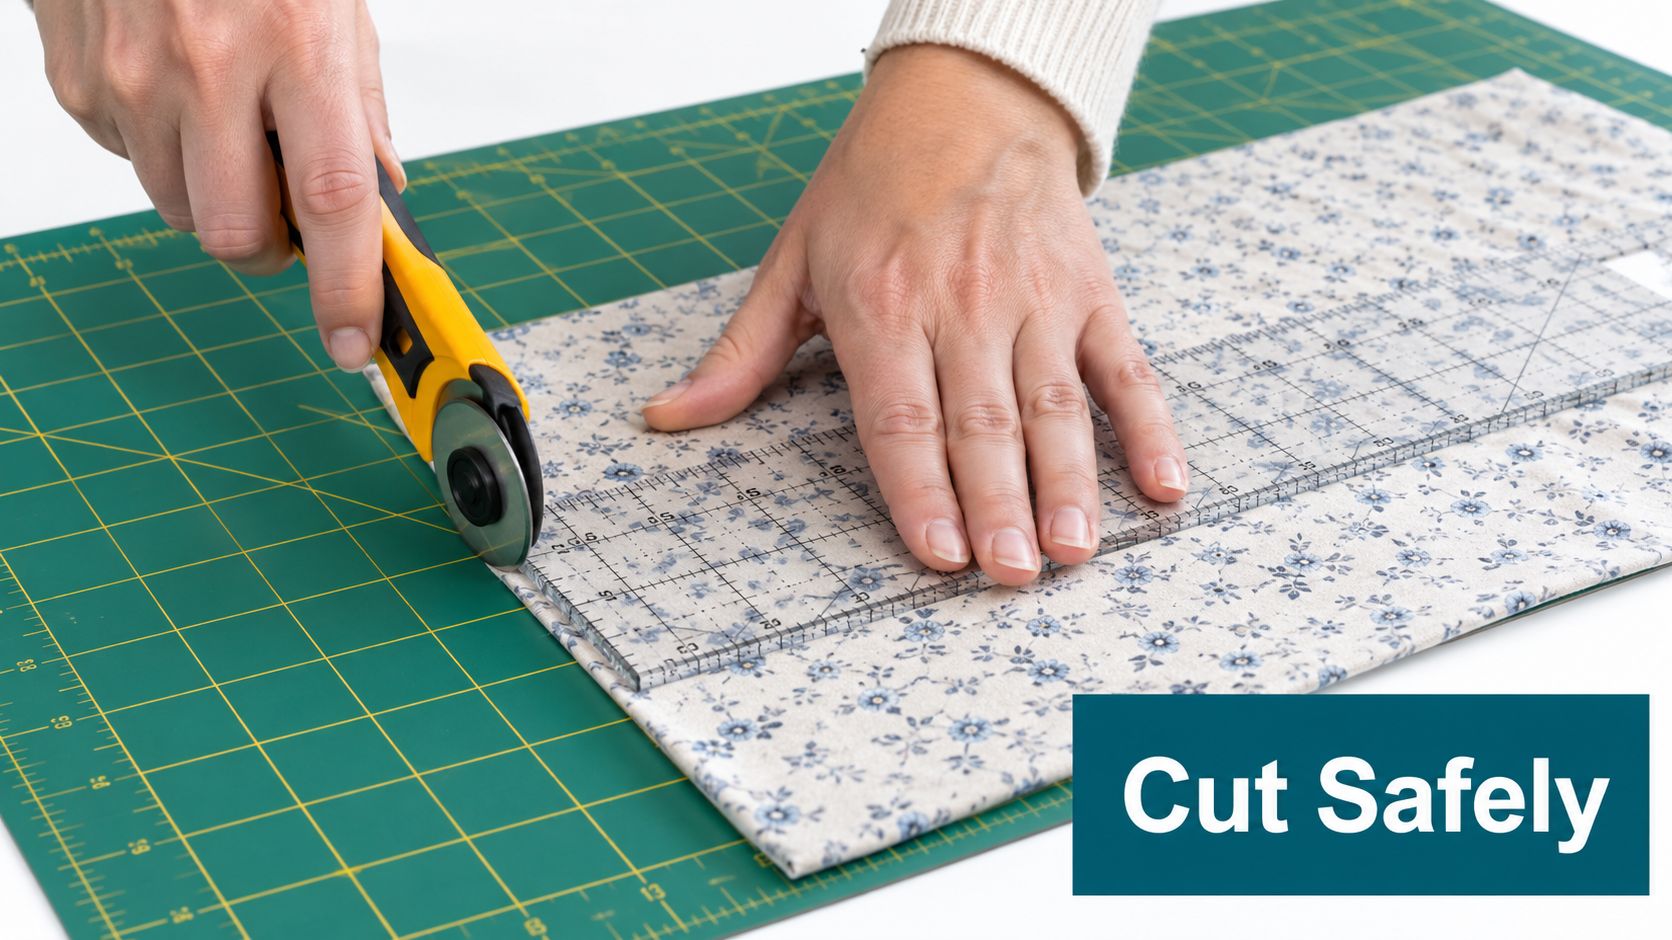
The blade should glide. If the fabric bunches, the mat shifts, or the cutter starts dragging instead of rolling, stop and reset. A fresh blade, firm ruler pressure, and a flat mat usually solve the problem. For additional guidance on hand position, ruler control, and cutting away from your body, use these rotary cutting safety tips.
A short demonstration can also help you see how the ruler and cutter move together.
Don't leave the blade exposed when you finish. Engage its cover or locking mechanism, then clear the work area before you move the fabric.
Self-healing construction works best when the mat isn't overheated, crushed, or repeatedly cut in one narrow strip. Care doesn't need to become a chore. A few consistent habits protect the surface and keep the grid useful.
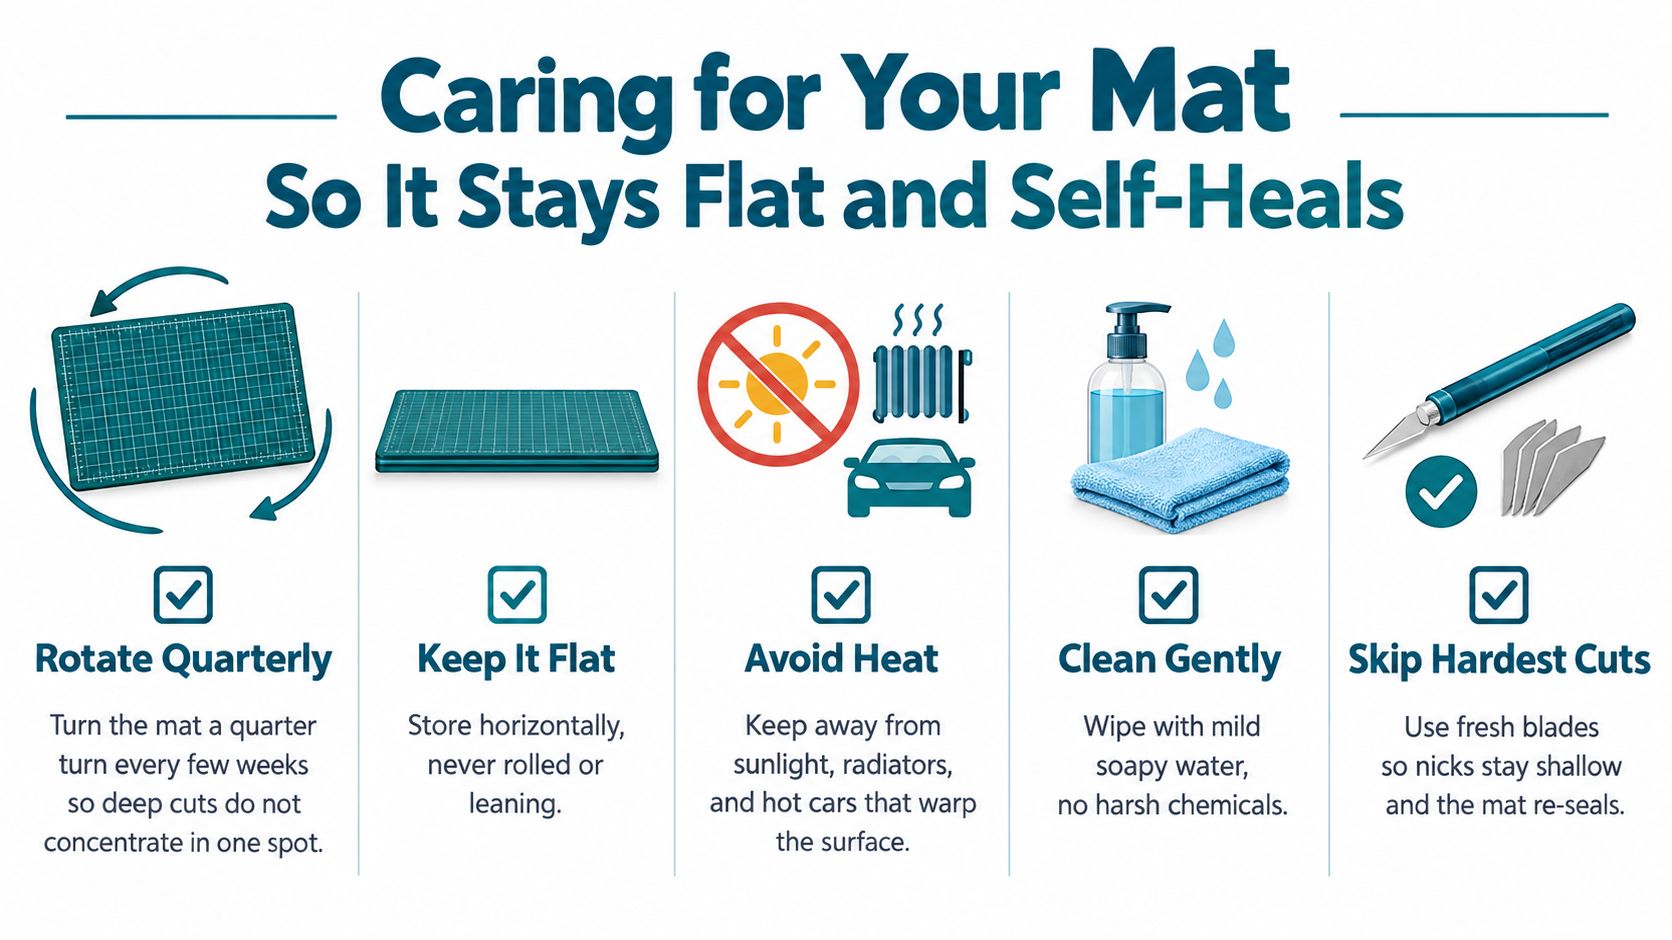
Rotate the mat a quarter turn every few weeks so your most-used cutting zone isn't always the same strip of grid. Turning the mat distributes wear and gives heavily cut areas time away from the center of your workflow.
Use sharp blades. A dull blade needs more pressure and tends to snag, which can deepen grooves and leave the surface less able to close. Replace the blade when it skips threads or drags rather than waiting for the cuts to become visibly rough.
Wipe the surface with a soft cloth dampened in lukewarm water and a small amount of mild dish soap. Avoid solvents, oils, abrasive pads, and strong cleaners. They can alter the vinyl or composite surface and make the mat less predictable.
Store the mat flat on a level surface whenever possible. If it warps, let it rest flat overnight before cutting. Keep it away from direct sunlight, radiators, and other heat sources. The mat maintenance guidance explains that quality self-healing mats commonly last about 2 to 5 years with regular hobby use, while premium 5-layer mats can reach 5 years or more when rotated and stored flat. Treat those figures as usage guidance, not a guarantee.
Replacement signal: Change the mat when grooves catch fabric, cuts stop closing, or the surface remains warped. A mat that no longer lies flat can compromise accuracy even if the grid still looks clear.
Heavy daily cutting can shorten a premium mat's service life to only a few years, while lighter home use may extend it longer. Blade sharpness, cutting pressure, construction, and rotation all matter, as summarized in this cutting-mat selection and care guide.
A first quilt becomes easier when the cutting station is prepared before the fabric comes out. For example, cutting strips requires a flat mat, a ruler that reaches across the fabric, and a cutter with a sharp blade. Add the smaller tools afterward, based on the steps your pattern requires.
The mat supports every major cutting step. The cutter needs a resilient surface, the ruler needs room to align, and the fabric must stay flat instead of bunching at the table edge. A portable option such as the Sue Daley 16-inch rotating cutting mat available at High Country Quilts can suit small trimming tasks. An AccuQuilt GO! 6 in x 6 in mat may fit compact cutting work, while Martelli bundles can combine a 16-inch turntable, cutting mat, and ironing pad. Check current product availability and specifications before visiting or ordering.
Build the kit around the first project. If the pattern calls for long strips, prioritize the larger mat and 6 in x 24 in ruler. If you are practicing small blocks, a compact rotating mat may be easier to position, while snips, pins, a seam ripper, and a pressing surface support the later sewing steps.
For quilters in Colorado Springs, the Canon City area, and the surrounding Front Range, High Country Quilts carries mats, rulers, cutters, fabrics, notions, classes, and sewing support in one local setting. The shop also carries BERNINA products and provides machine training, which can help as cutting becomes part of a complete quilting workflow.
Start with the surface that fits your table and project. Add specialty rulers and accessories when a pattern gives you a clear reason to use them.
Visit High Country Quilts in Colorado Springs to compare cutting mats, rotary cutters, rulers, and beginner quilting supplies in person. Bring your project questions, assemble a practical cutting kit, and ask for local guidance before making your first precise cut.
At High Country Quilts we care deeply about community. With our experiences in retail, we know that a store is not only a place to shop but also a place for the community to gather and share. During this busy...

Hi! We’re Adam and Renee Wheaton, the new owners of High Country Quilts! For more than 40 years, we’ve owned and operated vacuum and sewing businesses. Following in Renee’s father’s footsteps after he retired from All Discount Vacuum and Sewing in Colorado...


Leave a comment