

We Love Our Quilting Community
At High Country Quilts we care deeply about community. With our experiences in retail, we know that a store is not only a place to shop but also a place for the community to gather and share. During this busy...


You press the seam on your half-square triangle, lift the iron, and watch the fabric puff back up. The pieces that looked aligned a moment ago now seem slightly off, and the block won't lie flat. A clapper for sewing can help, but it works best when you match it to the fabric and use it for the job it's designed to do.
A clapper is a hardwood block that holds a freshly pressed seam flat while it cools. It doesn't replace your iron or make every fabric safe to press. Think of it as the cooling-and-compression step that can help a bulky intersection, stubborn crease, or patchwork seam keep its shape.
The clapper's job starts after the iron lifts. You place the smooth wooden block over the warm seam and hold it still, applying even pressure as the fabric cools. That helps the fibers settle into the flattened position created by the iron.
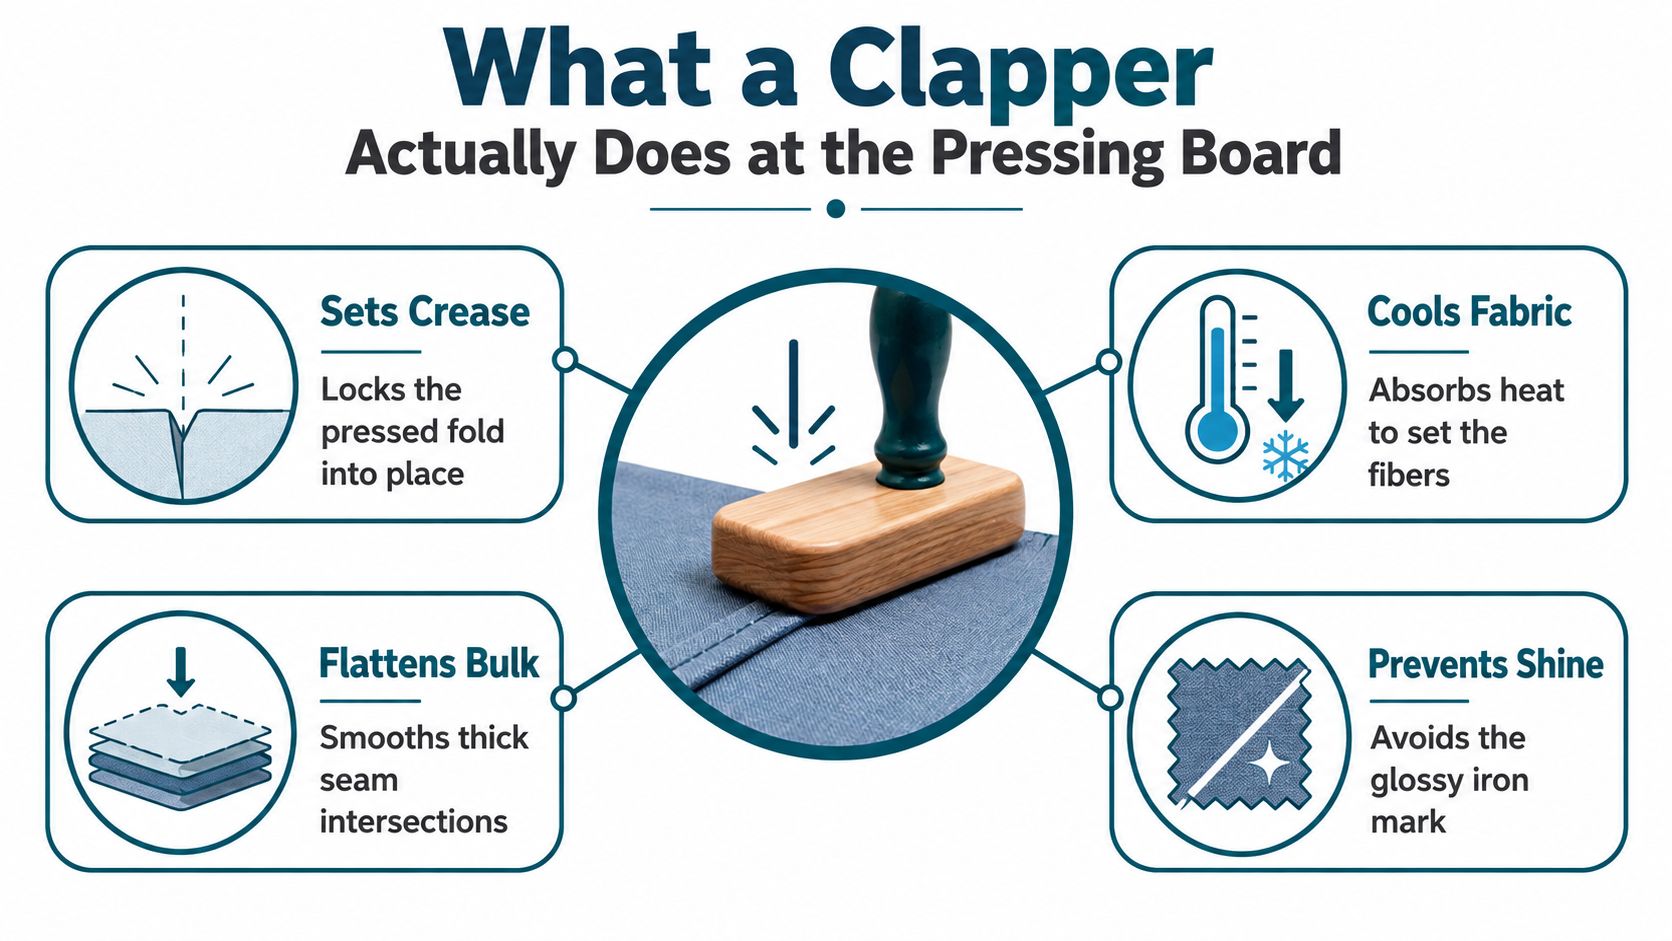
It's not a hammer. You don't strike the fabric, and you don't drag the clapper across it. It's also not a steam accessory or a substitute for finger-pressing a seam open. The iron supplies heat and, if appropriate for the fabric, moisture. The clapper applies pressure while the seam cools.
That pause matters in quilting. A thick spot where several seam allowances meet may resist a regular press, while a half-square-triangle seam can relax before you join the units. Holding the seam in place as it cools can help intersections lie flatter and make it easier to align the next pieces. For a border that keeps lifting from the ironing surface, the clapper may also help set the pressed fold.
A sewing clapper is a dense hardwood tool, commonly about 2–3 inches wide, with roots in professional tailoring roughly 120 years ago. Its mass and wood construction let it absorb heat and moisture while withstanding repeated use, as described in this history of the tailor's clapper.
The useful idea to keep in mind is simple: the clapper finishes the iron's work. It doesn't fix a poor temperature choice, an unsuitable amount of steam, or a seam that hasn't been opened or positioned correctly.
The clapper's plain shape reflects its original purpose. In professional dressmaking and tailoring, sewists needed crisp, well-defined seams and edges on clothing. A heavy wooden block could hold a hot, damp area flat while it cooled, helping set the shape without keeping the iron pressed against the fabric.
Traditional clappers are made from close-grained hardwoods such as maple, oak, or tulipwood. Dense wood can stand up to repeated heat and moisture without easily splitting or deforming. Its smooth surface and mass are practical features, not decoration: they help the tool sit flat and apply steady pressure.
That construction still matters when you're choosing a clapper for quilting. Look for unfinished hardwood with a smooth, dense grain. A lightweight decorative block or a coated surface may not be suited to repeated contact with warm, damp fabric. The clapper's value comes from its ability to rest firmly on the seam while it cools, not from a special mechanism.
The tool moved from tailoring into general dressmaking and quilting because all three depend on controlled pressing. In a quilt block, a seam that stays flat can make it easier to line up points and join units. In a garment, a crisp collar or cuff benefits from the same combination of heat, moisture, pressure, and cooling.
For a beginner, the history offers a useful buying principle: choose a clapper for solid construction and a smooth, unfinished surface. Its design has remained straightforward because the work it does is straightforward. The challenge isn't operating a complicated tool. It's deciding when the fabric can safely take heat and moisture, then giving the seam time to cool under pressure.
Start with a single half-square triangle. Your goal is to flatten the seam without stretching the bias edges or shifting the unit. Work in this order:
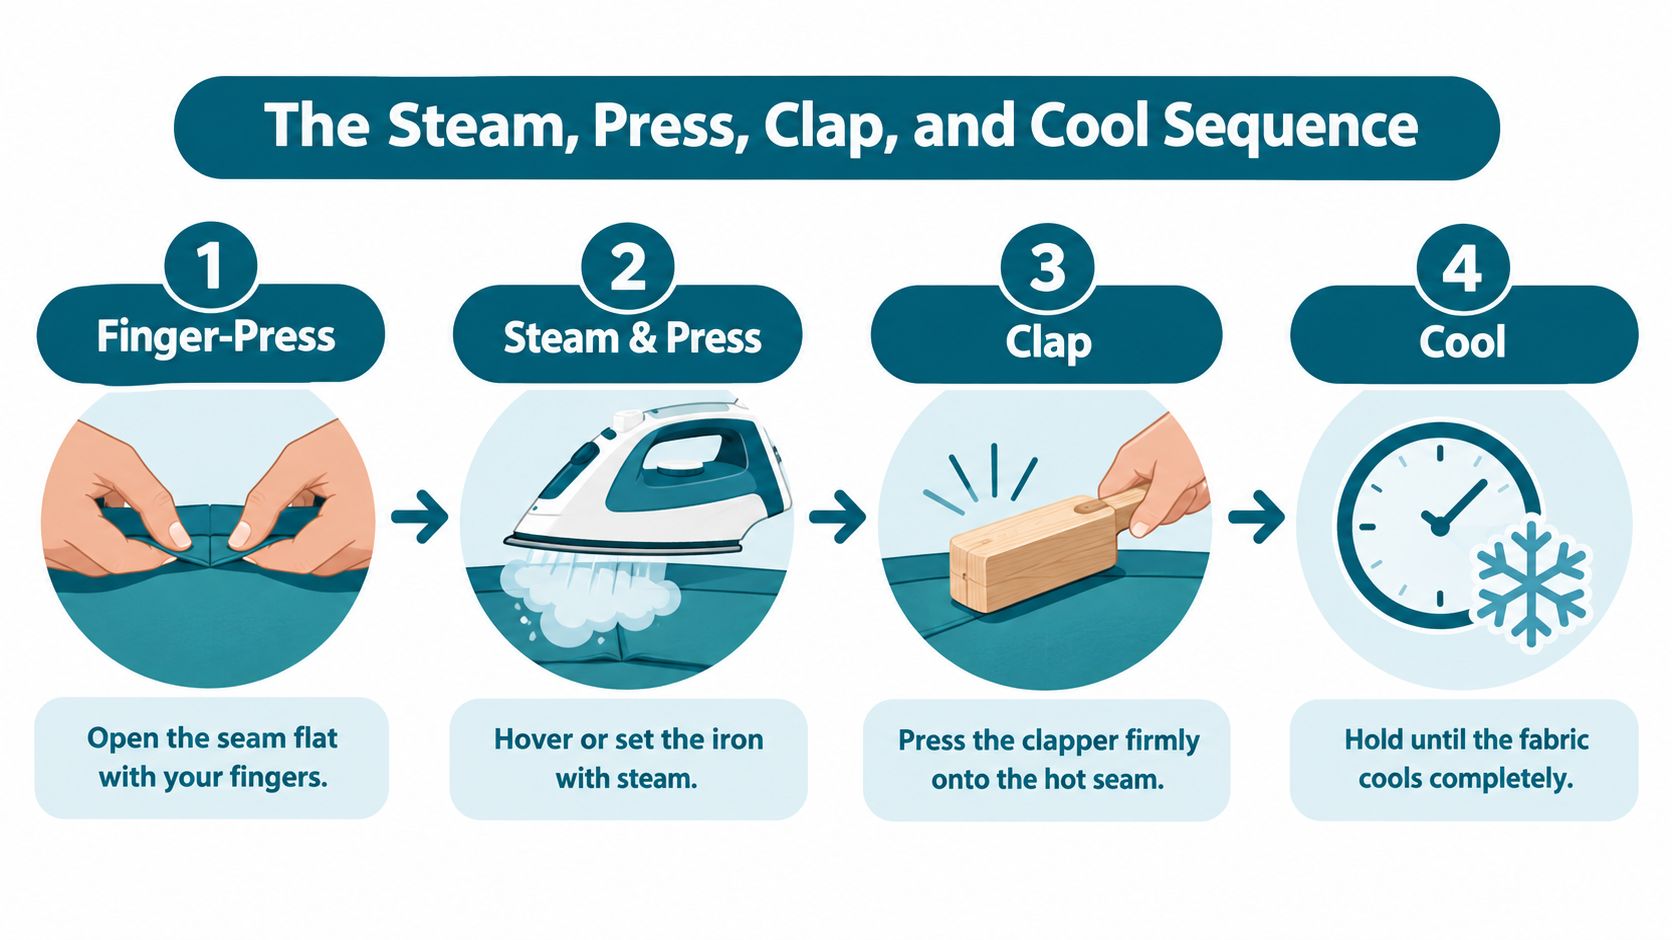
You're looking for the fabric to cool substantially beneath the block. If you lift the clapper and the seam springs up, give it more time before moving the unit. For bulky intersections, some instructions recommend 10–15 seconds, but let the fabric's thickness and behavior guide you rather than treating any timing as universal.
Keep the clapper still. Sliding it over hot, damp fabric can snag threads or distort the grain, especially on a unit with bias edges. Lift and reposition it if you need to cover another part of the seam.
The video below shows the pressing tool in use:
Practical rule: Press the seam into position, lift the iron, set the clapper down, and wait for the fabric to cool. The clapper should stay still.
Once the half-square triangle lies flat, move on to the next unit. That same sequence can help with flying-geese points, hems, and other seams that need to cool under pressure.
A clapper doesn't make an unsafe iron setting safe. It's a cooling-and-compression tool, not a way to protect fabric from excessive heat or steam. Start with the fiber and the iron's care guidance, then decide whether steam, dry pressing, or a press cloth is appropriate.
Textile guidance gives approximate settings of 445°F for linen, 400°F for cotton, and around 300°F for wool, polyester, blends, and silk. Treat those figures as a reference, not a guarantee for every fabric or finish. The guidance also recommends testing a scrap before pressing, as explained in this textile temperature and pressing resource.
| Fabric | Iron temperature, approximate | Steam | Clapper use |
|---|---|---|---|
| Linen | 445°F | Use only if the fabric tolerates it | Test first; use steady pressure after pressing |
| Cotton | 400°F | Adjust to the project and fabric | Useful for stubborn seams and bulky intersections |
| Wool | Around 300°F | Use cautiously | Helpful for setting flat seams; watch for shine |
| Silk | Around 300°F | Test before using | Use gentle pressure and consider a protective cloth |
| Polyester and blends | Around 300°F | Test first; avoid excess moisture | Use only after confirming the fabric's response |
For a quilting cotton unit, test a scrap from the same fabric before pressing the block. Try the intended iron setting and moisture, place the clapper on the test seam, then inspect it after cooling. Look for shine, a water mark, shrinkage, stretching, or a wavy edge.
Rayon, synthetics, sheer fabrics, metallic fabrics, and dark solids can be especially unforgiving. A protective press cloth or a dry press may be a better choice than direct steam. For accuracy-sensitive patchwork, too much moisture can distort the grain, so dry pressing may give you more control.
A good test tells you whether the fabric, iron setting, moisture, and pressure work together. If the scrap changes in a way you don't want, adjust the pressing method before working on the finished unit.
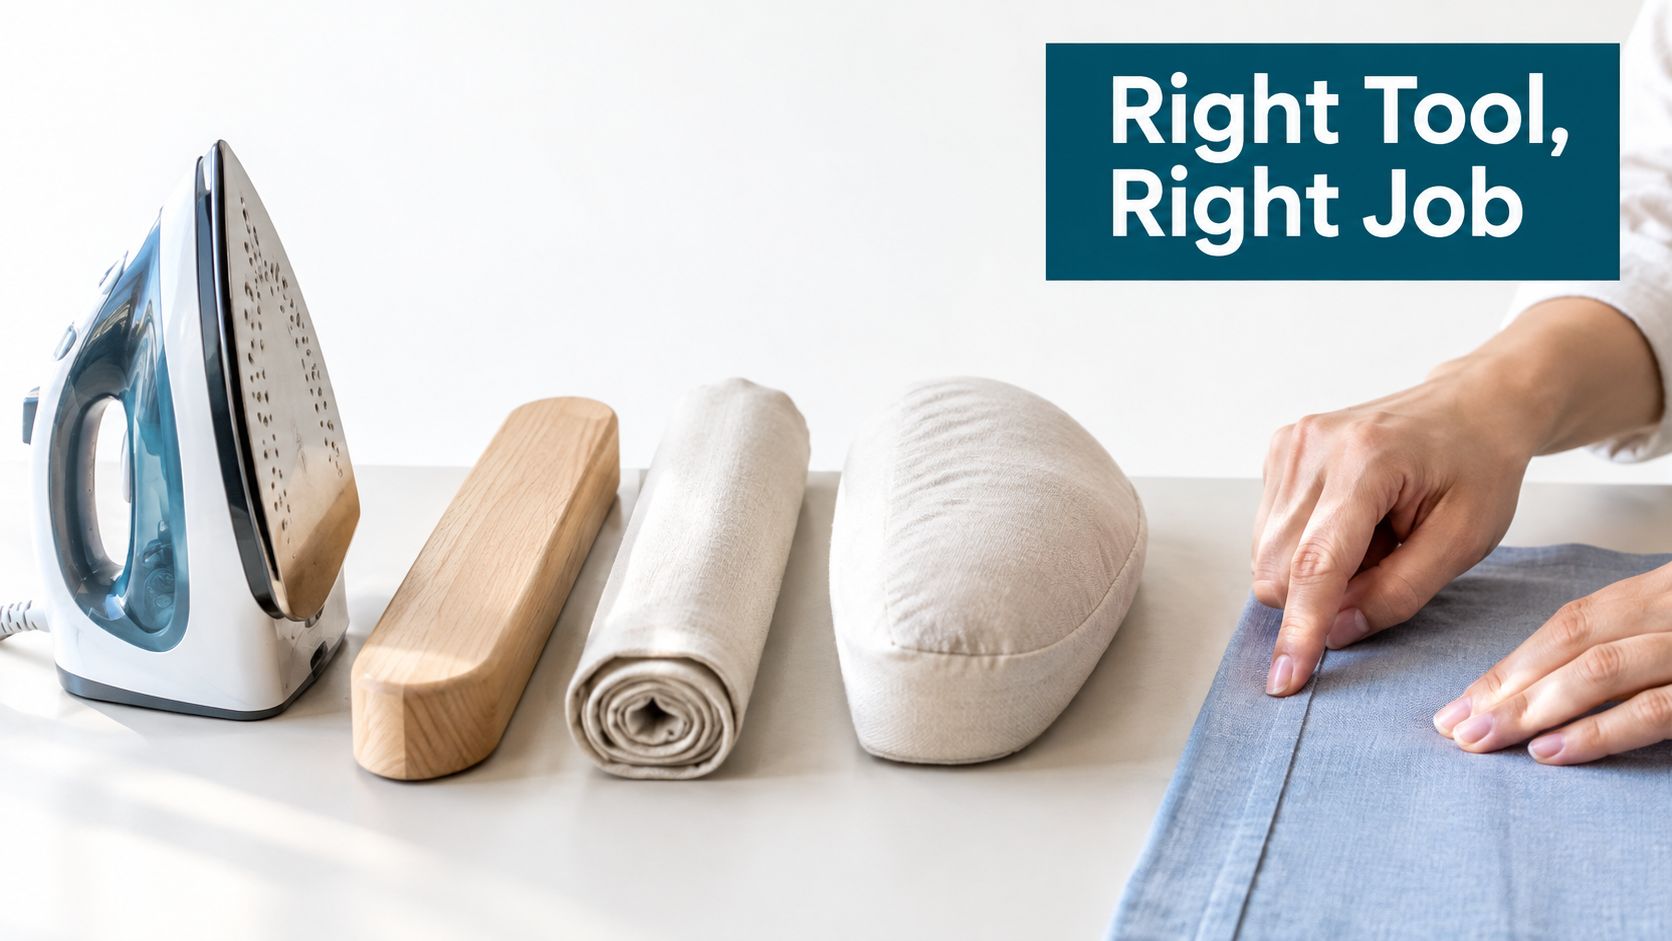
The clapper fills a specific gap at the pressing station. It helps a flat seam cool under pressure, but it isn't the right tool for every shape or every moment in a project. A guide to pressing tools and their uses likewise describes the clapper as a tool used after lifting the iron, not one to drag across hot fabric.
| Tool | Reach for it when | It's less suited to |
|---|---|---|
| Finger pressing | You're opening a small seam before a final press or working on a delicate unit | Setting a stubborn seam that needs heat and cooling |
| Seam roller | You want to flatten a seam without using an iron, such as during some paper-piecing steps | A thick intersection that needs a hot-to-cool setting |
| Clapper | A flat, bulky, or resistant seam needs to cool under pressure | Curves, lofty surfaces, or fabric that may take an unwanted impression |
| Pressing ham | You're shaping a curved seam, dart, or garment section | Flat patchwork seams that need a broad, even surface |
For a half-square triangle or flying-geese unit, finger-pressing can position the seam before the iron. If the seam remains puffy after pressing, the clapper can hold it flat while it cools. A seam roller is useful when you want a quick, dry press, but it doesn't provide the same hot-to-cool sequence.
For foundation-paper-piecing units, choose the tool according to the seam and the fabric. A seam roller can flatten a seam as you build the unit; for a stubborn seam, you may turn to an iron and clapper, taking care not to press the paper side.
A pressing ham is shaped to support curves such as darts and curved garment seams. A flat wooden block can't follow that contour. Likewise, avoid pressing down on batting or textured fabric if the clapper could crush loft or leave an imprint.
A clapper can't correct the wrong iron setting or rescue a fabric that shouldn't be exposed to that combination of heat and moisture. If the result looks wrong, don't press harder. Pause and adjust the method.
| What you see | What may be happening | Try this |
|---|---|---|
| The seam springs open | It may not have cooled enough under pressure | Hold the clapper in place longer, then check the seam before moving the unit |
| The fabric looks shiny | The iron may be too hot or the surface may have taken an unwanted impression | Lower the heat, use a press cloth, or test dry pressing |
| You see a water mark | The fabric may not tolerate direct steam | Test a dry press with a protective cloth |
| The grain looks wavy | Steam or movement may have stretched or shifted the fabric | Use less moisture, press without dragging, and let the seam cool flat |
| The surface looks crushed | The fabric may be textured or lofty | Skip the clapper and use a suitable shaped pressing aid |
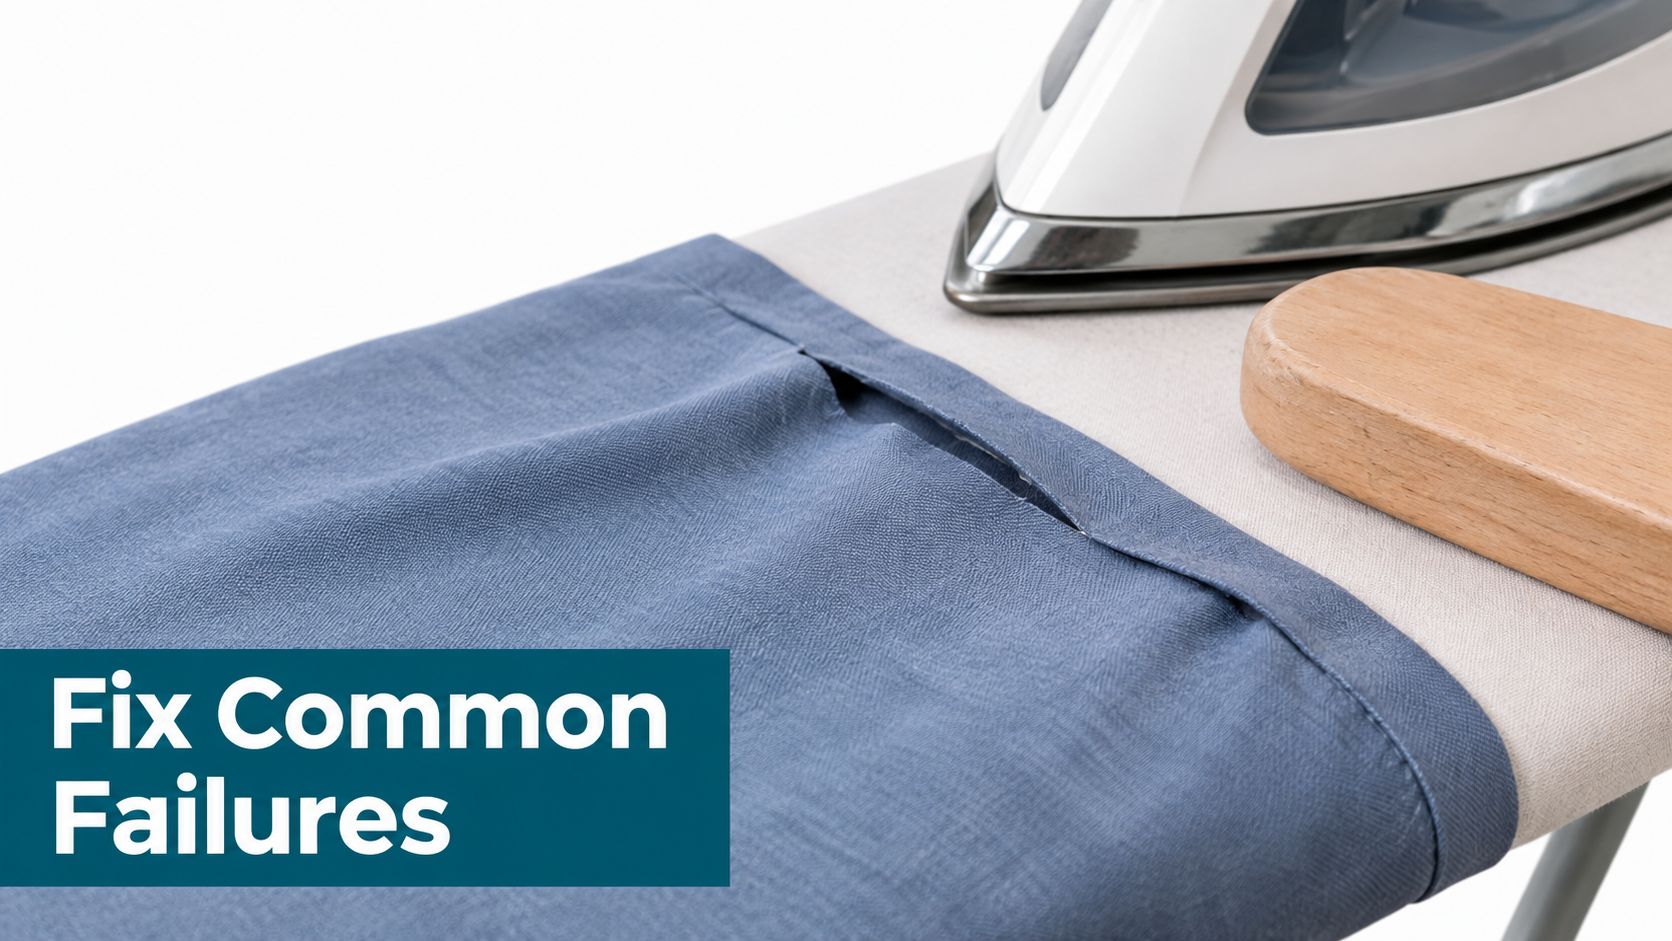
Common mistakes include sliding the clapper, pressing with excessive force, skipping a scrap test, and using high heat or steam on fibers that can scorch, shine, shrink, stretch, or become wavy. This guide to non-electric pressing tools and common technique issues also emphasizes adjusting the method to the fabric rather than relying on one universal routine.
When a seam springs back, first check whether you removed the clapper before the fabric cooled. If you did, repeat the press with a safer setting and hold the block still longer. More pressure isn't automatically better. The aim is even contact while the fabric cools, not force that could leave an impression.
If shine, marks, or distortion appear on a test scrap, don't move directly to the finished block. Change one variable at a time, such as lowering the iron setting, reducing steam, adding a press cloth, or choosing another pressing tool. A scrap test is a small step that can help protect the fabric you've already pieced.
A dependable clapper should feel solid and sit flat. Choose unfinished, smooth hardwood with a dense, close grain. Maple is a commonly recommended option, and a comfortable handheld shape makes it easier to control when you're working on small quilt units.
The right size depends on your projects. A smaller block is easy to place over piecing seams; a longer surface can cover a wider border or garment edge. You don't need a tool that covers the entire ironing board. You need one that fits the seam you're setting and feels manageable in your hand.
High Country Quilts carries the Riley Blake Designs Limited Edition 7-inch Quilter's Clapper, a hardwood tool used with a steam iron to set seams. When comparing options, notice the weight, the finish, and how the block rests on a test scrap. Don't assume a clapper suits every fabric just because it's sold as a pressing tool.
Keep the wood clean and dry between uses. If the surface becomes rough, light sanding may smooth it, but avoid oil or wax where a finish could transfer to fabric. Before pressing a project piece, test the clapper with your intended iron setting and moisture on a scrap.
The most useful habit is consistent technique: press the seam into place, lift the iron, set the clapper down without sliding it, and let the fabric cool before moving it. If you're unsure about heat, steam, or how a tool feels in your hand, bring a half-square-triangle scrap to a quilting class and practice with guidance. You can also visit the Colorado Springs shop to compare clappers and try one on a sample.
Visit High Country Quilts in Colorado Springs to explore quilting and sewing tools, fabrics, and classes. Bring a pieced scrap, compare how a clapper feels at the pressing station, and practice setting a seam before using the technique on your quilt.
At High Country Quilts we care deeply about community. With our experiences in retail, we know that a store is not only a place to shop but also a place for the community to gather and share. During this busy...

Hi! We’re Adam and Renee Wheaton, the new owners of High Country Quilts! For more than 40 years, we’ve owned and operated vacuum and sewing businesses. Following in Renee’s father’s footsteps after he retired from All Discount Vacuum and Sewing in Colorado...


Leave a comment