

Free Fabric All Year: Our 2027 Fabric Punch Card
November 2–25 only: buy a $200 gift card in either store and get a free yard of fabric every month of 2027.

Yes, a regular sewing machine can quilt three layers, and your comfort, finish, and sewing time depend more on quilt size and throat space than on owning a longarm. A machine that makes a sound straight stitch is a starting point, not a reason to replace equipment you already know.
The counterintuitive part is that sewing the layers together usually isn't the hardest job. Keeping the quilt supported, feeding evenly, and turning freely under the arm takes more effort than forming the stitch. If you already sew garments, you have much of the sewing knowledge you need. You're learning a different way to handle fabric, not starting over.
Choose the project size before choosing another machine. Your household machine needs to form a balanced stitch through the top, batting, and backing, but you also need room to guide those layers without tugging them.
The distinction between ordinary sewing and quilting is partly about handling the layered work, as Stitchin' Heaven's explanation of quilting versus sewing describes. A small quilt gives you room to practice that handling. A bed quilt asks you to manage much more fabric with the same opening under the arm.
Use these illustrative project dimensions, not standardized quilt sizes, to choose a practical starting row. Batting thickness, machine clearance, and your work surface can move a project from comfortable to difficult.
| Project | Typical size | Handling at home | Realistic technique |
|---|---|---|---|
| Table runner or wall hanging | Under about 40 in wide | Easy, little rolling | Straight line or simple free motion |
| Baby quilt | About 36 x 52 in | Comfortable first quilt | Walking-foot lines or stitch in the ditch |
| Lap quilt | About 50 x 65 in | Manageable if rolled | Walking foot in shorter sections |
| Twin | About 70 x 90 in | Hard, heavy drag | Straight lines only as a beginner plan, or send it out |
| Queen or king | About 90 in wide or more | Usually impractical for a beginner on a small domestic machine | Longarm or on-site quilting |
Throat space is the opening beneath the machine's arm, especially the working space to the right of the needle. Feeding a bulky quilt through it can feel like pushing a rolled sleeping bag through a jacket sleeve. The needle can still sew, but your arms have to manage everything surrounding it.
A runner leaves little fabric trapped inside that opening. A baby quilt usually gives you enough room to roll or loosely fold the unused portion while keeping the stitching area flat. A lap quilt asks for more frequent stops to rearrange the bundle.
A twin-sized project can be possible, but don't confuse possible with pleasant. Roll the sides compactly, support the weight on the table, and stitch short passes rather than wrestling through a whole line while the quilt pulls downward.
For a beginner, a queen or king often exceeds a comfortable home setup. That isn't an absolute machine-width limit. An experienced quilter with generous workspace may manage a large quilt that would overwhelm someone working on a small table.
Practical rule: If you can't reposition the quilt without pulling against the needle, stop and solve the handling problem before sewing farther.
Straight lines, stitch-in-the-ditch, and smaller projects are sensible wins. If your chosen row already suggests a wrestling match, consider help with the quilting rather than assuming you need a different domestic machine.
The strongest argument for quilting at home is simple: you already understand your machine. You know how it threads, how its speed control feels, and what a balanced stitch looks like on ordinary fabric. That familiarity lets you concentrate on managing the quilt.
There's historical support for using ordinary sewing technology this way. The Smithsonian's account of Isaac Singer's 1851 patent model describes a lockstitch machine with treadle operation that left both hands available to guide cloth, the same useful division of work behind domestic machine quilting.
These advantages are easiest to realize on a modest project.
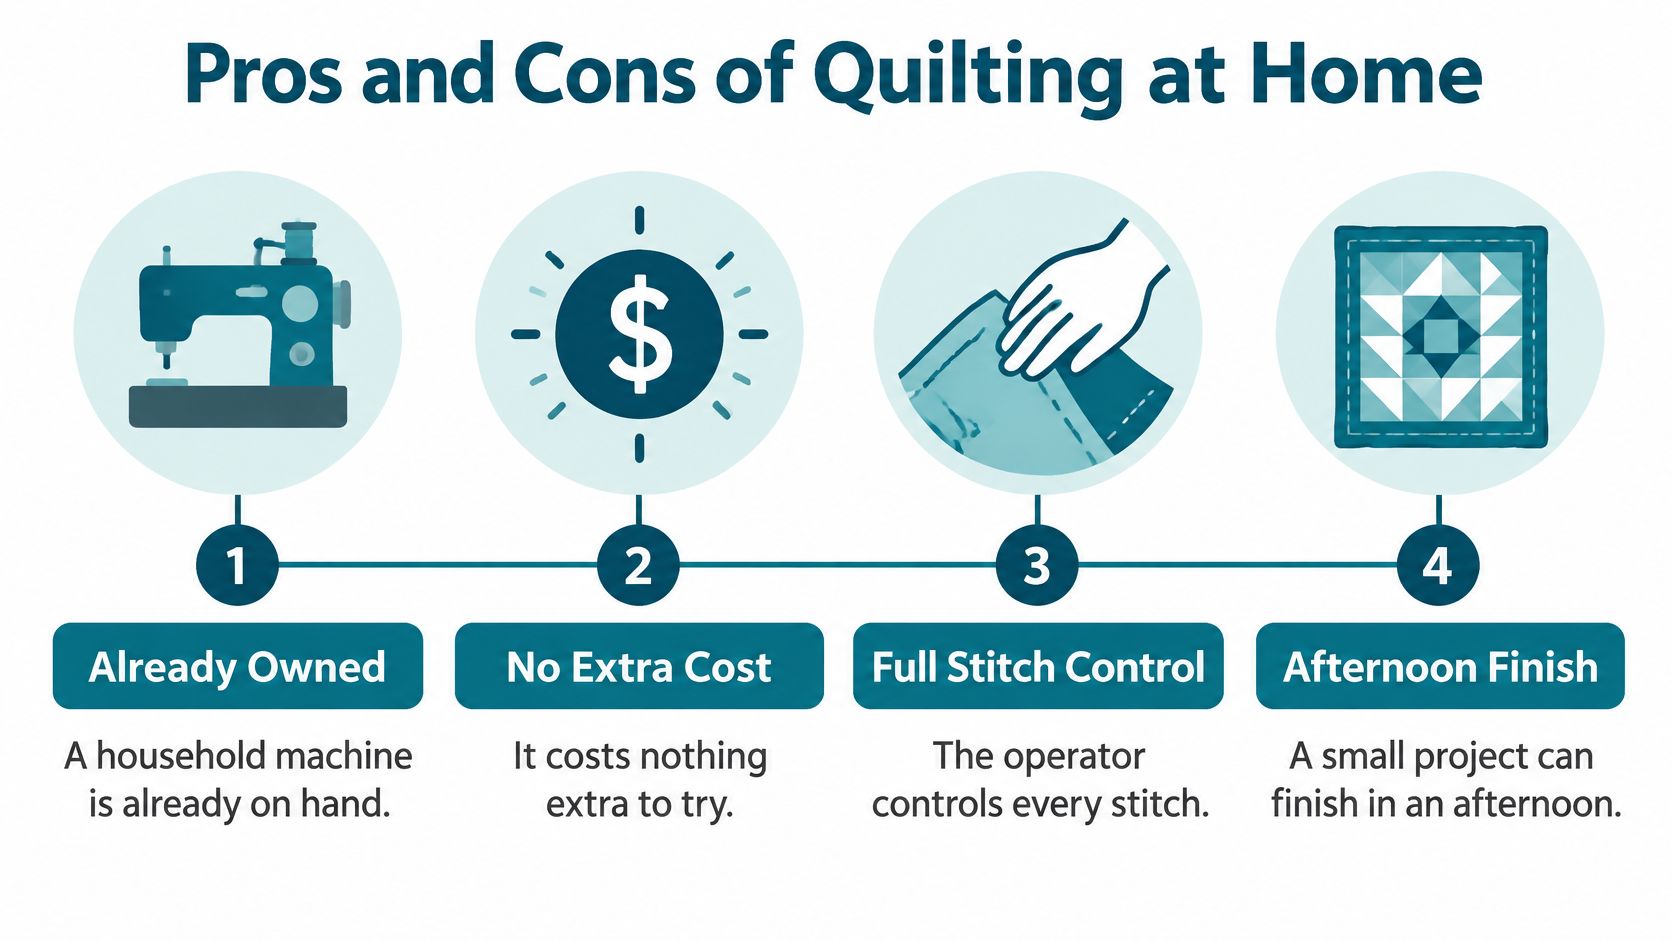
The disadvantages are physical as well as mechanical. Rolled fabric can drag against the table or machine, and that resistance can make you pull harder than you realize. Your shoulders may tire before the stitching itself becomes difficult.
There are also technique-specific limits. A walking foot isn't a free-motion attachment, and you shouldn't assume it can reverse. Free-motion work gives you more freedom of direction, but keeping the stitches reasonably even takes practice.
Finishing quickly also depends on preparation. Piecing, pressing, basting, quilting, and binding are separate jobs. A finished top doesn't become a finished quilt just because you sew the quilting lines in an afternoon.
Weigh these advantages and limits against the size of the project, not the badge on the machine. A basic machine may be entirely satisfactory for a runner, while a more expensive domestic model can still leave you struggling with a heavy bed quilt.
One all-purpose presser foot doesn't cover every quilting method. The key equipment choice is the foot and feed arrangement, because those determine whether the machine advances the quilt or you move it by hand.
Utah State University Extension's machine-quilting guidance calls for a quilting foot and notes that some machines use a darning foot for this work. Start by identifying the job, then fit an attachment compatible with your particular machine.
| Job | Foot | Feed dogs | Who sets stitch length | Best result |
|---|---|---|---|---|
| Straight lines or stitch in the ditch | Walking or even-feed foot | Left engaged | Machine, about 2.5 to 4 mm as a test range | Grids and parallel rows |
| Free-motion motifs | Darning or spring free-motion foot | Lowered or covered | Hands versus needle speed | Meanders on smaller quilts |
| Piecing the top | Quarter-inch foot | Left engaged | Machine, straight stitch near 2 mm | Accurate patchwork seams |
| No extra foot available | Standard foot | Left engaged | Machine, short sections only | Small straight-line quilting if heavily basted |
The quilting stitch range is a starting test setting, not a universal requirement. Likewise, a quarter-inch foot belongs primarily to piecing, when you're joining the patches before making the sandwich.
The Sewing & Craft Alliance quilting-tools guide explains how a quarter-inch foot supports a 1/4-inch seam allowance, while a quilting bar follows an existing line to space parallel rows. These are different jobs, even though both attachments may appear in a quilting accessory set.
A walking foot, also called an even-feed foot, helps advance the upper layers in coordination with the feed dogs beneath them. That makes it useful for straight lines, gentle geometric designs, and stitching along patchwork seams.
For free-motion quilting, lower or cover the feed dogs and use a suitable darning or spring-action foot. Your hands then control the direction and distance traveled between needle penetrations. The stitch-length dial no longer controls the actual stitch length in the usual way.
The difference is easiest to understand as a change in who supplies the movement.
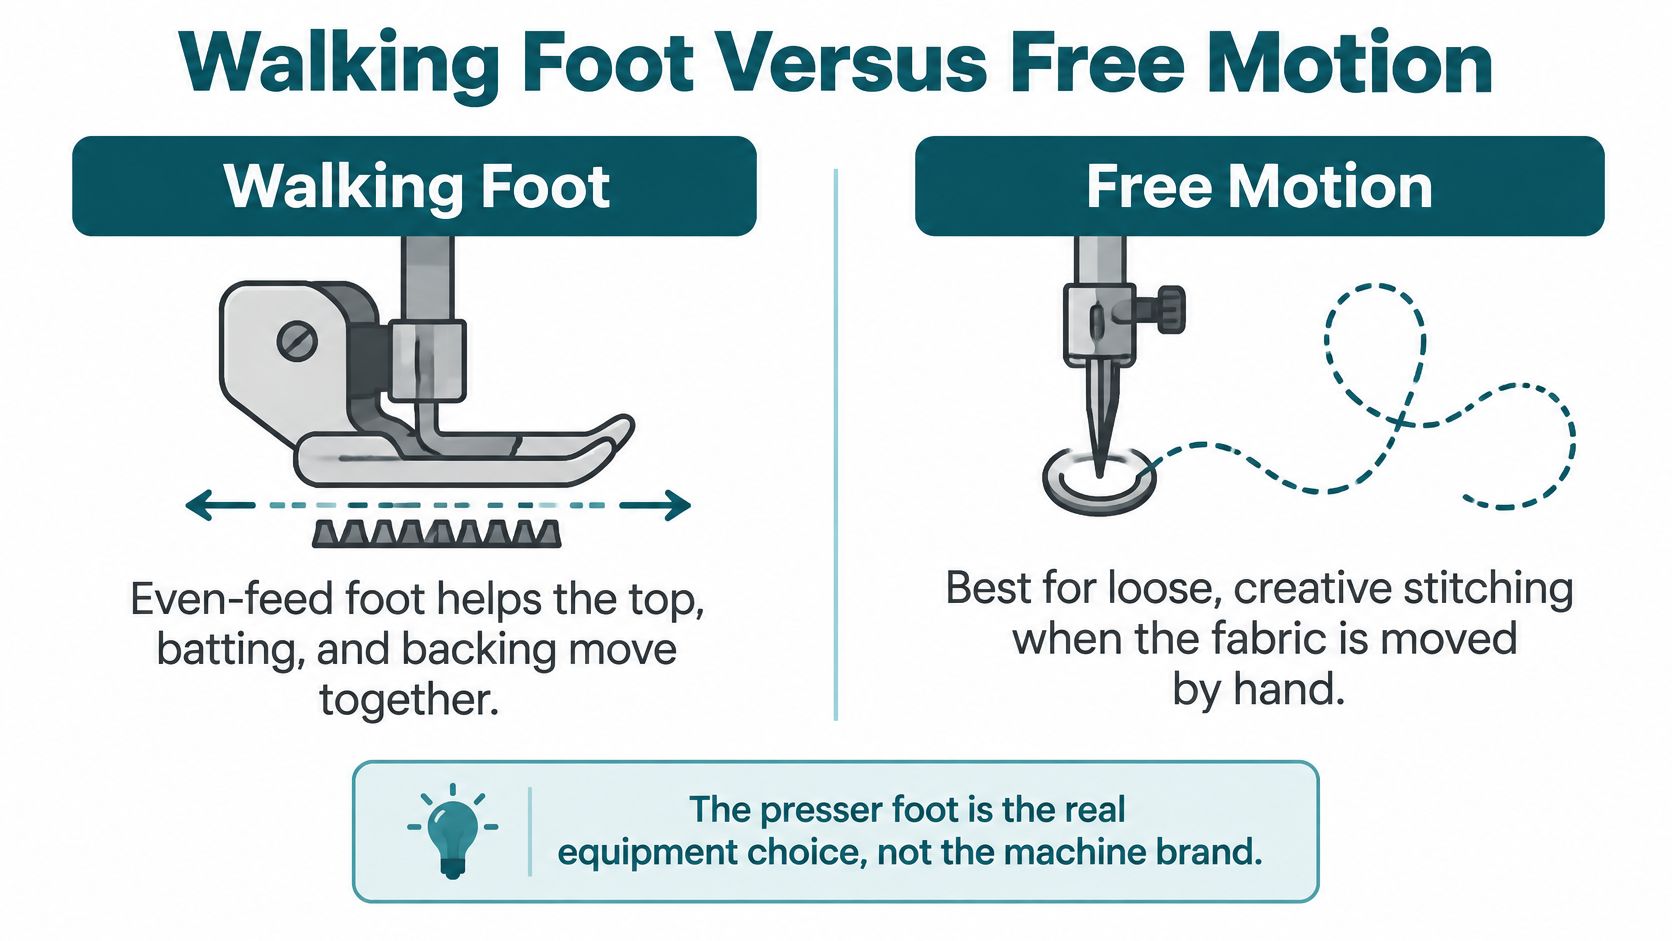
A regular foot isn't a universal substitute, and a walking foot isn't the tool for detailed free-motion motifs. Don't assume reverse stitching is available with an attached walking foot; secure the thread another way when the attachment prohibits it.
When comparing machines, the American Sewing Guild's buying guide recommends checking for an even-feed foot, easily lowered feed dogs, adjustable presser-foot pressure, and sufficient working space. Those features improve convenience, but their absence doesn't automatically rule out small quilting projects.
Match the attachment to your project row before buying anything: ask us about compatible presser feet, with your machine model and intended quilting method ready.
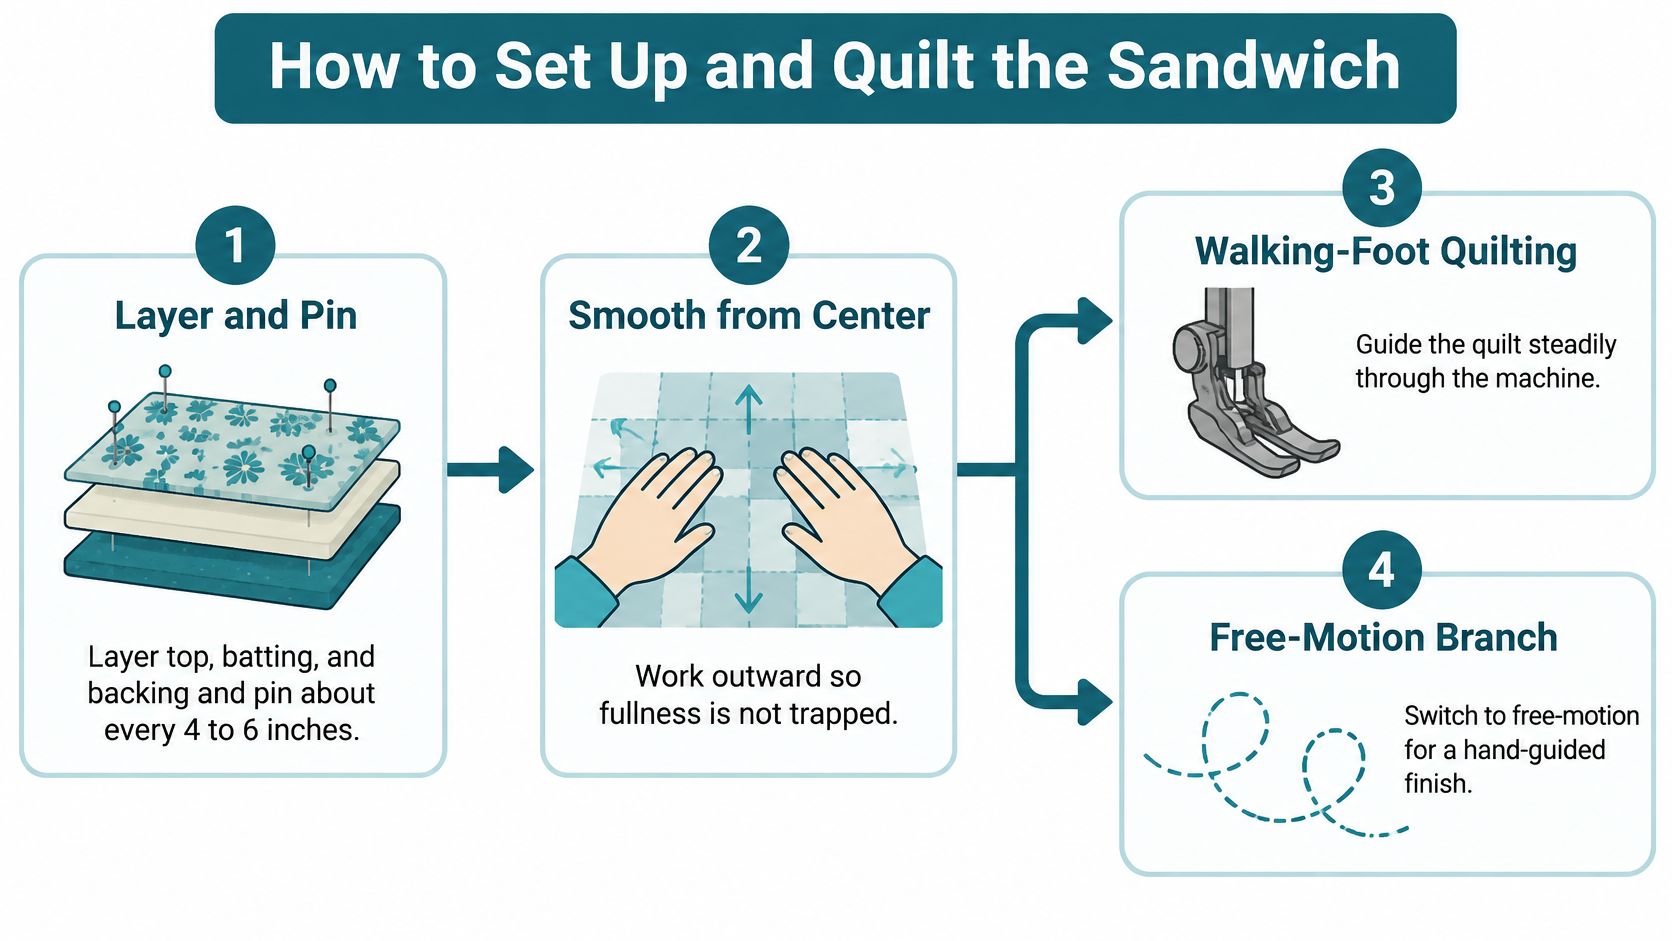
A quilt sandwich is the backing, batting, and quilt top secured together before quilting. Think of basting as temporary construction: it keeps the layers aligned while the permanent stitches go in.
The preparation below is for walking-foot quilting. The free-motion change is short, but important, because it changes how the fabric advances.
The preparation and feeding choices fit together like this.
Never force a thick roll past the foot or needle plate. Stop, raise the needle safely, and reposition the quilt.
Gather the materials for that test before tackling the top: choose sample-sandwich notions, needles, and thread with our help, bringing fabric and batting scraps so the choices suit the project.
Say you've pieced a baby quilt using the illustrative dimensions in the size chart. It's large enough to teach you how a real quilt behaves, but small enough that you can usually reposition it without hauling a bed-sized bundle across the table.
A small quilt gives you space to concentrate on feeding and stitch quality.
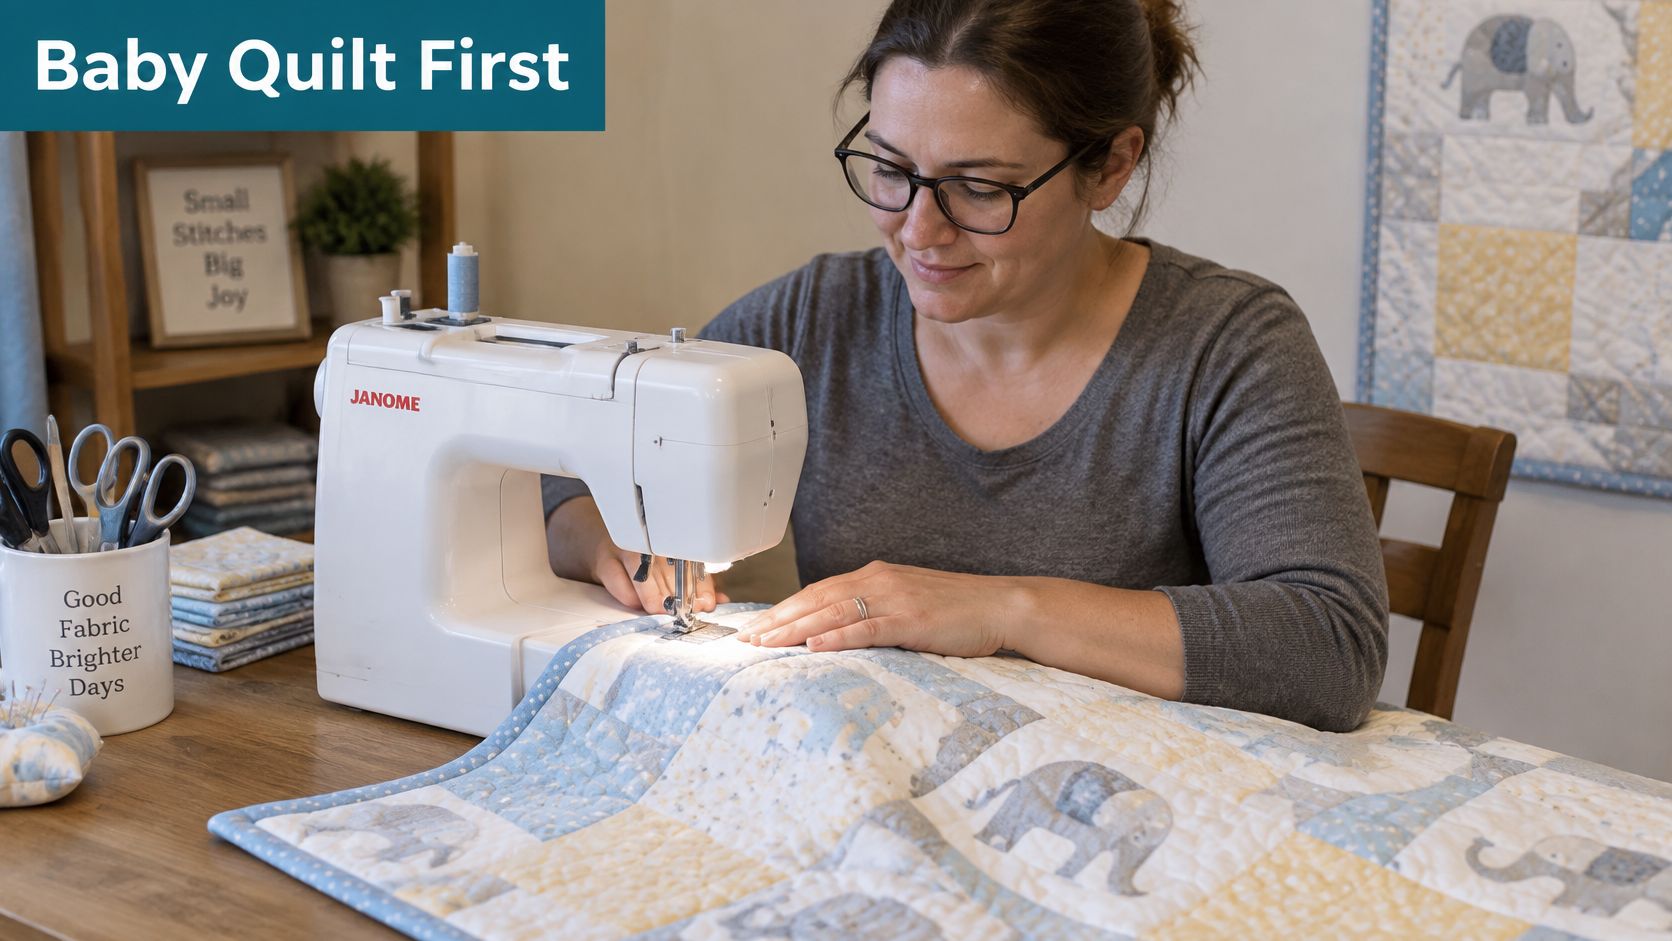
During piecing, use the quarter-inch foot and a short straight stitch, then press the seams so thick intersections lie as flat as possible. Before basting, decide which seams you'll follow. You don't need to invent a dense decorative pattern to make the quilt look finished.
The published Precious Peeps baby-quilt project specifies pinning every 4 to 6 inches, smoothing from the center outward, and quilting at 6 to 12 stitches per inch, beginning in the center and working outward in all directions. It also recommends a quilting foot and loosening upper tension when using invisible thread.
Treat that stitch count as the project's guidance, not an exact conversion of every millimeter setting on your machine. Sew the sample and inspect the actual spacing. Follow the batting manufacturer's requirements for the greatest allowable distance between quilting lines.
Your first lines might follow the main patchwork seams. After those are secure, add parallel lines with the quilting bar where the design and batting call for them. This gives you a clear route without asking you to coordinate elaborate feathers while learning to turn the quilt.
For a moving demonstration to accompany your practice, use the video below.
Look beyond the face of the quilt. The back should show reasonably consistent stitches, without loose loops or folded backing caught between rows. You should be able to stop and turn the work without pulling hard against the needle.
A wall hanging or table runner uses the same skills with less bulk. A twin is a later challenge, not the automatic sequel to finish that afternoon.
If you'd rather learn with someone beside the machine, explore our year-round sewing and quilting classes and ask for guidance suited to your first layered project.
Puckers are an especially frustrating complaint because the stitches may look acceptable while the fabric bunches between them. Start by checking feeding and support, not by deciding the machine can't quilt.
There's no universal tension number for a quilt sandwich. Thread, needle, bobbin, batting loft, speed, and the layers all influence the result, a setup distinction emphasized in Stitchin' Heaven's beginner quilting-machine guidance. Diagnose on a scrap sandwich made from the actual materials.
Work through the suggested actions separately. If you change the needle, tension, speed, and basting at once, you won't know which change helped.
| Symptom | Likely cause | Fix |
|---|---|---|
| Puckers or shifting layers | Top and backing feeding at different speeds | Test a walking foot first; then improve basting and center-out handling separately |
| Skipped stitches | Needle too fine, dull, incorrectly fitted, or meeting excessive resistance | Fit a fresh quilting needle first, then retest at a slower speed |
| Loops on the quilt back | Upper-thread tension or threading trouble; possibly bobbin setup | Rethread the upper path with the foot raised, then test before adjusting tension |
| Long loose free-motion stitches | Hands moving faster than the needle | Slow your hands while keeping needle speed steady |
| Dense thread piles | Hands pausing under a moving needle | Glide the quilt more steadily |
| Wavy seams only on a large roll | Bulk and drag in the throat | Support the weight first, then try shorter passes or more compact rolling |
A machine that still won't maintain timing or balanced tension after sensible setup tests needs service, not a more elaborate quilting technique. Repeated skipped stitches on an easy sample deserve attention before you risk the finished top.
Check what happens when you remove the large quilt and sew the small sample. If the sample is sound, examine the roll, table support, and your grip. If the sample also fails, concentrate on threading, needle installation, the bobbin, and tension.
Loops underneath don't automatically mean you should turn a bobbin-case screw. An upper thread that missed the tension discs can produce an alarming underside. Rethreading is a safer first test than making several adjustments you'll struggle to undo.
Diagnostic habit: Keep the materials constant and change one thing. A useful test tells you what caused the improvement.
Very lightweight fabrics still require care; an aggressive feeding attachment may not suit them. Likewise, tighter rolling helps only while the bundle remains easy to move. Don't compress the quilt so hard that you must force it through.
We offer full service on Bernina sewing machines and sergers through a local authorized Bernina repair service, with drop-off during regular shop hours. Arrange a Bernina repair drop-off if the machine continues to struggle on a properly prepared sample.
Keep quilting at home when you can guide the project comfortably and the sample stitches look sound. Runners, wall hangings, baby quilts, and manageable lap quilts let you build skill without spending most of the session rearranging fabric.
Choose help when the roll won't turn freely, your shoulders tire before you've made useful progress, or a deadline matters more than doing every stitch yourself. A twin or larger quilt is a reason to evaluate the workload carefully, not a test you have to pass.
At High Country Quilts, a Premier BERNINA dealer in Colorado Springs, we offer Q-series longarm systems with certified setup, expert training, and certified longarm technicians. For a domestic-machine option, the Bernette B38 is $899.00, and the Bernette B77 Sewing and Quilting Machine is $2,249.00. Machine purchases include ongoing classes and guidance so you can learn to use the equipment confidently.
The useful question isn't only, “Can you quilt with a regular sewing machine?” It's whether you can finish this particular quilt comfortably with the machine and workspace you have. Buy for the projects you expect to make repeatedly, not because one oversized top has become difficult.
Match your project's size to the right next step: book on-site quilting with our experts, ask about a Q-series longarm for regular large-quilt work, or bring your current machine in to discuss its setup. Visit High Country Quilts with your quilt dimensions and machine model so we can help you choose a practical way to finish.
November 2–25 only: buy a $200 gift card in either store and get a free yard of fabric every month of 2027.

Serger and BERNINA Mastery classes, longarm training, bag-of-the-month, Kids Sewing Club and a Highlands Ranch retreat. Here's what's on the calendar in November.

Free gifts, included packages and special pricing on the BERNINA 790 ULTRA, 990, Liberty Editions, L 890 serger and Q Series longarms, now through December 31.


Leave a comment